Welcome to NGB and our walkthrough for the On the Trail of the Traitor main quest in The Outer Worlds 2. During this quest, you will uncover the traitor working with de Vries. Our guide will walk you through all the objectives, highlight the best strategies, and make sure you don’t miss any rewards.
Quick Links
- On the Trail of the Traitor Side Quest Guide
- How to Start the On the Trail of the Traitor Side Quest
- On the Trail of the Traitor Walkthrough
- Related The Outer Worlds 2 Content
On the Trail of the Traitor Side Quest Guide
How to Start the On the Trail of the Traitor Side Quest
You will begin the On the Trail of the Traitor main quest automatically after completing The Saboteur of Paradise main quest.
On the Trail of the Traitor Walkthrough
Travel to Golden Ridge
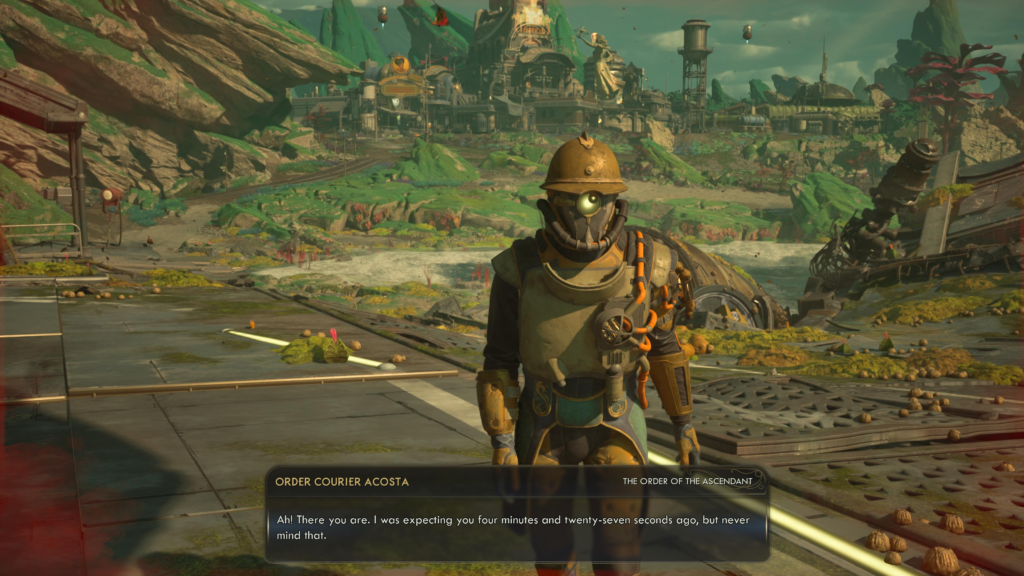
Now that the business with the Vox Relay has been taken care of, it’s time to follow up on a new lead. Return to your ship, where a courier will approach you to deliver an important video message.
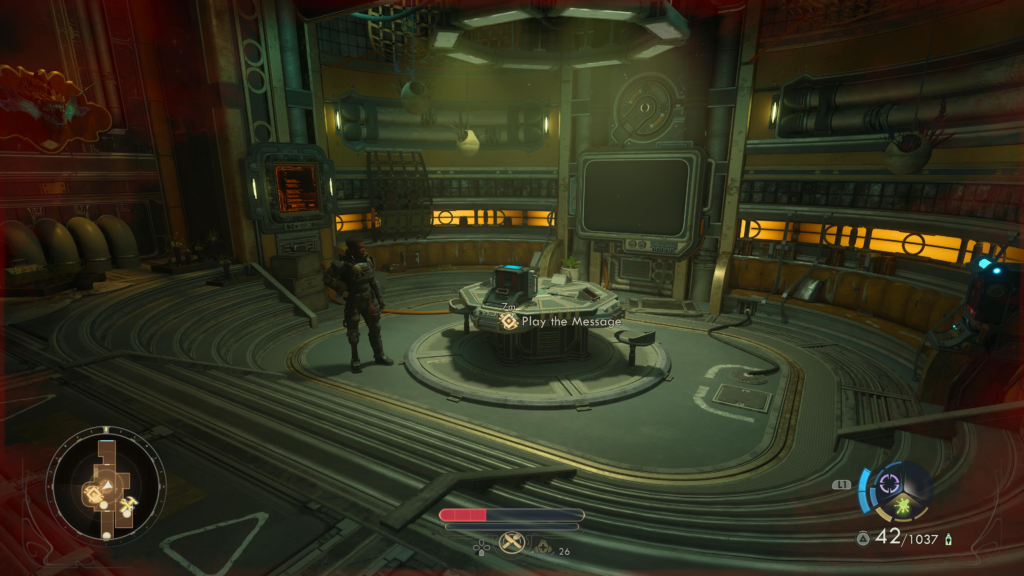
Board the ship and use the central console to watch the video. Once it concludes, head up to the bridge and use the astrogator to fly to Golden Ridge on Dorado. On the bridge, VAL will give you some more details about your destination.
Meet with Abbot Newell at Matriarch’s Mercy
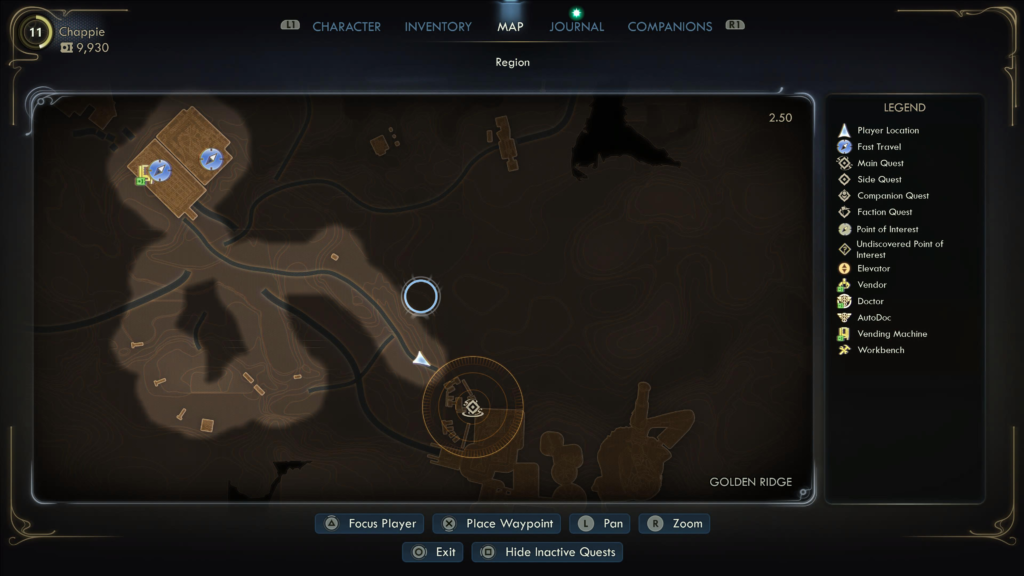
Once you arrive on Golden Ridge, you’ll need to head to Matriarch’s Mercy to meet up with Abbot Newell. From the landing pad, you’ll want to follow the main road southeast. It will take you right to the city’s gates.
Aspirant Lechemere will stop you, saying it will take about 8 days for your placement opportunity. Tell him you were requested by Ruth to be let through immediately.

Work your way through the camp to reach the big building in the back. Head inside to find Abbot Newell near the giant portrait. Speak with him to ask about Victor Clemens. He’ll tell you where to find him, along with requesting you look into the attack launched from the Zyranium Manufactory.

Investigate the Zyranium Manufactory VII
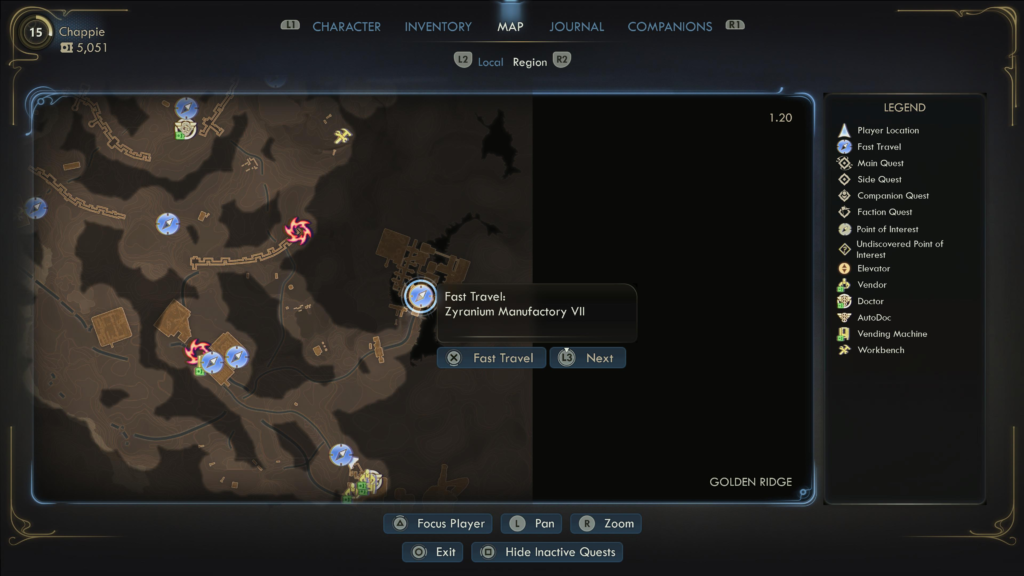
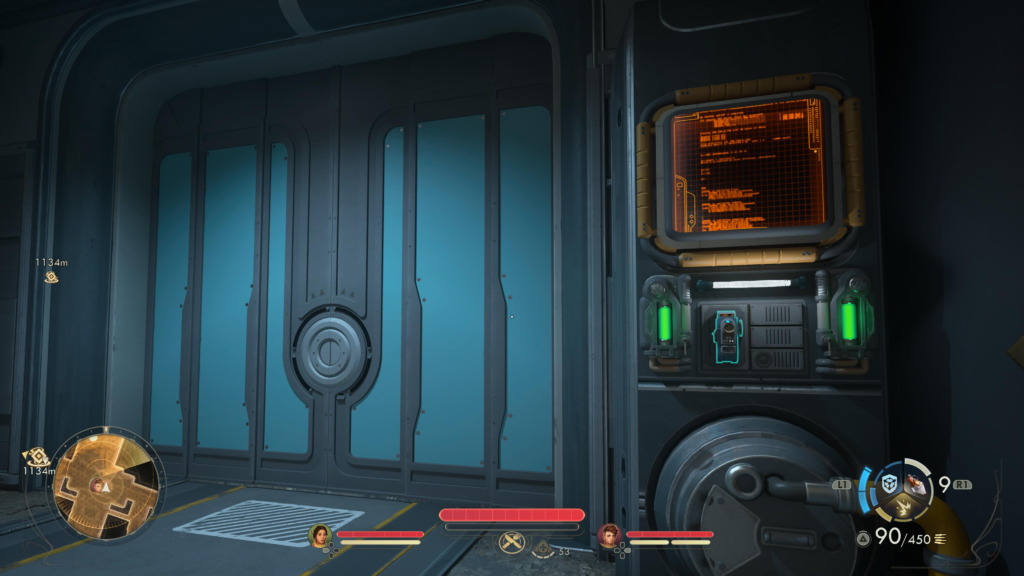
To begin your investigation of Zyranium Manufactory VII, you’ll need to make your way there. It can be found north of Matriarch’s Mercy.
Upon arrival, press the intercom on the right side of the door and select the “Writ of Investigatory Inquiry…” option to gain access. This will initiate the Beginning at the Endpoint side quest that you’ll need to complete for this objective.
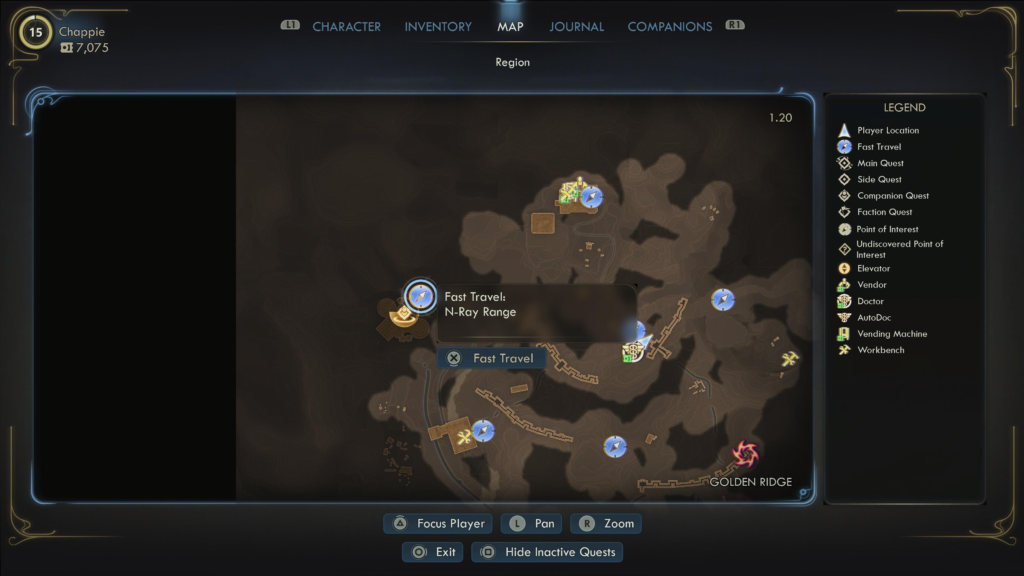
Investigate the N-Ray Range
When you’re ready to check out the N-Ray Range, travel to the northwestern part of Golden Ridge to reach it.
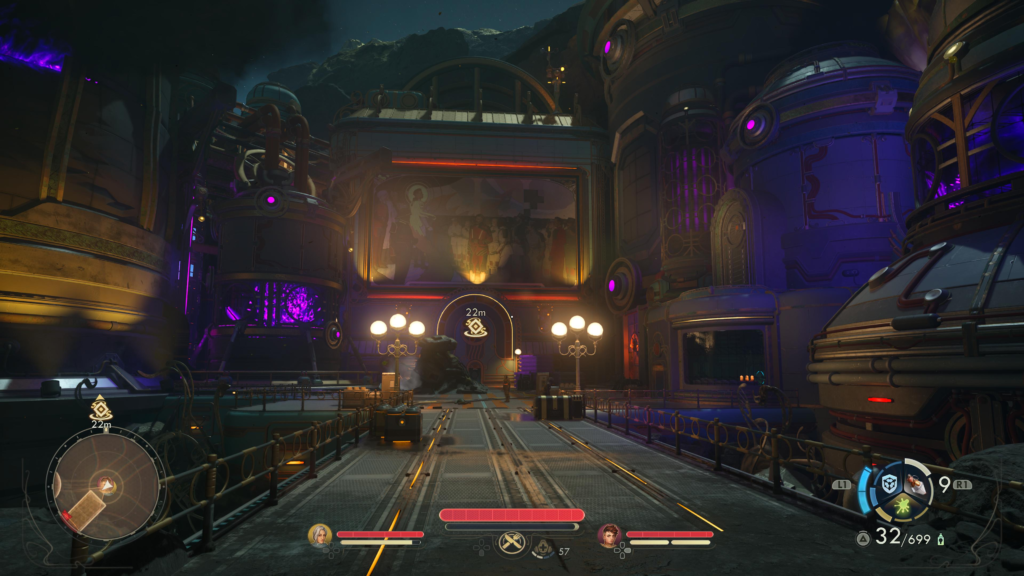
After you arrive, you’ll notice some Glorious Dawn members outside. Take care of them, then head for the main entrance to find that it’s sealed. You’ll need to enter a small structure on the side of it. There, you’ll find a utility room with a vent in the floor you can use to enter the N-Ray Range.
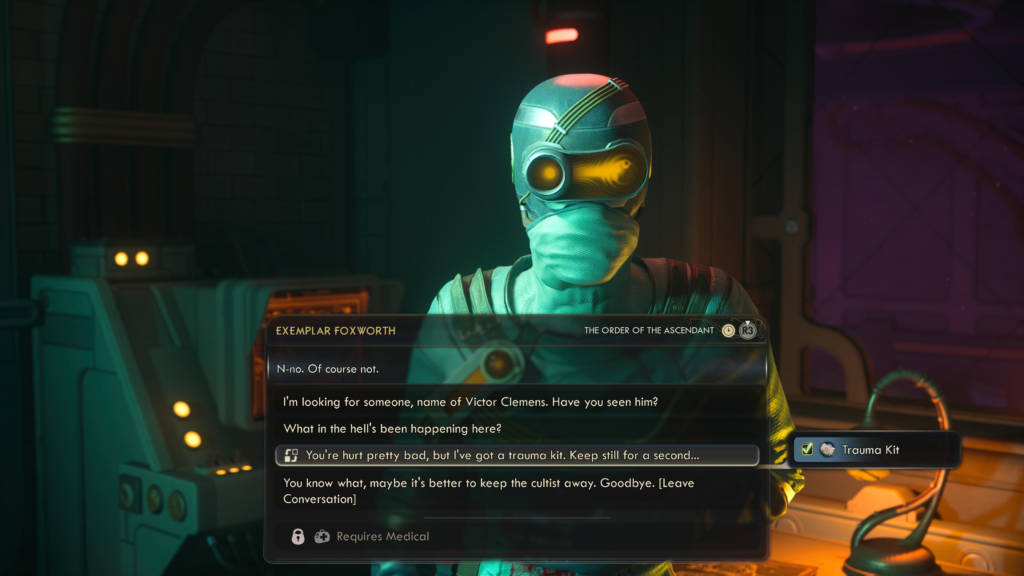
When you arrive in the facility, follow the hallway around to enter the room with Exemplar Foxworth. Speak with her, exhausting all of her dialog options to learn about the N-Ray Scanner, starting the Discrete Mathematics main quest. She will be more cooperative if you use a trauma kit to heal her wounds.
Undercover Further Correspondence from Abbot Newell
For this objective, you’ll need to find a couple of messages from Abbot Newell talking about Seer Wiley. These will come in handy later when talking with him.
- Zyranium Manufactory VII – Terminal in the Secret Room
- N-Ray Range – Terminal just after talking with Victor
Return to Abbot Newell
After checking out both Zyranium Manufactory VII and the N-Ray Range, return to Matriarch’s Mercy. Speak with Abbot Newell about the incident that is currently transpiring. Tell him that Wiley is behind it, and if you collected the evidence, you can force him to admit that the Abbot was preventing Wiley’s advancement for his own personal gain.
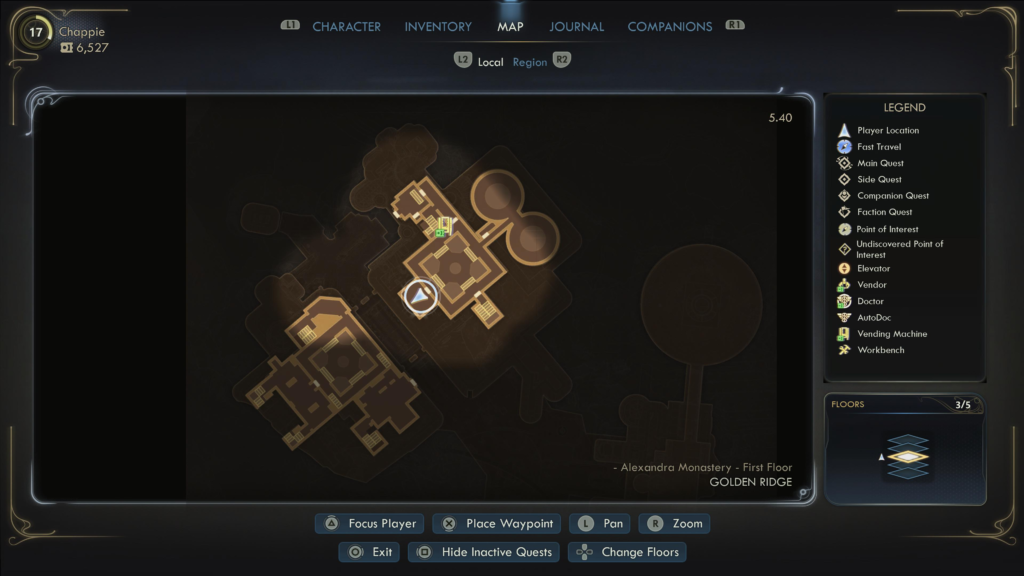
Stop de Vries’s Agent in Alexandra Monastery
After talking with Abbot Newell, interact with the terminal next to him and input the code to activate the lift. Head inside and take it up to Alexandra Monastery.
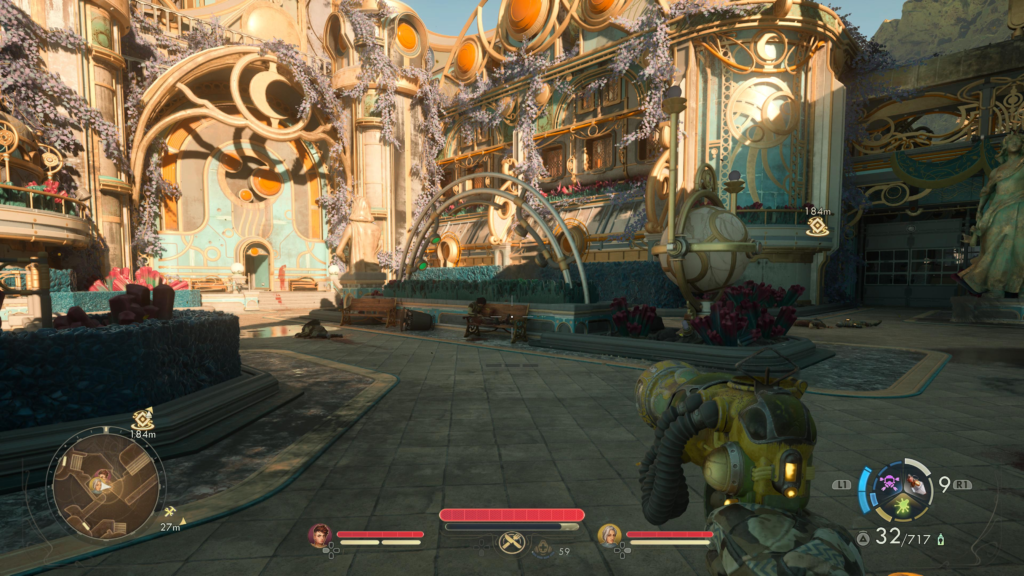
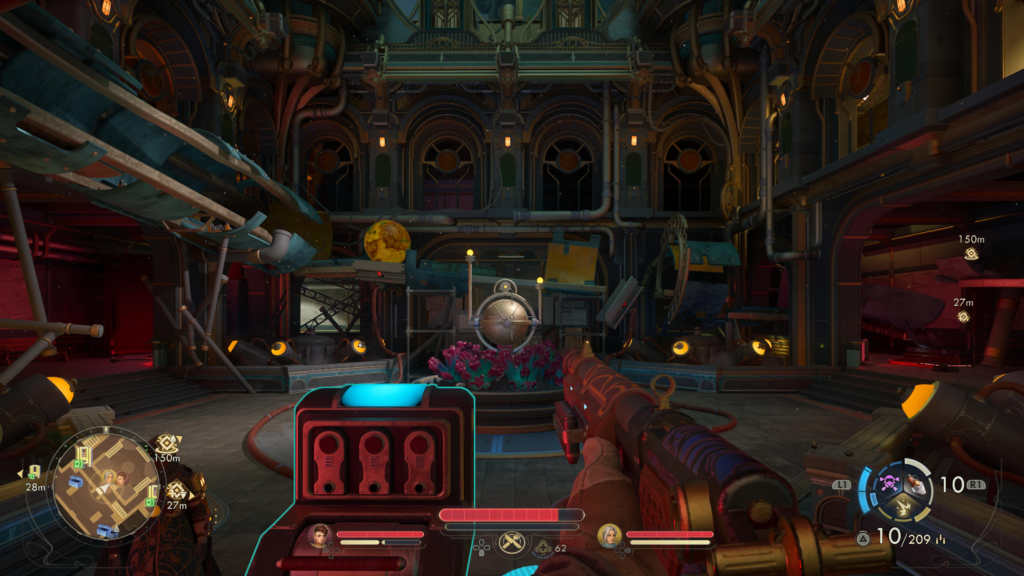
When you arrive at the monastery, cross the courtyard and enter the building on the east side.
If you have Lockpick 5 and a mag-pick, open the locked door by the pews to get some supplies.
Head through the room and follow the hallway around to the right, passing through the door at the end. This will bring you into a courtyard-like area with a tree in the center and no roof.
If you head through the door on the southwest side of this courtyard, you’ll enter a room where two members of the Order are having a debate in a sealed-off room. Speak with them to begin the Imprisoned by the Riddles of Reality side quest.
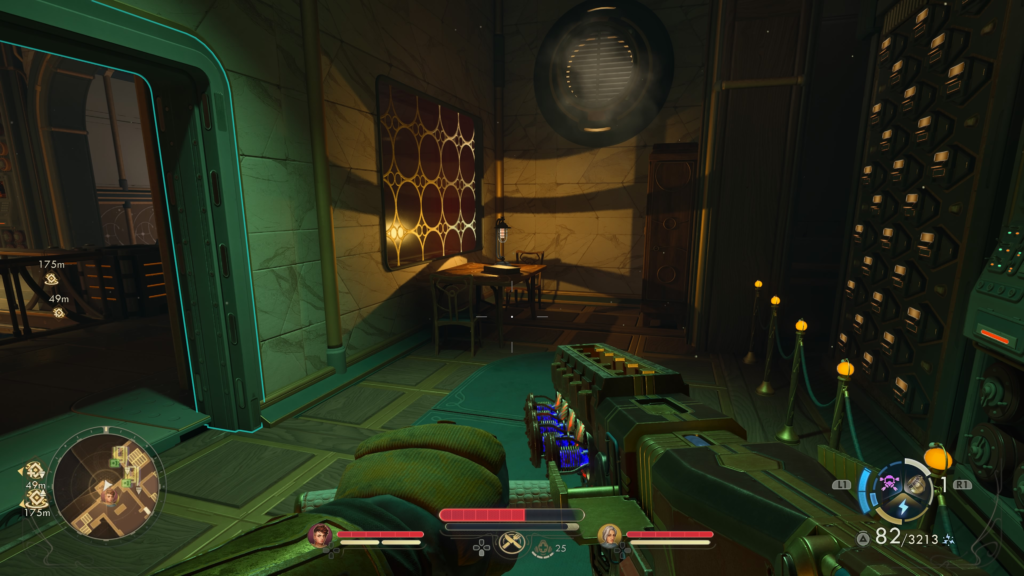
From here, head through the door on the northeast side. Activate your scanner and follow the power line through the bathhouse to its source. If you read the note next to the Bathhouse Circuit Breaker, you’ll learn that a book on the wiring can be found on one of the anchorites. Alternatively, you can skip looking for the book if you have Hack 8.
Head to the room on the southwest side of the courtyard where the two Order members were debating. Speak with them and ask about the book on mechanized doors and their wiring. You’ll then be able to retrieve it from the collection drawer. Return to the Bathhouse Circuit Breaker and use the book on it to open the way forward.
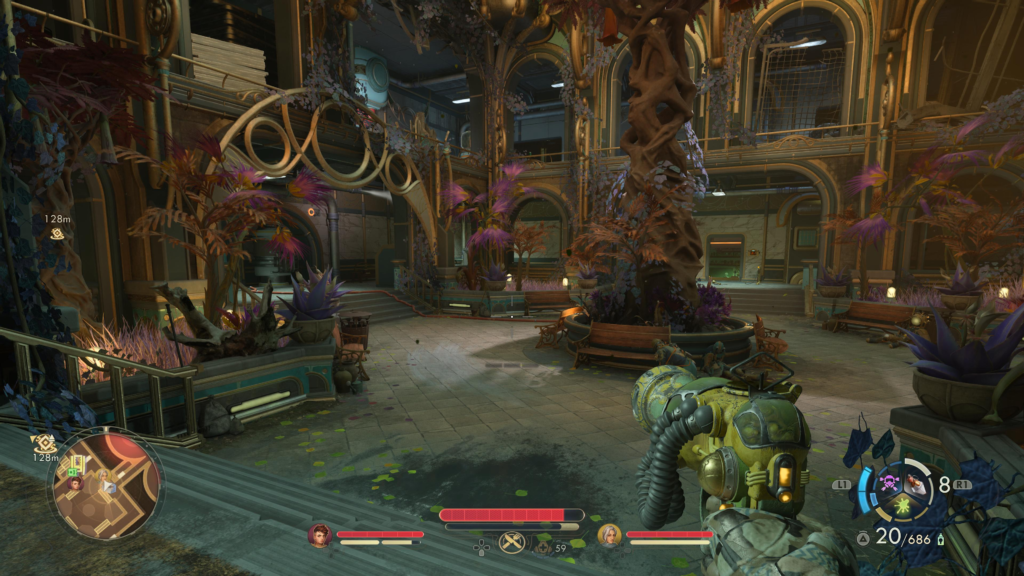
Go back to the courtyard and head through the newly opened door on the southeast side. This will lead you through the Novice Dormitory and then the Research Wing, just past that.
If you stop by the Abbot’s Quarters, you’ll be able to find an Advanced Decryption key on his balcony.
When you get far enough, you’ll reach a room with trapped hostages. Seer Wiley will then contact you with a choice: save the hostages or let them die.
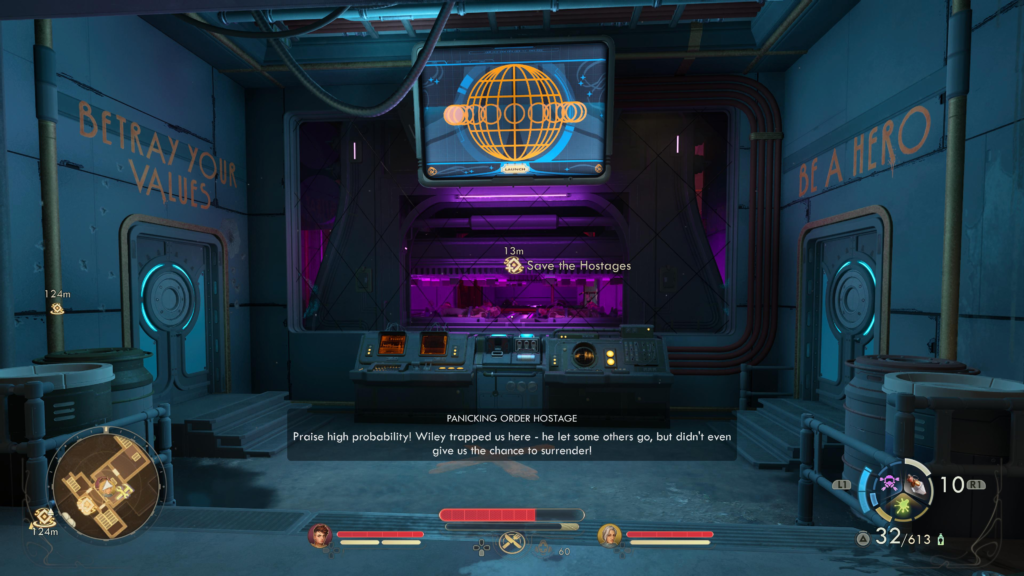
Betray Your Values – Don’t Save Hostages
If you say screw the hostages, head through the left door marked “Betray Your Values”. You’ll then be able to continue through the area without doing the extra steps to save the hostages.
When you reach the observatory, the hostages will die. Upon confronting Seer Landon Wiley, he will be shocked that you skipped saving the hostages, saying that it’s outside the scope of your heroic index. He’ll then get upset, saying the hostages were supposed to delay us and not die.
Be a Hero – Save the Hostages
To save the hostages, head through the right door marked “Be a Hero”. Next, head up the stairs to find the orb puzzle.
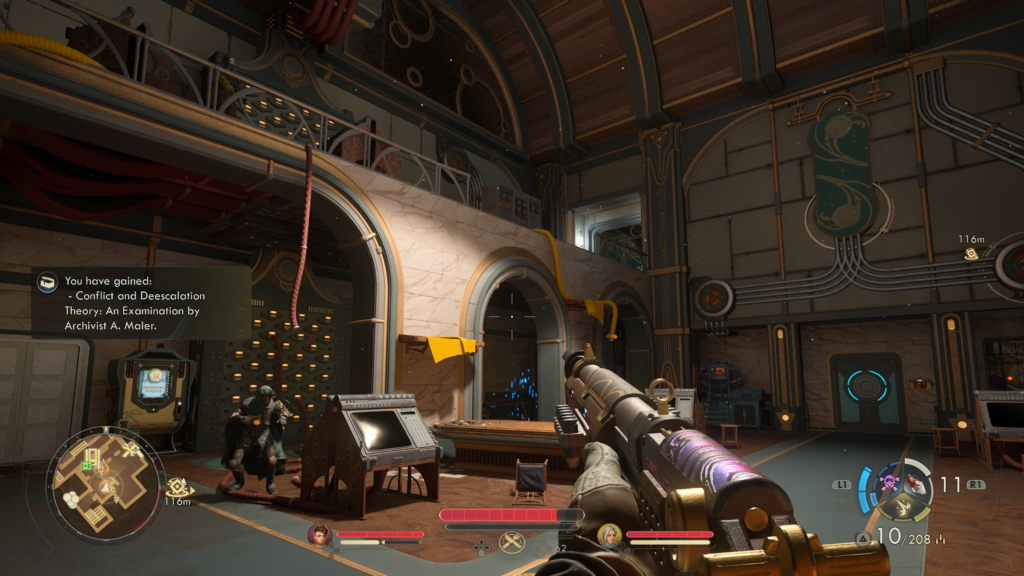
To get the orb into the receptacle, enter the door on the left to reach the Library and Special Collections. After you’ve cleared out the enemies inside, use the stairs or jump on the central bookcases to reach the upper level.
If you have Brawny Trait or Engineering 5, open the jammed door inside you’ll find the Only Real Numbers: The Casualties of Appeasement (Second Edition) by Exemplar R. Kuang on the table. You’ll need this book for the Imprisoned by the Riddles of Reality side quest.
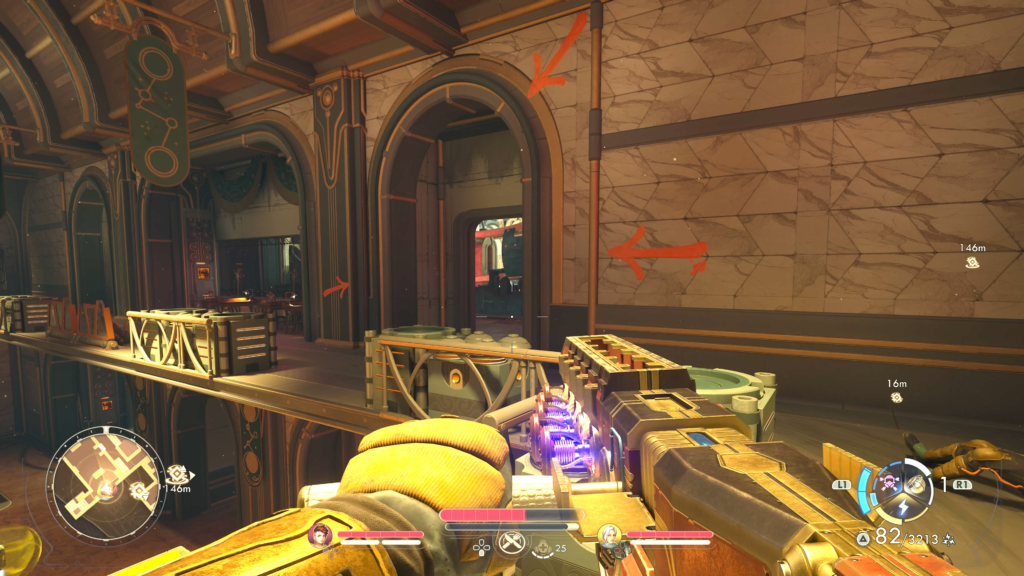
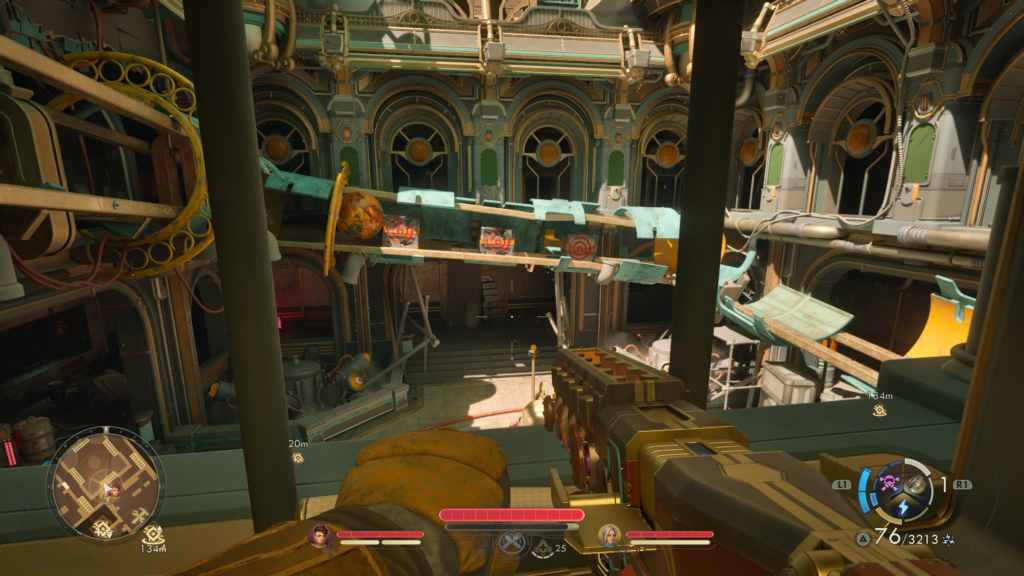
Once on the second level, enter the doorway with three red arrows pointing to it!
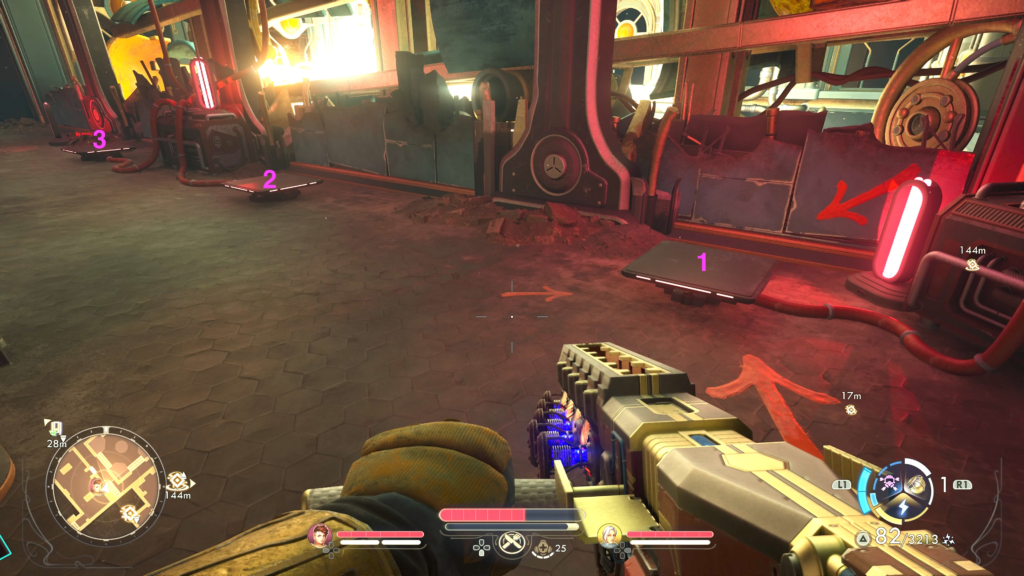
In front of you on the ground, you’ll spot a pressure plate. It will have three red arrows pointing to it! Step on it to get the ball rolling. As the ball rolls along the track, you’ll need to step on each of the other two pressure plates to prevent it from being stopped.
After stepping on all three pressure plates, head to the east side of this floor, just past the first pressure plate. Look through the window at the ball to see that you’ll now need to shoot the three targets blocking the ball.
Next, return to the lower level just outside the library. Once there, pull the lever twice to allow the ball to continue.
When the ball stops again, you’ll need to stand on the two pressure points on the right side of the room.
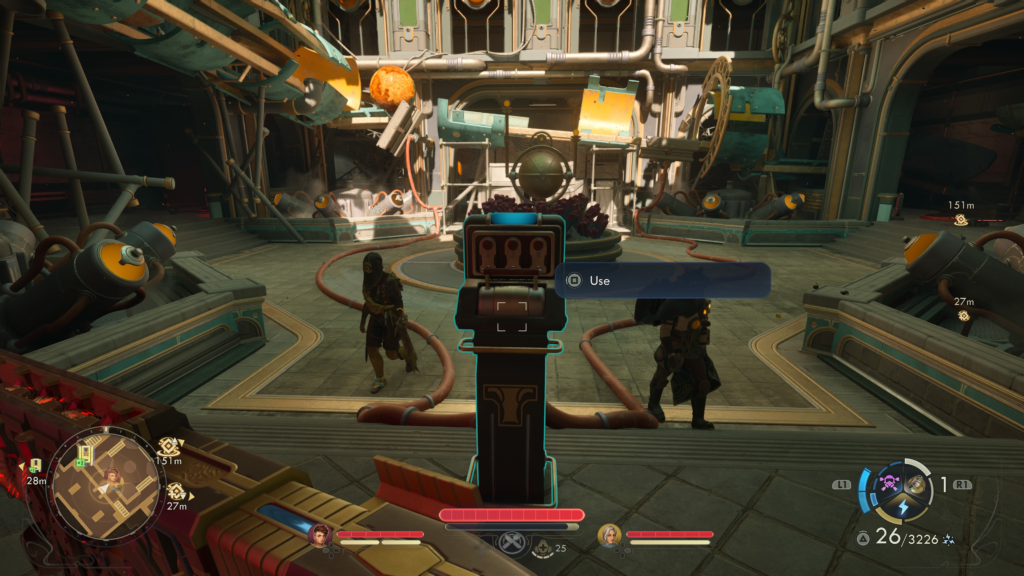
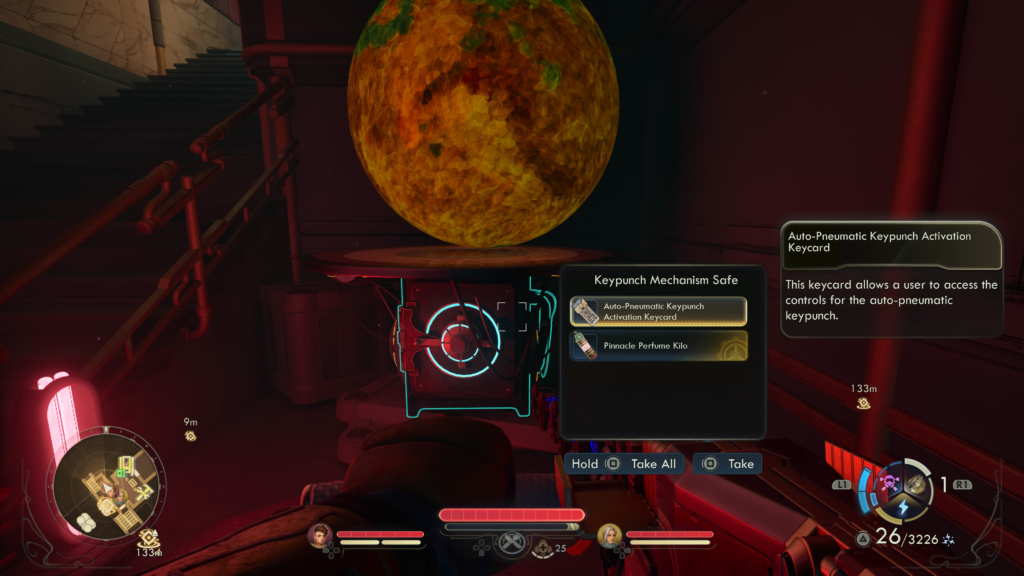
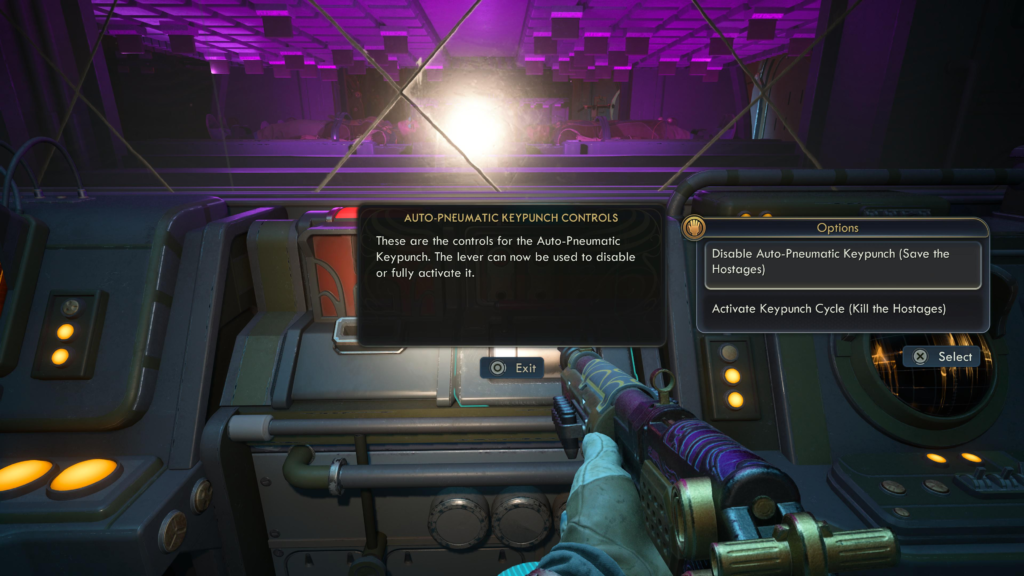
Once the ball finally reaches its destination, follow it down the stairs then loot the Keypunch Mechanism Safe to acquire the Auto-Pneumatic Keypunch Activation Keycard and Pinnacle Perfume Kilo.
Use the keycard to restore the keypunch controls on the terminal in front of the hostages to save them.
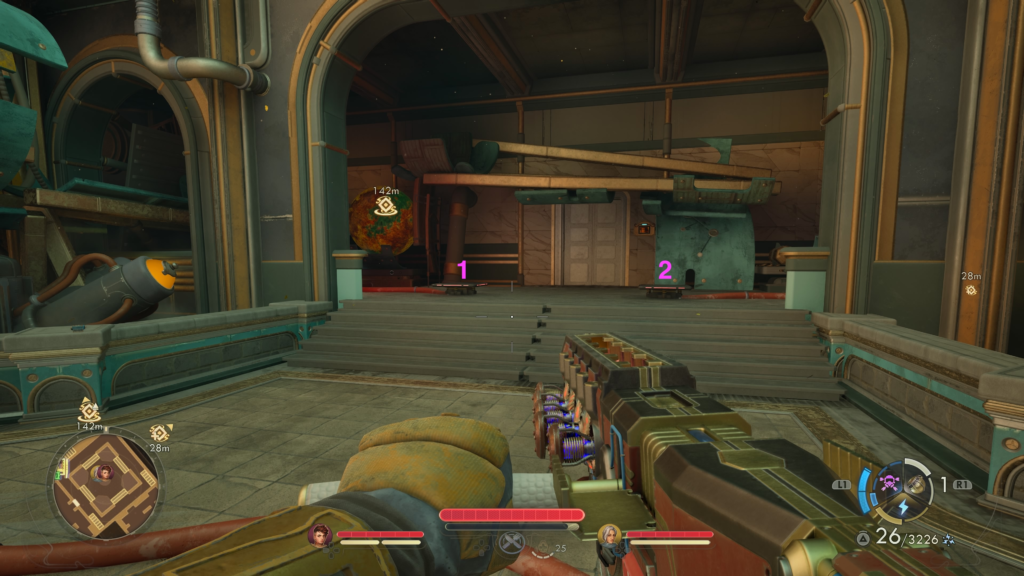
To pursue Wiley, head through the door labeled “Betray Your Values” to reach another library-like room.
On the second level of this room, you’ll find the second book needed for the Imprisoned by the Riddles of Reality side quest on a table. To reach it, look on the left side of the room and climb the ledges marked by yellow cloth.
When you’re ready to proceed, head through the door on the bottom level.
After emerging from the door, take a left and unbar the gate. Head to the far side of this room on the right to find an Advanced Decryption Key in a chest just before another gate you can unbar.
Follow along the main path to reach the bell tower. Once there, clear the enemies!
Make sure to pop in at the tram station on the southwestern side to get one of the mural pieces needed for The Pursuit of the Partite Pentaptych quest.
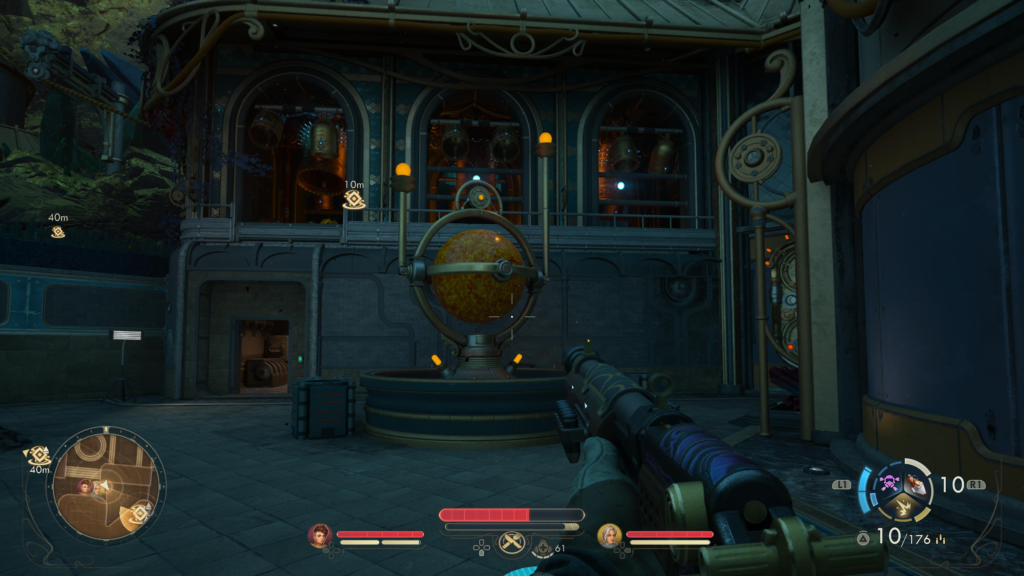
You’ll then need to approach the door to the Matriarch’s Observatory and interact with the pedestal next to it to learn how to open the door by making all of the bells ring in unison. Start by flipping the lever next to the Matriarch’s Observatory Plaque across from the door.
Next, head down the stairs and enter the building on the right, taking out all the enemies in and around it. Once inside, take the stairs up and flip the lever.
The last set of bells can be found in the station across from this building. More enemies will show up that you’ll need to take care of. Do so, then head through the door under the bells. This will lead you to some stairs that will take you up to the 2nd bell switch.
With that, the door should now be open. Head through it and enter through the next door.
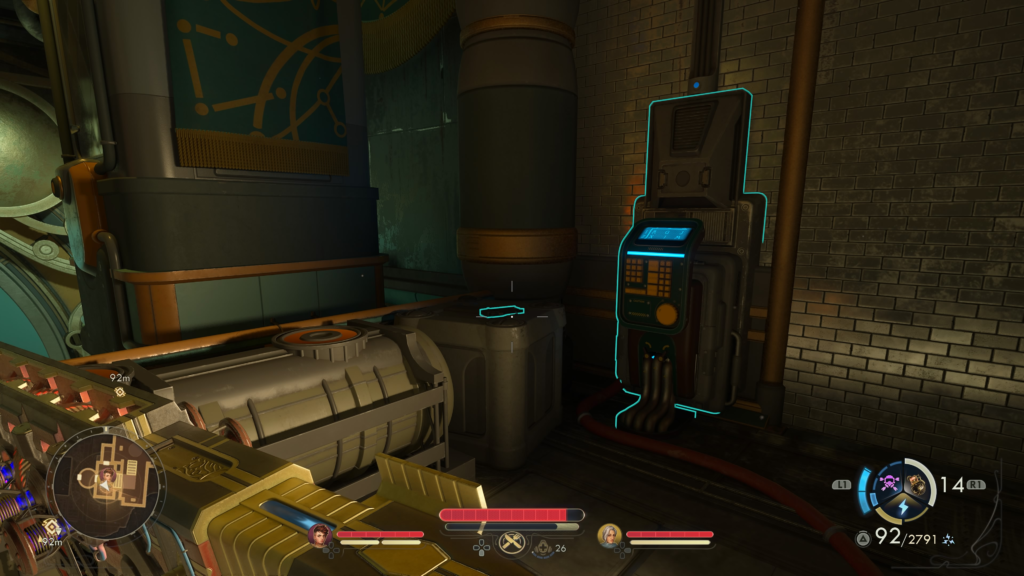
On the right, examine the device next to the terminal to find the instructions for the Order Initiate Scavenger Hunt.
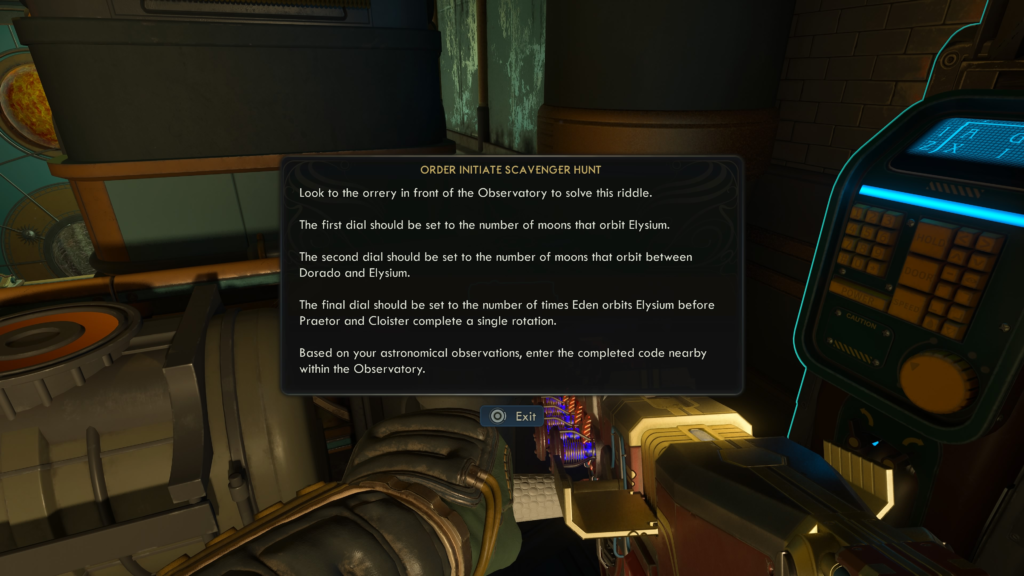
Next, examine the terminal next to the device and select the following options:
- Turn dial to “4”
- Turn dial to “1”
- Turn dial to “4”
Enter the hidden room that is revealed to the right and loot the bits and Pitchball Card: Feargus Urquhart from the container.
Once you are ready to confront Seer Landon Wiley, head down the stairs and follow the linear path. If you wish to talk him down, you’ll need Speech 5 and to have collected the messages the Abbot sent about him. Otherwise, you’ll have to fight him.
After dealing with Wiley, interact with the terminal behind him. Review all the messages and download the meeting coordinates. This quest will then be completed when you exit from the terminal, starting the Fiends in High Places main quest.
You can use the Abbot’s Universal Key to access a display case just before the room where you found Seer Wiley to receive the Oracle unique weapon!
Related The Outer Worlds 2 Content
Looking for more The Outer Worlds 2 content? Use the links below to keep exploring our guides:
- Main Page: Visit our The Outer Worlds 2 Guides and Walkthroughs hub for all our latest content!
- Official Website: Check out the official The Outer Worlds 2 website for news and updates!