Welcome to NGB and our walkthrough for the Lab That Shouted Incoherently and Often side quest in The Outer Worlds 2. During this mission, you’ll venture into a chaotic research facility where science has clearly gone off the rails. Our guide will walk you through how to start the quest, navigate the area’s hazards, and return everyone to normal.
Quick Links
The Lab That Shouted Incoherently and Often Side Quest Guide
How to Start the Lab That Shouted Incoherently and Often Side Quest
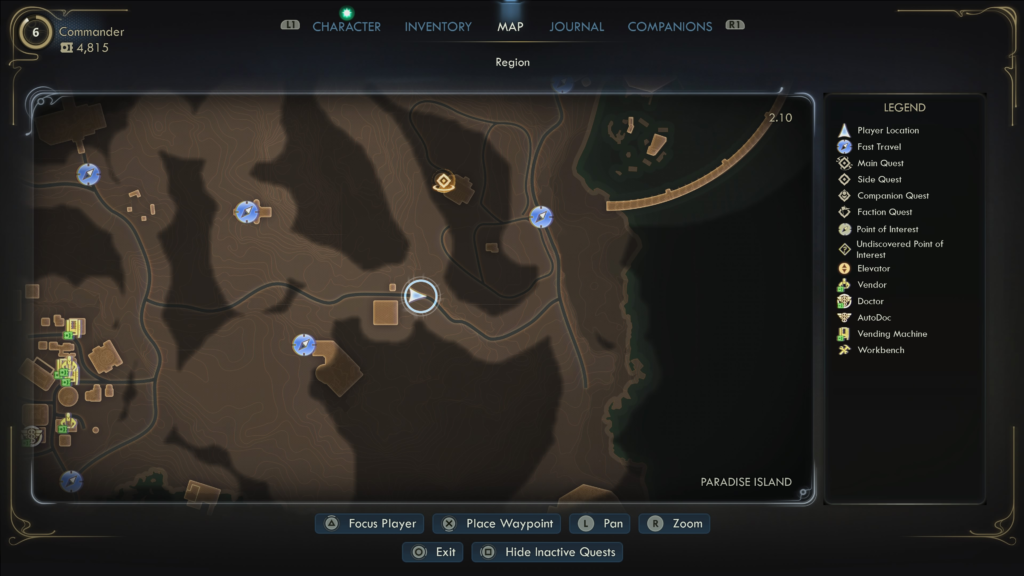
To start the Lab That Shouted Incoherently and Often side quest, you’ll need to travel east of Fairfield along the main road. As you get closer to the eastern coast, a prompt will appear telling you that Auntie’s Choice-Brand Distress Signal is now available to listen to.

Open the menu, change to the Journal tab, select the Wireless option, and then the Auntie’s Choice – Brand Distress Signal. The supervisor is sending this distress signal, stating that the personnel from a nearby Auntie’s Choice research lab have become homicidally irritable. He will then ask for help.
The Lab That Shouted Incoherently and Often Walkthrough
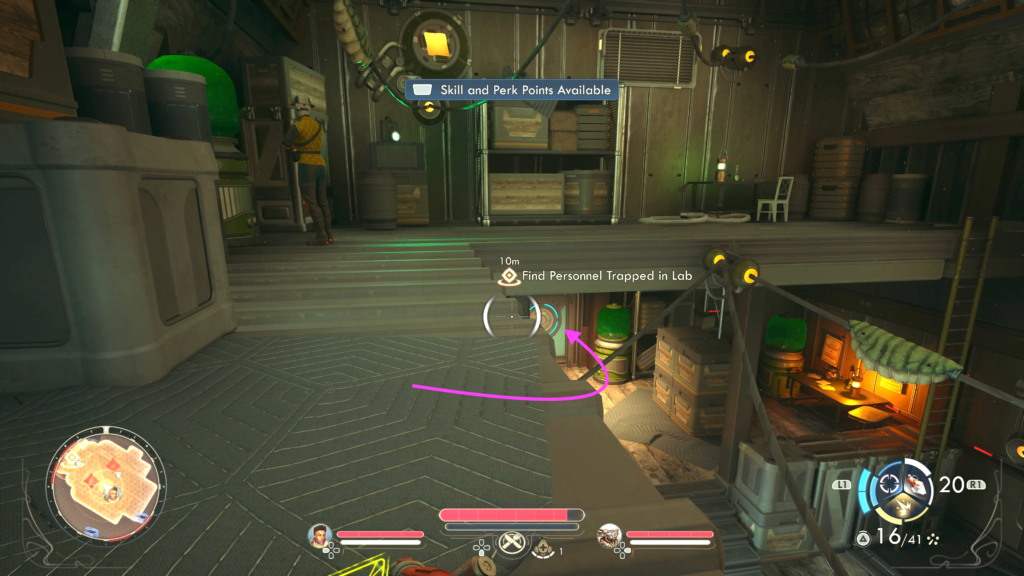
Find Personnel Trapped in Lab
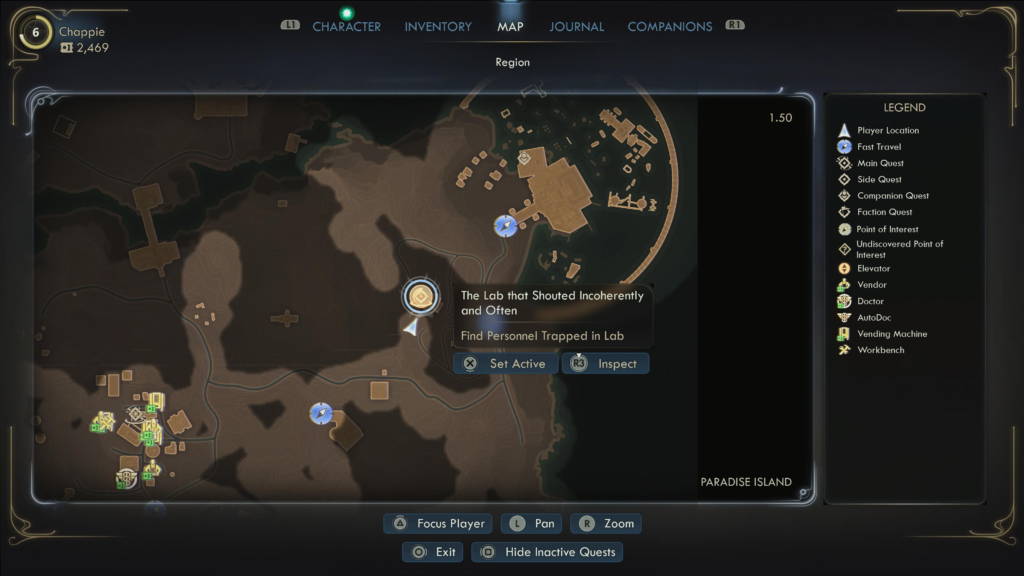
The lab is located between the Arbiter Training Facility and Westport. You’ll ideally want to approach it from the west side, where there aren’t many hostiles to deal with.
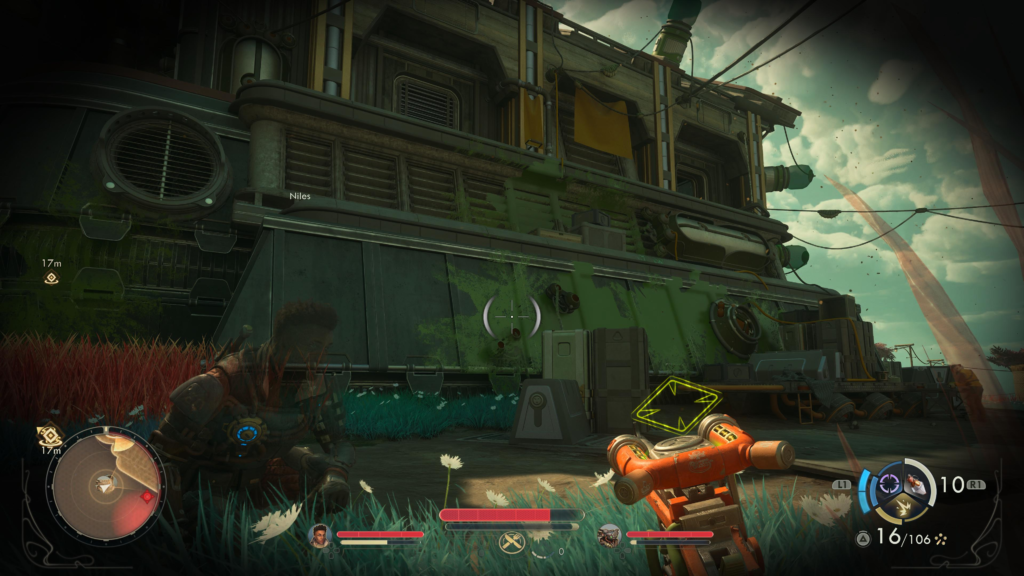
From there, approach the building from the south. If you look up on the side of the building from there, you’ll spot an open grate you can use to enter the lab. You’ll want to climb up the ledges under it to reach the grate. If you have the double-jump boots, it will be a little easier to sneak past everyone.
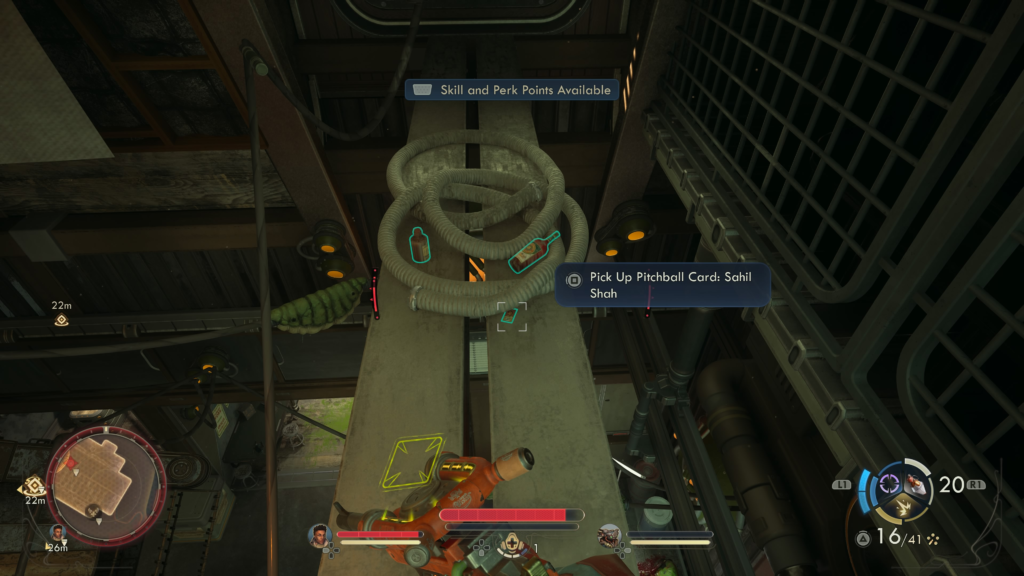
Once you enter the grate, you’ll be on the rafters. Make sure to loot the Pitchball Card: Sahil Shah from the hose on the rafter.
Look to the left and jump down on the upper platforms.
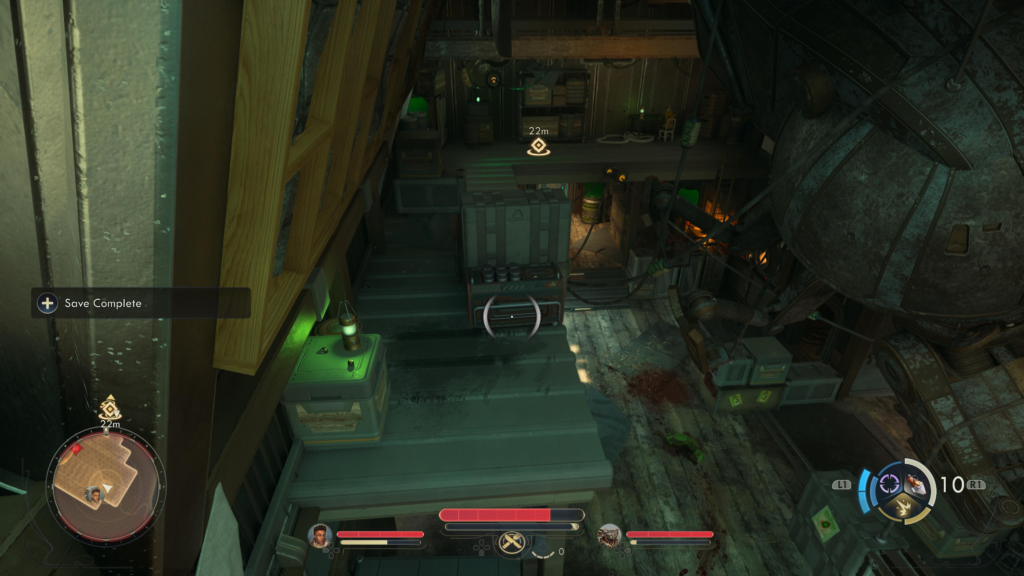
You’ll then want to wait until the enemy turns away so you can sneak past him then quickly drop down to the ground floor and head through the door on the western side.
In the silo, speak with Product Envisioner Omid Ormsby, who is taking refuge inside a test chamber. He’ll demand that you work for him as an aide to help rectify the current situation.
If you press him for details, he’ll tell you that a spore sample taken from a local red plant was somehow ingested by a large portion of the Auntie’s Choice personnel. This resulted in their crazy, murderous state.
To fix it, you’ll need to craft an antidote using a fresh sample of the plant and the team’s findings.
Retrieve Red Spore Sample
Exit the room through the door on the right when looking at Ormsby to wind up back outside. You’ll then want to head northeast, towards the giant red rock.
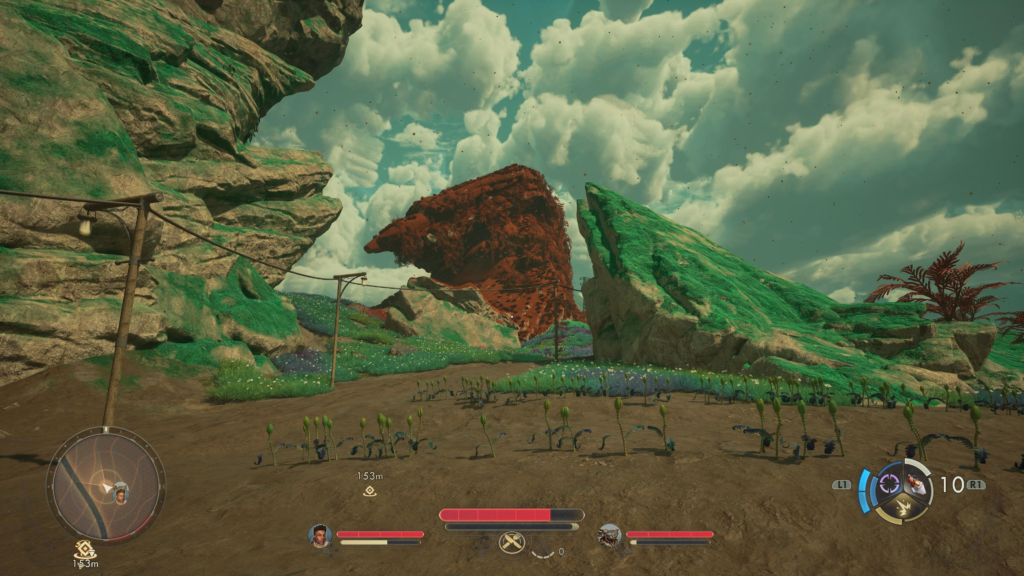
At the base of the rock, you’ll find an encampment filled with dead bodies. Follow the path near the tents heading north up a hill. When you get far enough, you’ll come across the red plants.
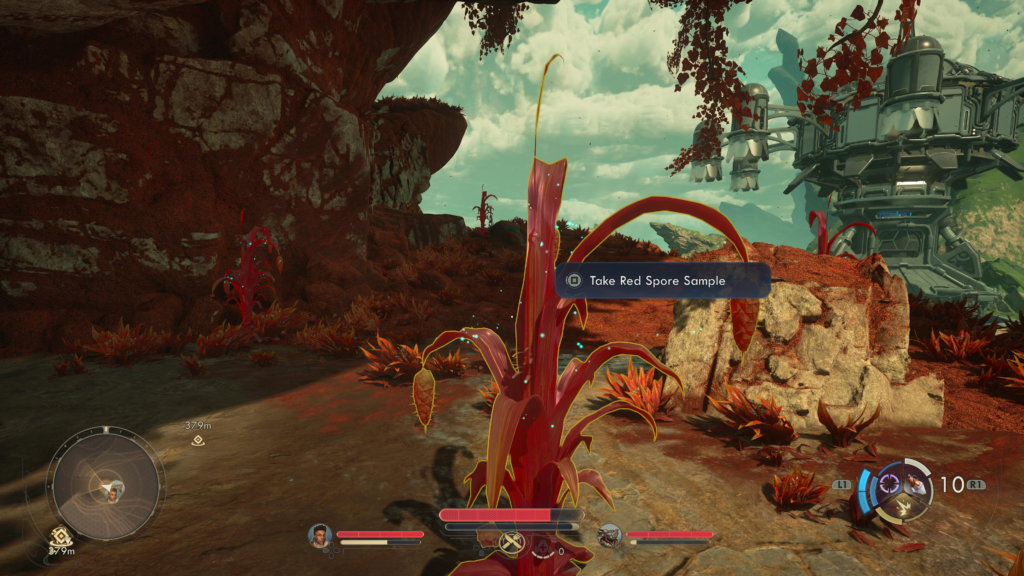
Interact with them to get a sample.
Download Data Cartridge
Return to the lab and make your way to the building located southeast of it. We found it easier to stick to the outside of the grounds when approaching the building, then cut over to it as we got close. There will be two frenzied employees there that you’ll need to sneak past.
On the east side of the building, you’ll find a distraction device you can leverage to enter the building without drawing too much attention.
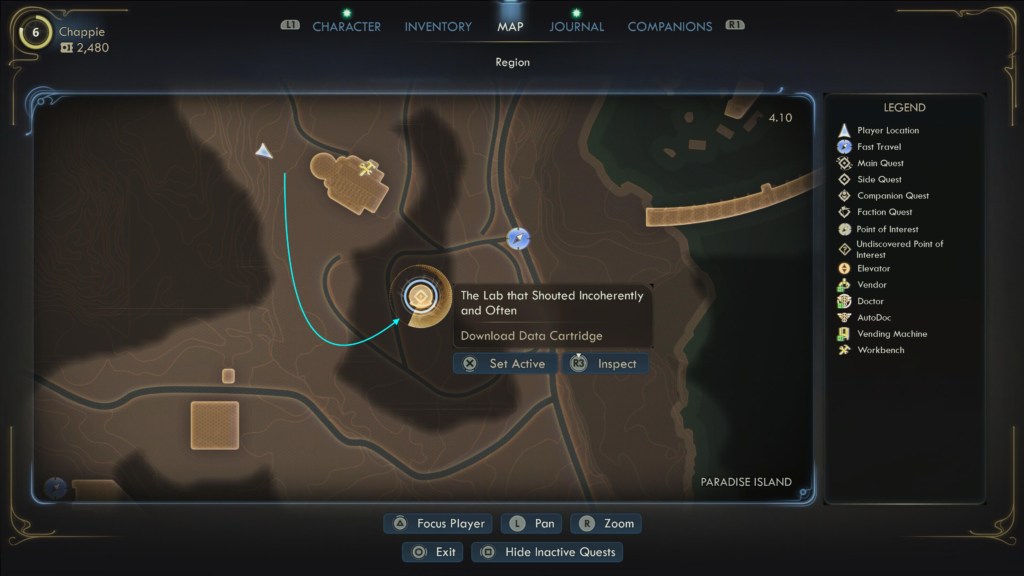
Inside the building, interact with the terminal in the back of the room. Use it to download the required data.
Return to Ormsby
Now that you have the spore sample and the data cartridge, head back to the silo where Ormsby is hiding. Please note that you can fast travel out of the building if you’d like to avoid being seen! Speak with him once again, then place the required items in the slot below the intercom.
Synthesize Antidote
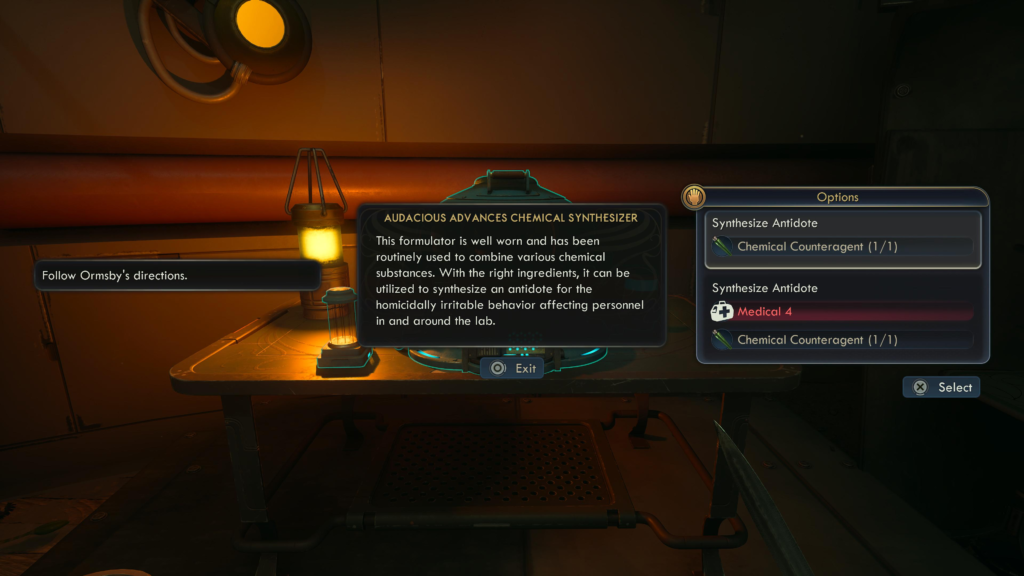
After some back and forth, Ormsby will come up with the Chemical Counteragent. Collect it through the slot, then take it to the nearby table to use the synthesizer to create an antidote. If you have at least 4 points in the Medical skill, you can make a few enhancements to the antidote and will receive a bonus dialog option later.
Once you have it, return to Ormsby and pass it to him through the slot. He’ll then use the air filtration system to distribute the antidote, thus completing the quest.
In addition to bits, EXP, and Auntie’s Choice rep, you’ll also be able to loot the chest in the test chamber. It contains the Escape Suit, Agreno Spume Boom Starter Plus, and four Heartless Laphoria.
Related The Outer Worlds 2 Content
Looking for more The Outer Worlds 2 content? Use the links below to keep exploring our guides:
- Main Page: Visit our The Outer Worlds 2 Guides and Walkthroughs hub for all our latest content!
- Official Website: Check out the official The Outer Worlds 2 website for news and updates!