Welcome to NGB and our guide for The Eye of the Storm Starfield mission! This guide will walk you through starting the mission and detail the necessary steps for its completion. If you need help with a specific mission objective, check the quick links section to find the most relevant information easily.
PLEASE NOTE: Some of the planets referenced in our guides and walkthroughs may not match yours due to how Starfield was created. In these situations, what you do and the places you visit on those planets should remain the same.
The Eye of the Storm Objectives
How to Start the The Eye of the Storm Mission
The Eye of the Storm is one of the faction missions for the Crimson Fleet. You’ll start it automatically after completing the Absolute Power mission.
Eye of the Storm Mission Guide
Speak with Delgado
For The Eye of the Storm Starfield mission, head to Ship Services and Repairs on the Key and speak with Delgado. You’ll then need to arm your ship with the ComSpike and the Conduction Grid. You can do this by speaking with Jazz choosing “Mind helping me with my ship?” then “I’d like to view and modify my ships.”. In the Ship menu, press the Ship Builder button them move the cursor over the empty space (not on your ship). Press the add button and cycle to the Equipment tab. Select the Conduction Grid and ComSpike then place them on the ship.
Proceed to the UC Vigilance
Head to the UC Vigilance (it will be in a random system) and dock with it then speak to the commander. You can also hand over any evidence you have to Lt. Toft.
Proceed to Bannoc IV
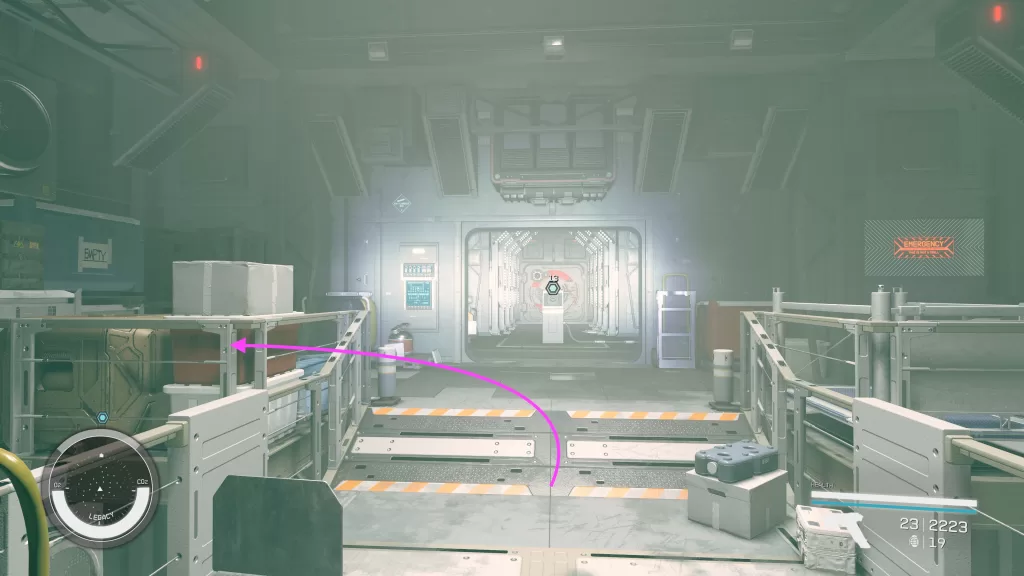
Return to your ship and set a course for Bannoc IV in the Bannoc System. Once in the system, follow the signal (objective) to reach the Legacy. Dock and board the ship.
Locate the Vault Control Center
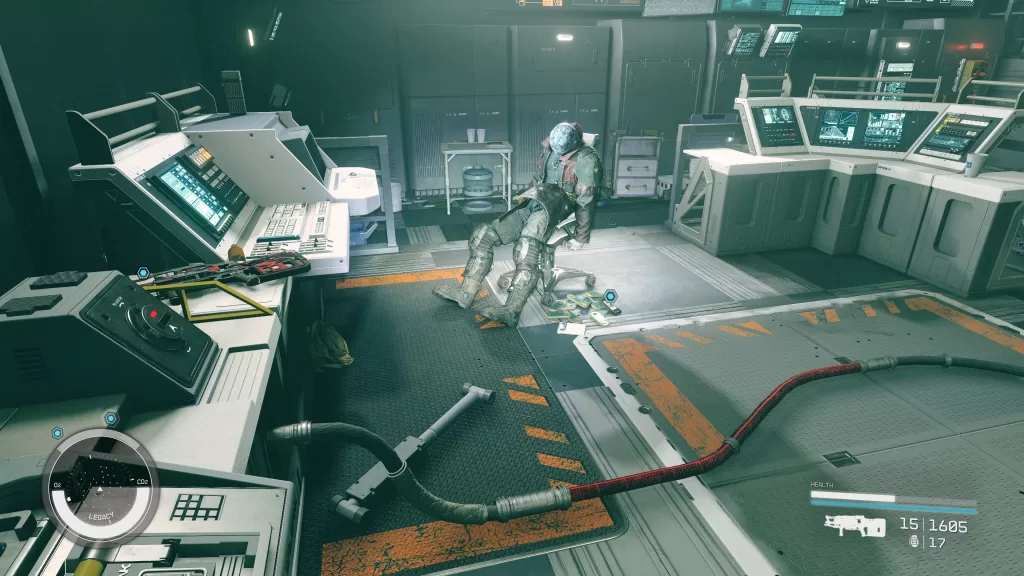
Work your way to the top level of the ship to reach the vault controls. At the top of the stairs (before the control) look left to find the remains of Osterholt.

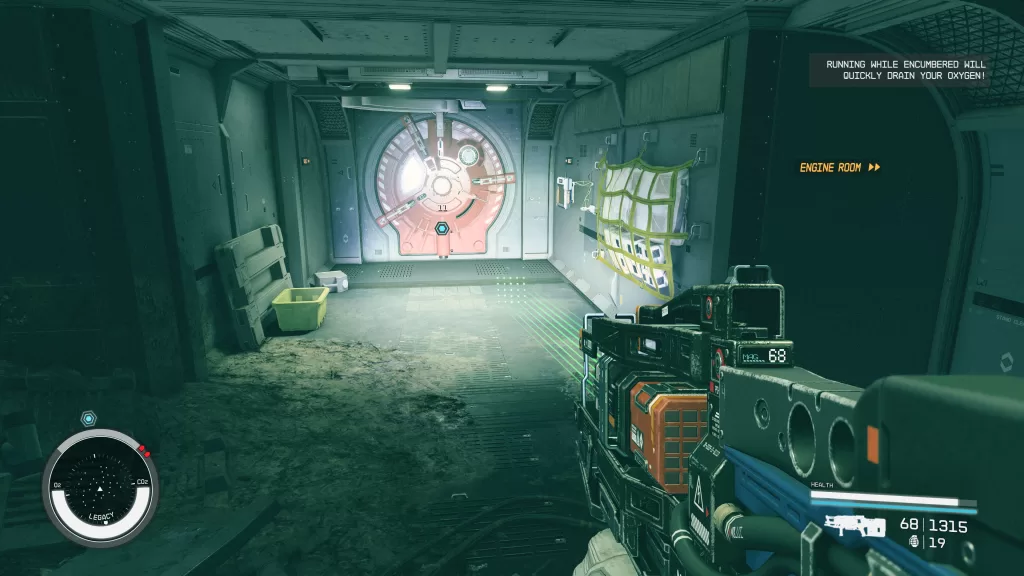
On the ground to his right, you’ll find a Galbank Transfer Module. Use it on the console to open the door and head through. The path from here to the vault is pretty linear and you’ll have to fight a plethora of robots and turrets along the way. When you reach the vault, use the Vault Door Computer to open it then head inside.

Cross the vault to the southwestern corner and head through the door there. You’ll have to fight a number of robots and turrets along the way. After heading through the door, climb the stairs then pass through the room heading up the stairs at the other side. This will bring you to the Vault Control Center.
Retrieve Japser Kryx’s Possessions

Approach Jasper’s corpse then look on the ground near the pile of credits to spot another Galbank Transfer Module. Pick it up and the GBLR013: Mortem Obire slate to the left of it. Also make sure to grab the legendary Revenant rifle on the console in front of him and the slate under it.
Reroute Ship’s Power
When that’s done, flip the two Power Override Controls on both sides of the room to restore the power. Place both transfer modules in the Transfer Module Lock then interact with the Data Core Port and press the Download Control Switch to begin the transfer. When it’s finished, remove both transfer modules and activate the Data Core.
Escape the Legacy
Time to flee! Head back to your ship as fast as possible! Toxic gas will be spewing out along the way and you’ll have more robots to contend with. Plus the ship will literally be blowing apart so you’ll have to contend with debris and destruction, too!
Bring Kryx’s Legacy to the UC Vigilance or the Key
Back at the ship, the game warns you that it’s choice time! You’ll have the option to deliver Kryx’s Legacy to the UC Vigilance or take it back to the Crimson Fleet. How the next mission plays out depends on your choice. Please see our next walkthrough on the Legacy’s End mission for more details! Optionally, you can talk with your companion (if you have one) and see what they think you should do. Make your choice and jump to either the Vigilance or the Key. This will complete the mission and you’ll be rewarded with EXP.
Additional Starfield Guides and Walkthroughs
Be sure to check our main Starfield Guides and Walkthroughs page for additional content on Starfield!

