Welcome to NGB and our Baldur’s Gate III walkthrough for the Help the Cursed Monk quest! This guide will cover everything you need to know so you can easily complete the quest.
If you need help with a specific objective, please refer to our Quick Links section to quickly find the information you need!
BG3 Quick Links
How to Begin the Help the Cursed Monk Quest
To start this quest, you must travel to the Adamantine Forge in the Underdark (past the Ancient Forge fast travel point).

To the west of the forge, a pool of lava is circled by a Lava Elemental. You can reach a structure in the middle of the pool with an Adamantine Chest. You’ll need to open the chest by passing a level 20 Slight of Hand skill check and loot the Sentient Amulet inside. Once you pick up the amulet, the Cursed Monk that inhabits the accessory will begin speaking with you and request you deliver him to his granddaughter at the Open Hand Temple in Wyrm’s Crossing.
You can pass a series of skill checks to learn that Shar’s servants probably tortured the monk and that while he doesn’t want to hurt you, he might. We agreed to help him, and in exchange, he granted us his power after we equipped the amulet.
Help the Cursed Monk Walkthrough
You can’t proceed with this quest until Act III when you reach Baldur’s Gate.
Once you reach Rivington in Act III, head northeast of Arfur’s Mansion to find the Open Hand Temple. Inside, locate and speak with Sister Yannis to ask about the spirit’s granddaughter, Shirra. She’ll tell you that she passed away last year and was buried in the crypt under the temple.

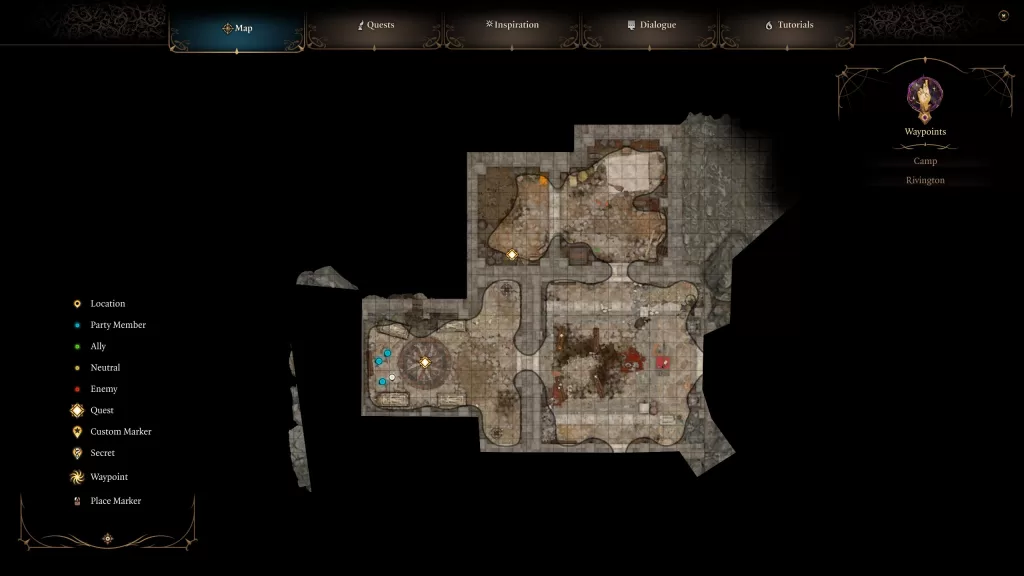
To reach the crypts, head into the kitchen and interact with the Ornate Wooden Hatch. Make your way to the southwestern room to find four sarcophagi. Shirra’s is the northwestern one.
Approach it, and the monk will possess her body. You’ll learn that the monk would pass the madness on to his granddaughter, but now he wants to pass it on to you.
If you say no, then the monk will attack you along with three other corpses in the room. Defeating him will complete the quest.
If you accept the madness, you can pass a series of checks to take the item but not lose out on the wisdom. This will also complete the quest, and you’ll have access to Tasha’s Hideous Laughter.
Additional Baldur’s Gate III Guides
For more content on Baldur’s Gate III, be sure to check out our Baldur’s Gate III Guides and Walkthroughs page.

