Welcome to NGB and our Clair Obscur: Expedition 33 area guide on exploring the Forgotten Battlefield! In this guide, we’ll cover everything you need to know, from collectibles to side quests. Whether you’re aiming for 100% completion or just want to make sure you don’t miss anything, we’ve got you covered!
If you need help with a specific objective, please refer to our Quick Links section for quick access to the information you need!
Quick Links
Forgotten Battlefield Area Collectibles & Noteworthy Tasks
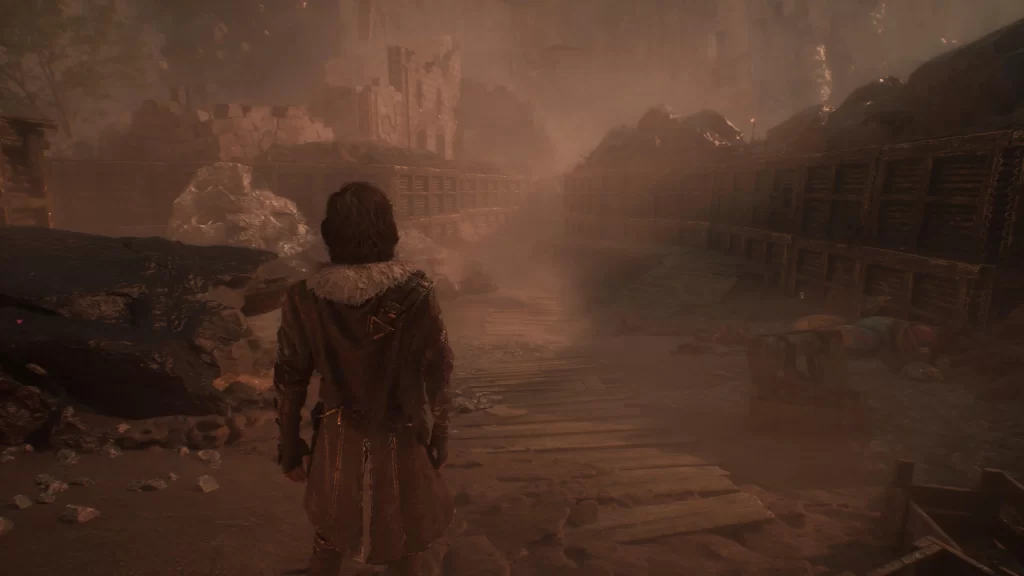
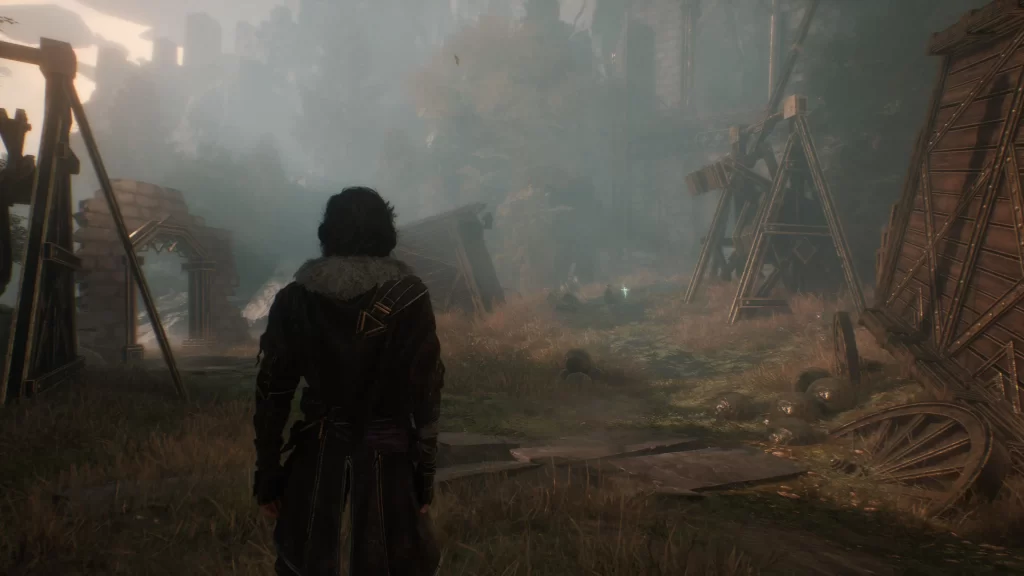
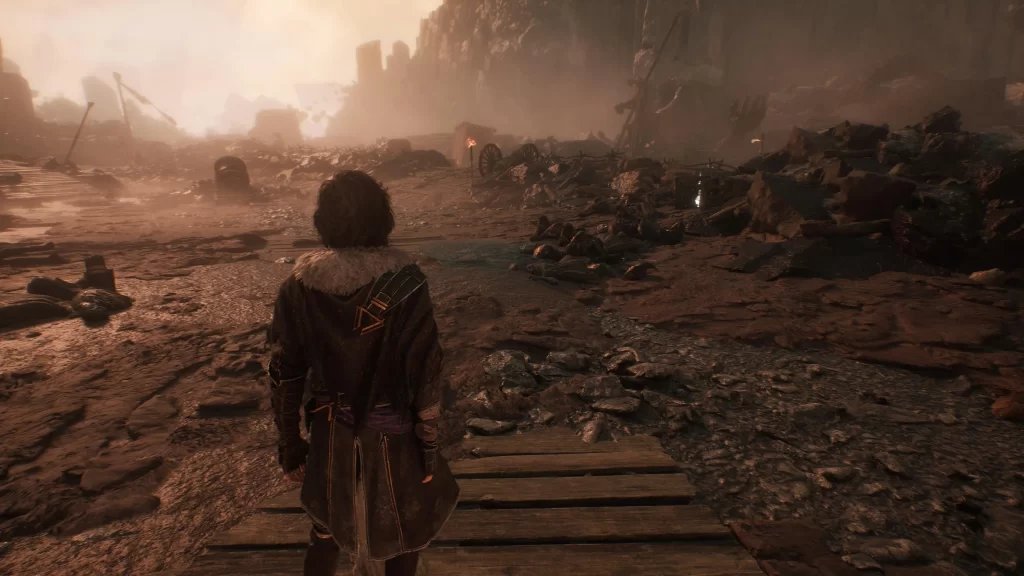
Forgotten Battlefield – Main Gate
Polished Chroma Catalyst
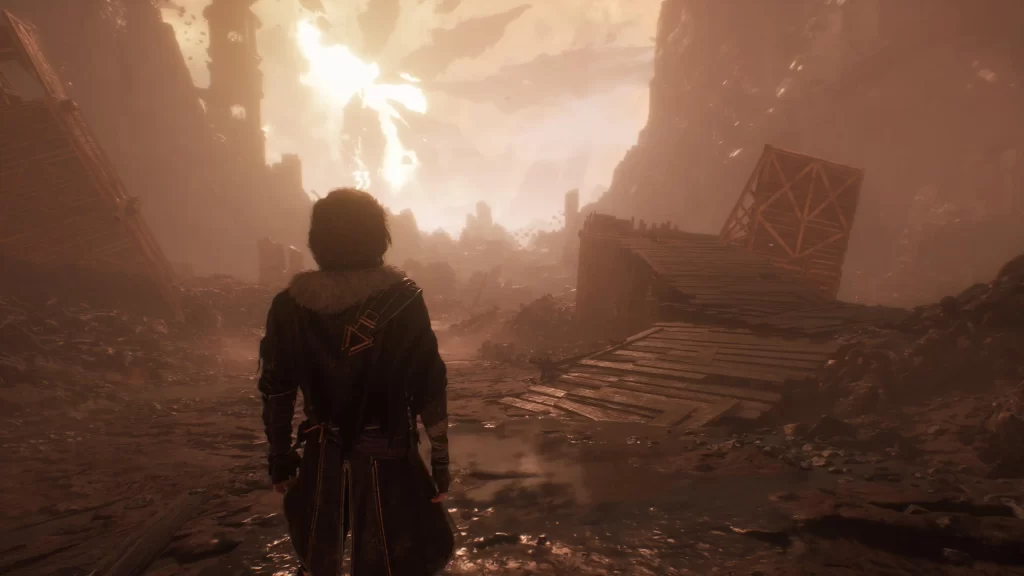
Just past the main gate, a wooden ramp will be on the right. Head up it to find the catalyst.
988 Chroma
After passing the main gate, follow the main path until it splits. Take the right path and then the next right to reach the chroma.
Energising Start IV Pictos
Head back along the path, taking the next right at the broken stagecoach going down the hill. The picots will then be on the left along the wall with the wooden spikes at the top.
3950 Chroma
Head back towards the path, but take a left going up the ramp towards the big door. At the top of the hill, look to the right to spot the chroma.
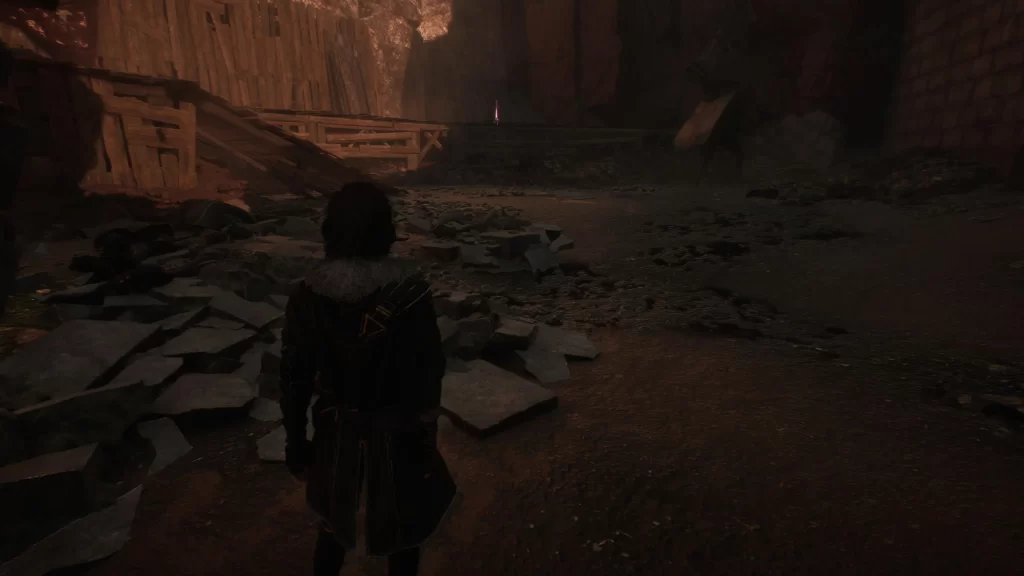
Colour of Lumina
Back at the main gate, follow the main path until it splits. You’ll want to take a left this time and keep left, bringing you to a large trench. Follow along the trench to the end to find this Lumia.
Colour of Lumina
Back along the trench, take a right near the end (or entrance, depending on where you are), and follow along the path. When you pass a broken wall section, look to the left to spot the lumina on a wooden walkway.
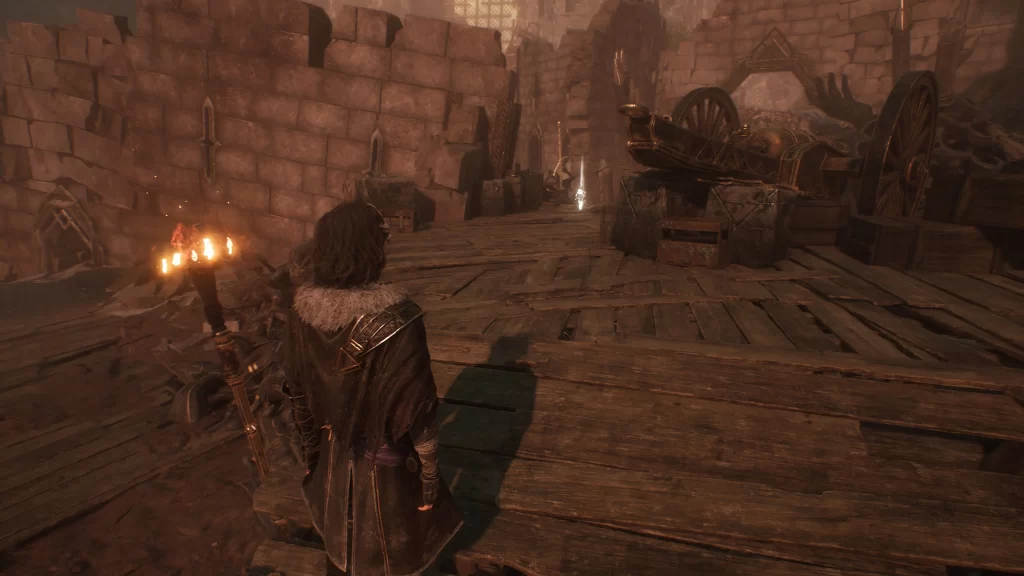
Recoat
From the above lumina, head up the nearby stairs and deal with the enemies there. Once they are gone, look to the left of where they were to spot three windows. Head through the leftmost one to find the recoat in a crate.
Healing Tint Shard
Return to where the enemies were and locate the wooded bridge. Head towards it, then look to the left just before getting on it to find a shard in the ruins of a structure.
Sweet Kill Pictos
Cross the bridge and defeat the enemy awaiting on the other side. Once you’ve defeated it, follow that path to the end to find the pictos.
Revive Tint Shard
Starting back at the main gate, follow the path until it splits. Take the left path, but this time go straight. To the right of the boat, a side path will take you under a bridge, where you’ll find this shard next to a charred tree.
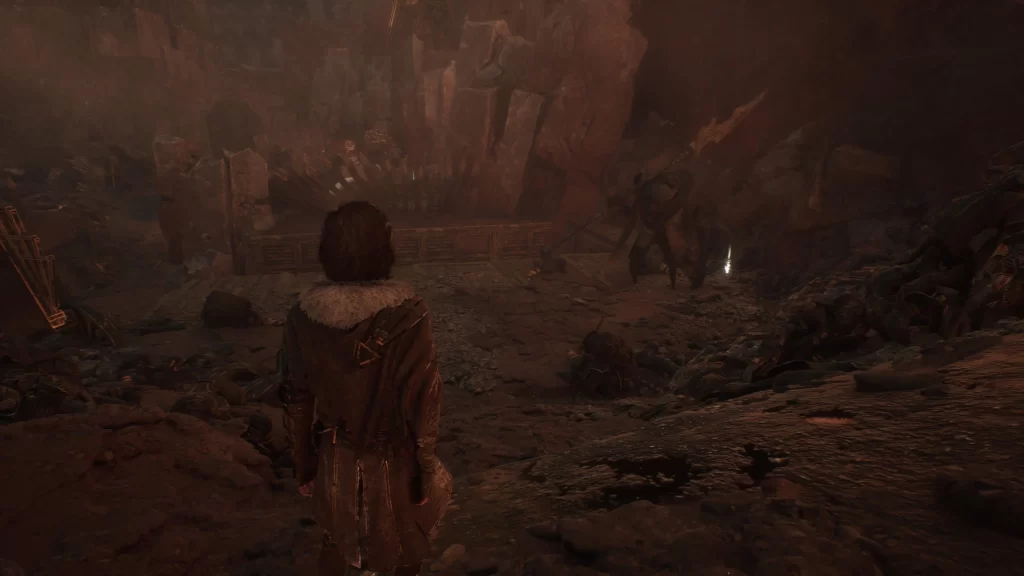
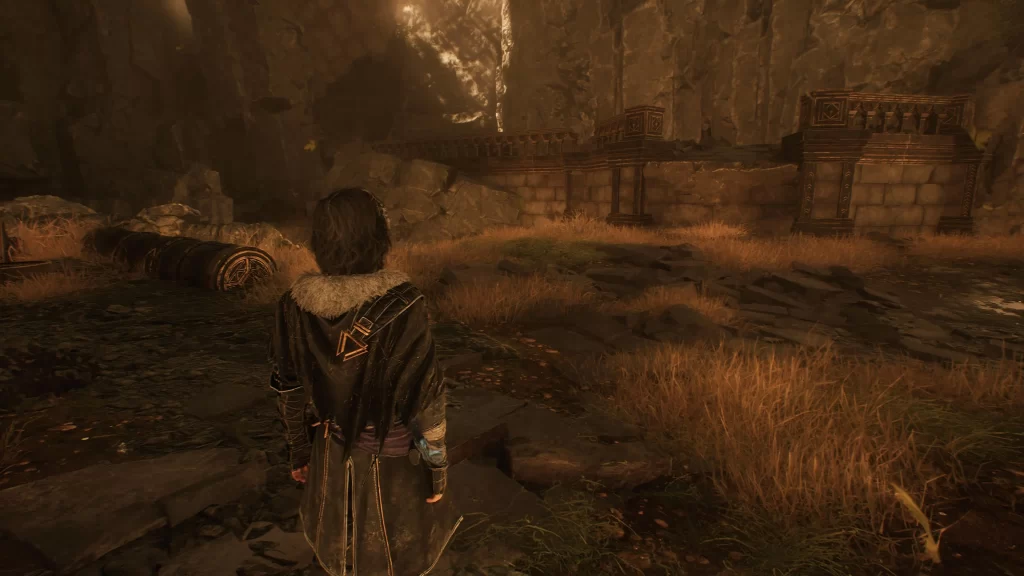
Forgotten Battlefield – Fort Ruins
Colour of Lumina
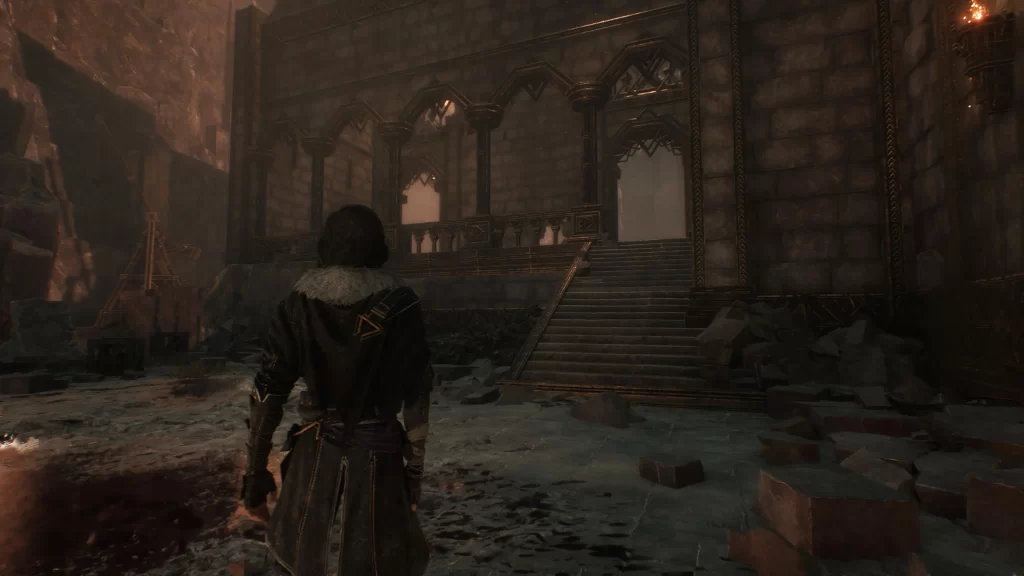
Past the Fort Ruins fast point, walk across the makeshift bridge and climb along the ledges on the wall. Continue following the path until you head through a giant doorway. Take a right and head up the stairs. Look to the right to spot the luminaria through another doorway.
Energising Death Pictos
Exit the room with the above lumina and take a right onto the balcony. Follow it left through the missing section of railing to find this pictos on the left.
Colour of Lumina
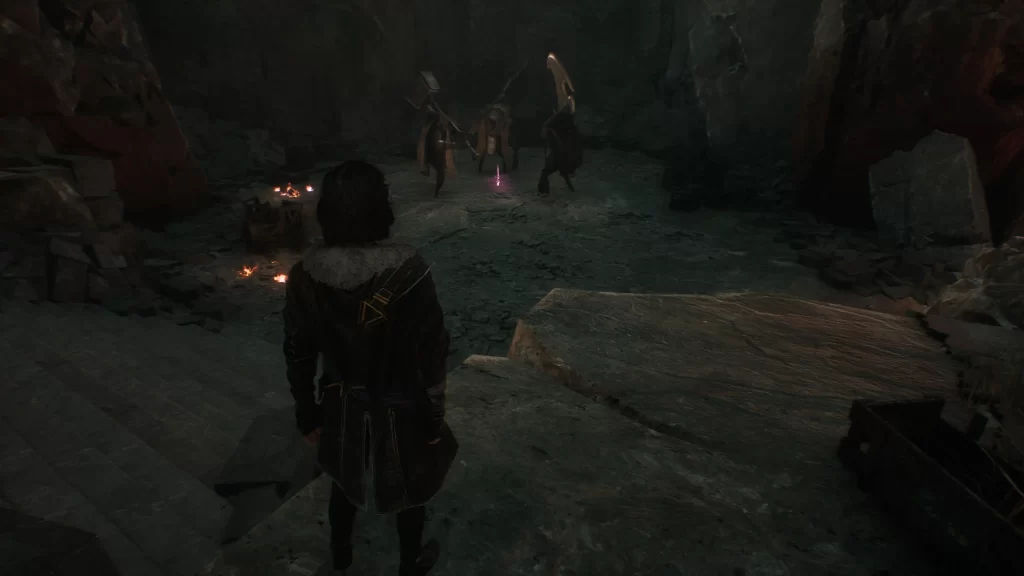
Exit the building and head to the trio of enemies standing nearby. Defeat them to collect the lumina they were standing by.
Forgotten Battlefield – Vanguard Point
Energy Tint Shard
Heading forward from the rest point, you’ll cross a metal cylinder, bringing you to the main path. On the right, you’ll see wooden spikes sticking out of the ground with crates in front of them. Destroy the crates to find the shard.
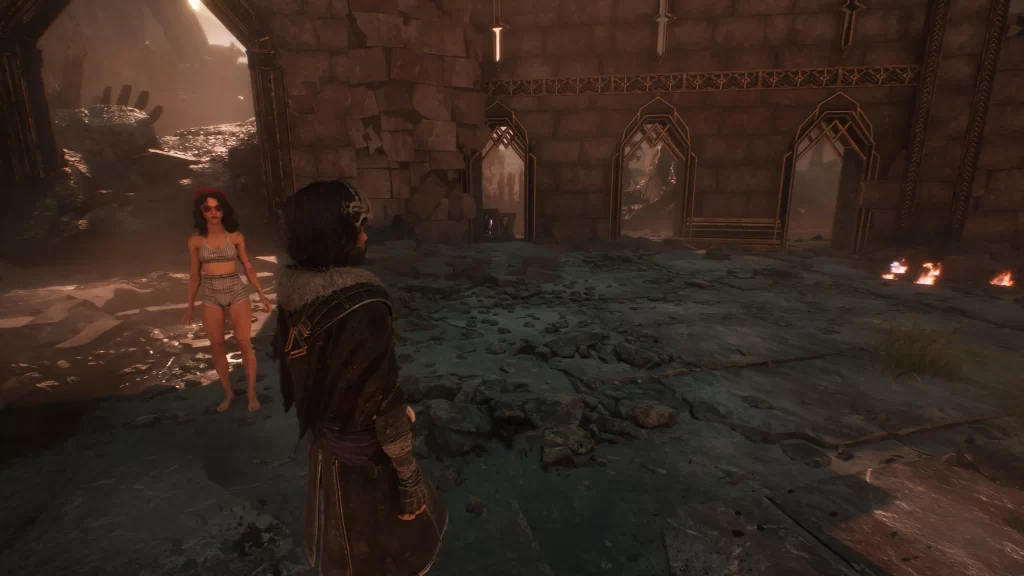
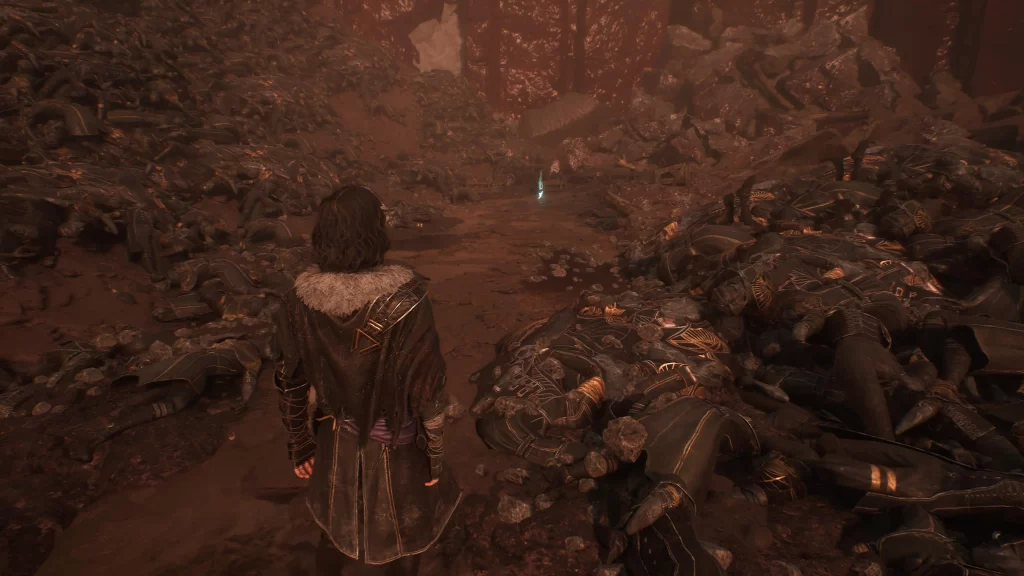
Fading Woman
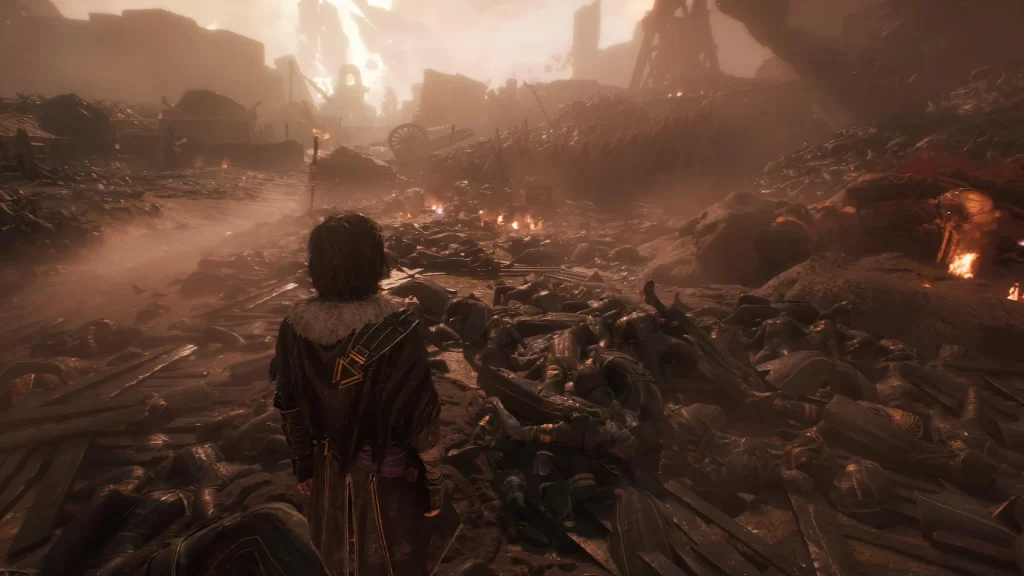
You’ll come across the Fading Woman while walking along the main path. She will have no interest in speaking with you.
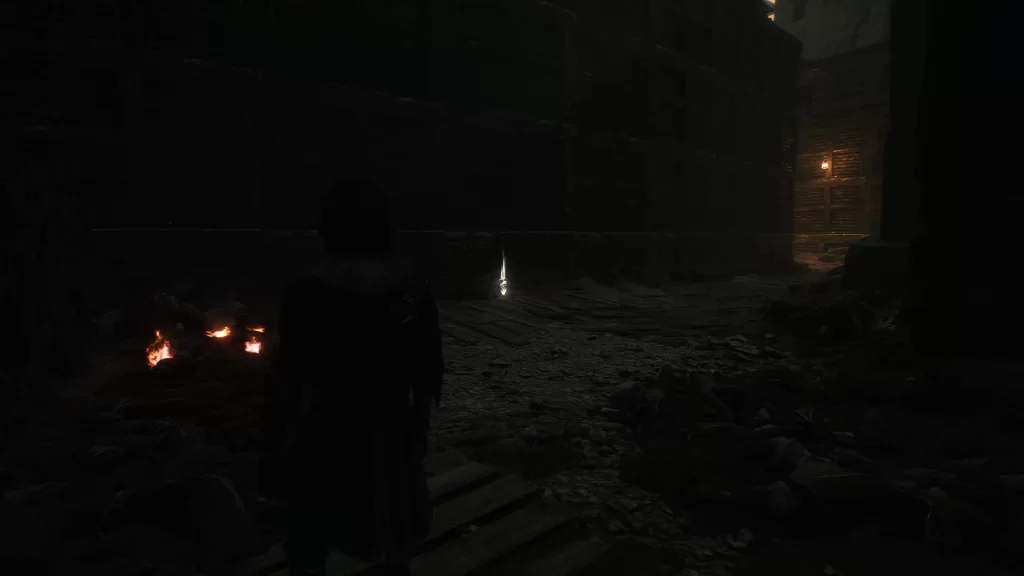
Journal – Expedition 41 – Forgotten Battlefield
While facing the Fading Woman, head right and follow that path through the trench. The journal will be on the first left next to some burning wood.
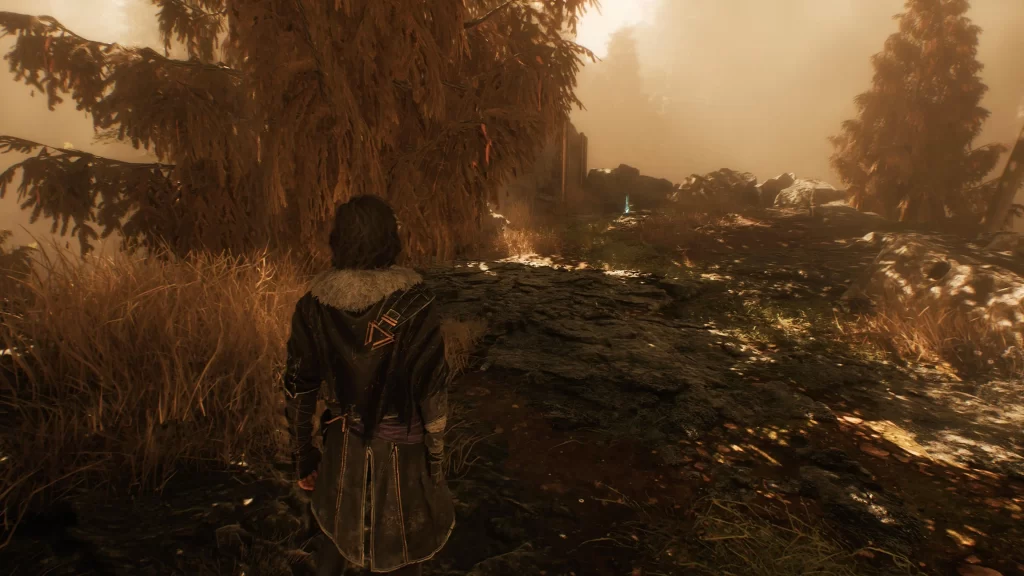
Colour of Lumina
This lumina is along the main path near the entrance to the trench.
Empowering Tint Pictos
Take the side path (on the right when heading from the trench entrance) to find a rope on the left. Walk around the wooden walkway to reach it, then take it up. Walk across the wooded bridge to claim the pictos.
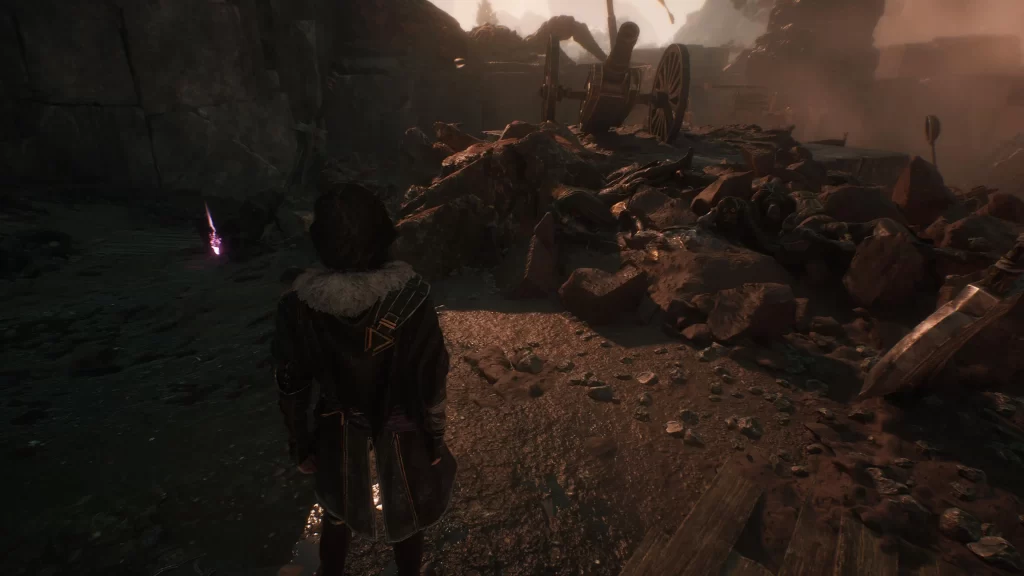
Energising Parry Pictos and Lusteson Weapon for Sciel
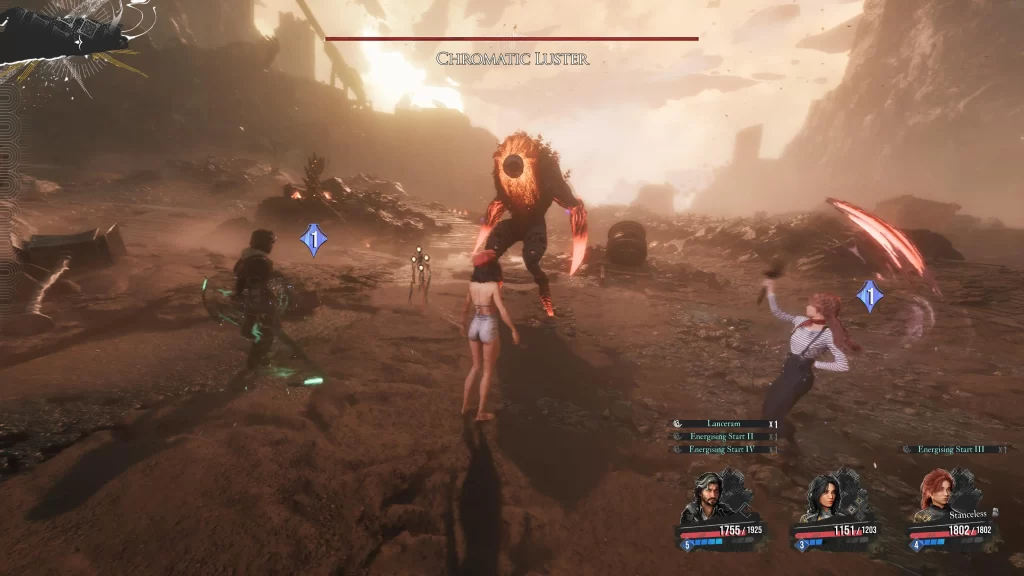
From the above pictos, drop down to the area below to find the Chromatic Luster. You’ll need to defeat it to receive the pictos and the weapon.
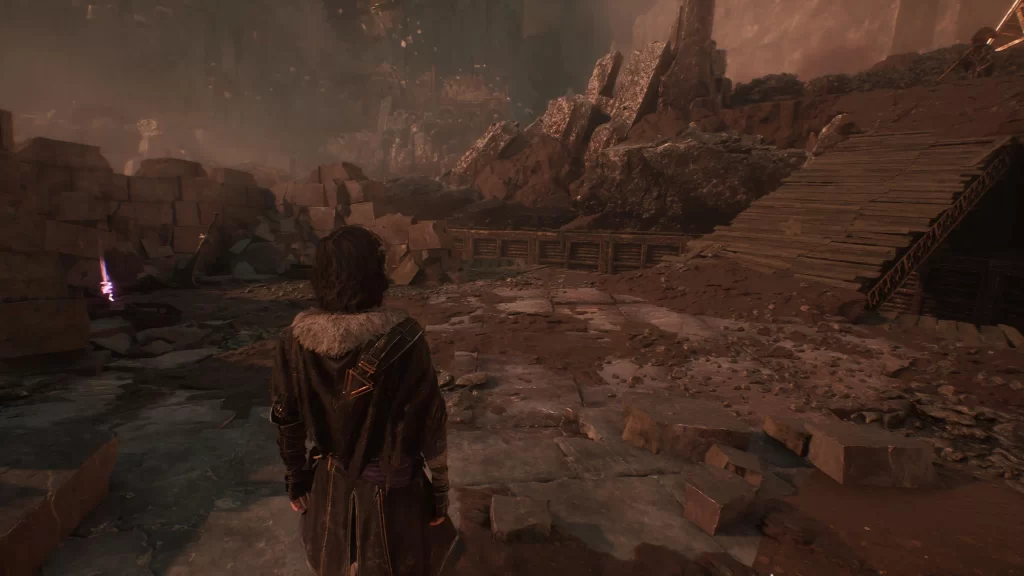
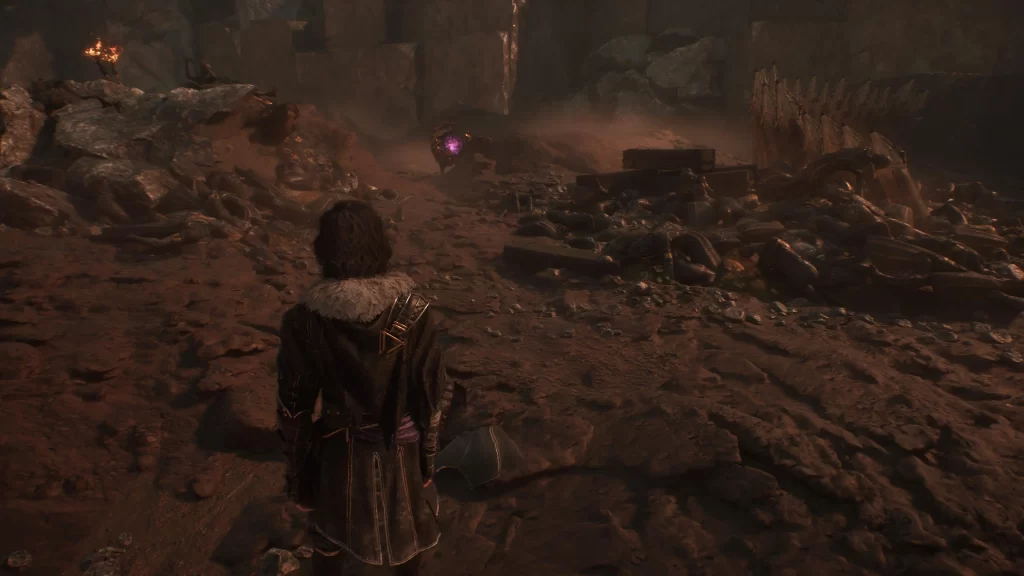
1975 Chroma
This will be on the ground near the Chromatic Luster.
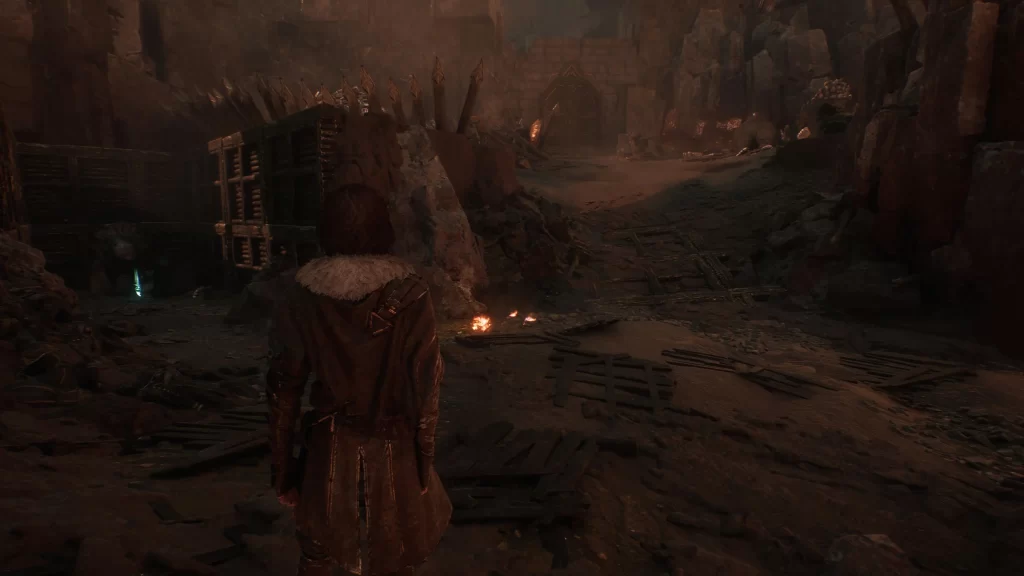
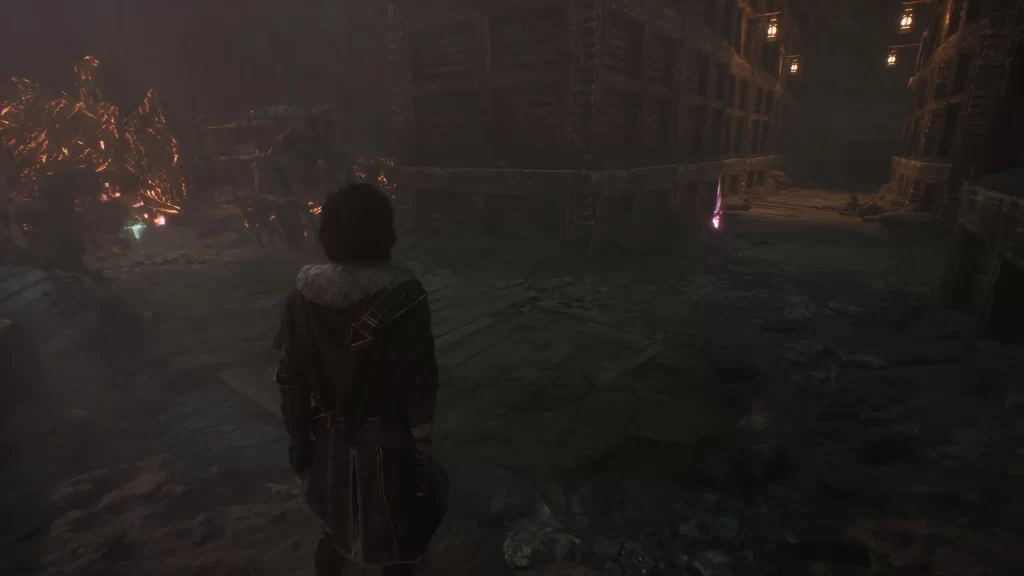
Paint Cage
Starting at the Fading Lady (near the Battlefield rest point), head past her and take the second left to find the paint cage. You’ll receive a Chroma Elixir Shard from it for destroying all three keys.
- At the end of the first, you skipped behind some crates
- Across from the paint cage in some crates
- On top of the trench, across from the paint cage
Journal – Expedition 57 – Forgotten Battlefield
Just past the paint cage along the main path next to a trebuchet.
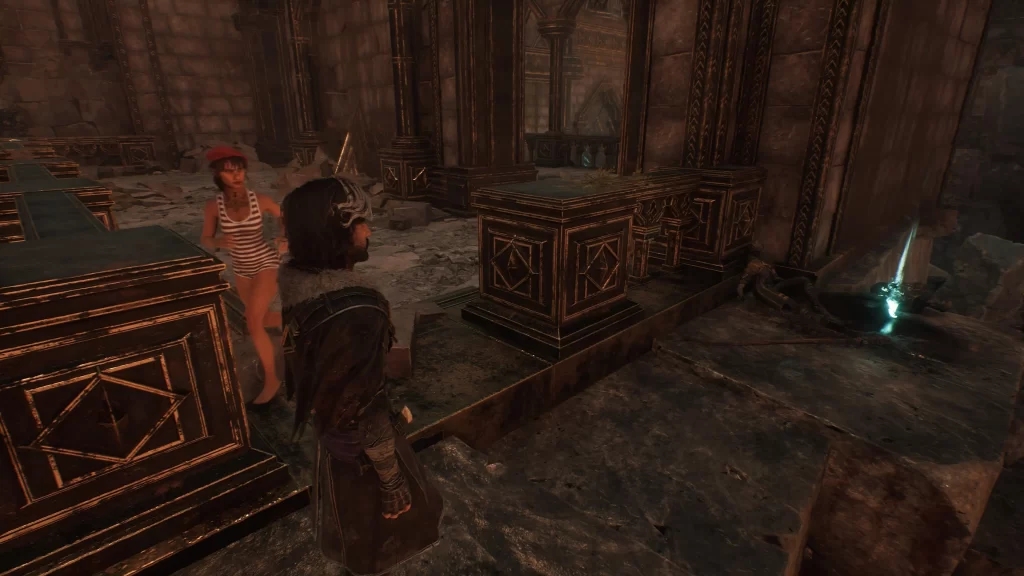
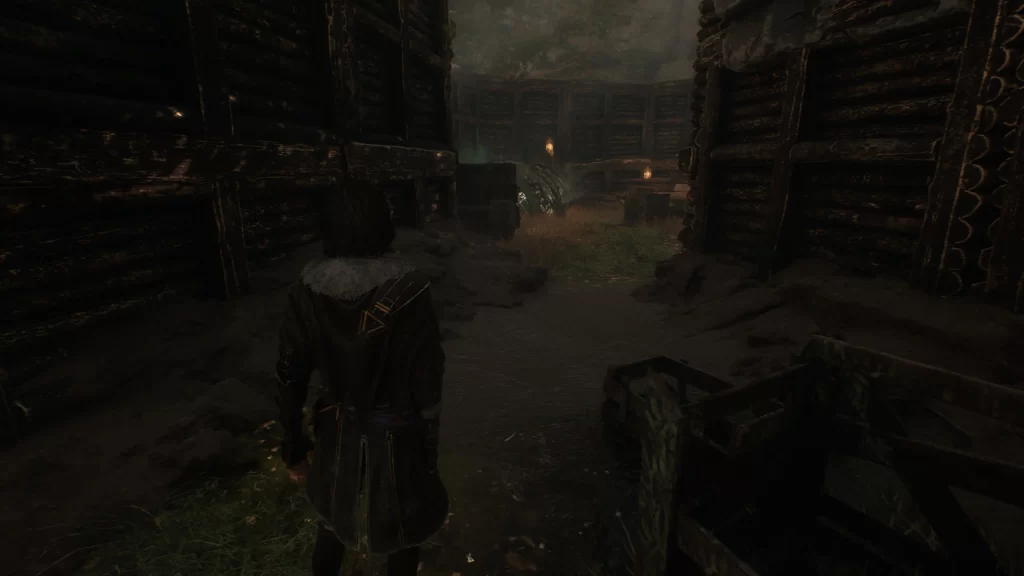
Kasumi the Merchant
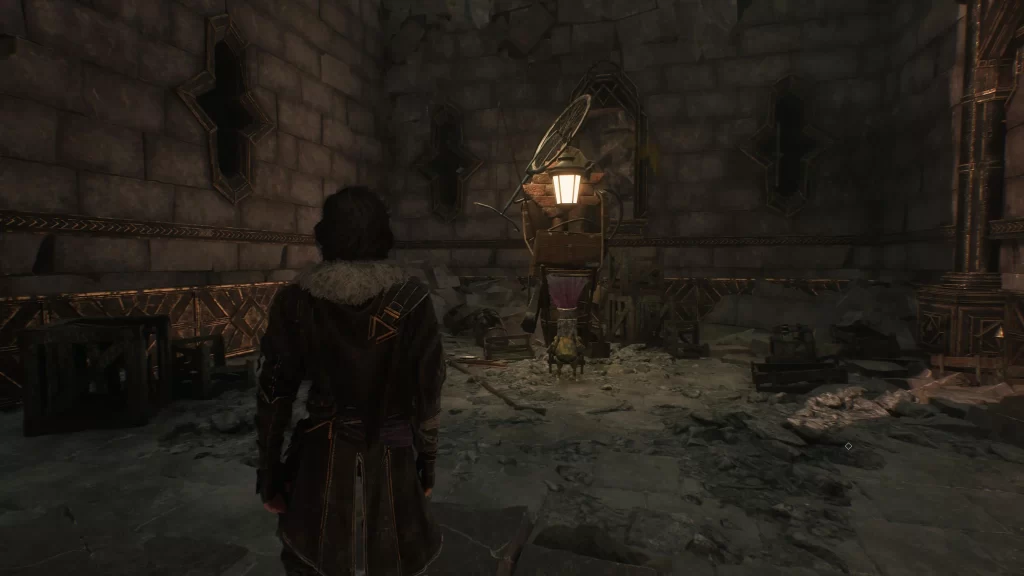
You can find Kasumi in the building just behind where you found the journal. Head inside and take a rope there to the upper level to reach the merchant. You can purchase the Benisim weapon for Lune, Inverted Affinity Pictos, and the Obscur outfit for Maelle if you beat Kasumi in a fight.
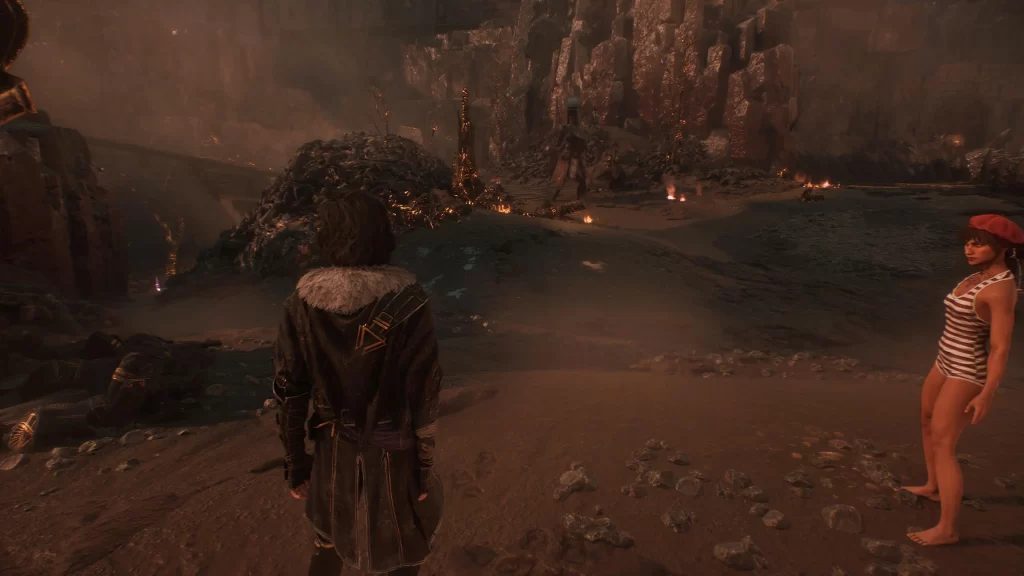
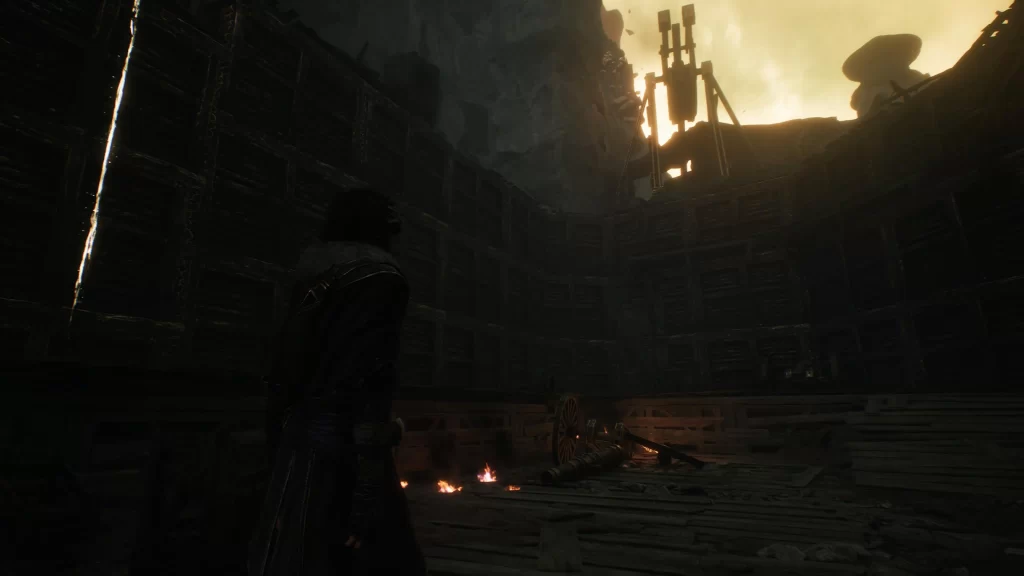
Forgotten Battlefield – Battlefield
Colour of Lumina
Starting at the rest point, follow the path to the left of the flag. Swing a right to spot this lumina near a cannon.
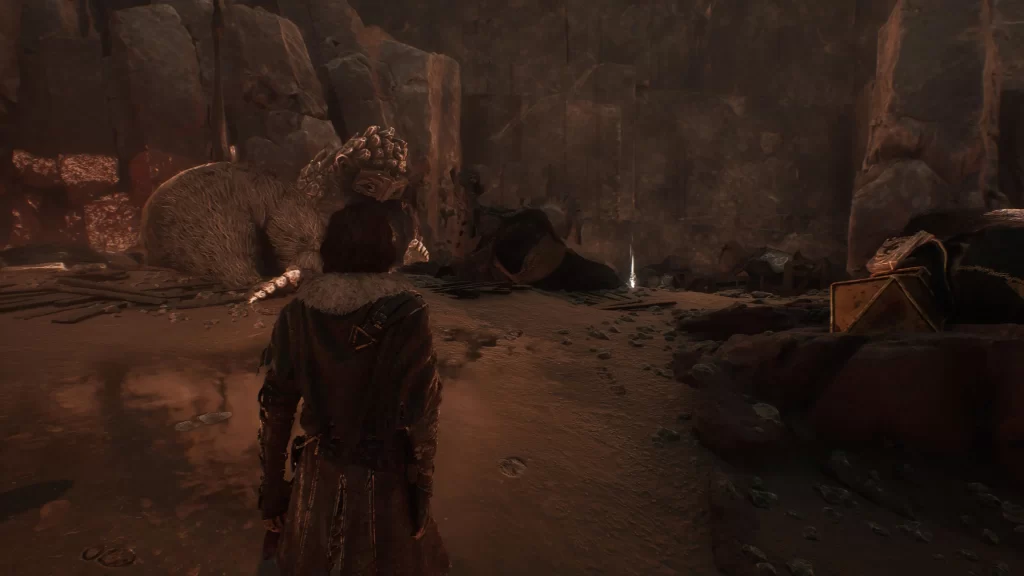
Petank
Starting at the rest point, follow the path to the left of the flag. Take the second right to spot the Petank in front of you. Chase it back to its nest, then attack it. You’ll have three turns to defeat it before the Nevron flees. You’ll receive 5 Polished Chroma Catalysts, 1 Recoat, and 5 Colour of Luminas for beating it.
1975 Chroma
You’ll see this chroma in a crate on the right when heading back from the Petank’s nest.
3950 Chroma
When facing the Petank nest, take the path going right along the wall. Head up the wooden ramp with the cannon on top to find the chroma.
Forgotten Battlefield – Ancient Bridge
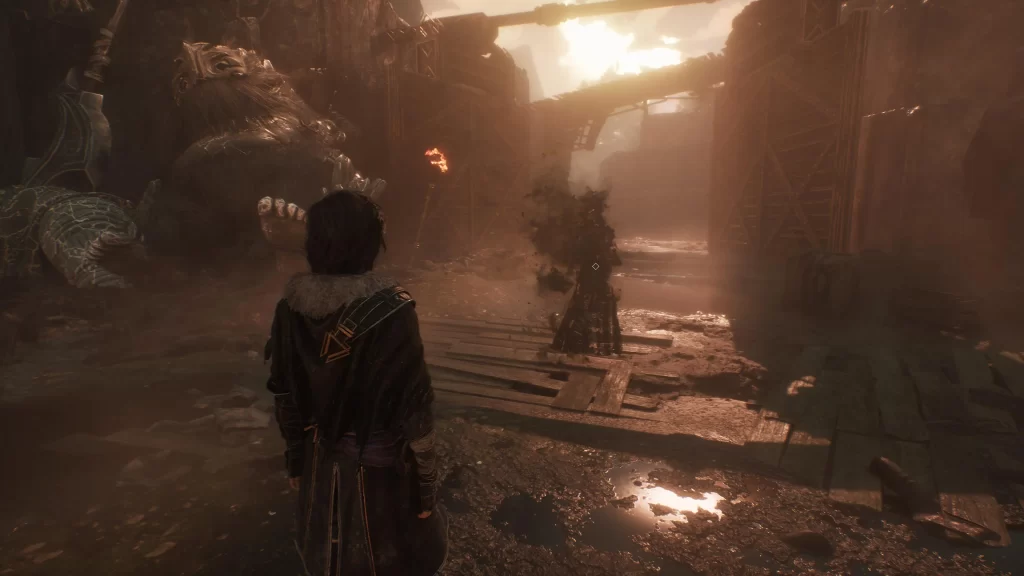
As soon as you start crossing the Ancient Bridge, a cutscene will trigger, leading to a boss fight against Dulliste.
Boss Fight – Dulliste Phase I
Dulliste will attack primarily with its sword and is weak to light-based attacks. It will start with a four-hit combo targeting one of your party members. Be prepared to jump to dodge one of the strikes.
It also has a combo attack that will hit a single party member with a five-strike combo, and when it attacks swiftly, expect a three-strike combo. The other thing to watch out for is when it attacks the Expedition. It will hit all party members with a strike from the ground.
Once you’ve defeated it, the Nevron will summon a second sword, beginning phase II.
Boss Fight – Dulliste Phase 2
In phase II, the Dulliste will use the same attacks, but they hit harder and have more strikes to them. When it attacks swiftly, be prepared to dodge/parry six strikes while jumping to avoid 2 of them. It will also use a new Stormblood attack where it will attack you with three copies of itself before launching the fourth strike.
Dulliste can also inflict the inverted status on you, which makes it so that healing will damage you instead. Also, when it attacks the Expedition, the party will be hit twice now instead of once.
After you defeat the Nevron, you’ll receive the Dualiso weapon for Verso and the Combo Attack I Pictos, which adds an extra hit to the base attack.
Colour of Lumina
With the broken bridge to your back, you’ll see a ledge with some railing in front of you. Climb up there and follow the walkway left to find this lumina.
Revive Tint Energy Pictos
Follow the main path until it splits, then take the right one. When you pass the rock, look to the left to see the pictos.
Expedition 33: Guides, Tips, and Walkthroughs
For more in-depth guides, tips, and walkthroughs, be sure to explore our Clair Obscur Expedition 33 Guides and Walkthroughs main page for all the latest content and updates.