Welcome to NGB and our walkthrough for the Do More Harm quest in The Outer Worlds 2. For this quest, Niles will want your help in assisting Zebulan at the Tomb of the Matriarch on Praetor. Our guide will walk you through all the objectives, highlight the best strategies, and make sure you don’t miss any rewards.
Quick Links
Do More Harm Companion Quest Guide
How to Start the Do More Harm Companion Quest
To begin the Do More Harm companion quest in The Outer Worlds 2, you’ll first need to complete Niles’ companion quest, Pressing Cares.
After doing that, travel to Praetor when you progress far enough in the game. Niles will be waiting in the cargo bay. Speak with him to learn that Zeb sent another message and really needs some help.
Do More Harm Walkthrough
Reunite with Zebulon
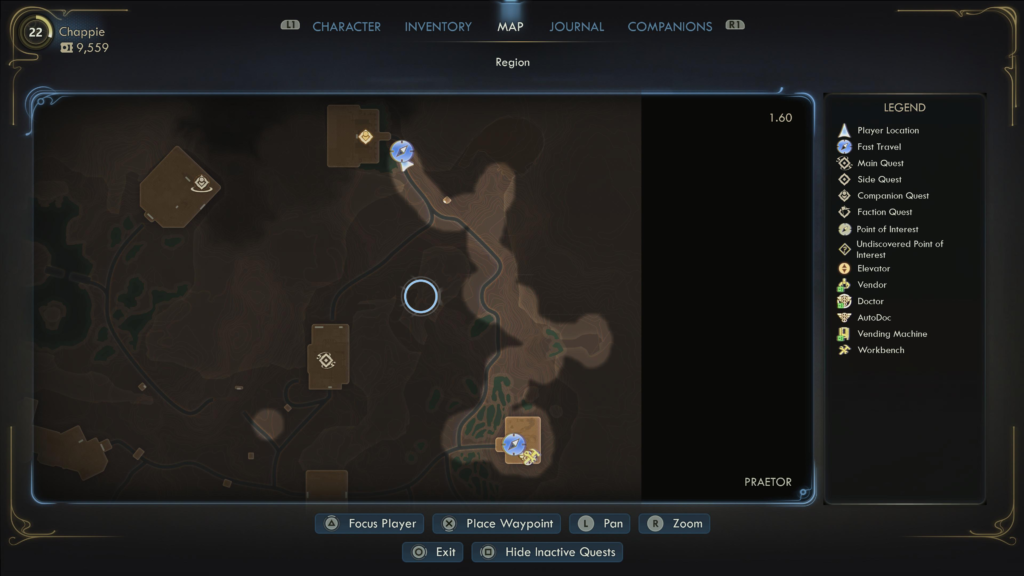
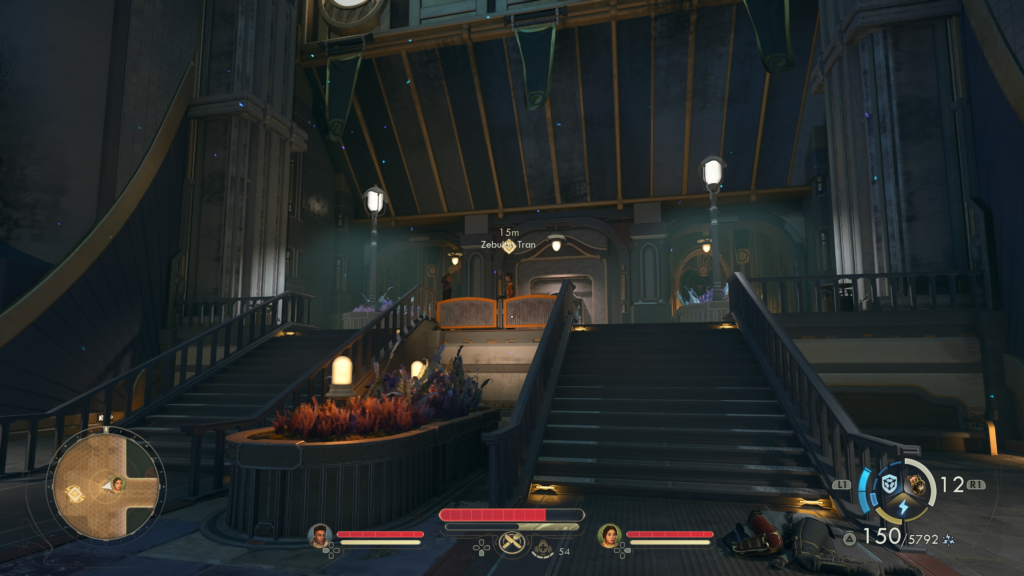
After docking on Praetor, use the lift to leave the landing pad and then follow the main road north. This will bring you right to the Tomb of the Matriarch. Speak with Zeb when you arrive. He can be found standing at the top of the stairs, just before the entrance into the building.
Break into the Matriarch’s Vault
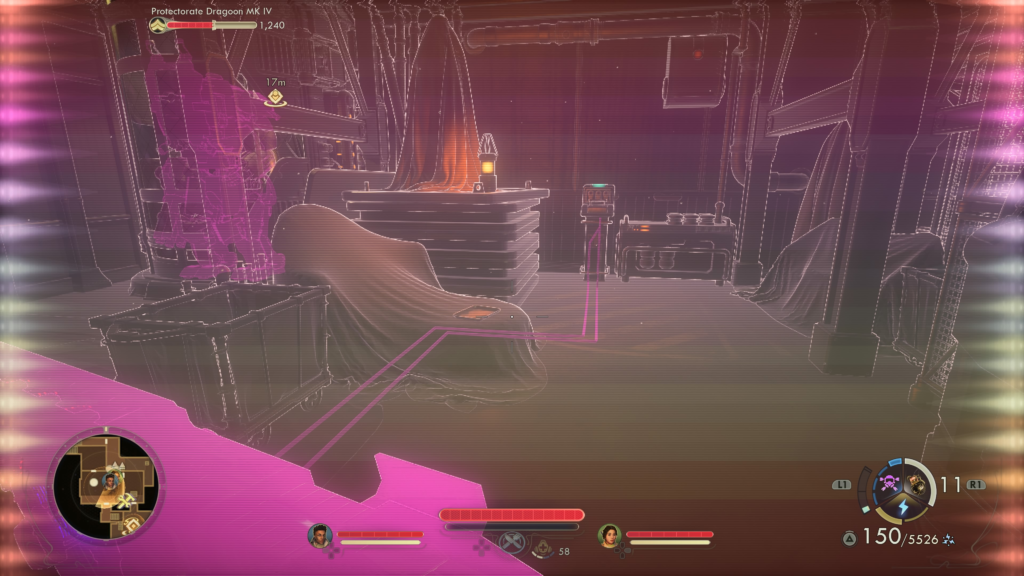
Enter the Tomb of the Matriarch and follow Zeb. He’ll notice some Protectorate forces in the central chamber that you’ll need to deal with.
Clear the Way to the Lower Level
Head through one of the side doors to find a path leading to the lower level. You’ll have to face some mechanicals as you head for the central chamber.
Alternatively, you can use the sparking panel next to Zebulon if you have one of the following:
- Hack 9
- Hack 5 and The Good Subject’s Guide to Electrical Systems
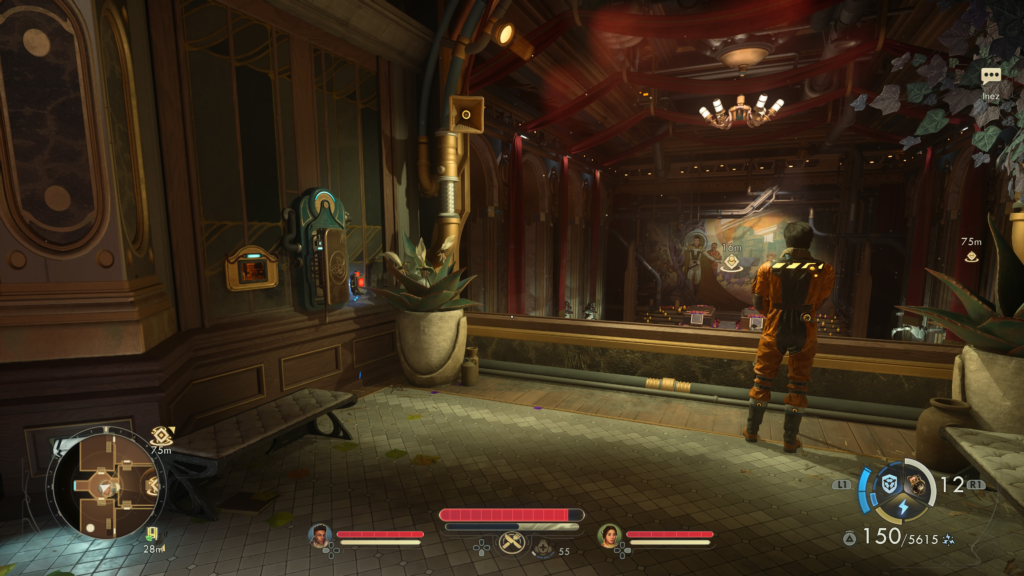
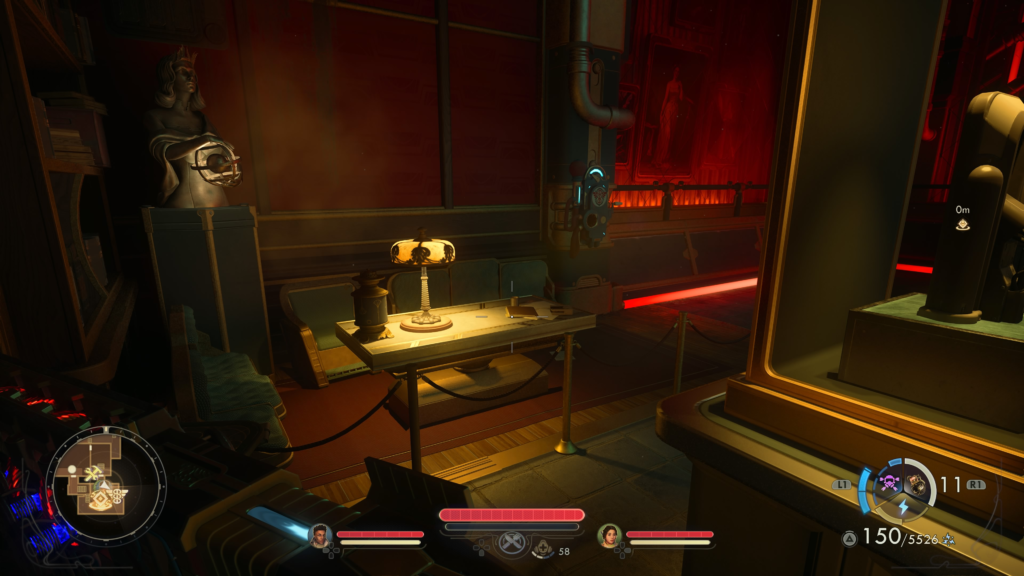
To find The Good Subject’s Guide to Electrical Systems, head through the door to the south and go downstairs. Enter the next room, eliminating the mechanicals inside.
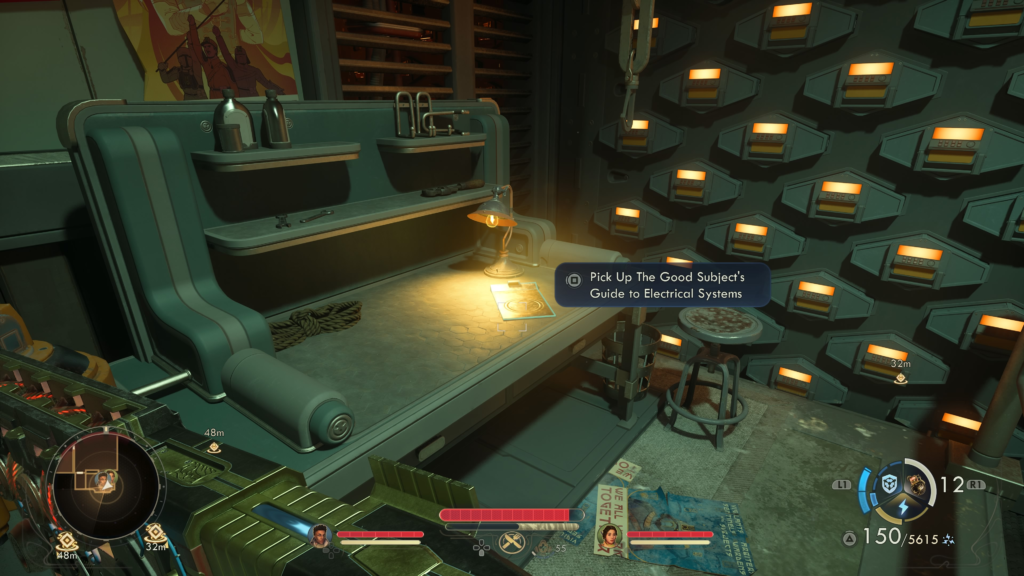
Once clear, use Lockpick 5 and 1 Mag-Pick to open the door on the right. Inside this room, you’ll find The Good Subject’s Guide to Electrical Systems on the table.
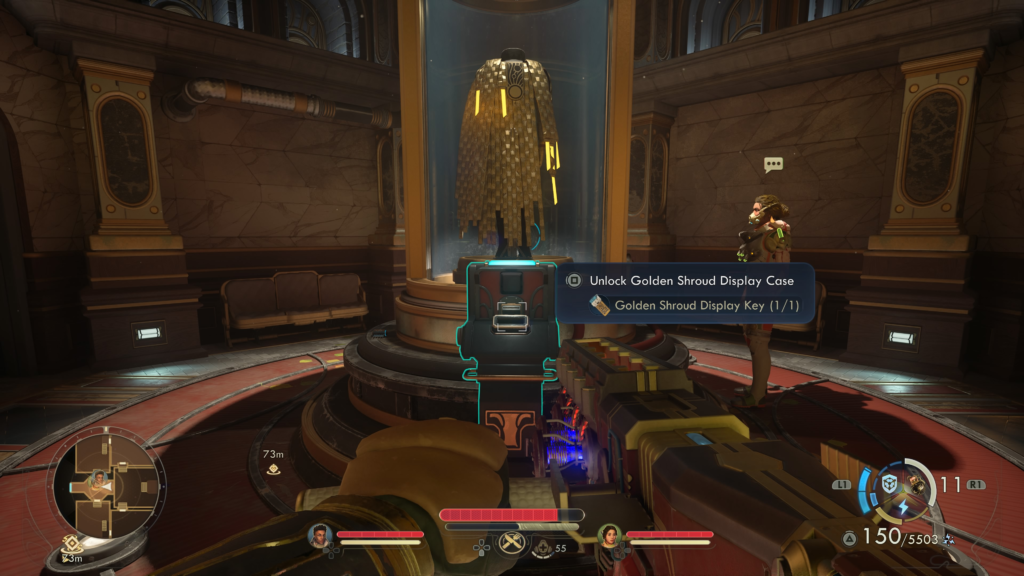
When you arrive, take out the two enemies. Make sure to loot the Golden Shroud Display Key off of the Museum Docent. You can use that to unlock the case at the entrance for some unique armor.
Next, examine the Matriarch’s Casket and loot her remains. You can sell them at a vendor for about 4,000 bits.
If you wish, you can explore the tomb before proceeding deeper into it. You can check out the exhibits if you want. They tell the story of the Matriarch and some other things.
Break into the Matriarch’s Vault – Cont.
With the enemies cleared, Zeb will rejoin the group and interact with the secret switch, revealing a hidden door. Continue following him to end up in a security room. Head inside and speak with Head Curator Arnaux.
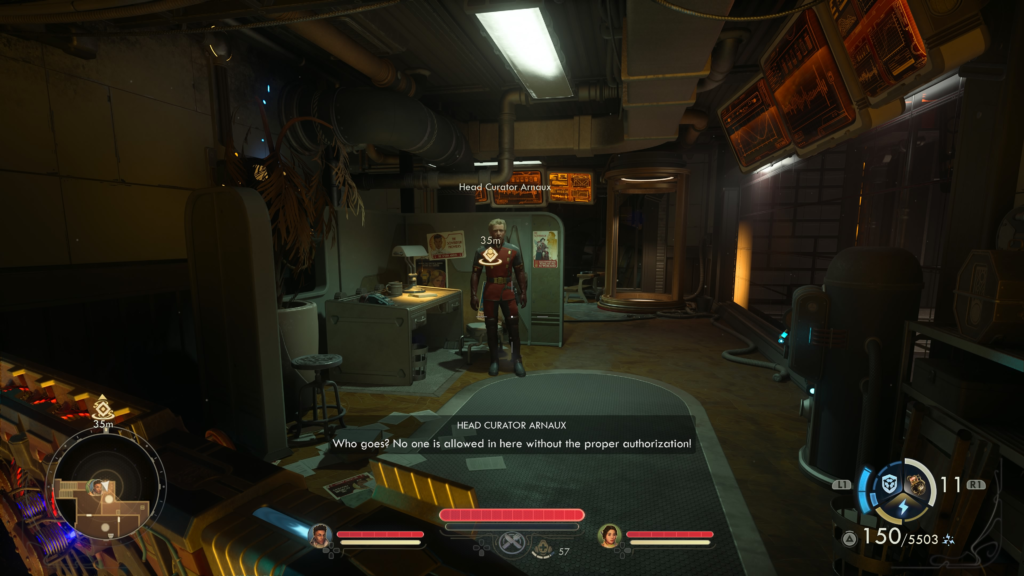
Zeb will want to kill him, but you’ll have the choice to talk him down. If you have the Innovative trail, then you’ll be able to convince Zeb to lock him in a display case.
Avoid the Tomb’s Traps
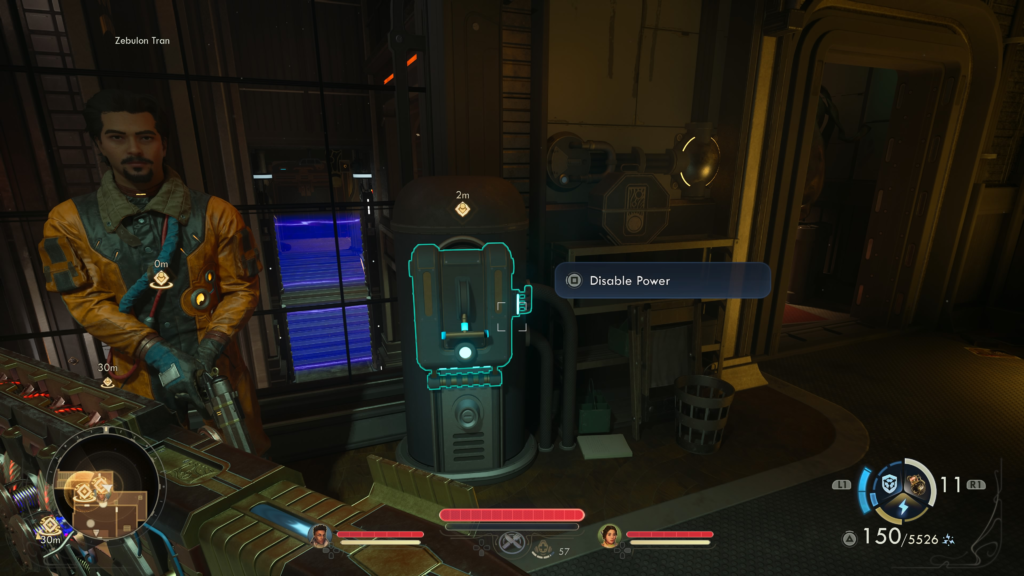
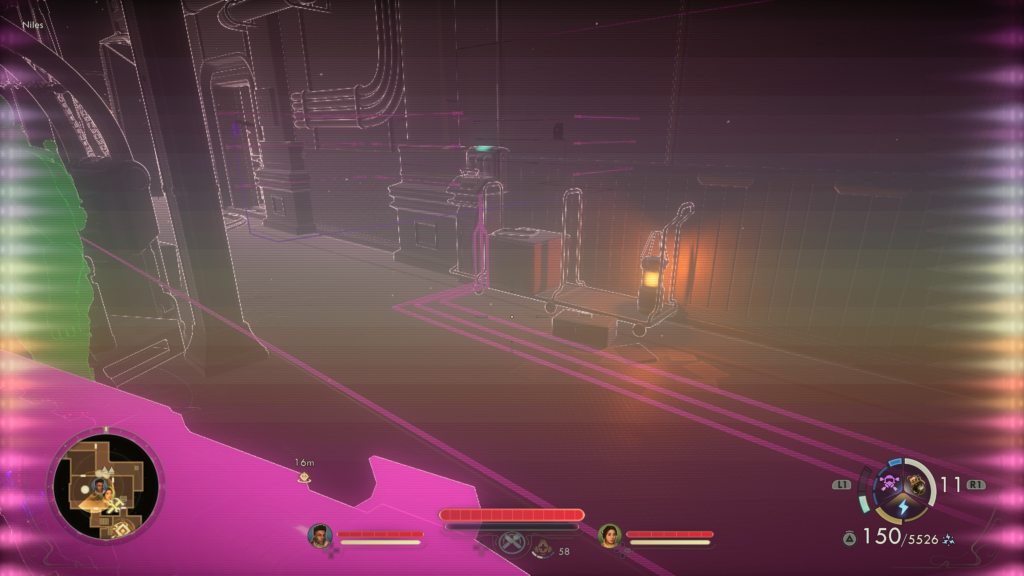
Once the curator has been dealt with, disable the power using the switch near the door. Head back down to where the barrier was, then equip your scanner before entering the room.
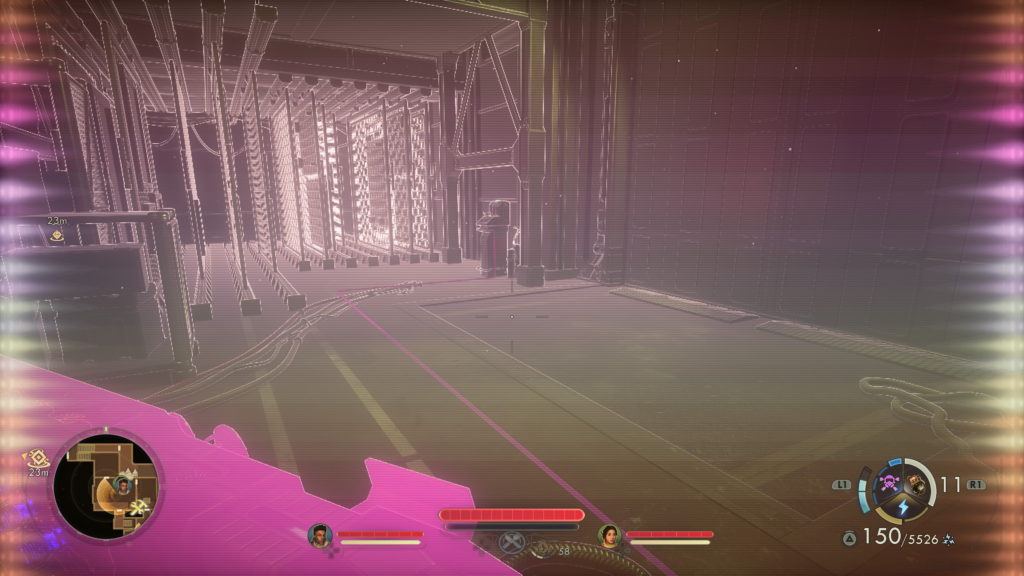
You’ll see invisible traps covering the way forward. You’ll want to head to the left side of the room first, where you’ll find another power switch. Flip it to restore power, powering up a door on the other side of the room.
Make your way over there and use the door to reach the next area. Along the way, Niles will call the commander about some materials he found.
In the next room, to unlock the door leading forward, you’ll need to flip the switches in the correct order: 1-3-2. To find the order, activate your scanner and look for the wires coming from each switch. The number of cables connected to the switch indicates which switch it is.
Once you open the door, Niles will ask you about Zeb, mentioning that he seems to be acting weird.
Press on to the next room, where Zeb will realise that the code to the door has been changed. He’ll head down to rejoin the party in hopes of figuring it out. Speak with Niles, who will have an idea. Using the nearby workbench, he’ll craft some explosives you can use to blow the doors. Speak with him to acquire Niles’ Extra-Strength Explosive Gel.
Next, enter the vault and follow Zeb to the terminal. He’ll access it to pull the data, learning that there is nothing worth taking there and that the Protectorate had a deal with the Earth Directorate.
Talk to Zebulon
Speak with Zeb, who will reveal that in exchange for skip drives, they agreed to leave Arcadia alone. He’ll also reveal that the Matriarch did not create the skip drives and some other data that could hurt the Protectorate. You’ll then be presented with a couple of choices:
- Speech 14 – Release the skip drive blueprint, leaving the Earth Directorate’s Name out of it
- Don’t let him release the data
- Release all of the data
If you have Speech 14, then you can convince Zeb to release the blueprints, leaving out the Earth Directorate part. If not, you’ll either need to convince him not to release the data or let him share all of it.
Telling him not to release the data will piss him off, and he’ll ask what you will do to stop him. If you have Speech 9, then you can convince him to stop; otherwise, you’ll need to have Niles talk him down. If you choose to attack Zeb, then Niles will leave the party and fight with Zeb against you. Telling Zeb to release the data will result in Niles questioning the order, but ultimately, he’ll do what you want.
After you make your choice, the quest will be completed, and you’ll receive Niles’ Advanced Mod Kit.
Pitchball Card: Geoff Schoffield – Before leaving the vault, make sure to grab this card from a table.
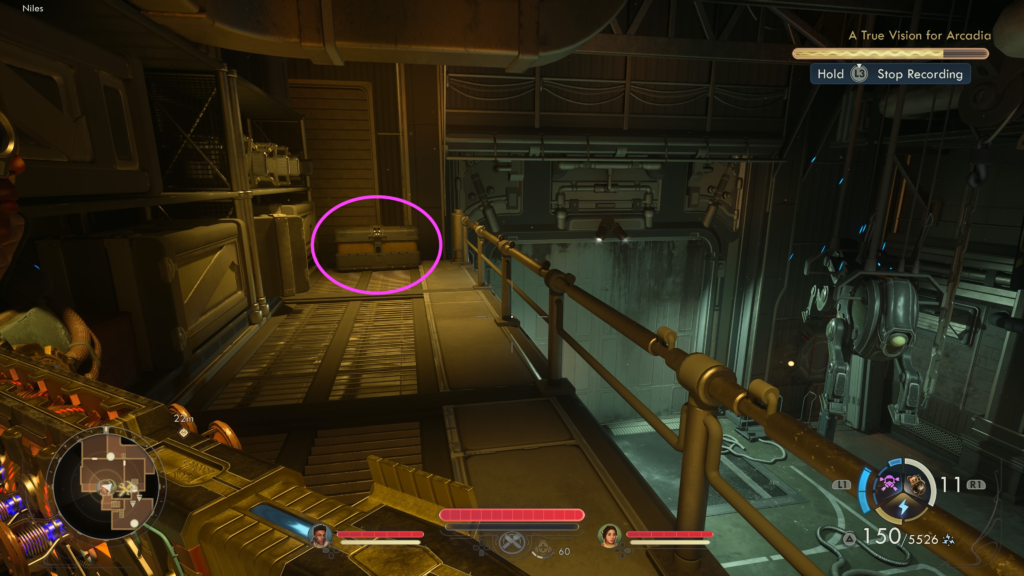
Advanced Decryption Key – You can also find this key in a chest just past the vault.
Related The Outer Worlds 2 Content
Looking for more The Outer Worlds 2 content? Use the links below to keep exploring our guides:
- Main Page: Visit our The Outer Worlds 2 Guides and Walkthroughs hub for all our latest content!
- Official Website: Check out the official The Outer Worlds 2 website for news and updates!