Welcome to NGB and our walkthrough for the Dawntreader side quest in Avowed. For this quest, you’ll need to learn what has become of the Aedyran Expedition Team. Our guide will walk you through all the objectives, highlight the best strategies, and make sure you don’t miss any rewards.
Quick Links
- Dawntreader Guide
- Related Avowed Content
Dawntreader Guide
How to Start the Dawntreader Quest
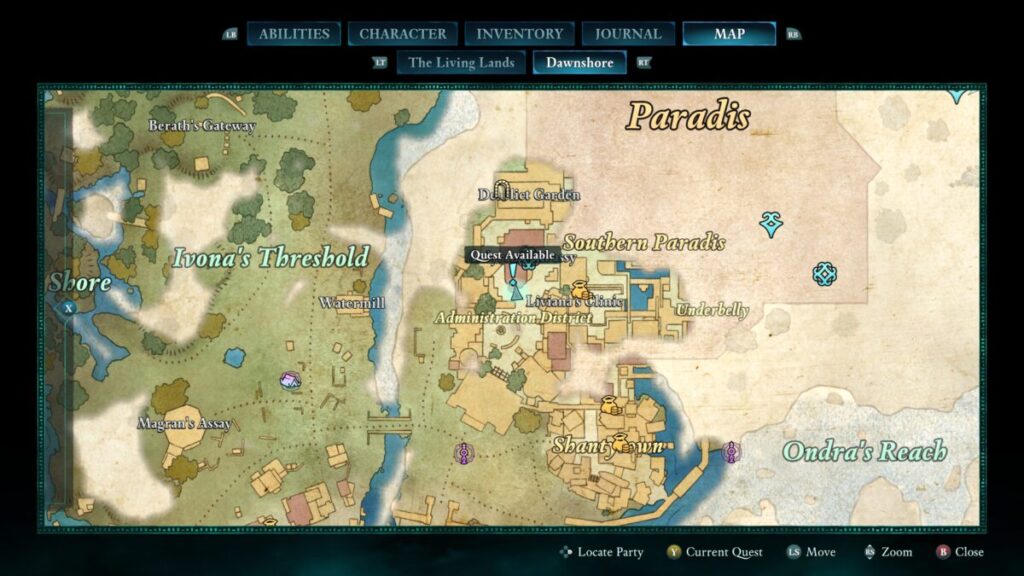
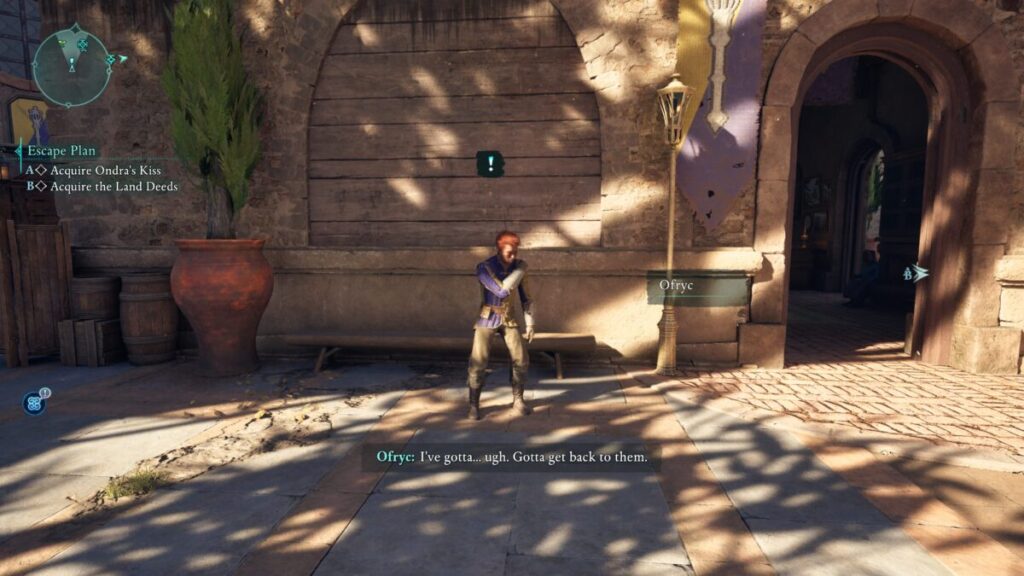
To begin the Dawntreader side quest in Avowed, speak with Ofryc in the northern part of the Administration District.
Dawntreader Walkthrough
An Aedyran expedition went missing while exploring a Temple of Eothas in northern Dawnshore. Ofryc, one of the expedition’s scouts, asked you to discover what became of his team – particularly his brother, Caedmon.
Before heading to Pilgrim’s Path, we recommend bringing an electric-powered weapon such as the Caeroc’s Pride pistol. You’ll come across devices in the Eothasian Temple that will require electricity to be power up. Doing so will open side areas where you can snag additional loot.
Find the Aedyran Expedition Team
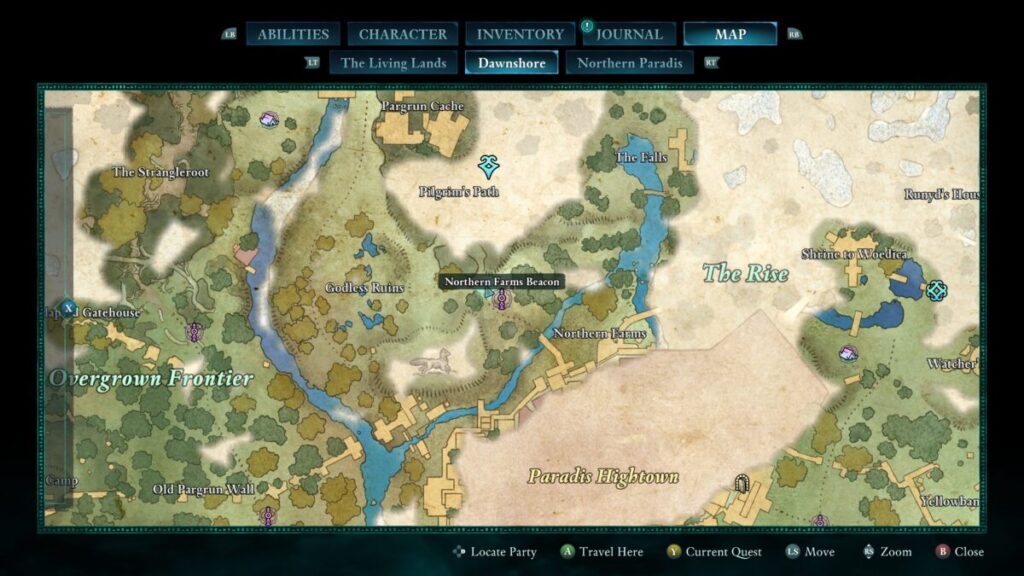
Travel to the Pilgrim’s Path, which is located to the north of Paradis, slightly northwest of the Northern Farms Beacon. Follow along the path until you reach the camp, and then speak with Secgwin and Kauia. Following the conversation, head past them to reach the entrance to the Eothasian Temple, which you’ll want to enter.
Once you’re inside, follow that path south through the temple. Along the way, you’ll run into a few enemies that you can either deal with or sneak past. Eventually, you’ll end up in an old archive room where Caedmon is taking refuge.

Speak with him then choose to either give him a Health Potion or use your Dream Touch to heal him. You also have the option to tell him to toughen up and not give him anything if you wish. Afterward, question him some more about the oracle before heading further into the cave.
Speak to the Oracle of Eothas (Optional)

You’ll run into the Oracle, Sargamis, when you reach the big open area. Speak with him and ask if he’s seen anyone pass by. He’ll say no but also mention that he wasn’t really paying attention, either. He’ll then make a request of you, asking if you’ll retrieve the relic for him so that he can complete the statue he’s been working on.
Retrieve the Relic (Optional)
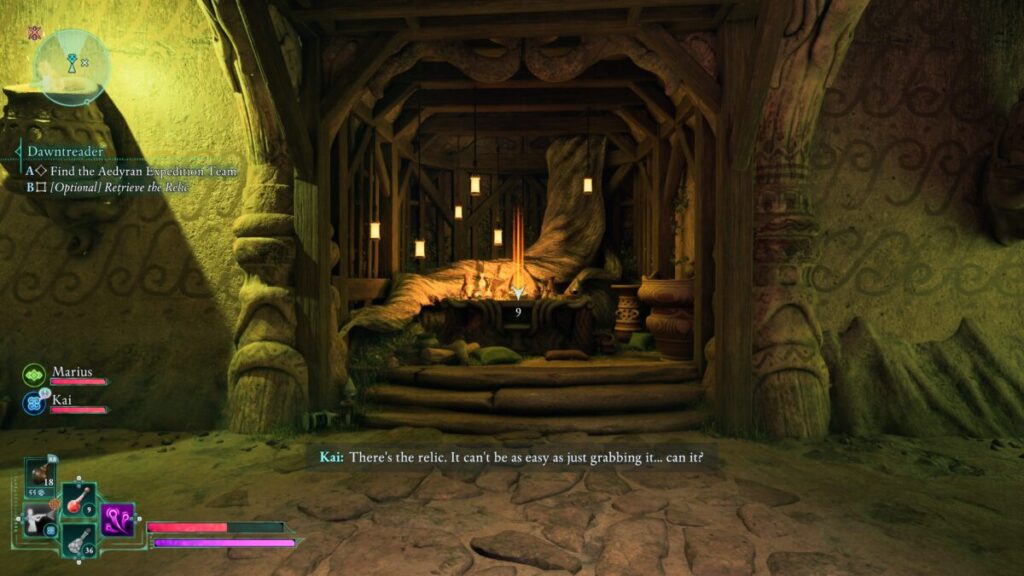
Continue on past the Oracle, heading deeper into the cave. The path leading to the relic is pretty linear, so you can easily arrive at it after swimming through a water-filled structure. A horde of skeletons will attack you once you grab the relic from the altar where it is stored.
Keep defeating them until their boss, Godless Executioner, spawns. Take him and the stragglers out, then you’ll be free to return to the Oracle.
Continue Searching for the Aedran Expedition (Optional)
After grabbing the relic, searching for the missing expedition becomes an optional objective. Head back the way you can to learn that the path you used previously has become flooded and is inaccessible. You’ll then have to climb up a couple of rock ledges to the right of a wooden beam.
When you get to the top of them, instead of dropping down to the left, look to the right to see a crack in the ground emitting a purple glow.
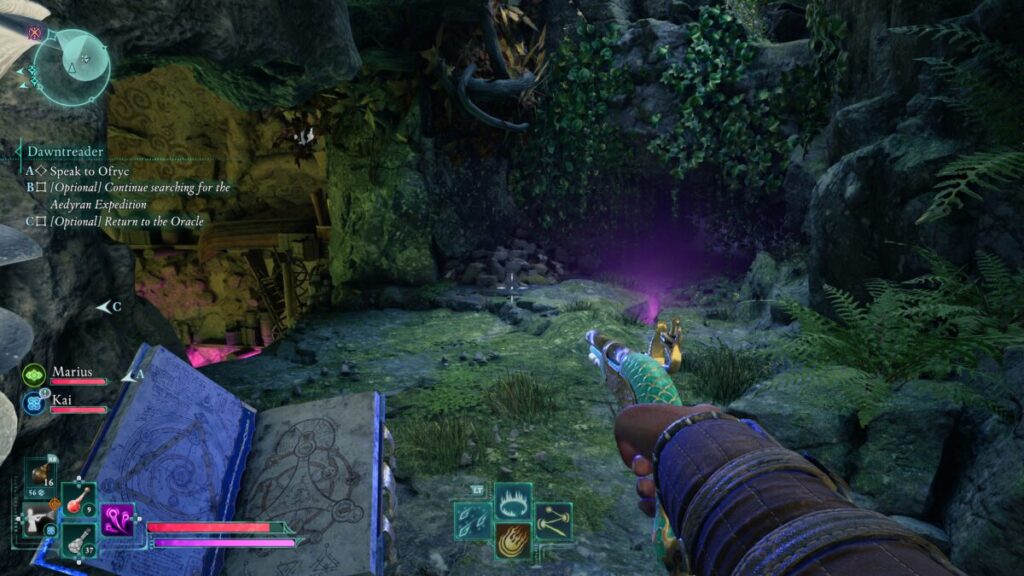
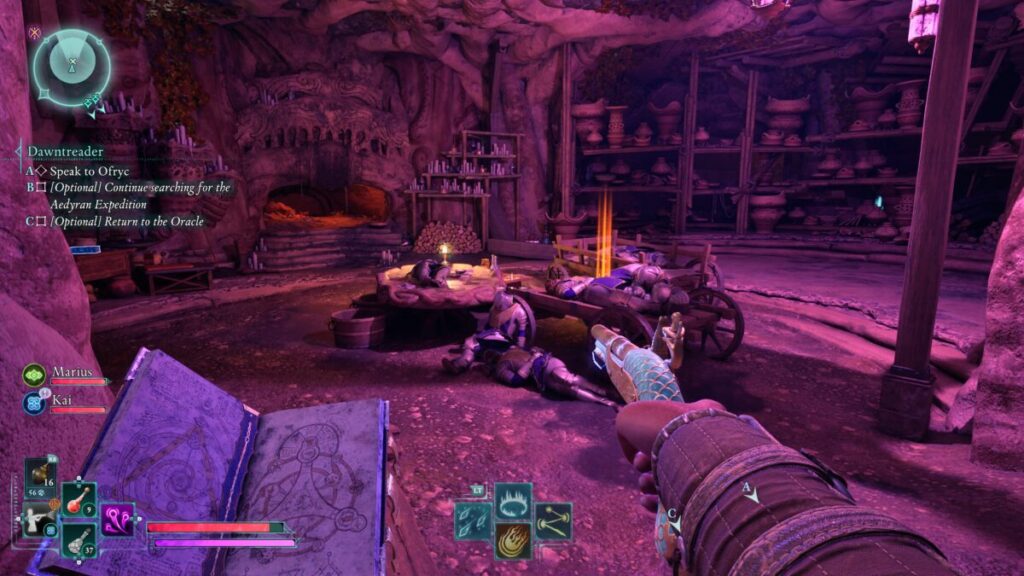
Just past that crack is a small gap you can crouch through. On the other side, you’ll find a hole you can drop down in. Do so to reach a room that contains the missing Aedran Expedition crew. Loot Gjeda’s Journal off of Gjeda to complete the objective.
Return to the Oracle (Optional)
Exit the room on the east side by pressing the switch on the wall to the right of the door to open it. You can then follow the path back to the Oracle.
When you reach him, speak with Sargamis. You can then question him about the expedition team, during which you’ll learn that he killed them to use their souls for his machine. This will then be where you can agree to help him or attack him. We recommend not attacking him if this is your first time through. You’ll miss out on an achievement if you do so. If you kill him, you can loot the Last Light of the Day unique one-handed melee weapon from his corpse.
Place the Splinter of Eothas in the Statue
If you agreed to help, climb up to the statue’s chest and place the splinter inside it. Once that’s done, head back down near Sargamis and pull the lever next to him.
Be sure to make a save before speaking with him again. You’ll need to let him use your soul for the statue to receive the Get in the Statue Envoy achievement. This will kill you, resulting in a game over and a reload of your previous save.
Speak to the Oracle
After it fails, speak with Sargamis once more.
Talk Him Out of It
Following the failure of the experiment, you’ll have the option to convince the Oracle to stop trying to bring back his god and move on with his life. You’ll then be able to help suggest what he should do next. Going this route will mean you miss his Last Light of the Day unique one-handed melee weapon.
Agree to Keep Helping
If you agree to keep helping him, then he’ll request that you put your soul into the machine (which would kill you). You can instead suggest he do it, which will require some convincing. After successfully doing so, follow him over to the other device and push the button when directed. You’ll then need to flip the same lever again, which will cause the device to fail once more. Make sure to loot the Oracle to get a unique sword.
Speak to the Voice
Following the experiment, the voice in your head will request an audience and direct you to some nearby Adra. Interact with it, and the Voice will request that you allow it to have the robot body once it’s been freed. You’ll then have to make a choice on whether you will allow it to keep the body or destroy it.
If you allow the Voice to claim the body, return to the lever and flip it again. This will appease the voice, and you’ll be able to leave the cavern. Choosing to destroy the body will update the objective to having you overload 3 generators. They will all be marked on the screen if the quest is active and are hidden away behind boards you’ll need to destroy. Once they are visible, you’ll need to hit them with electricity to overcharge them. After doing this to all 3, the body will be destroyed, causing the Voice to be very angry with you.
Speak to Ofryc
Return to Ofryc and speak with him to complete the Dawntreader quest in Avowed! As a reward, you’ll receive Delver’s Caution, a unique ring!
Related Avowed Content
Looking for more Avowed content? Use the links below to keep exploring:
- Main Page: Visit the Avowed Guides and Walkthroughs hub for all our latest content!
- Official Website: Check out the official Avowed website for news and updates!