Welcome to NGB and our complete guide for Baten Kaitos Nunki Valley. Here we’ll cover the story section that takes place in the valley, any items you can find in the area and the enemies that call it home with their weaknesses and resistances.
Baten Kaitos Nunki Valley Items
Starting Area
Magnus: Flame Shield
Magnus: Frozen Shield
Third Area
Magnus: Secret Recipe 1
Baten Kaitos Nunki Valley Story
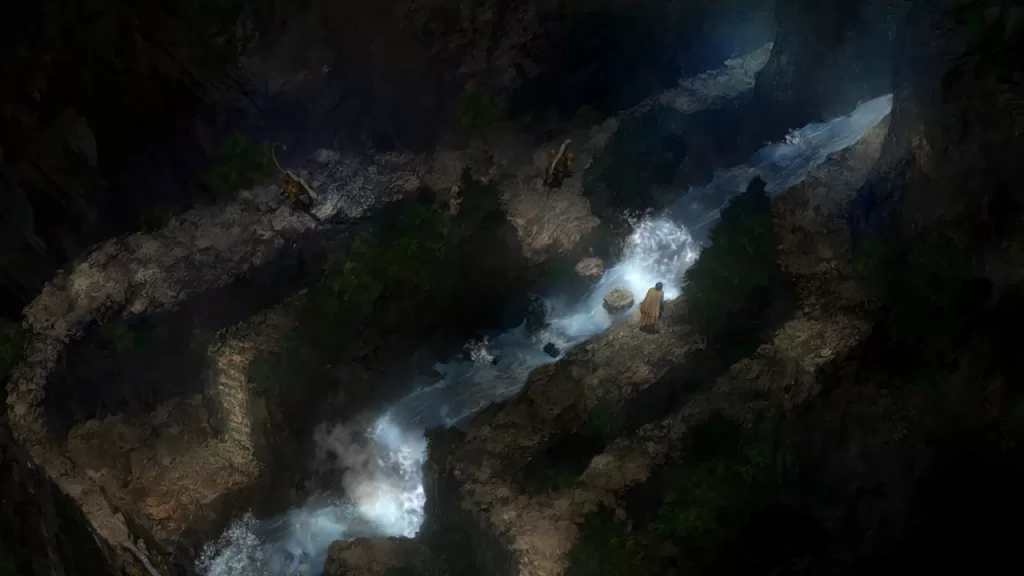
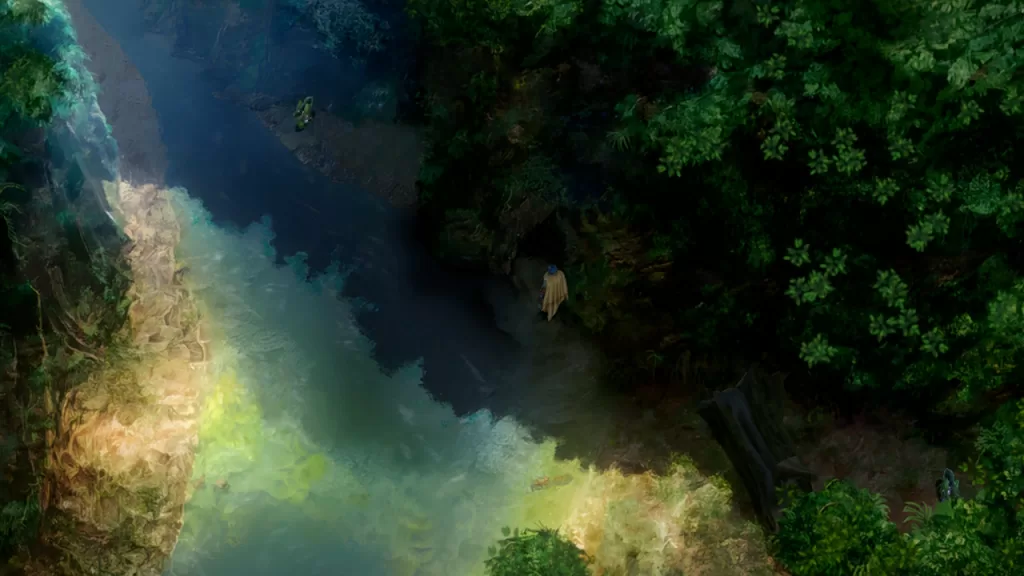
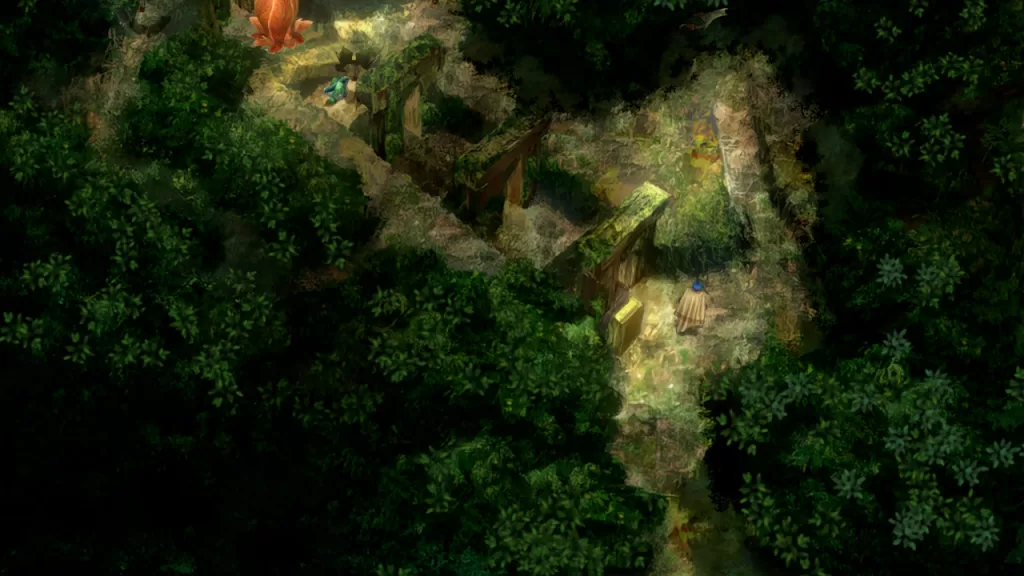
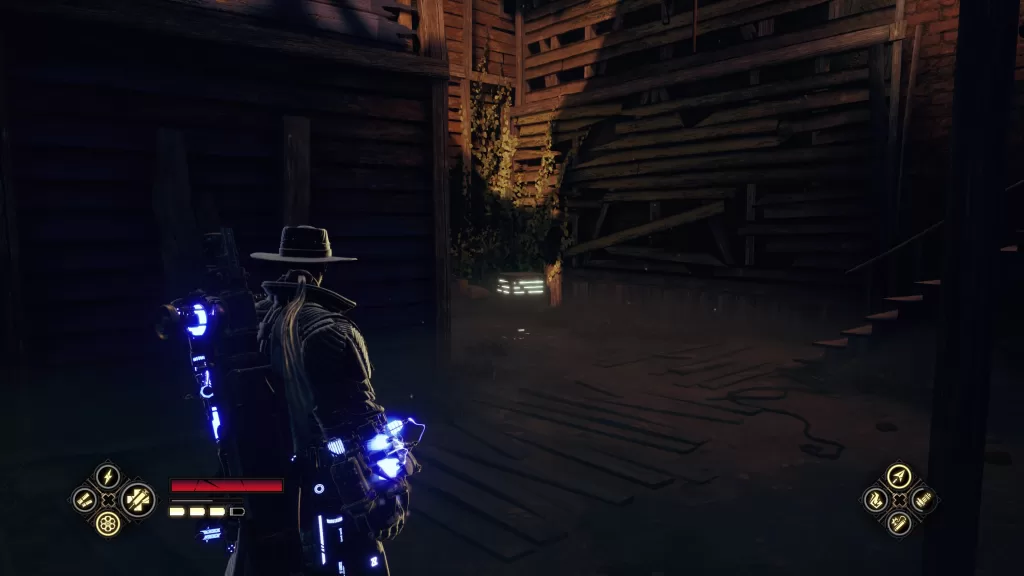
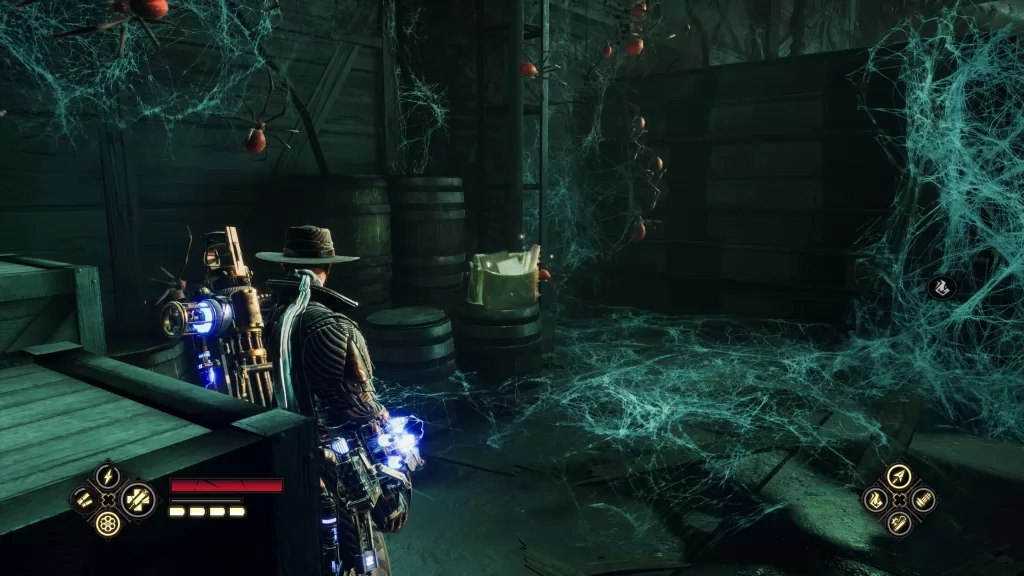
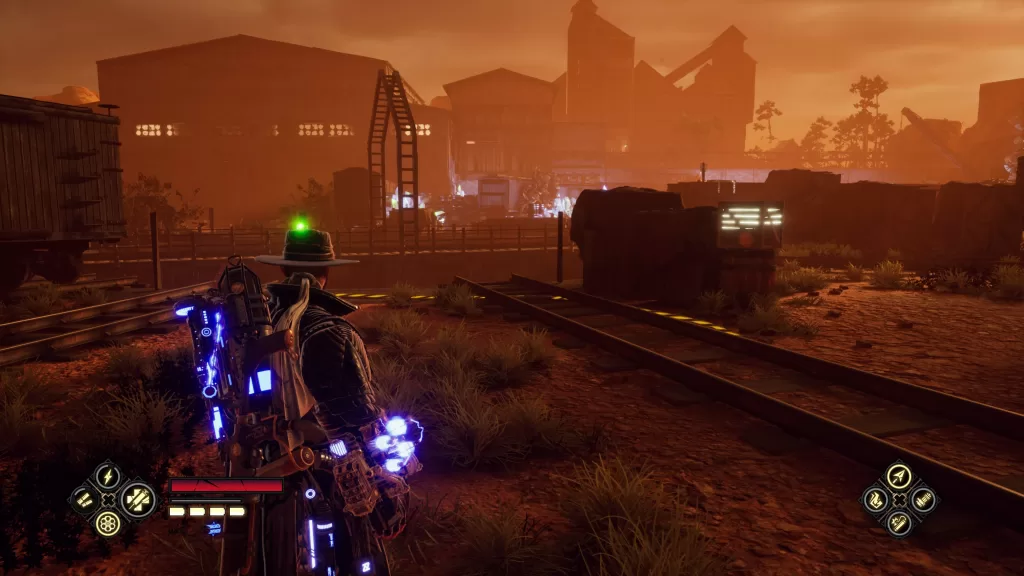
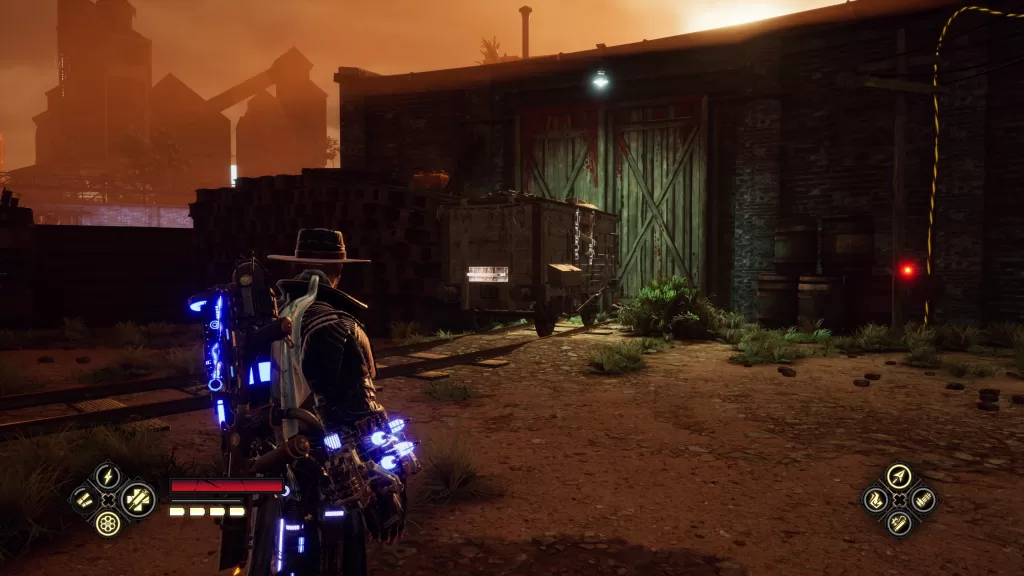
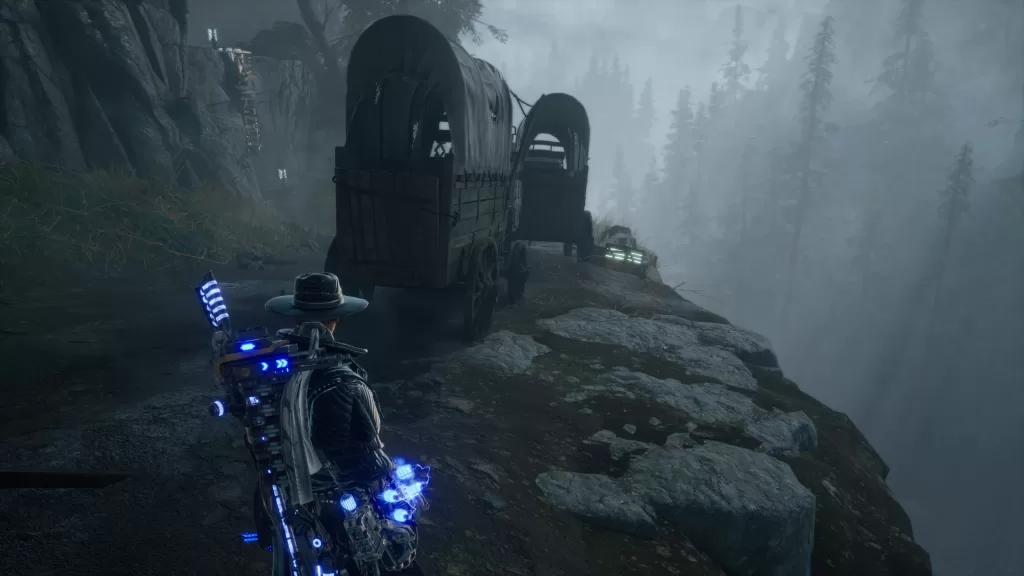
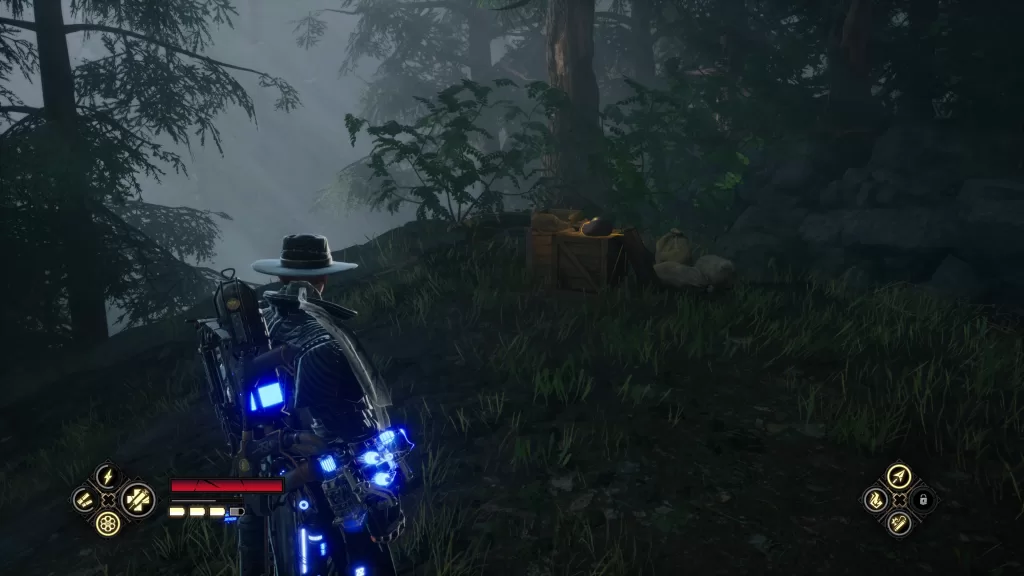
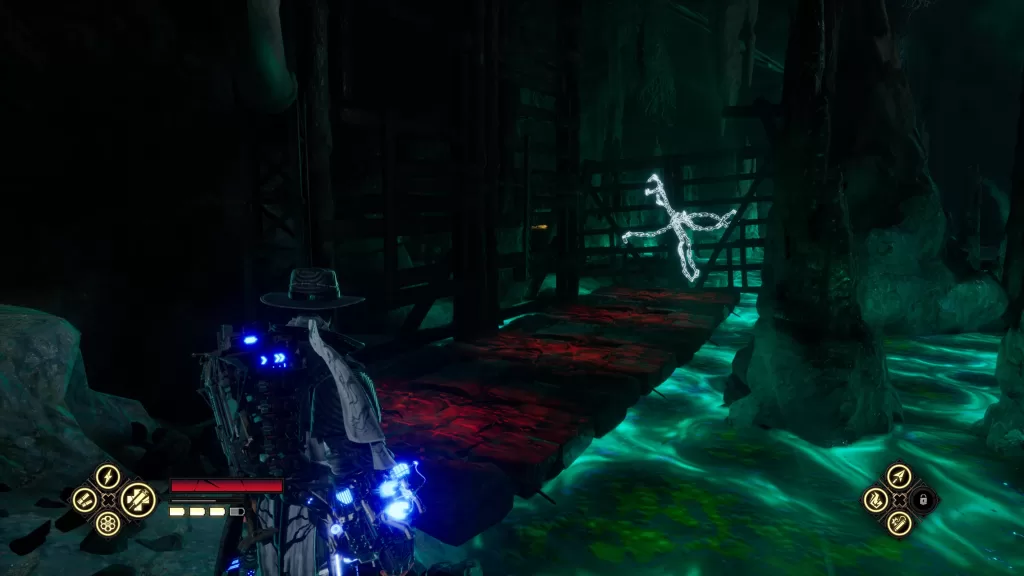
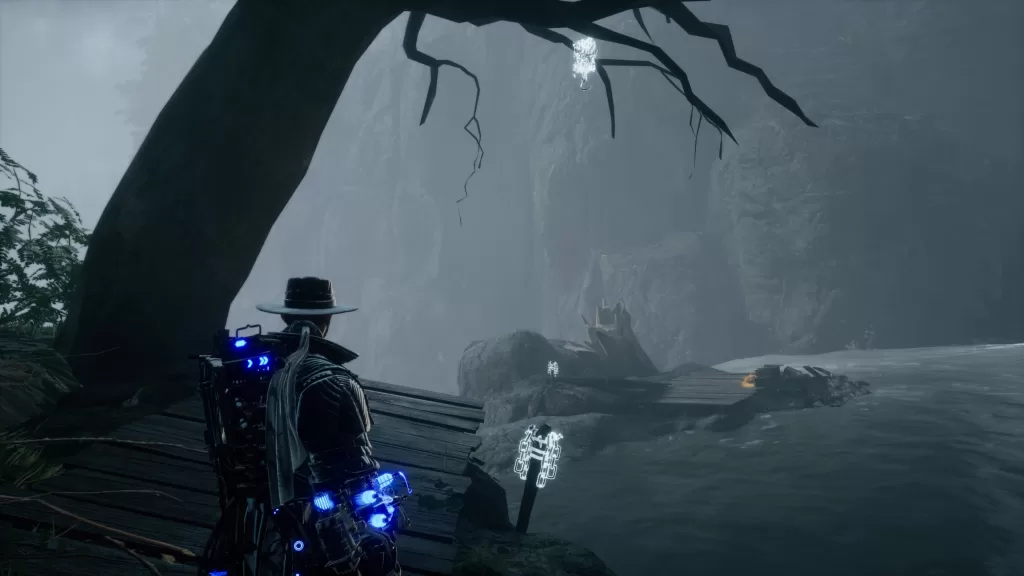
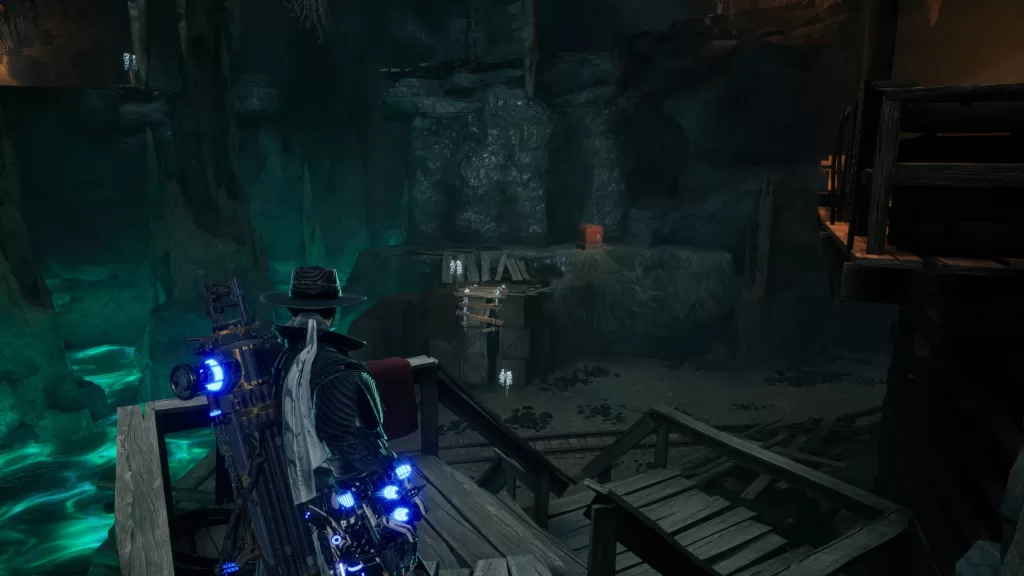
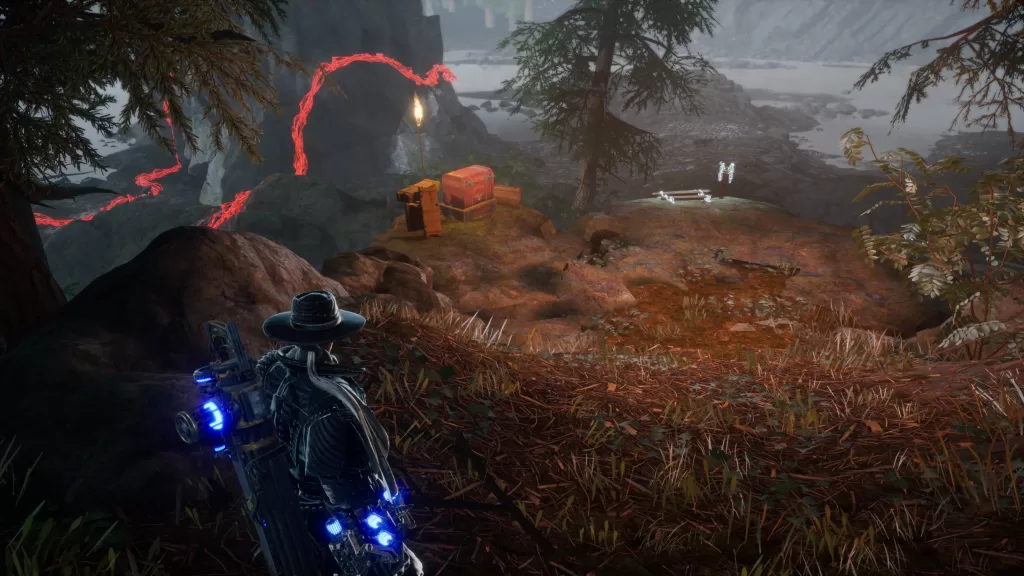
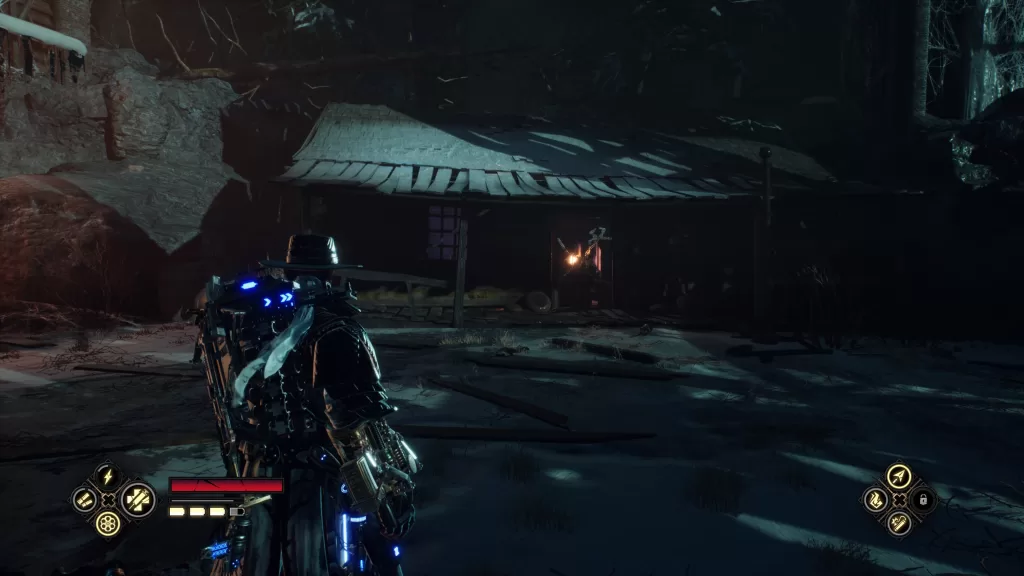
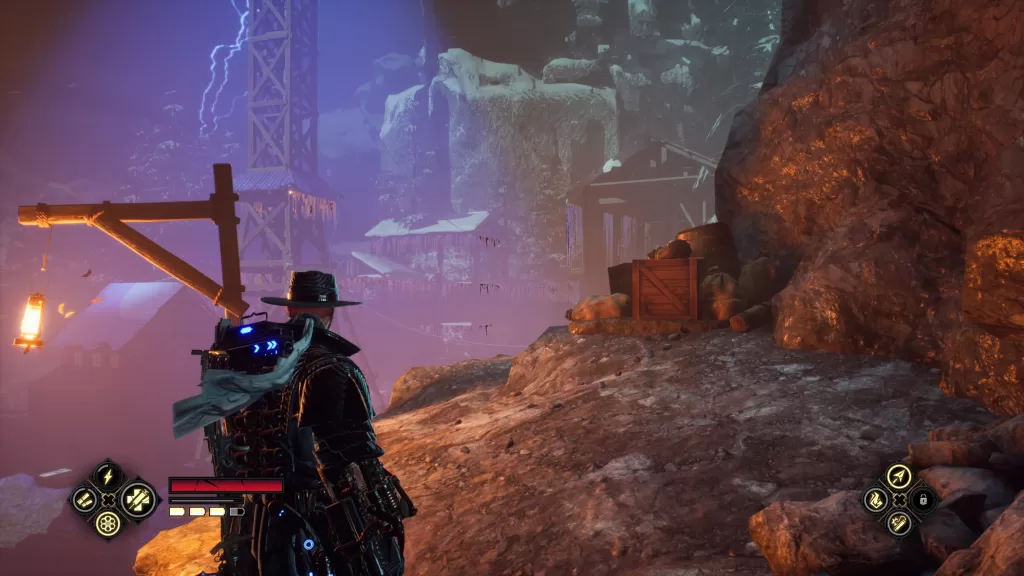
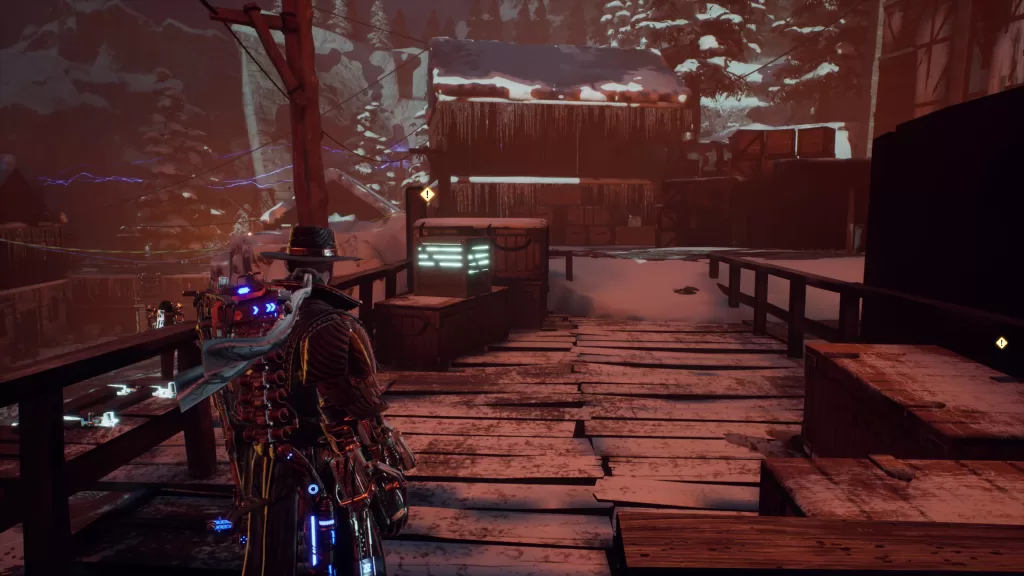
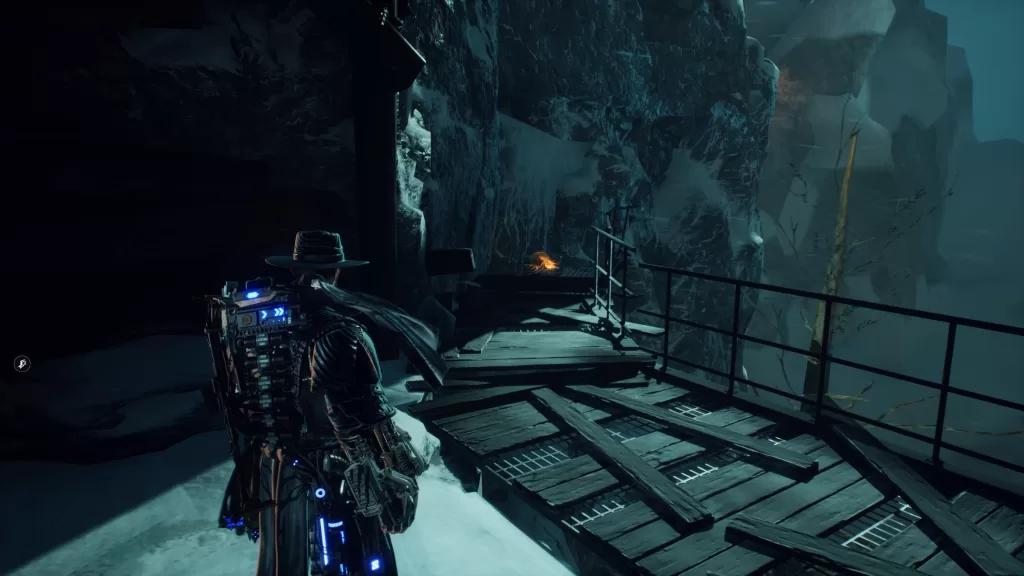
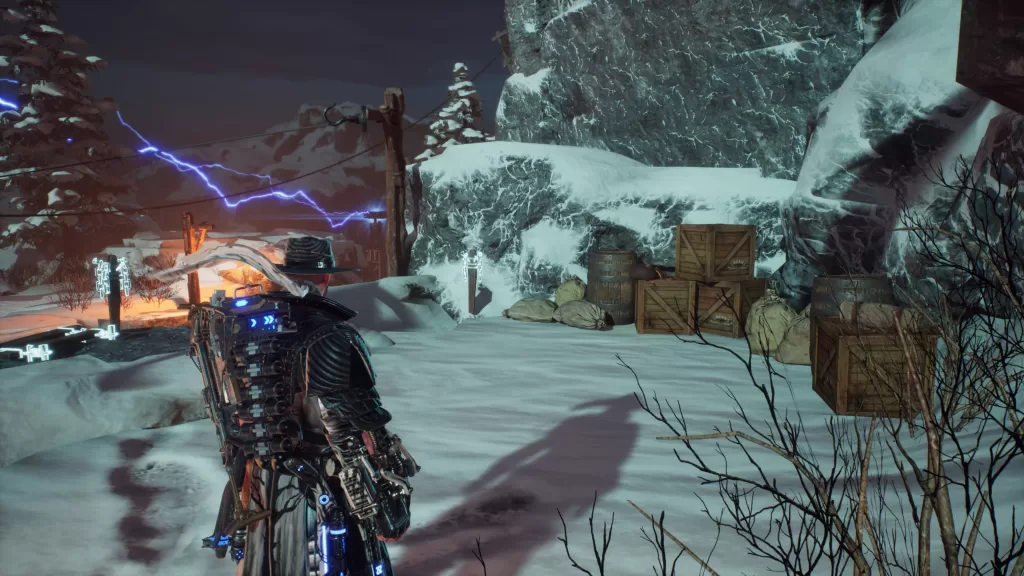
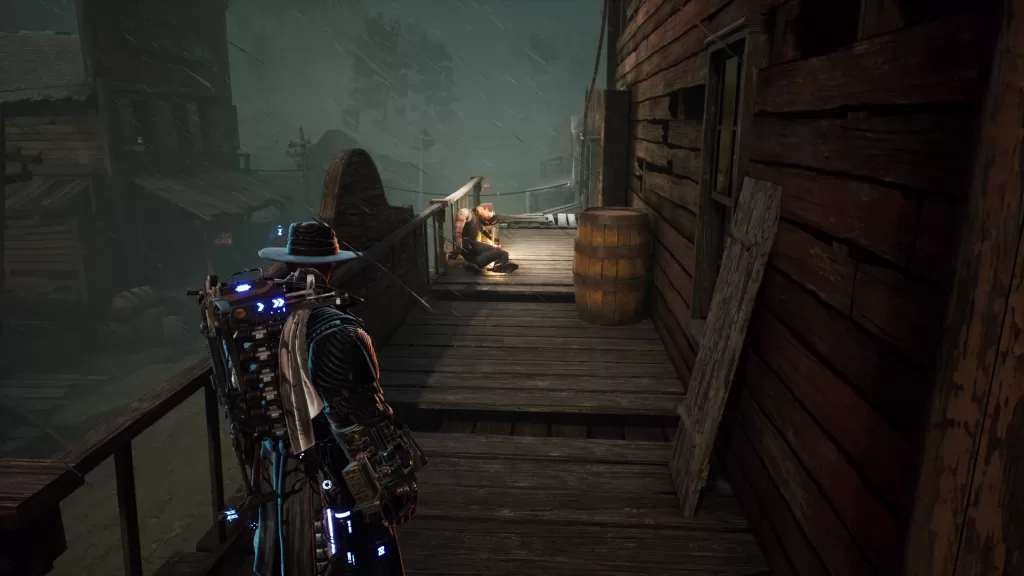
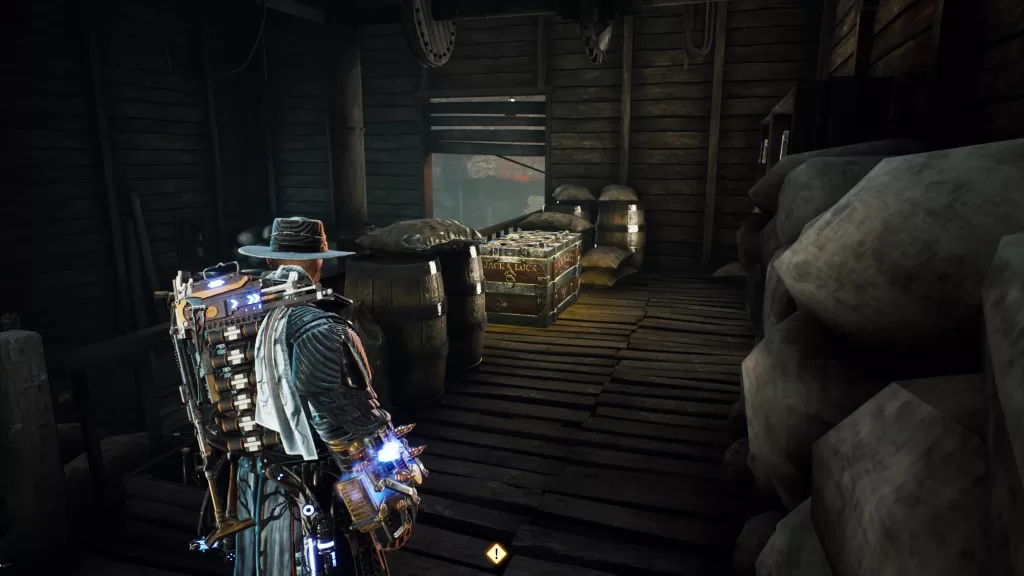
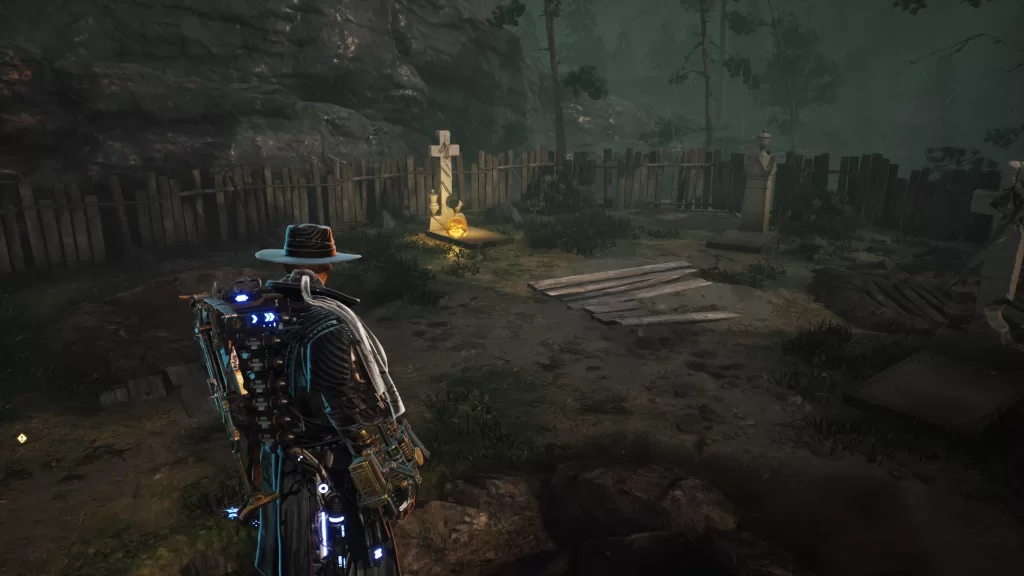
After arriving at the Nunki Valley, head north to reach the bottom of the waterfall. Jump across the gap of the first waterfall then turn and jump the gap of the second. Follow the path south to item (Magnus: Flame Shield) at the end and grab it. Backtrack past both waterfalls to the entrance of the valley and cross the fallen log in the middle of the room. Head south to snag an item (Magnus: Frozen Shield) then follow the path north into the next area.
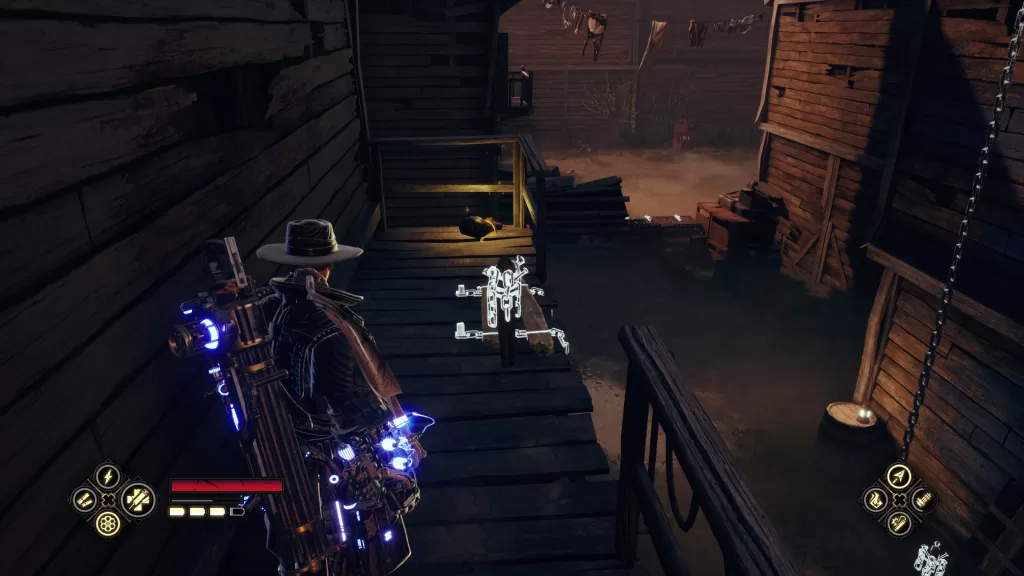
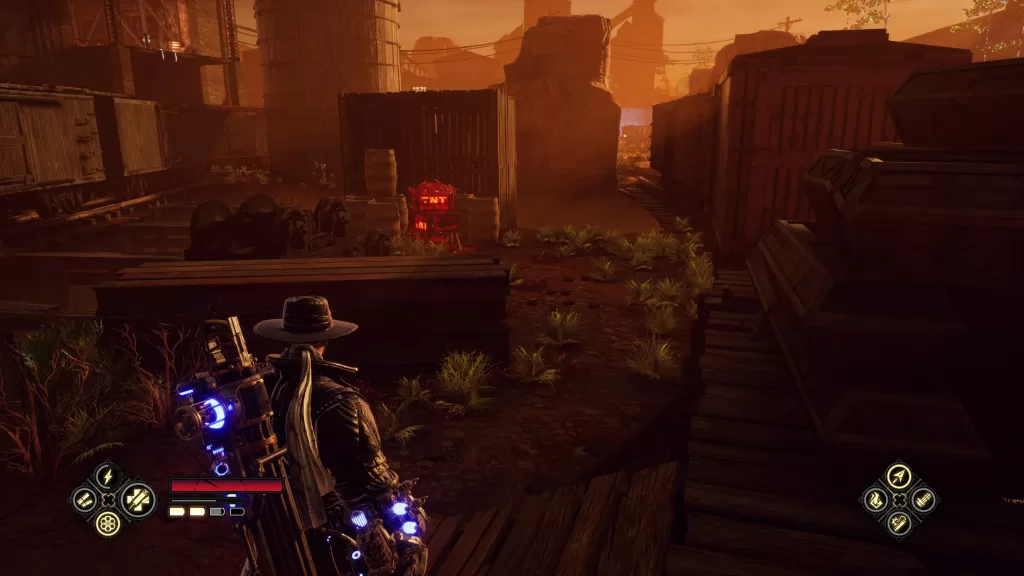
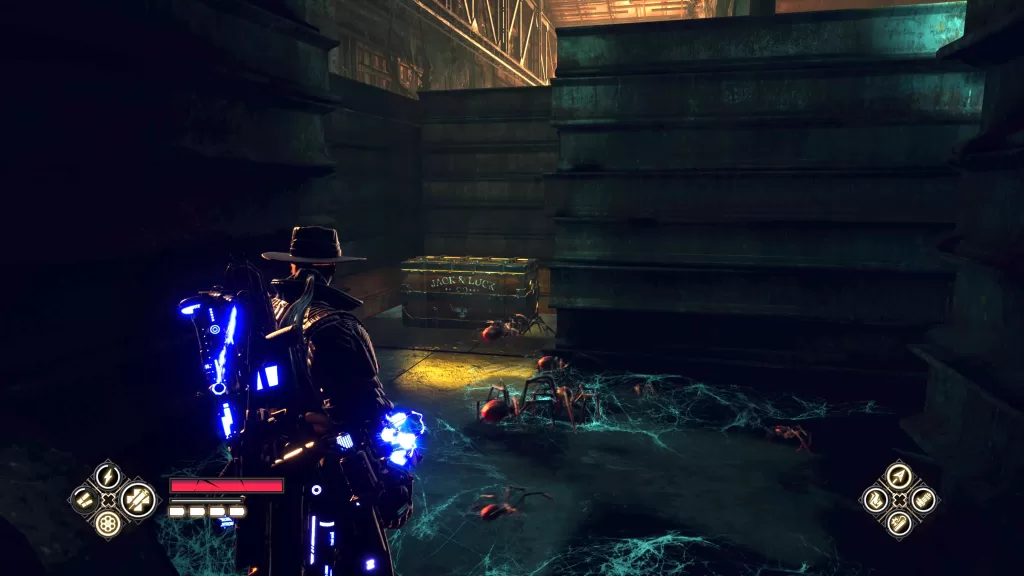
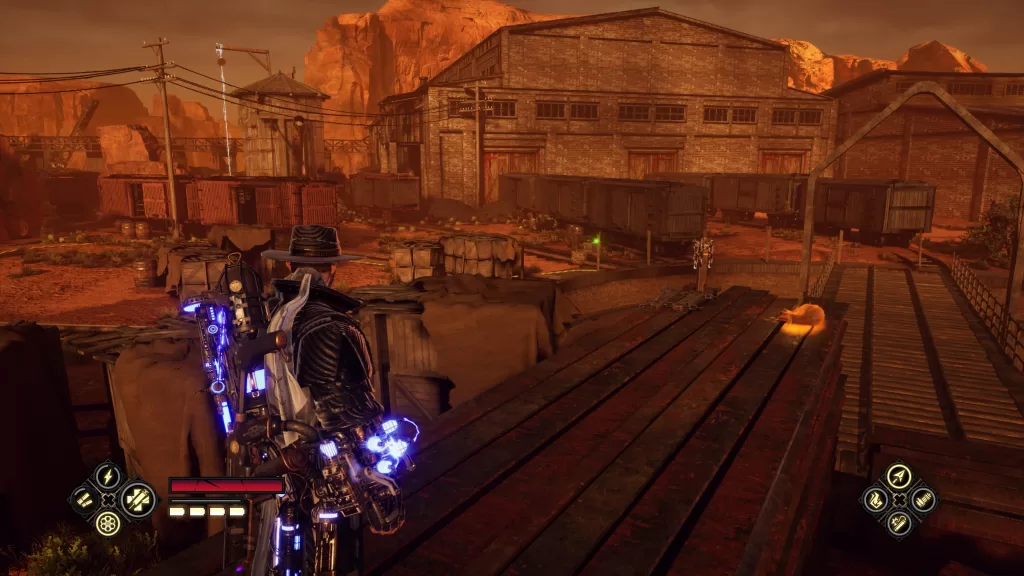
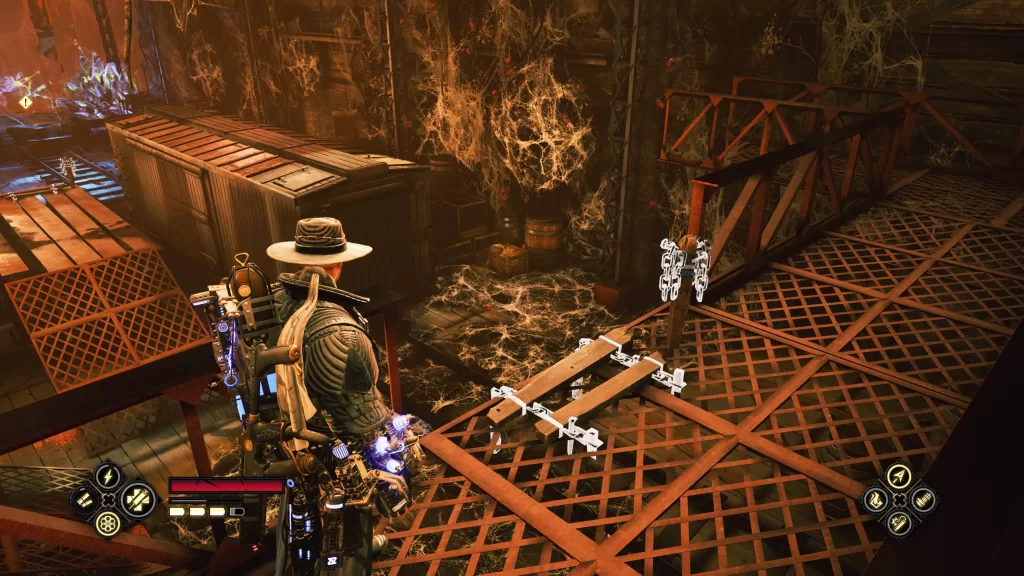
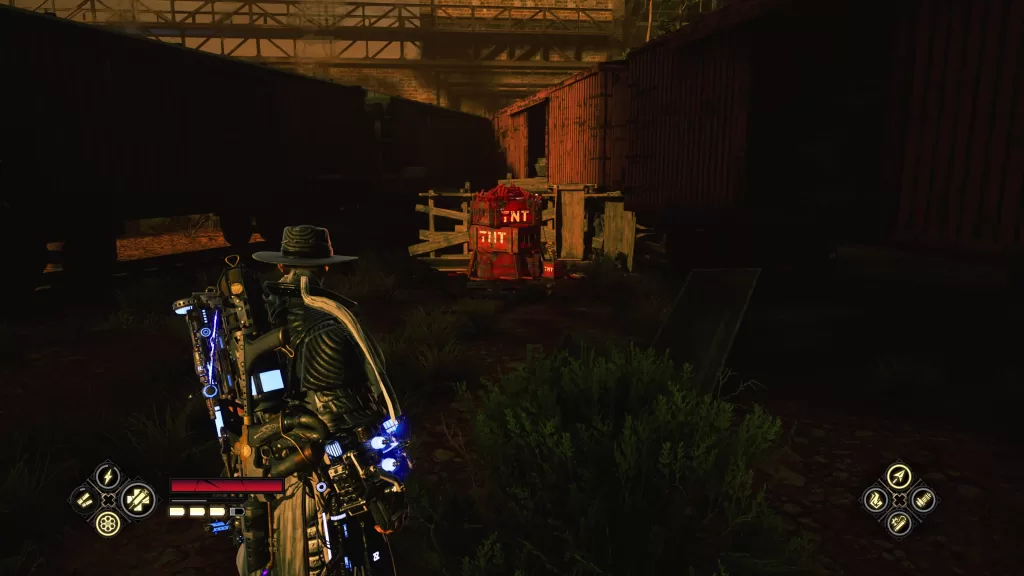
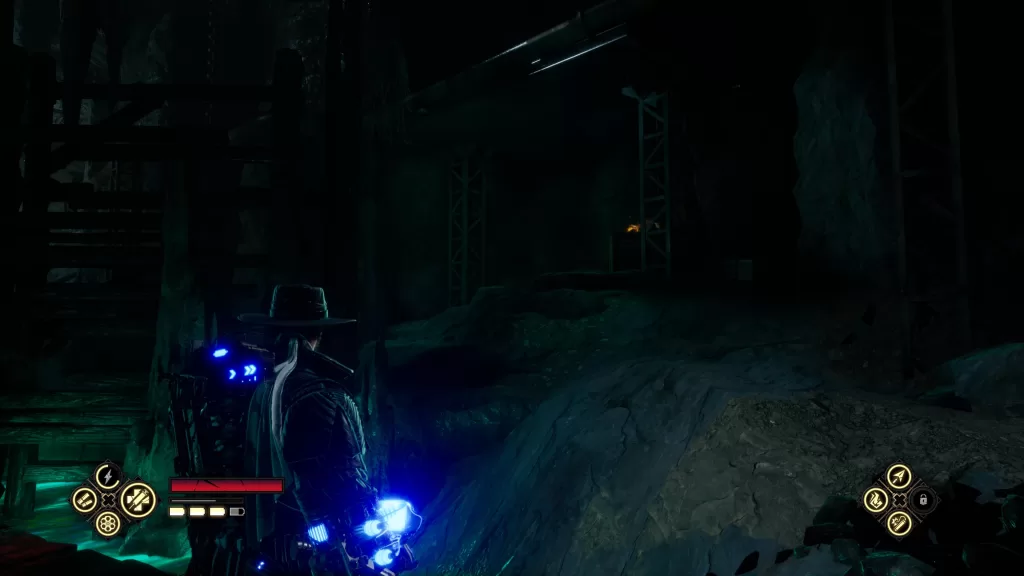
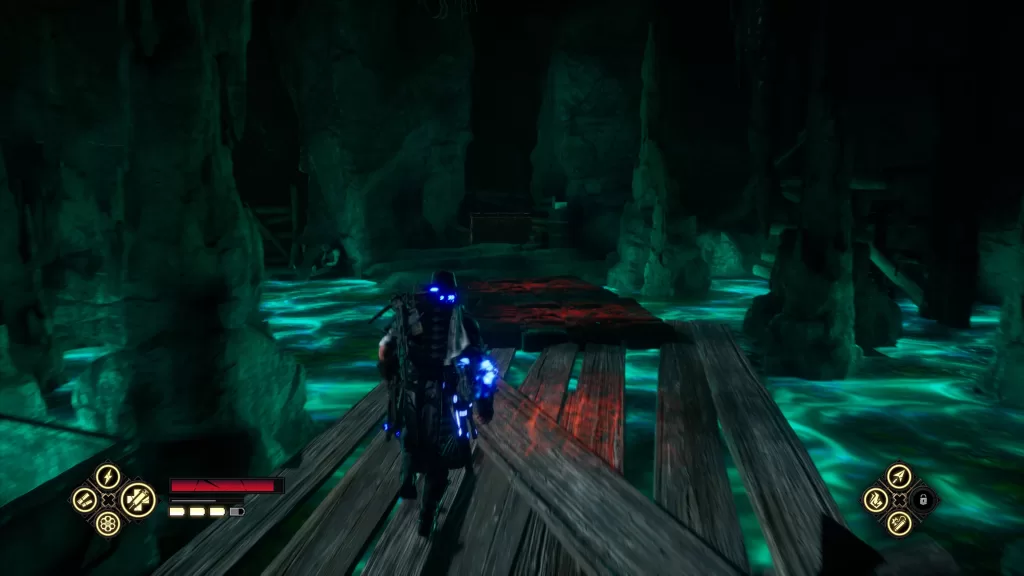
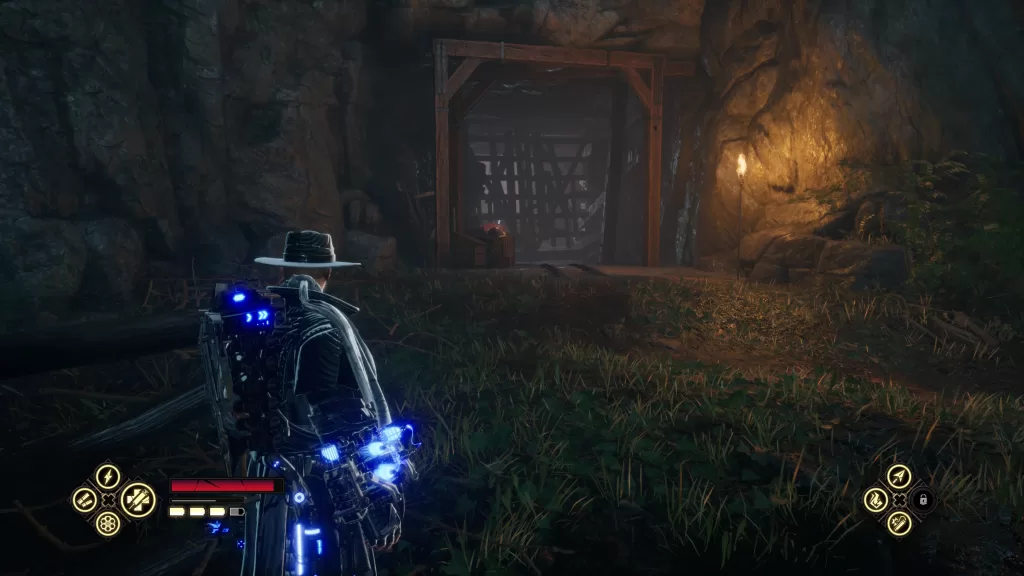
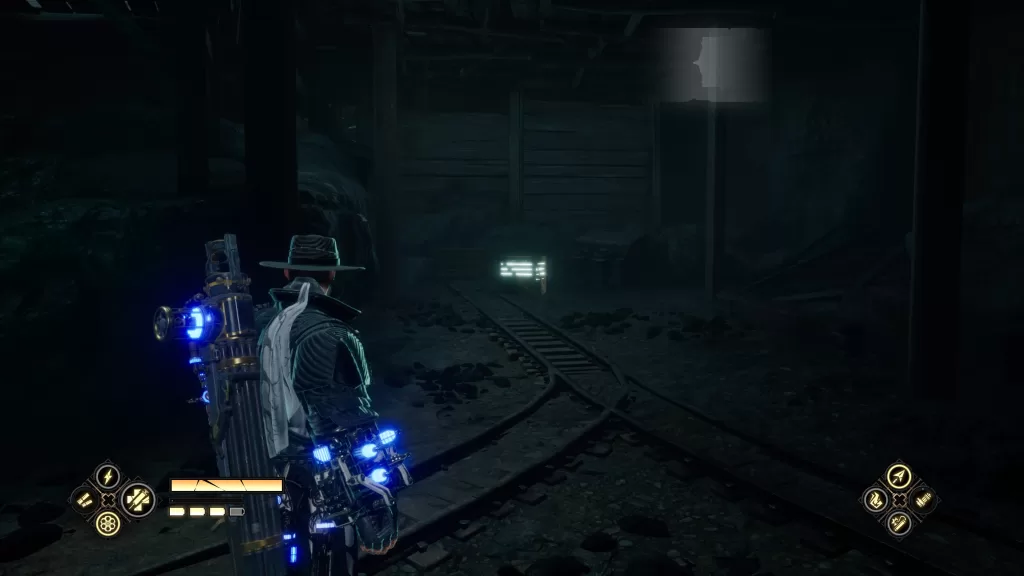
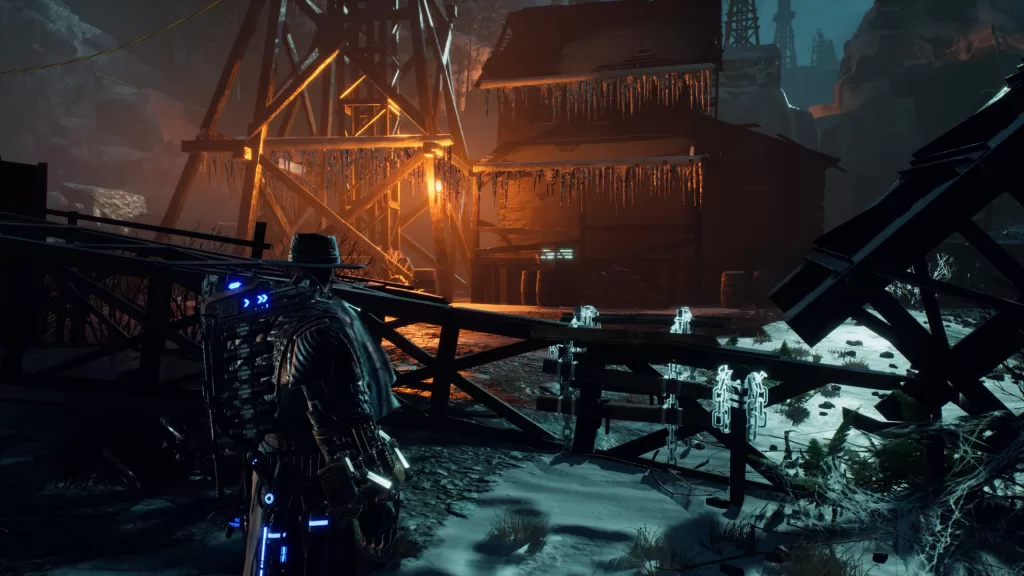
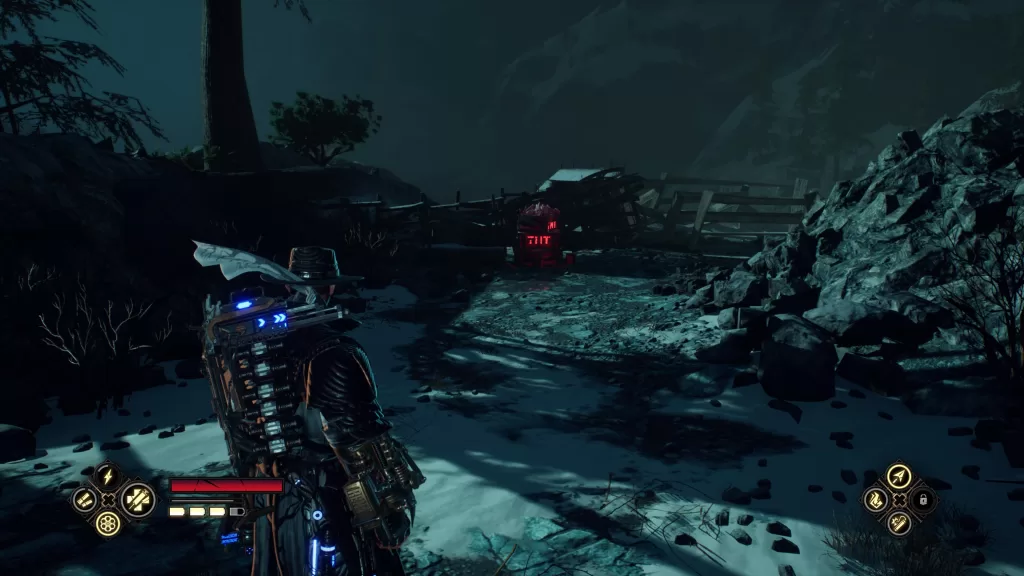
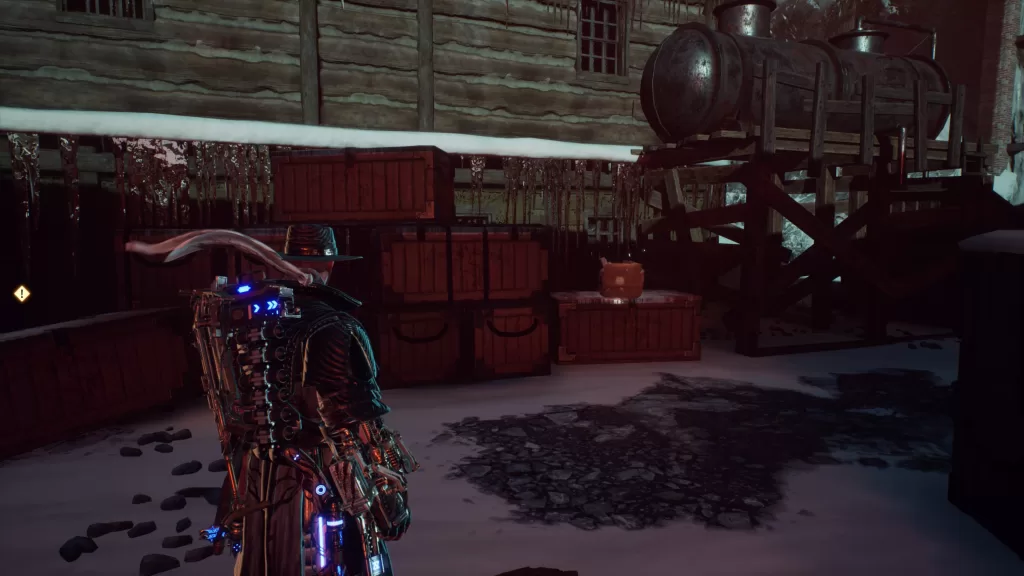
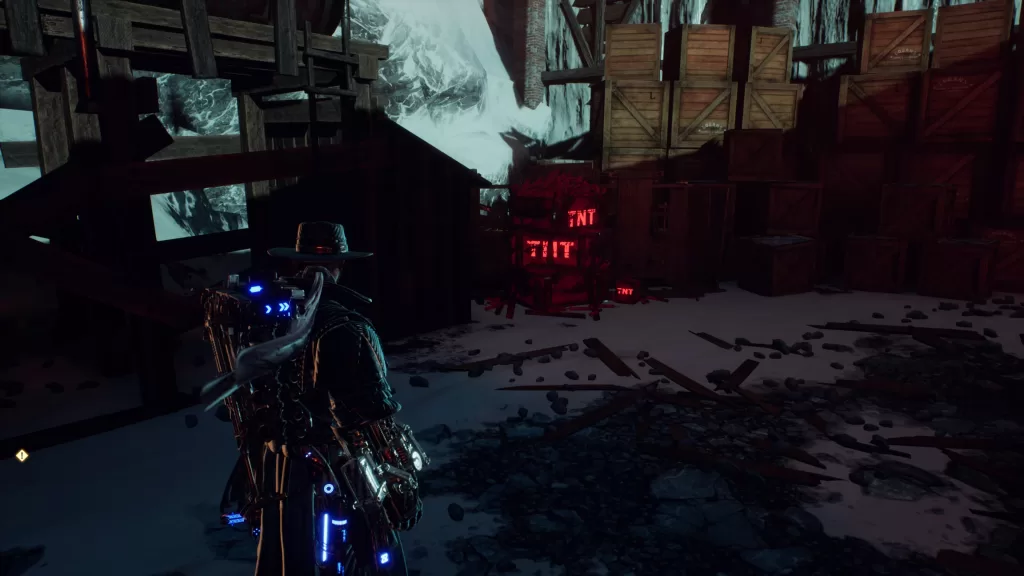
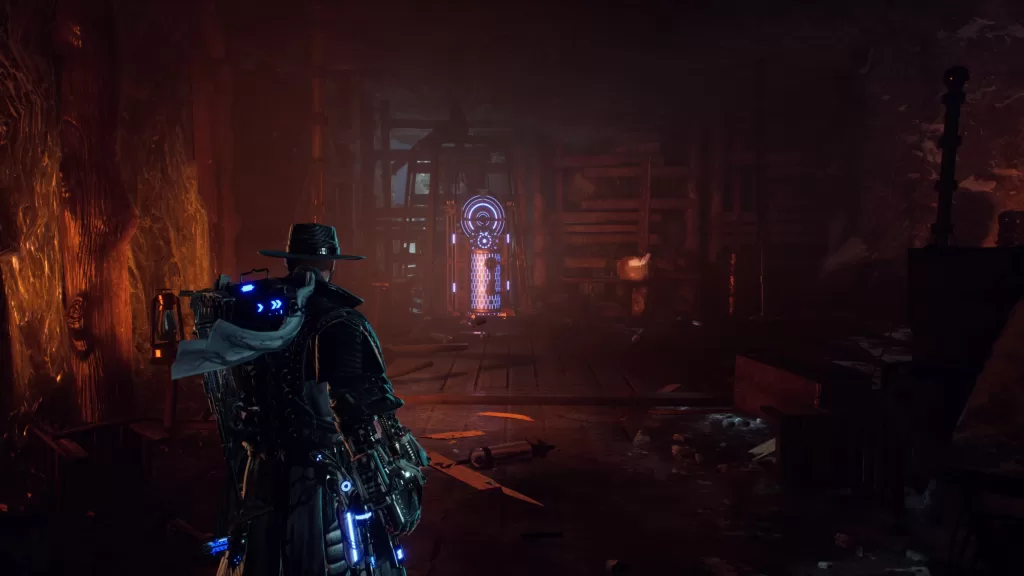
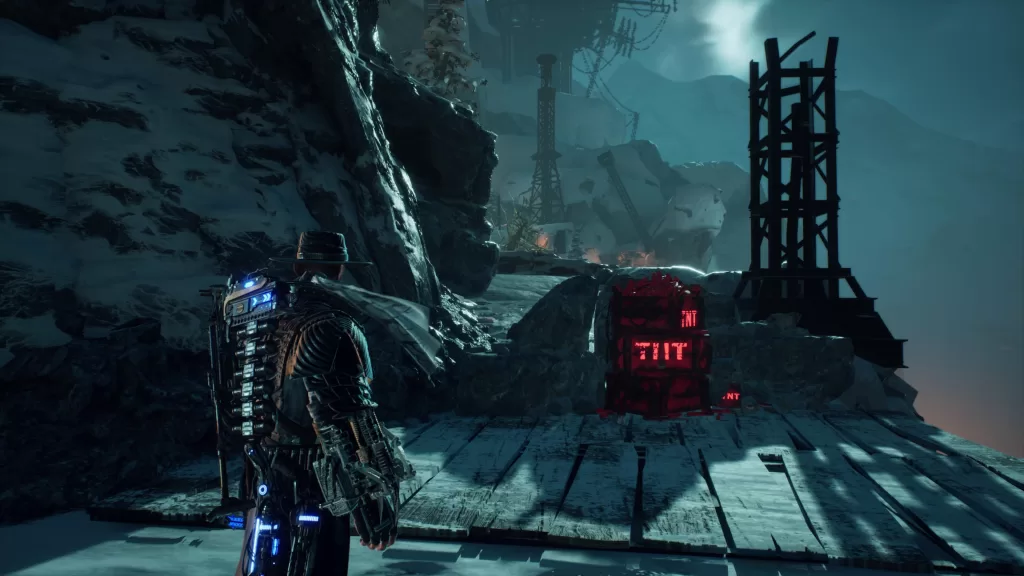
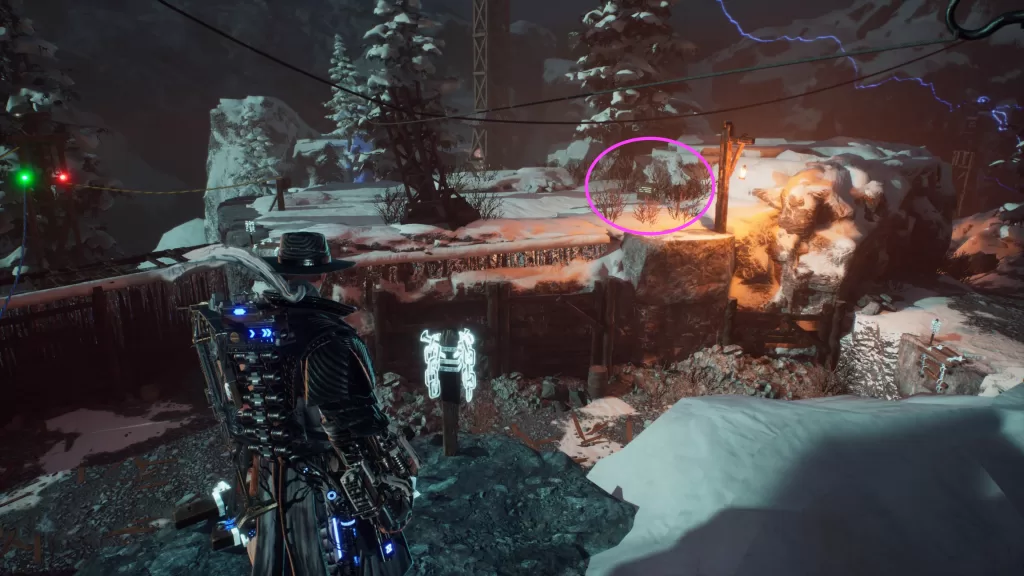
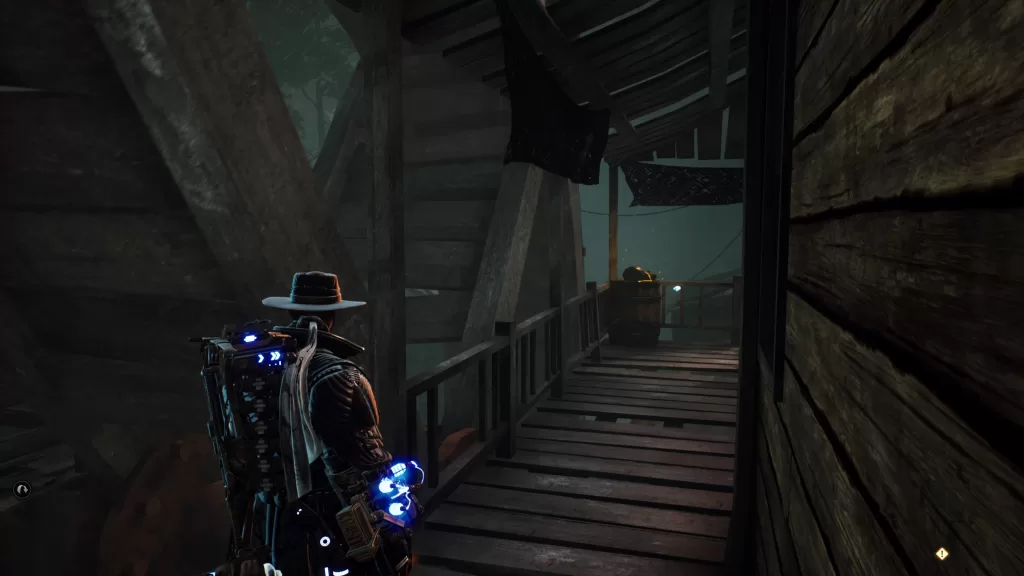
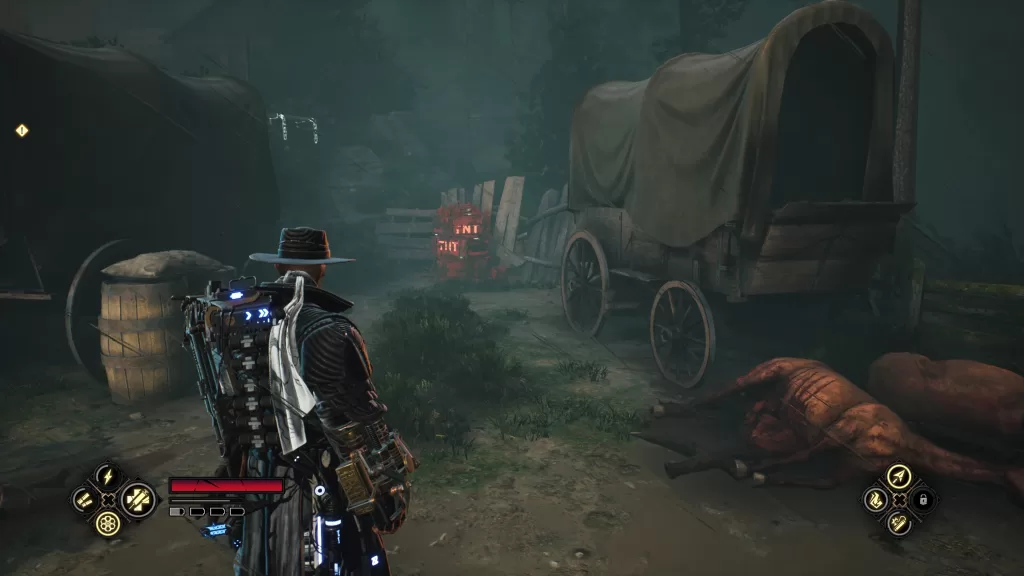
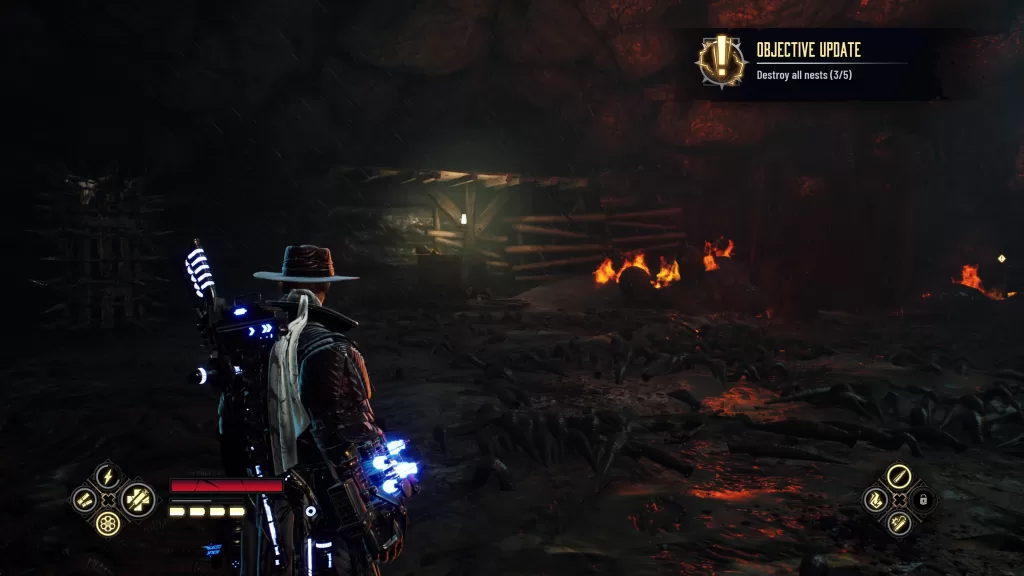
In the next part of the cavern, you’ll be on the west side next to part of the rockslide. Interact with the rocks on the path then select the explosives to blow them up clearing the way. Continue following the path turn right. This should bring you to an area with two ways forward separated by flowing water in the middle of the room.
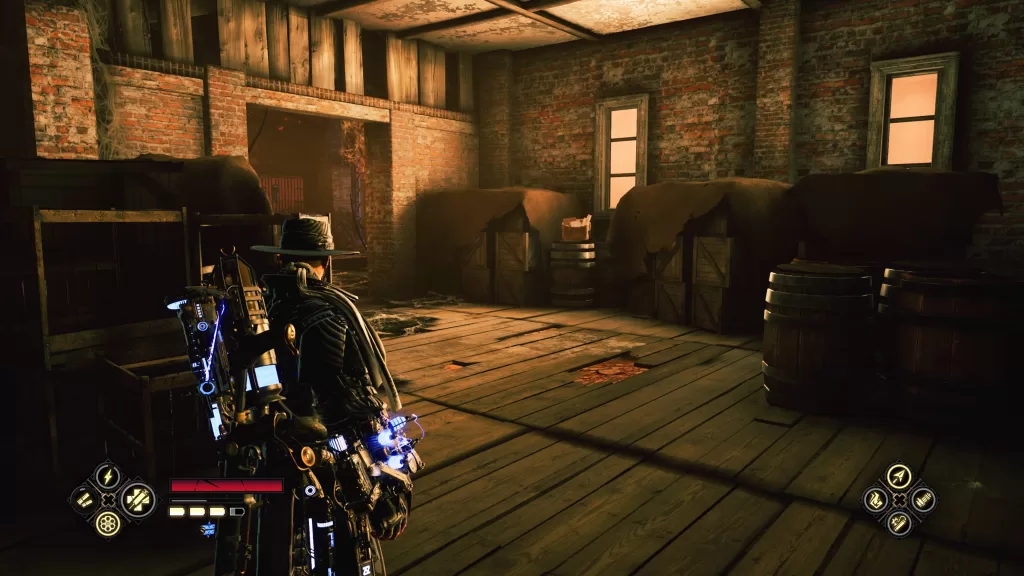
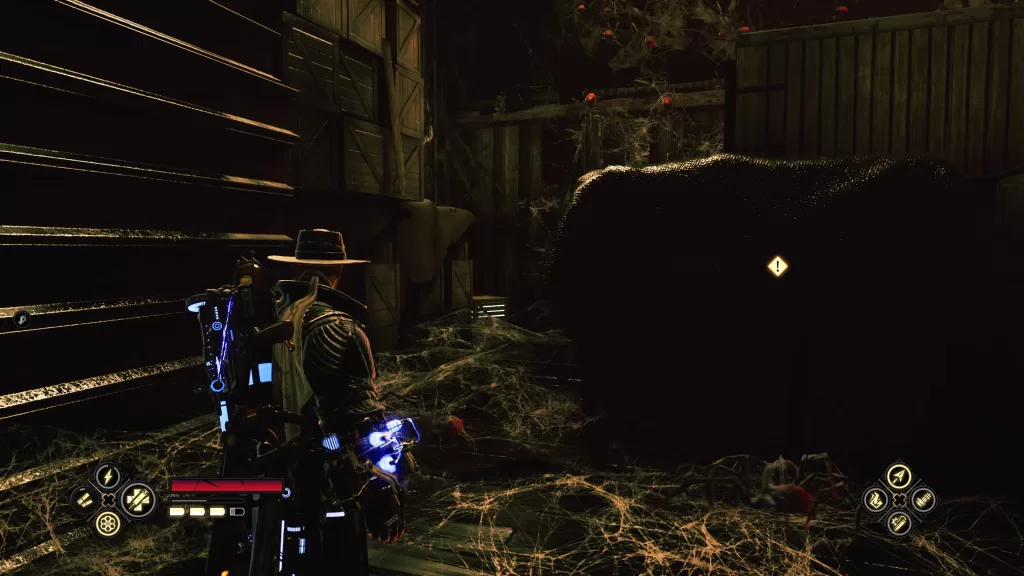
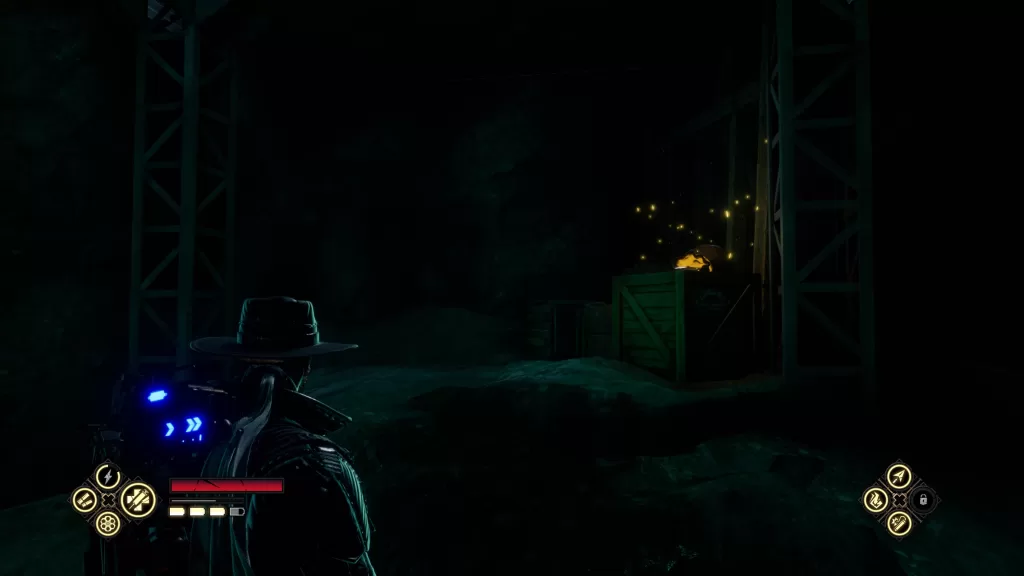
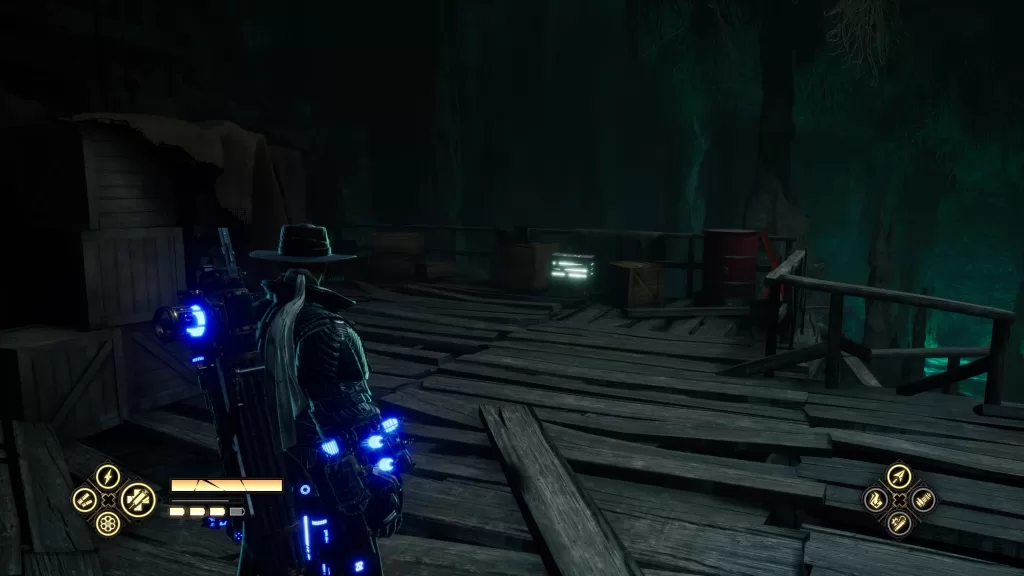
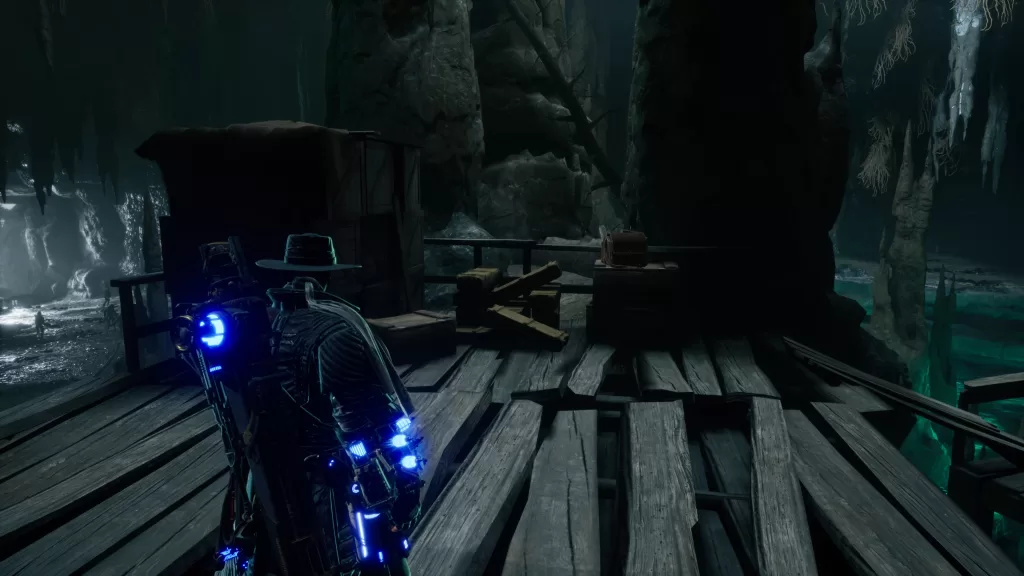
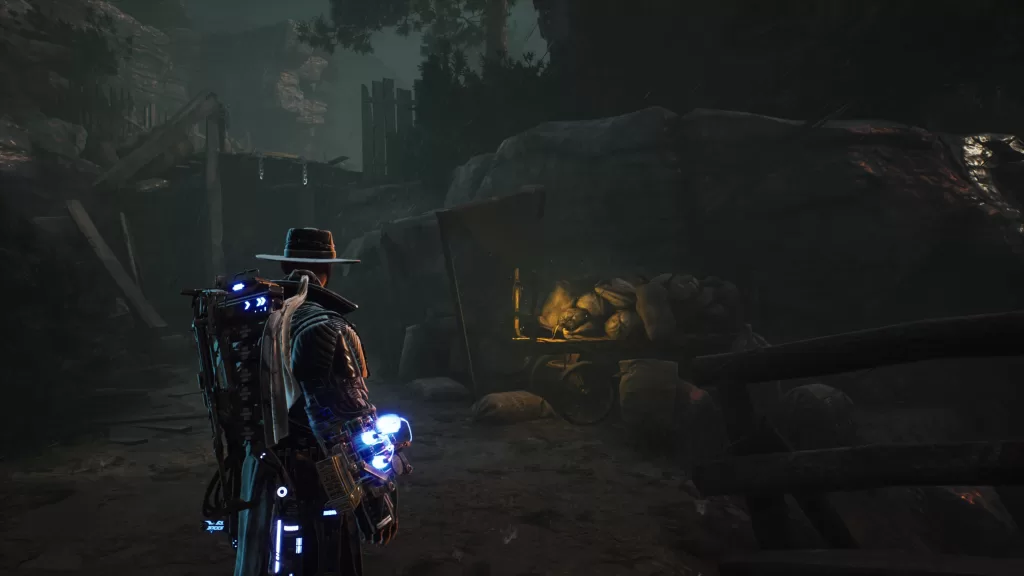
You want to take the left path first. This will bring you to a secluded section in the next area where you’ll be able to collect an item (Magnus: Secret Recipe 1). After doing that, take the right path to proceed towards the city.
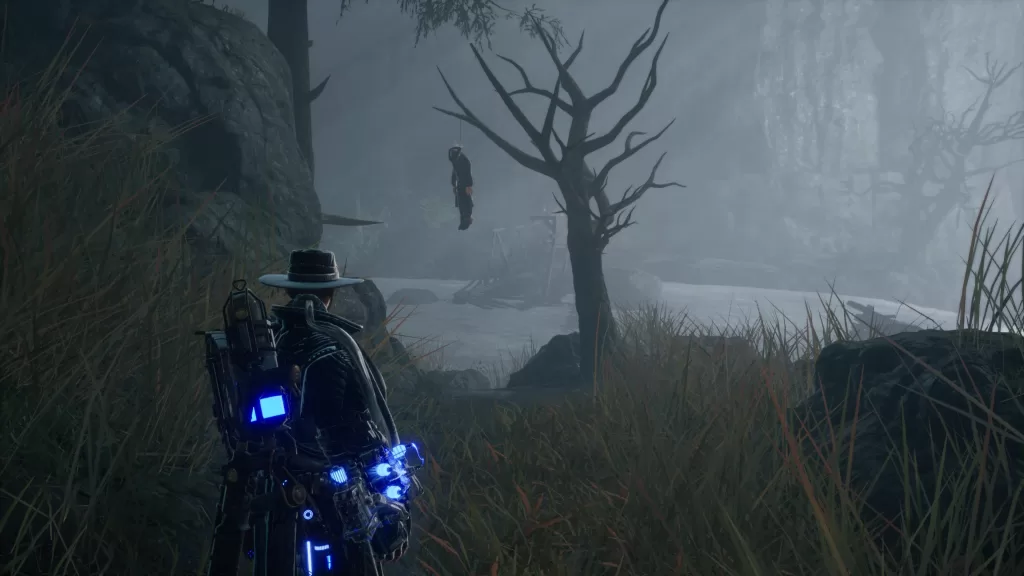
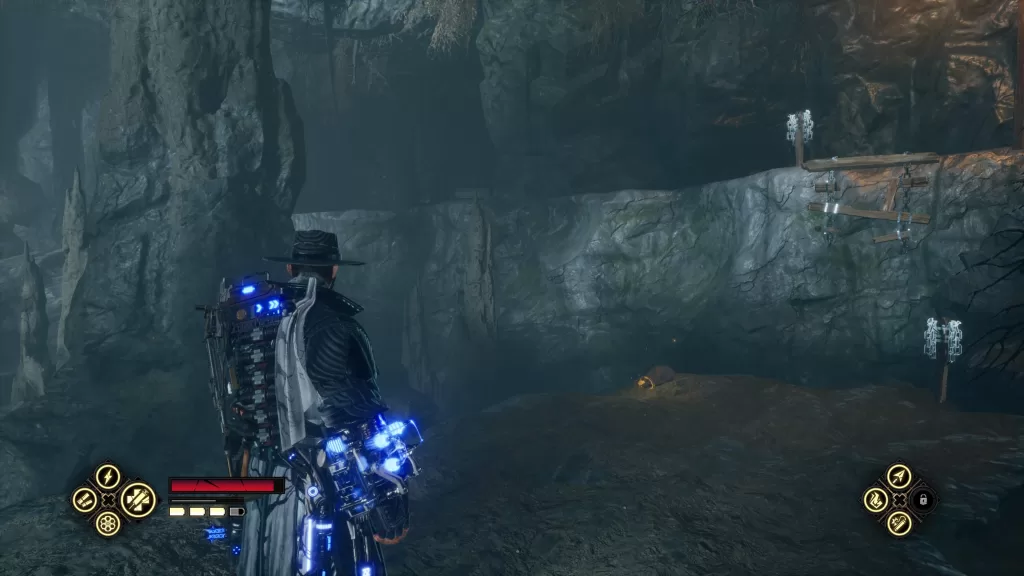
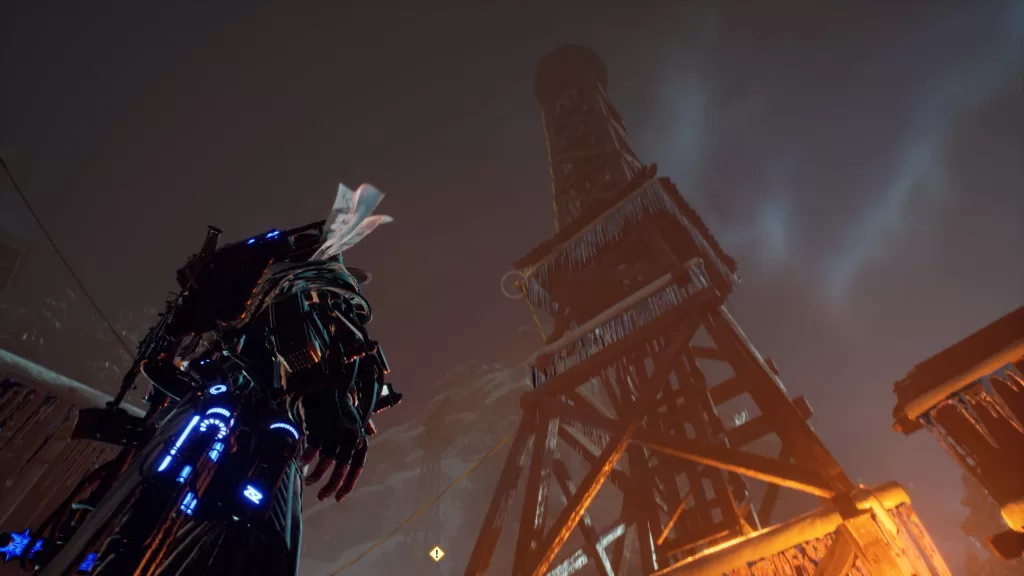
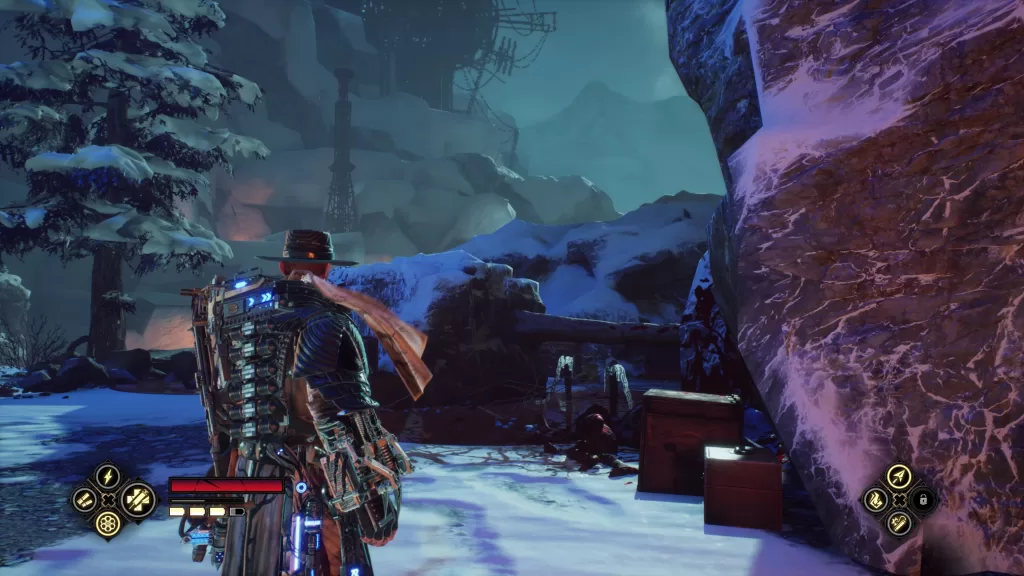
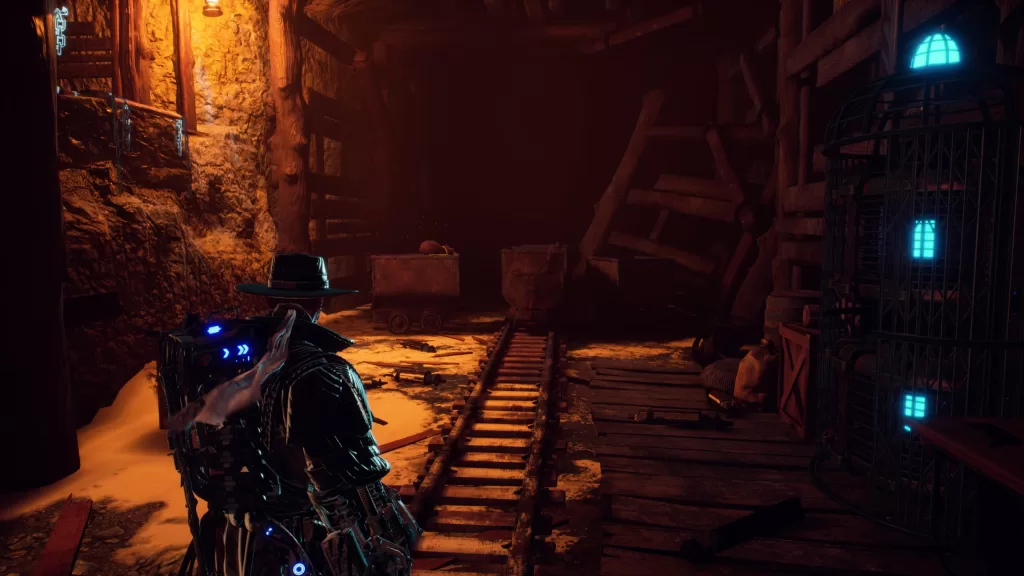
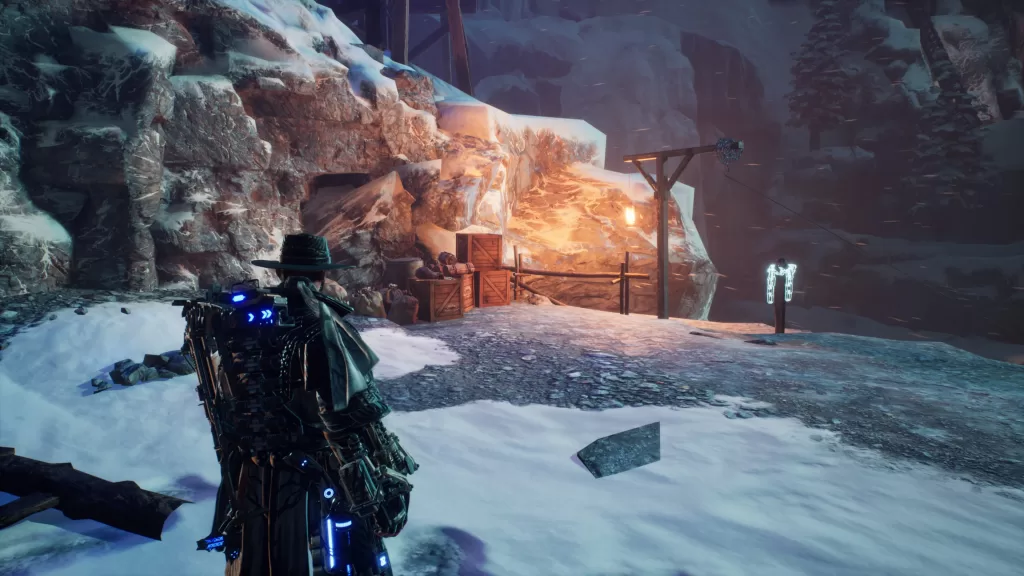
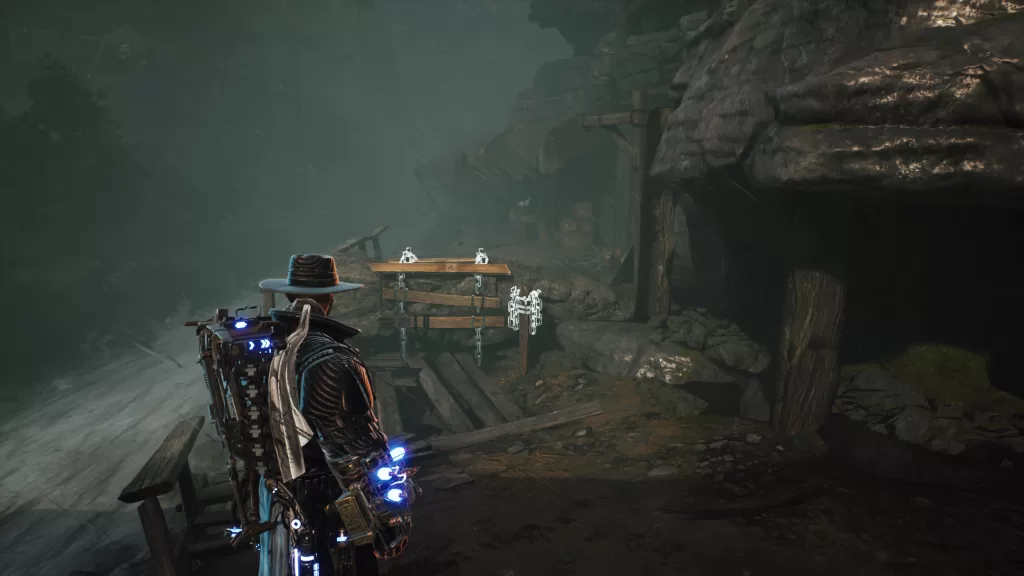
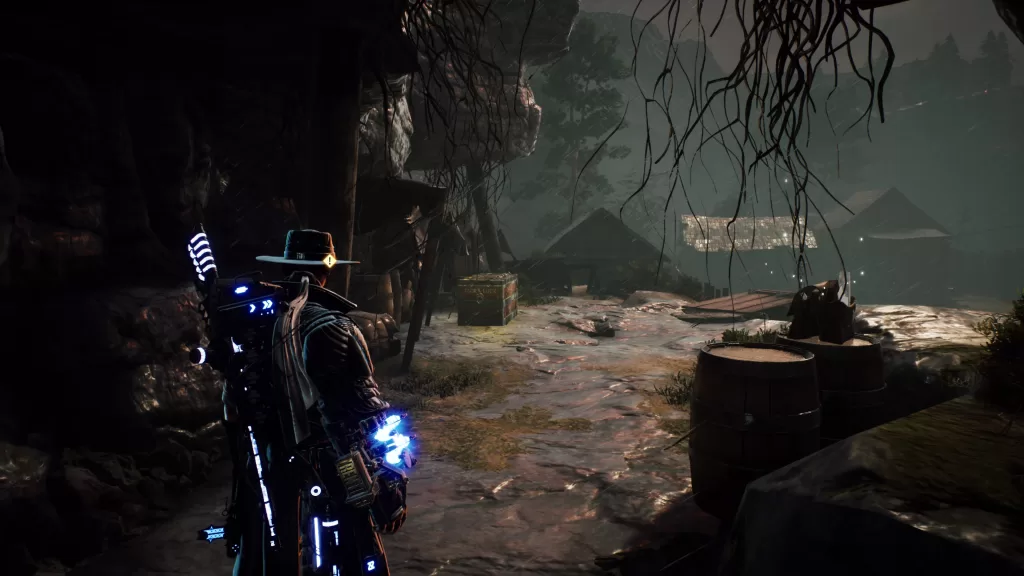
Now on the right side of the third area, there will a guy sitting on the ground to the right of the stone ladder. Speak with him and exhaust his dialog options to learn about combat. When your done climb up the ladder and follow the path to reach the end of the Nunki Valley brining you to the world map. Press on to Pherkad, the Ancient Capital!!
Welcome to our guide on how to complete the Quzman family tree in Baten Kaitos. Here we’ll cover how to start this favor and all the locations of Quzman’s family members who are spread across the 5 continents of this world to fill Quzman’s Genealogy.
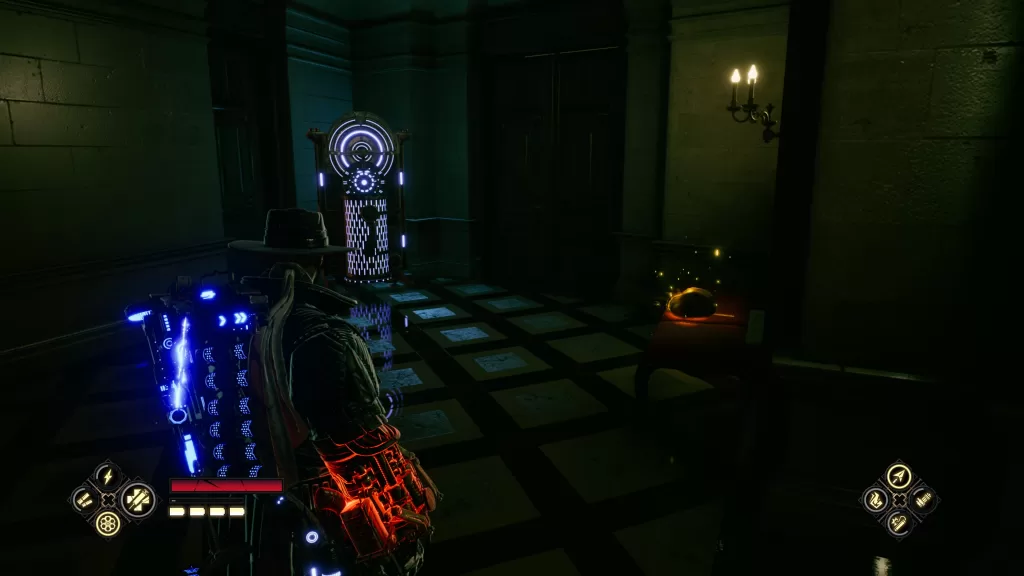
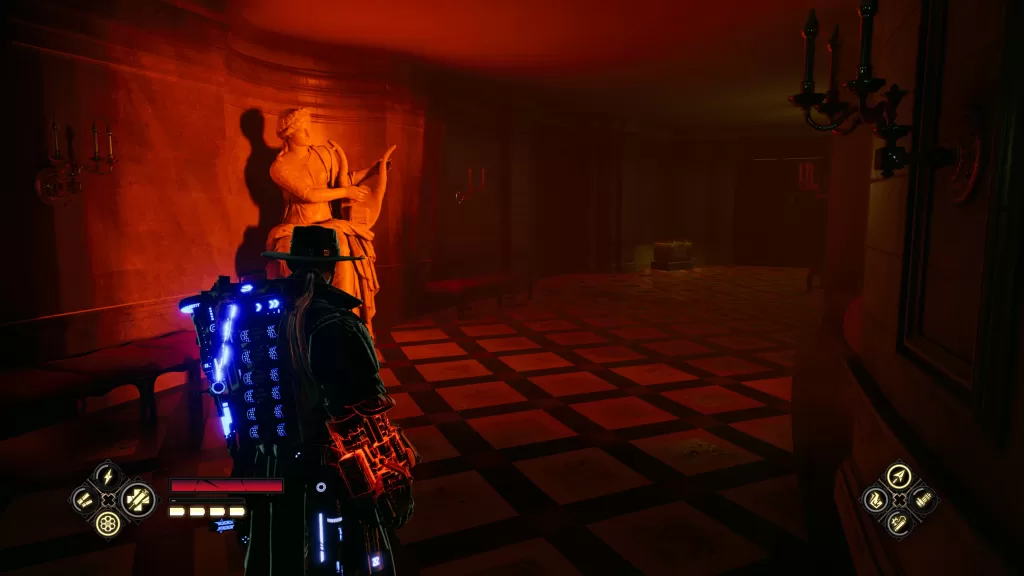
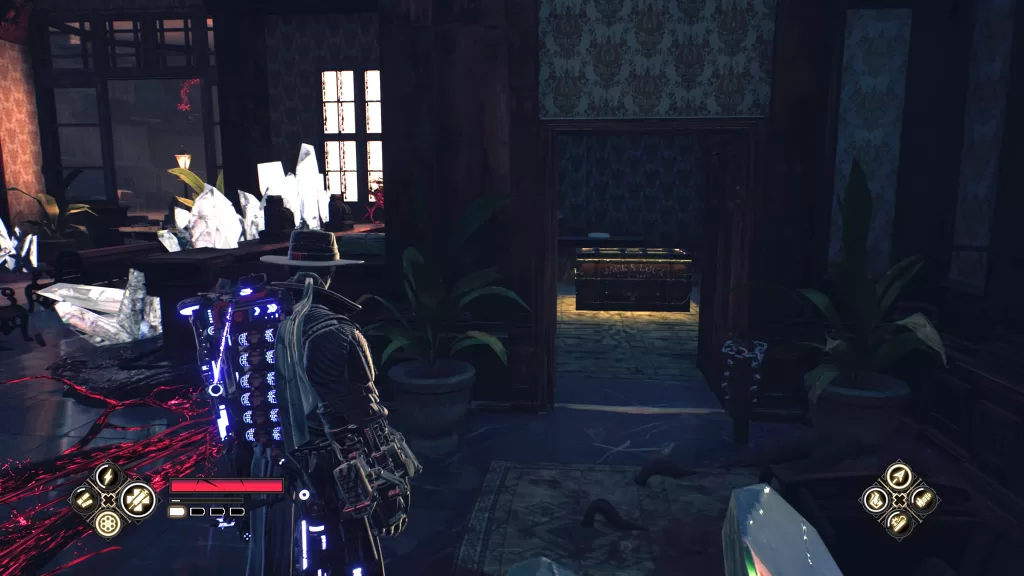
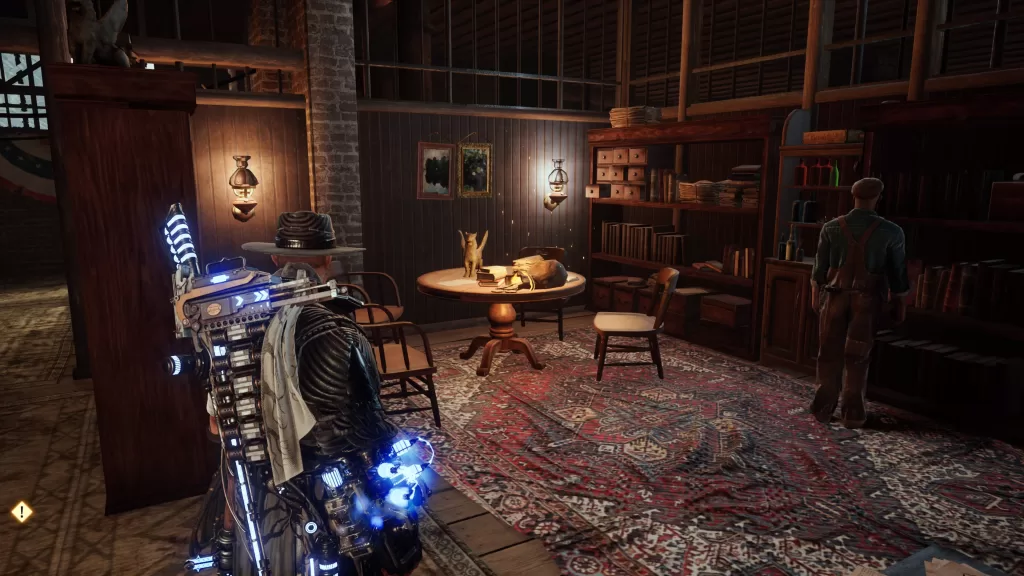
You’ll be able to start this favor by speaking with Quzman in Pherkad the Ancient Capital! Once in Pherkad, head to the alley between the main part of town and the mansion. In the alley, go through the hole in the wall on the right to reach Quzman’s residence. Speak with the old man sitting on the bed to learn that his time is coming. He’ll then have a little episode ending the conversation. Try to leave the house and he’ll call you back. Speak with him once more and he’ll ask Kalas to go out and find his family members so that he can die with them at his side. You’ll then receive the Family Tree and Quzman will sign it. When you regain control of Kalas, speak with his 5th wife who can be found nearby. Only 29 more names to go!
Quzman’s Family Members to Fill Quzman’s Genealogy
Sadal Suud Frontier
Name
Location
Description
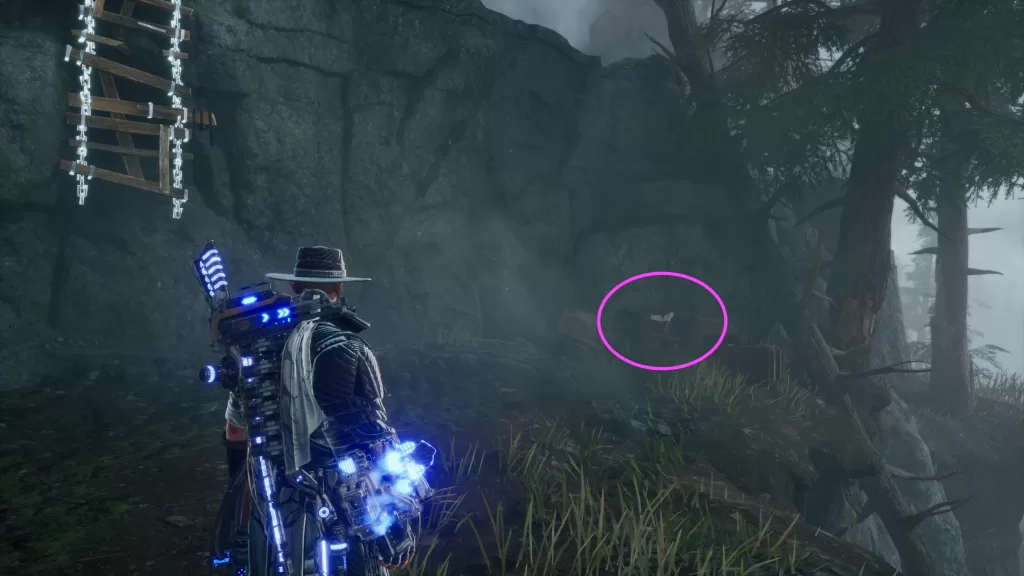
Asakir
Nunki Valley: North End
He is located in the waterfall near the exit to Pherkad and won’t sign it right away.
Hawqal
Moonguile Forest
Found in the area with the stone archways before the Lord of the Springs area.
Quzman
Pherkad
In his house on the street between the main area of town and the mansion.
Rushd
Pherkad
She can be found sitting on railing south of the blue flower. You’ll have to bring her a bluebird before she will sign.
Sabin
Pherkad
He can be found standing next to Rushd. You’ll need to complete her favor and ger her to sign the Family Tree then speak with him and he’ll sign it.
Surayj
Celbalrai
She can be found in the back of the stables leaning against one of the fences.
Taymiya
Pherkad
In her house on the street between the main area of town and the mansion.
Diadem, Land of the Clouds
Name
Location
Description
Hisham
Lesser Celestial River
From Rustah (see below), head to the southwestern part of this area to find another boy drowning in the river. Select to save him!
Maymun
Nashira
From the dock, enter the building and speak with the woman wearing a green and red striped dress standing on a crate working on the wall by the white pottery with a red stripe.
Qutayba
The Clouded Passage
You’ll find this man in the second area. In order to gain his entry, you’ll need to save his children, Hisham and Rustah from drowning in the previous area of the Lesser Celestial River.
Rustah
Lesser Celestial River
From the Thunderfish boss area, follow the path south to find a boy drowning in the river. Save him!
Anuenue, the Rainbow Nation
name
Location
Description
Tufayr
Ancient Library of Magic
After speaking with his sister in the School of Magic, head to the Philosophy Room to find him.
Tulun
School of Magic
In the east wing, you’ll find her in the first classroom by the northwestern bookshelf. Speak with her and she’ll want you to find her brother in the library. Before you can get her entry, you’ll need to speak with Tufayr (see above).
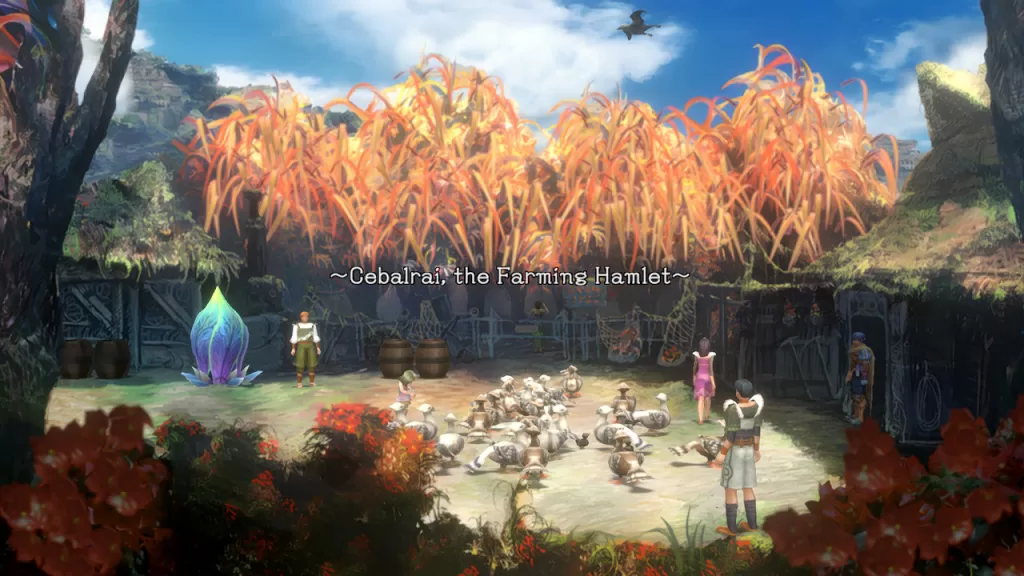
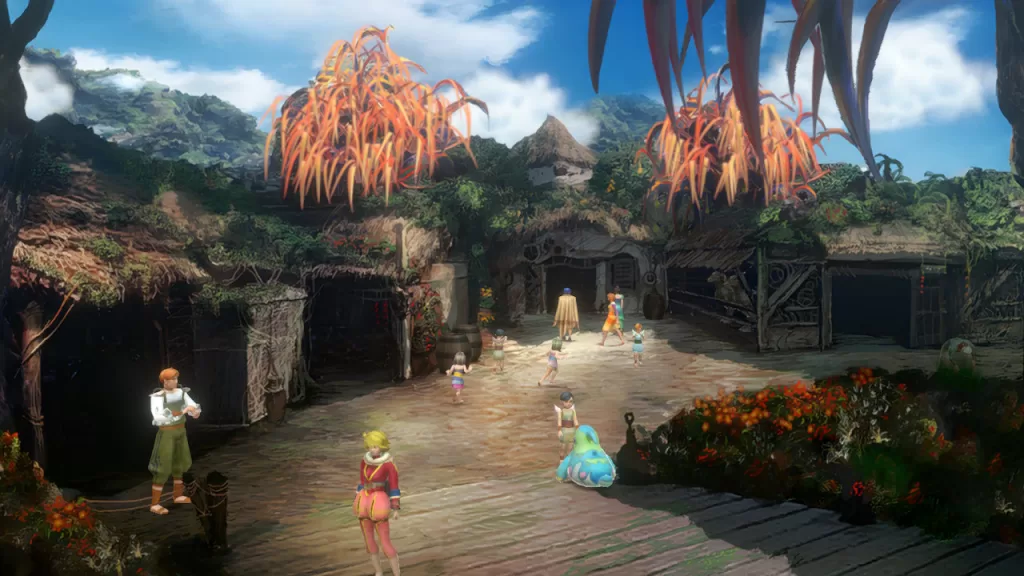
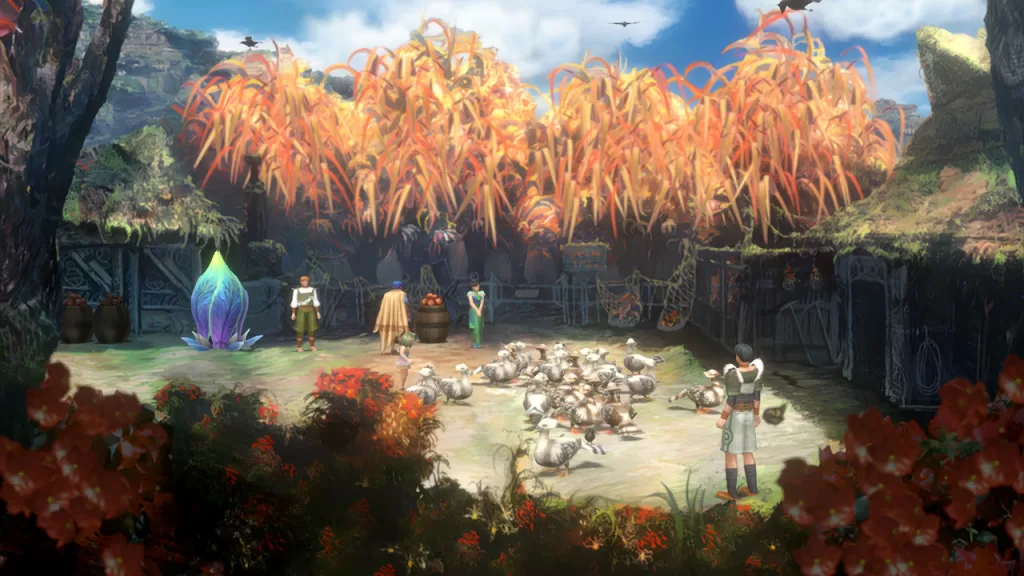
Welcome to NGB and our complete guide for Baten Kaitos Cebalrai, the Farming Hamlet. Here we’ll cover each story section that takes place in the hamlet, shops and what they offer, along with any favors you can complete for additional rewards.
Baten Kaitos Cebalrai Story – After Waking up
When Kalas first wakes up, he’ll find himself laying on a bed. Speak with the doctor Larikush to learn how you ended up here. Before leaving the room that Kalas wakes up in, speak with the red-headed girl. Exhaust her dialog options to get some information on things like healing efficiently, how to earn money and to learn more about the doctor. Exit the Doctor’s Office to arrive in a courtyard filled with animals. Head to the blue flower on the left side of the area to trigger an event where you’ll learn how to use blue flowers to save.
Once that’s done, interact with the flower and select “Visit the church” to travel to the church. Speak with the Priest in the back by the altar and exhaust his dialog options to learn about leveling up and increasing class levels. When you’re finished, return to the blue flower and interact with it choosing “Return to adventure” to head back to Cebalrai. Before making your way to the main part of the village, speak with the girl wearing the pink dress in the courtyard. She’ll mention that you should visit the mayor. He has something to say to Kalas.
Head left past the blue flower to reach the main area of the village. Proceed to the center of this area to trigger an event with a boy and Meemai. When it ends, head north then through the doorway there to reach the mayor’s house. Speak with him and he’ll invite Kalas to stay in the village as long as he needs while also insisting that he stays away from the Moonguile Forest. when you’ve finished talking to the mayor, examine the bookshelf in the back-left corner of the room to receive a Fire Burst Lv. 1 Magus card. You can this exit the building.
Back in the main part of the village, head south towards the bridge with Meemai. Speak with the blonde girl standing on the bridge to trigger another event. Afterward exit the village. You may want to save again at the blue flower before doing so. There is also a shop in the building to the left of the bridge you can visit to stock up on supplies. You can find the list of items the shop contains in the Baten Kaitos Cebalrai Shop section further down in the guide.
When you reach the world map, head west to reach Moonguile Forest.
Baten Kaitos Cebalrai Story – Post Moonguile Forest
Following the events of Moonguile Forest, Larikush will be on the bridge waiting for Kalas and will bring you to the mayor’s house. You’ll catch them up on what happened in the forest to which the mayor is none too pleased. One of the villagers will mention seeing a ship pass by heading towards the city giving us our next destination. Before setting out, stop by Larikush’s place (where Kalas first woke up) in the hamlet. Speak with him and he’ll ask Kalas for a favor. A landside in Nunki Valley has blocked that path to Pherkad (our next destination) and he would like us to take some explosives there and use them to clear the landslide. He’ll then show you how to turn stuff into magnus then he’ll give you 4 blank cards and task you with bringing him an apple to try it out. Exit his house to find a lady standing next to two barrels of apples in the courtyard. Interact with the apples then press “Sure!” when prompted to seal their magna essence in a blank card.
Head back into Larikush’s house and speak with him to hand over the apple. As a reward, he’ll give you a Magnus: Ice Dagger. With that out of the way, interact with the explosives on the nearby table to seal their essence in one of the cards then leave the doctor’s residence.
Now might be a good time to save, so visit the blue flower and do so. While you’re there, use the flower to visit the church and speak with the priest in the back. Use the pray option to level and class up. Leveling up with make Kalas stronger and classing up will allow you to carry 5 extra cards in your deck, boost your max combo to 3 and also allow you to carry 4 cards at a time in battle. After you’ve finished, head back to the blue flower. This will trigger an event where the Elder will call out to you. Speak with him and he’ll ask Kalas for a favor. The elder will ask Kalas to keep an eye out for fragments of the star map on his journey in hopes to see the star map completed before he fades away. You’ll will need to find all 50 of them scattered around the world in the form of Constellation Magnus to make this dream a reality. You’ll also be rewarded for each fragment that you find. Use the blue flower to return to Cebalrai.
Before heading to Nunki Valley, there are a couple of things you can do. First, head to the shop and sell any of the pictures you’ve taken to acquire some money. There are also a couple of favors (see Baten Kaitos Cebalrai Favors section below) you can complete. You’ll also want to head back to the Moonguile Forest and complete the favor for the Man wearing a Bracelet there. Once all of that has been done, travel to the Nunki Valley via world map.
Baten Kaitos Cebalrai Shop
The items below can be bought from the shop in the building to the left of the bridge in main area of Cebalrai.
Item
Description
Price (in gold)
Bamboo Shoot
Restores HP 45
160G
Long Sword
ATK 12 / Def 7 (2+ Combo)
200G
Safety Hood
Def 10
40G
Shish Kebab (Small)
Restores HP 20% (only usable in camp)
30G
Wheat Crackers
Revive incapacitated party members (only usable in camp)
300G
Baten Kaitos Cebalrai Favors
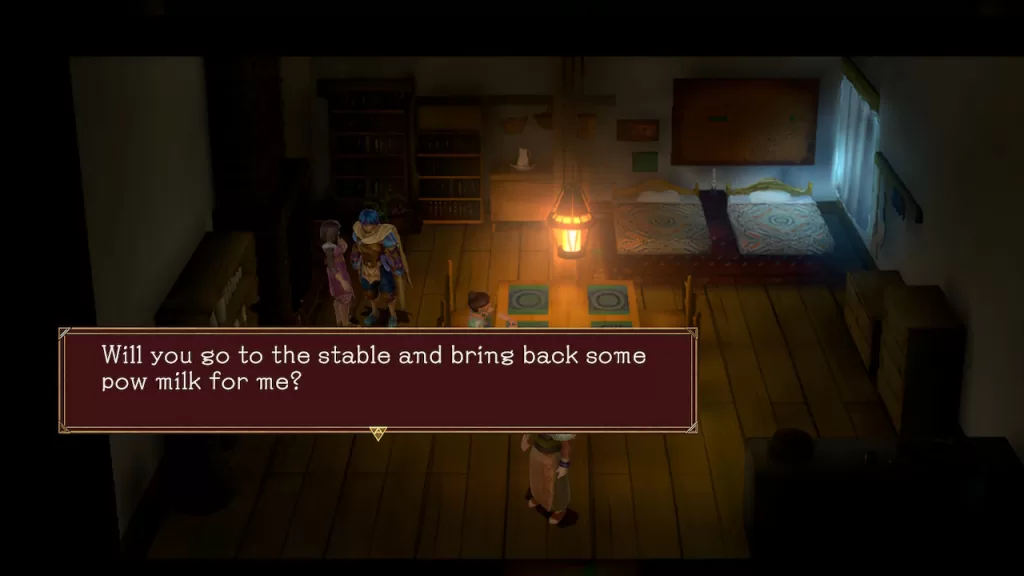
Deliver Pow Milk to the Lady
*Please Note* You can’t complete this favor until after you learn how to infuse the essence of items into blank cards following the events of Moonguile Forest.
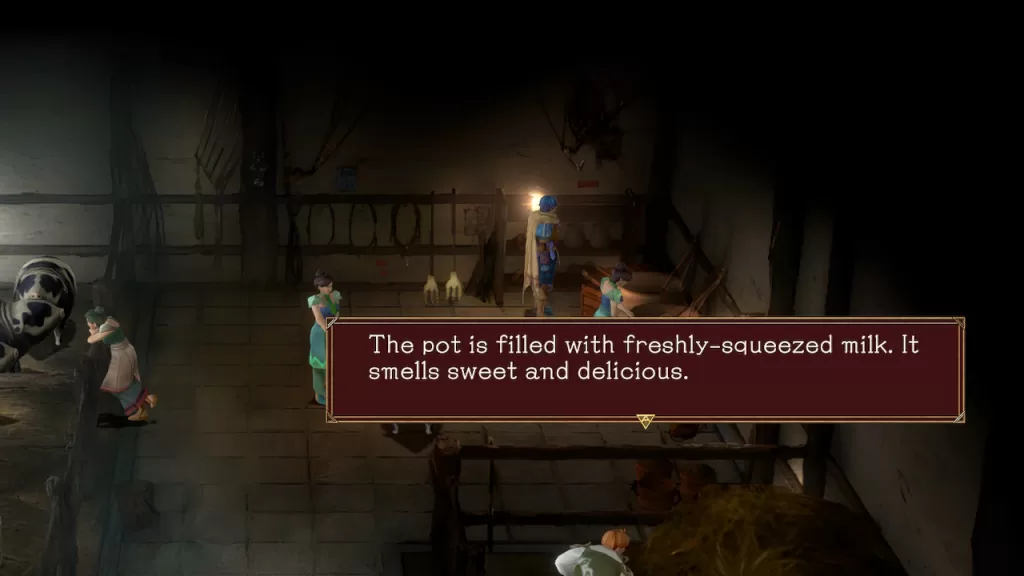
Enter the house between the shop and mayor’s house in the main area of town then speak with the brown-haired girl wearing the pink dress. She’ll ask Kalas to head over to the stable and retrieve some pow milk. Agree to help her then exit the house. Head to the stable on the east side of the main village area before the map transition to the courtyard outside the doctor’s house. Once inside, make your way to the back and speak with the lady wearing the green dress behind the girl milking the pow. She’ll tell you to go ahead and collect the milk.
Interact with the pot next to her (it will look like you are standing in front of the crate) to infuse its essence on a blank card. Head back to the middle house on the west side of town and deliver the pow milk. She’ll then reward you with the Magnus: Puppis.
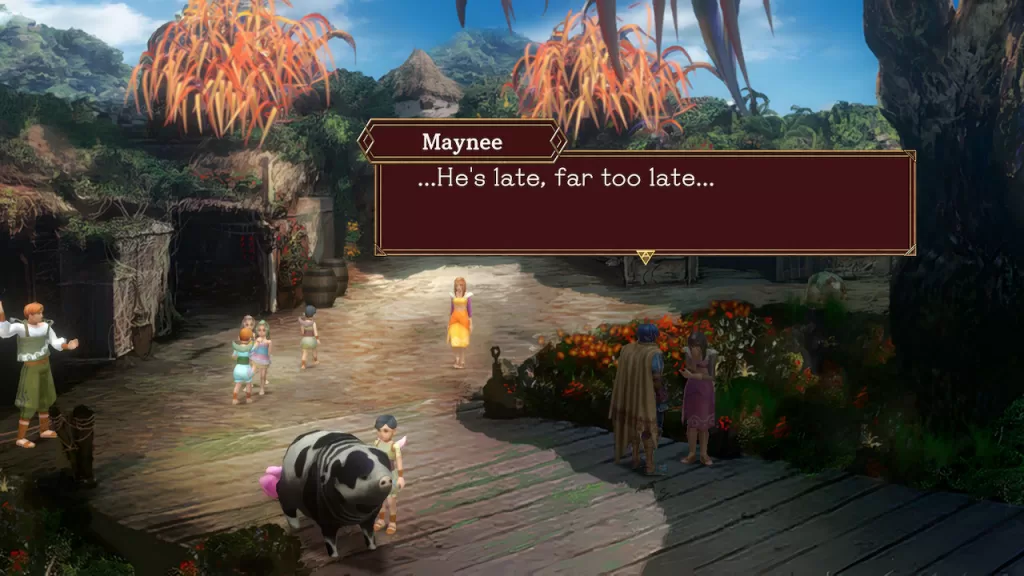
Find Maynee’s Missing Husband
After the events of Moonguile Forest, speak with Maynee on the bridge leading out of town to learn that he husband is late and hasn’t been home in days. Tell her no, then she’ll ask if you’ll keep an eye out for him when you get to the city. You’ll also receive her pendant. To find her husband, you’ll need to progress with the story until you reach The Lord’s Mansion, which is reachable via the hideout in Pherkad the Ancient Capital. Once inside the mansion, head up to the second floor then take the stairs on the western side to reach the third floor. Defeat the two guards then enter the room and retrieve the key from the table to the left. Return to the second floor and use the key to open the westernmost room. Inside speak with the man in the corner to learn that his name is Aljeemo. You’ll then be able to give him the pendant. In return he’ll give you a Magnus: Voice Lv. 2. If you return to Maynee afterwards, you’ll receive a Magnus: Shampoo.
Get Larikush an Apple
During the main story, you’ll have to speak with Larikush in his house where he will ask Kalas to use explosives to clear a rockslide in Nunki Valley. During that conversation, he will also show you have to use blank cards to seal the essence of items in them and task you with brining him an apple to try it out. If you exit his house, you’ll be in the courtyard filled with duck like animals. On the north side, you’ll find a lady standing next to two barrels of apples. Interact with the apples then press “Sure!” when prompted to seal their essence into one of the blank cards. Return to Larikush in his house then speak with him to hand over the apple. As a reward, he’ll give you a Magnus: Ice Dagger.
Welcome to NGB and our complete guide for Baten Kaitos Moonguile Forest. Here we’ll cover the story section of the game that takes place in Moonguile Forest, any items you can find while exploring, the enemies calling the area home along with their weakness and resistances and any favors you can complete in the area.
Baten Kaitos Moonguile Forest Items
The items listed below can be found around Moonguile Forest, so make sure to keep an eye out for them.
Cave at the Beginning of the Forest
Magnus: Voice Lv. 1
2nd Area with the Stream
Magnus: Leather Hat
Magnus: Bamboo Shoot
Magnus: Ice Dagger
Area with the Archways
Magnus: Flame Sword
Magnus: Fire Burst Lv. 1
Lord of the Spring Room
Magnus: Escape
The Ice Dagger in the second area is located behind a log blocking access to it. Once you learn to seal the essence of items in blank cards, you can interact with the fireplace in the mayor’s house at Cebalrai. This will get you the fire you need to burn away the fallen log. You can’t do this until you defeat the Lord of the Spring.
Baten Kaitos Moonguile Forest Story
When you arrive at Moonguile Forest, Kalas will find himself in a cave. He’ll also be accompanied by two bat enemies and there we’ll be an item on the left side (Magnus: Voice Lv. 1). Grab it then head north through the illuminated pathway. This will bring you outside near a river. Nearby, there will be a guy sitting near a log. Speak with him then exhaust his dialog options to get a crash course on combat. When you’ve finished, go north along the river passing through a slightly concealed cave. There will be an item (Magnus: Leather Hat) on the other side for you to collect.
Just past the guy sitting on the ground near a log, there will be another log on the right preventing you find getting the item behind you. You won’t be able to collect this item until after you complete the story section here and return to Cebalrai. You’ll then need to progress the story until Larikush teaches you how to use blank cards.
Backtrack a bit then cross the river and head south to find another item (Magnus: Bamboo Shoot). Go north along the river to reach the next area of the forest. Make sure you are prepared, as you are about to face a mini boss.
In the next area, a cutscene will trigger involving the blonde girl you met in the village and her companions. This will lead to a fight where she and Kalas will team up against a Sabre Dragon. The beast will resist any fire attacks you send its way but is also weak to water. Use that to your advantage to take it down. Also make sure to snag a picture of the dragon that you can sell later! After the Sabre Dragon falls, another cutscene will trigger. The girl will introduce herself as Xelha and decide to tag along to the ancient ruins.
When you regain control of Kalas, proceed to the next area of Moonguile Forest. When you arrive, head left through the archways to find an item (Magnus: Flame Sword) at the end. Backtrack to the first archway and follow the path north around the area towards the red flower. Along the way, to the east of flower you’ll be able to grab another item (Magnus: Fire Burst Lv. 1). Make sure to use the red flower to save when you reach it along with healing up as necessary. There is a boss fight coming up in the next area!
Head to the next area to trigger a cutscene during which the Lord of the Spring will appear. After some dialog it will then attack the party. The Spring Lord uses water-based attacks which means it also resists water. To deal extra damage, use fire-based moves to hit its weak point. One thing to watch out for is its 4 attack combo that typically ends with a big attack dealing around 50 damage total. Also make sure to snag a picture of the creature to sell later. When the creature falls, another cutscene will trigger. After it concludes, you’ll be back at the world map. Return to Cebalrai!
Baten Kaitos Moonguile Forest Favors
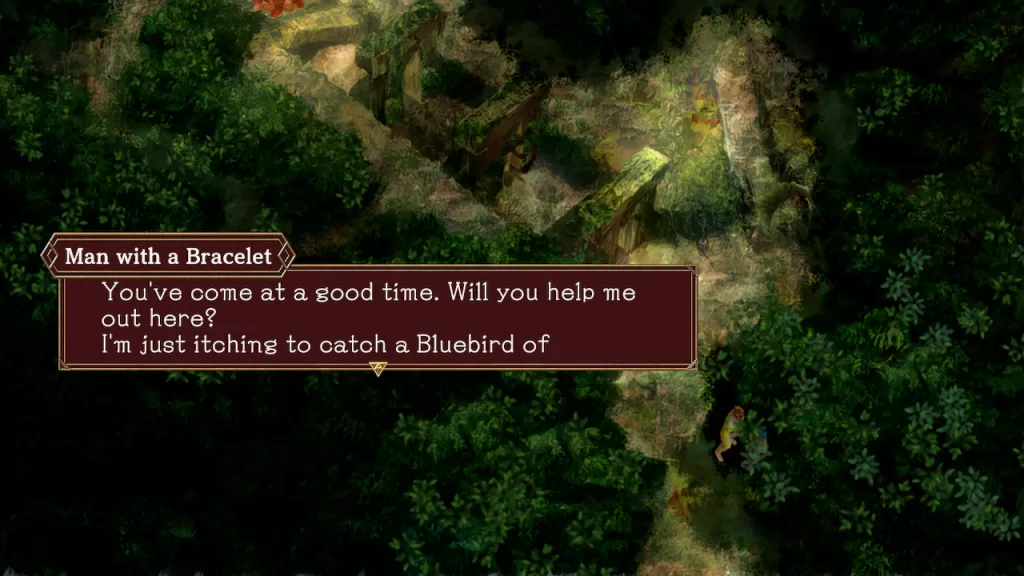
Help the Man with a Bracelet Catch the Bluebirds
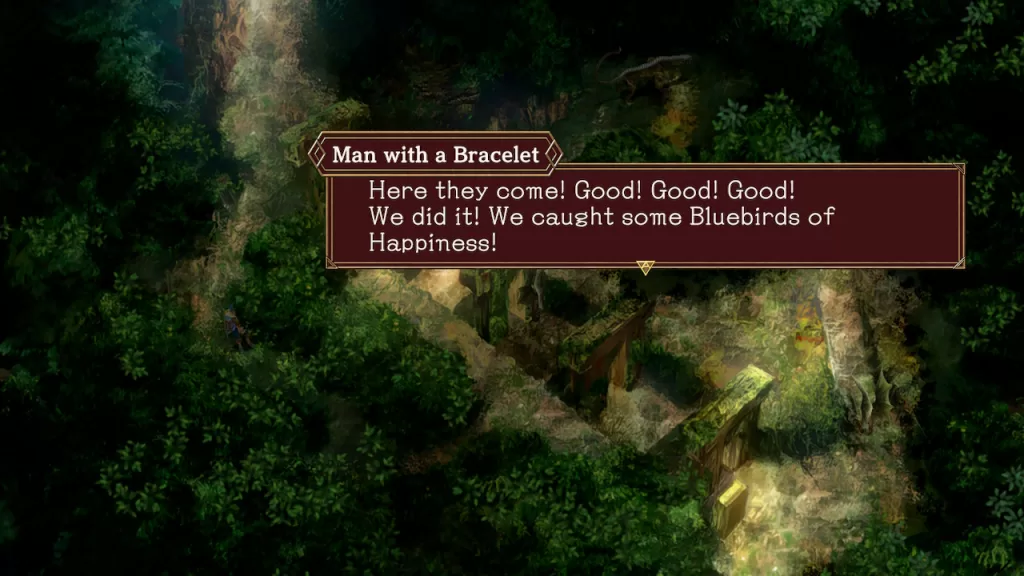
After dealing with the Lord of the Spring, return to the area with the red flower to find a Man with a Bracelet near the stone archway. Speak with him to learn that he’s a professor of zoology who can communicate with animals. He is here trying to catch a Bluebird of Happiness and asks Kalas to lend a hand. If you agree, he’ll give you a bit more information saying that he’s always dreamed of stuffing one of those birds. To catch the birds in his trap, you’ll need to head to the red flower. Along the way, the birds will fly in the wrong direction causing the man to yell at you. Next, either battle the Shawra flying around near the flower or enter the area where you fought the Lord of the Spring then comeback. This will reset the bluebirds allowing you to walk past their nest in way sending them towards the Man with a Bracelet.
When successful, the man will let you know that he caught one. Head back and speak with him then interact with the birds and trap their essence in one of your blank cards.
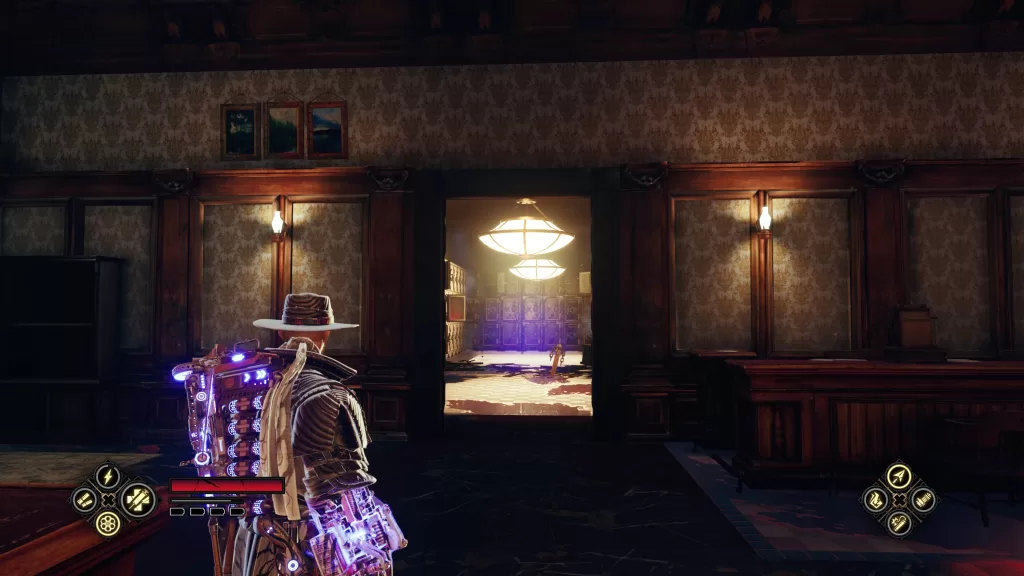
Welcome to our guide on where to find all the collectibles in 16 The Grand Finale of Evil West. In this chapter you’ll find 5 money stashes.
The Grand Finale Collectibles
Bucks x2
A breakable crate and bag of money can be found in the lobby where you fight multiple waves of enemies.
Bucks
After fighting the first enemies, you’ll melee through the door to continue deeper into the opera house. This breakable crate can be found on the main path in the hallway.
Bucks
This bag of bucks can be found next to the perks reset machine.
Bucks
Continue down the hall to find the next and last bucks stash!
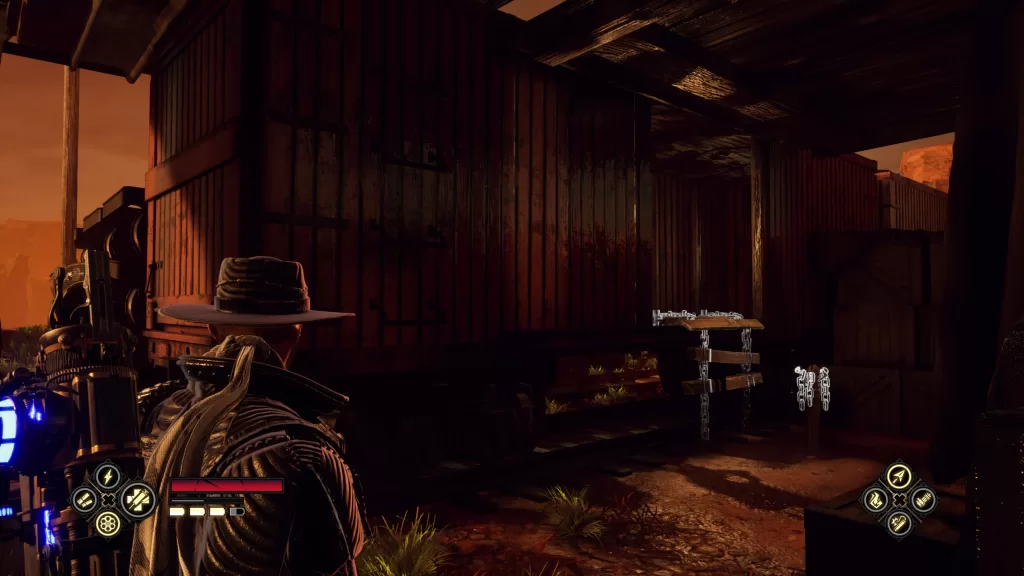
Welcome to our guide on where to find all the collectibles in 15 The Heist of Evil West. In this chapter you’ll find 2 lore collectibles, 2 chests and 18 money stashes.
The Heist Collectibles
Bucks
This bag of money can be found in the alley to the left of where the Gatling gun is.
Bucks
This breakable crate can be found along the main path up the stairs to the left of the last collectible.
Bucks
After jumping across the street to a building on the other side, drop down then look to your left to find a bag of money next to a breakable wall.
Bucks
This bag of money can be found along the main path to the right of the train tracks by a building.
Bucks
In the room with the workbench (containing the Death Ray Gun), melee the wall to reveal the trunk of cash.
Bucks
After exiting the workbench room head forward into the alley and look to your right to find a breakable box next to the post office sign.
Bucks
After the fight, jump over the barrier into an alleyway. Head to the stairs. To the left of them you’ll find a breakable crate.
Bucks
Go up the stairs to find a bag of bucks!
Bucks
In that same alley, shoot the chain down then climb up it to find a bag of bucks on the roof.
Bucks
From the previous bucks, head up the stairs to find a breakable crate containing bucks.
Chest – Fire & Forget
At the previous collectible, you’ll need to break the wooden crates the breakable box was sitting on to reveal a ledge you can drop down to where a chest awaits! Trying to break these boxes was a bit buggy for us. We rolled through them a couple of times to do the trick!
bucks
Climb up to the next roof and look to the right of the water tower to find a bag of bucks.
Collectible – A Drawing by Young Felicity
When you enter the bank, you’ll find this lore on the counter to the right.
Bucks x4
These can all be found in the bank vault.
Bucks
After blowing the door to the vault you’ll need to interact with the Glamour inside. After that, head outside and destroy 2 Glamour Seals. This will clear the way allowing you to access the second floor of the bank. This bag of bucks will be straight in front of you on a bookshelf on the second floor.
Collectible – Peter D’Abano and Felicity
From the previous collectible, head to the end of the bookshelf next to the glass case. Follow the tendril to another bookshelf. When you reach the bookshelf, take a left to find this lore.
Bucks x2
This breakable crate and bag of bucks can be found next to the third Glamour Seal.
Chest – Perk Point
Jump through the hole in the floor next to the third Glamour Seal then turn around and head through the doorway into the lobby of the bank. Look to the right and across from the crystal you’ll find a door. Interact with it to reveal a room with a chest inside.
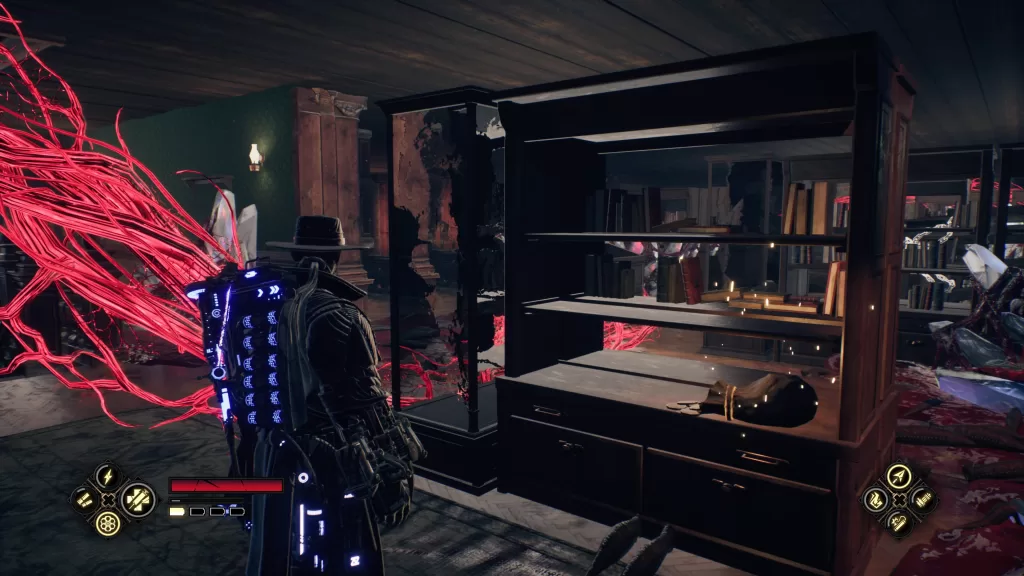
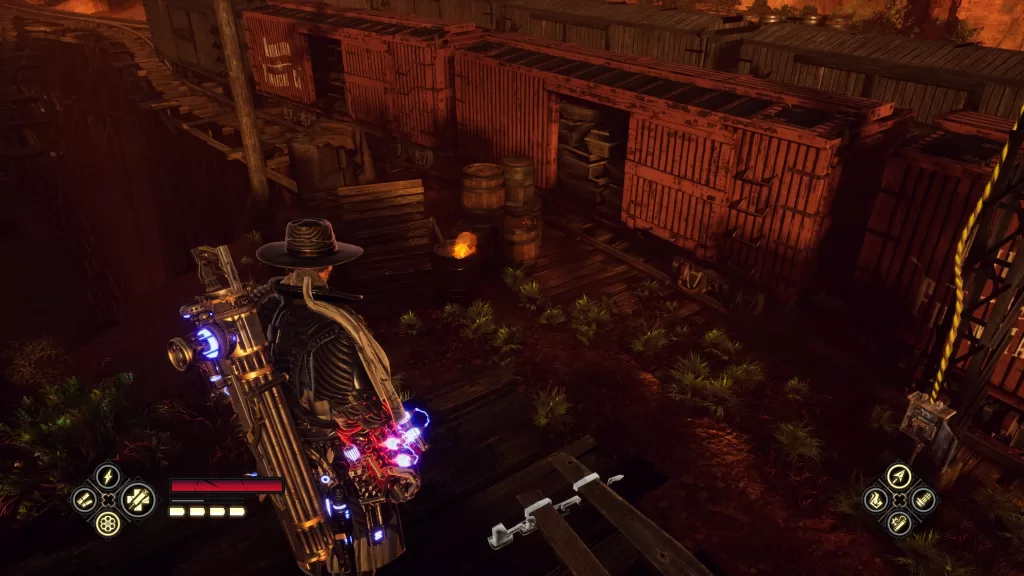
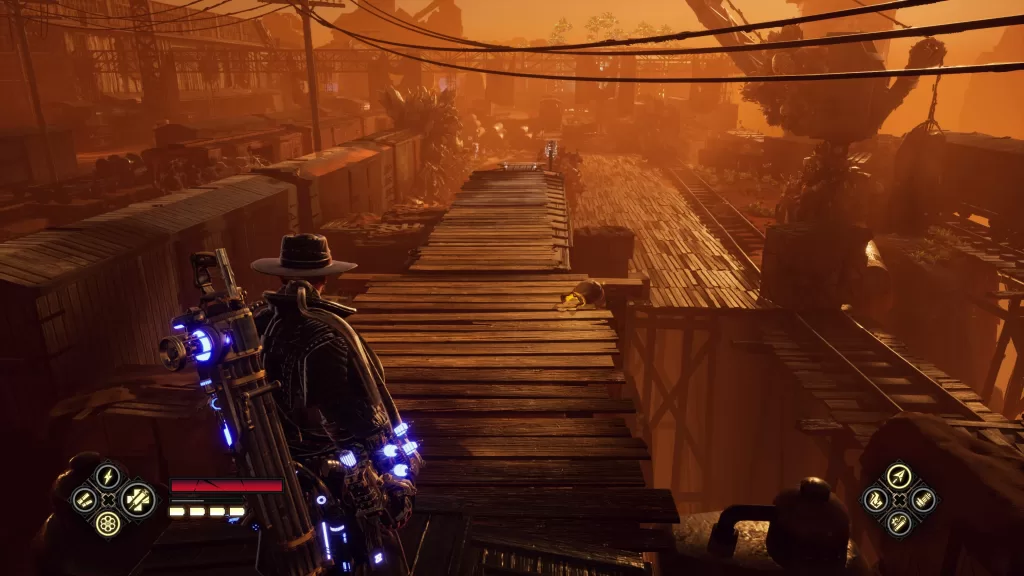
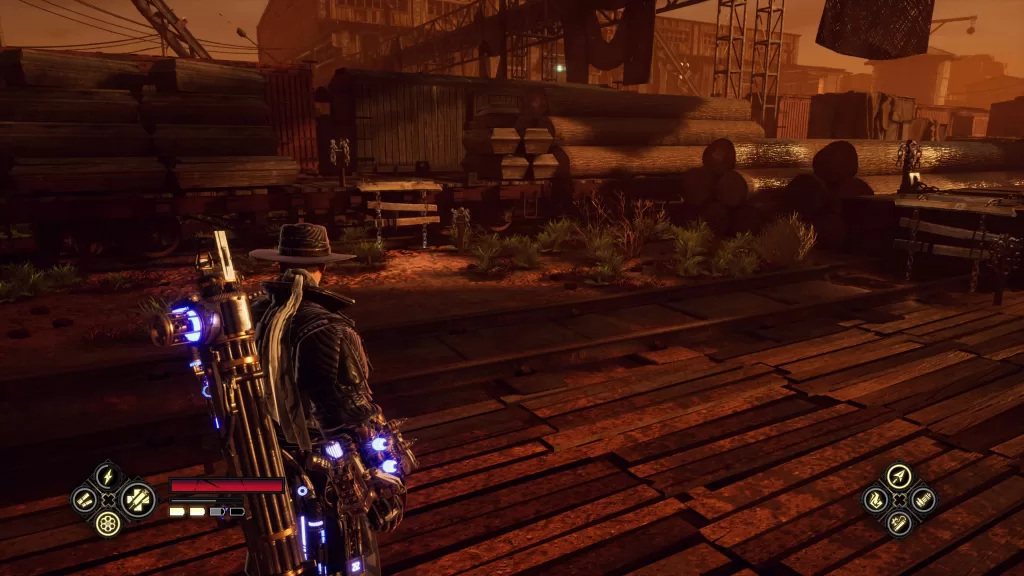
Welcome to our guide on where to find all the collectibles in 14 A Son’s Duty of Evil West. In this chapter you’ll find 3 lore collectibles, 2 chests and 30 money stashes.
A Son’s Duty Collectibles
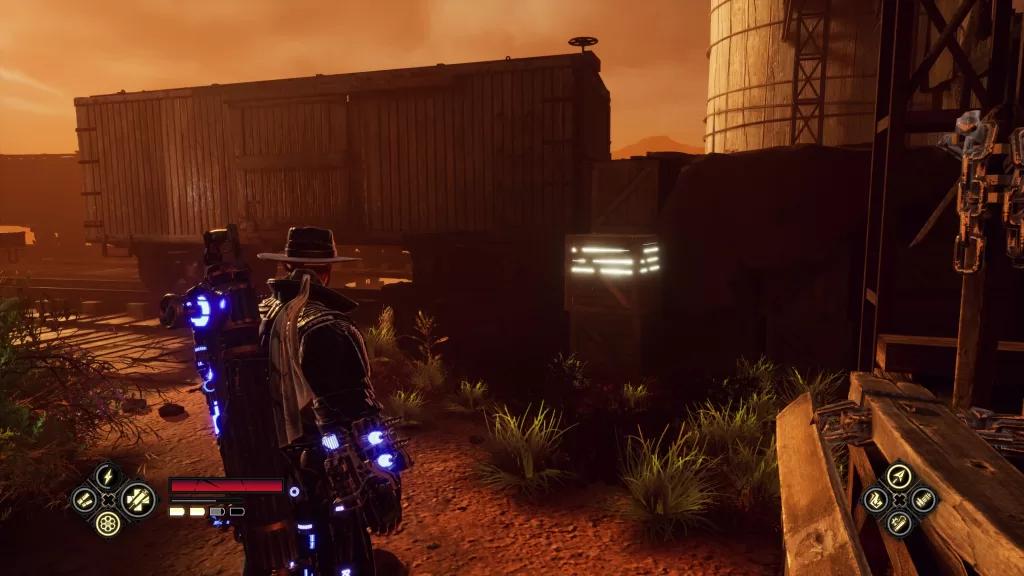
bucks
This bag of money can be found on a crate on the left of the main path just after a small slant in the terrain.
Bucks
This bag of bugs can be found on a crate on the left side near a train car.
bucks
After encountering the first group of enemies, you’ll jump over an obstacle. Immediately turn right to find this bag of bucks.
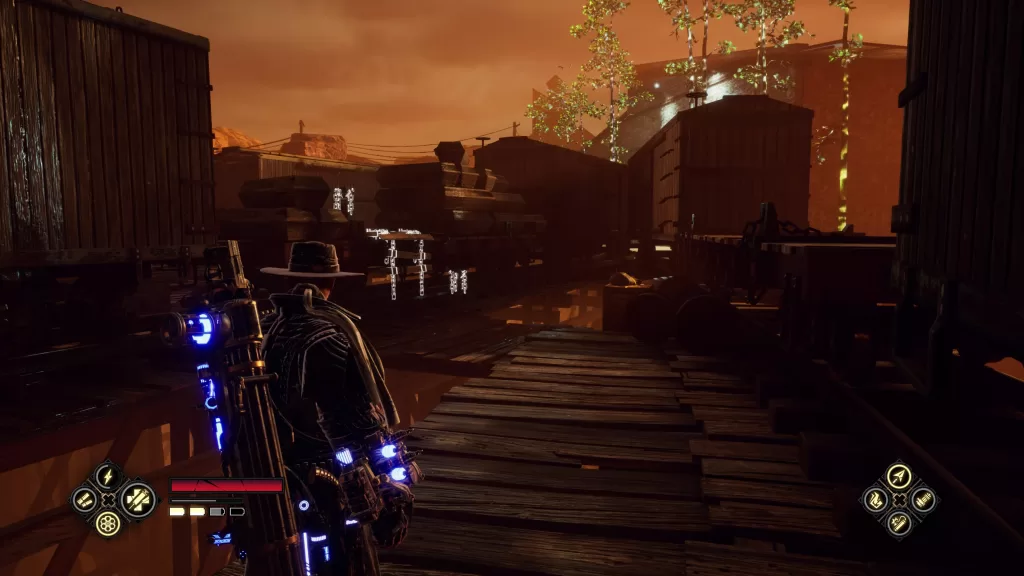
Bucks
By the above bucks, continue forward a short way to the train tracks. Turn right then enter the train car to find these bucks.
Bucks
This bag of bucks can be found along the main path near the switch you’ll need to flip.
Bucks
This bag of bucks can be found after flipping the switch on the main path when you walk across the tops of the train cars.
Bucks
After fighting the group of enemies in the train car area, there will be two ledges you can jump over. Choose the left one then blow up the TNT to find a trunk of cash.
Bucks
After climbing up the other obstacle, this breakable crate will be on your right.
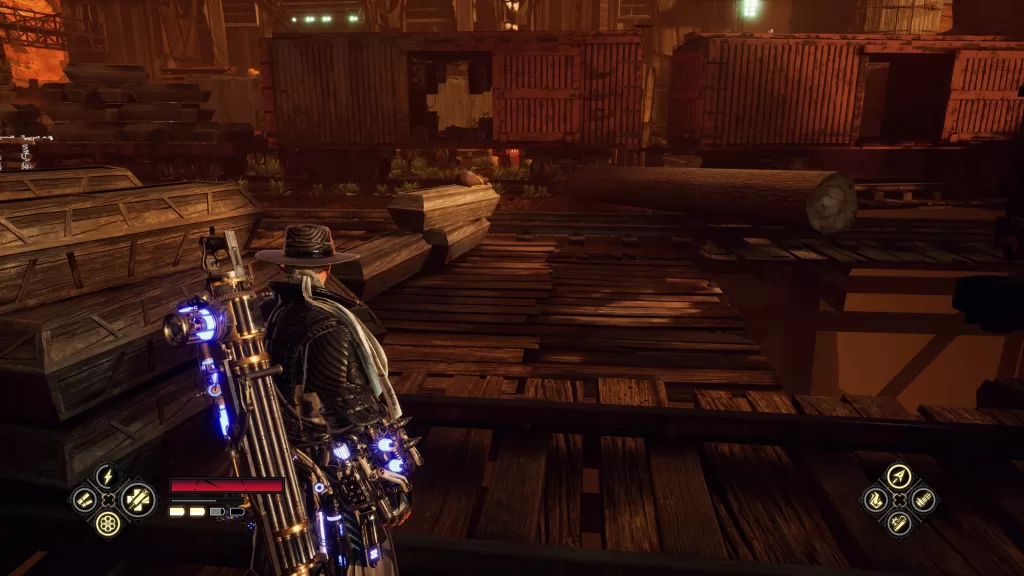
Bucks
From the above, hug the right side and jump across to the other set of train tracks. Follow them to the end to find a bag of money.
Bucks
This bag of bucks can be found on some coffins along the main path.
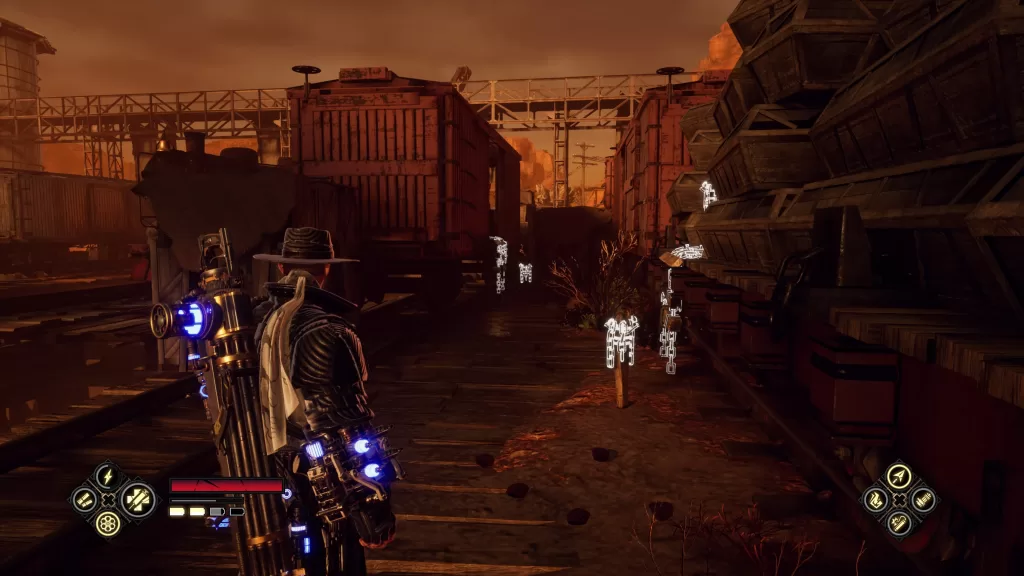
Bucks
From the above, head left and follow along the train tracks. Enter the red car on the left to find a back of bucks.
Bucks
After crossing through a car with coffins, take a right to find some TNT crates. Shoot the TNT to find the trunk of cash.
Bucks
This bag of bucks can be found above the workbench with the Lightning Tornado. You’ll need to shoot it down.
Bucks
This breakable crate can be found by the train to the left of the entrance to the building.
Bucks
After entering the building, you’ll need to defeat the enemies inside then continue ahead to find this breakable crate also inside the large building.
Collectible – William Rentier Writings 2/3
This lore can also be found in the above large building after squeezing through a narrow path.
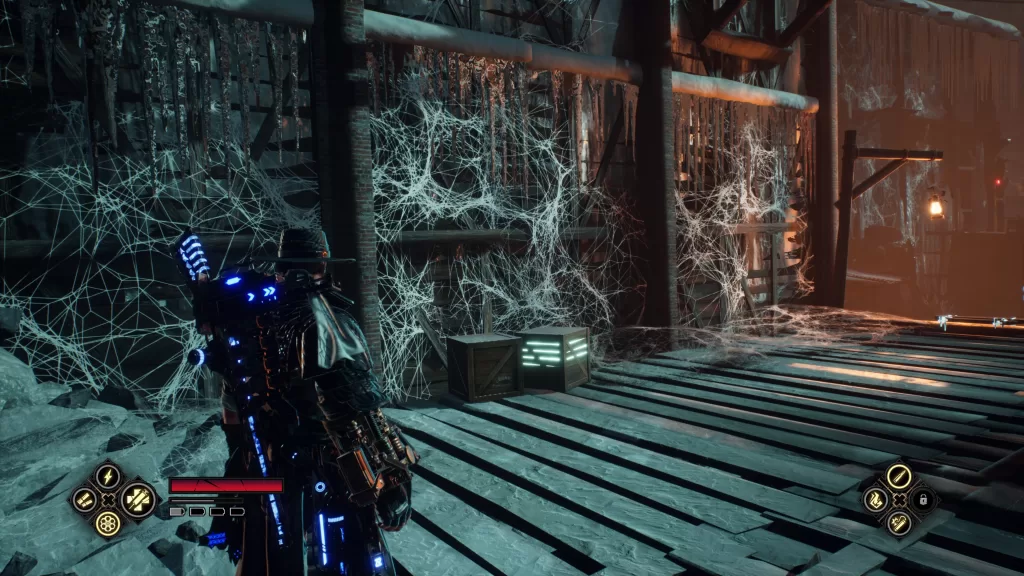
Chest – Ghost Zapper
This chest can be found behind a burnable spider web in the maze section of the large building.
Bucks
This bag of bucks can be found right around the corner from the above chest.
Bucks
This bag of bucks can be found on the second level of the large building just before exiting.
Bucks
From the above, drop down and head left across the train car roofs to reach this bag of money.
Bucks
This breakable crate can be found on a barrel near the turntable switch.
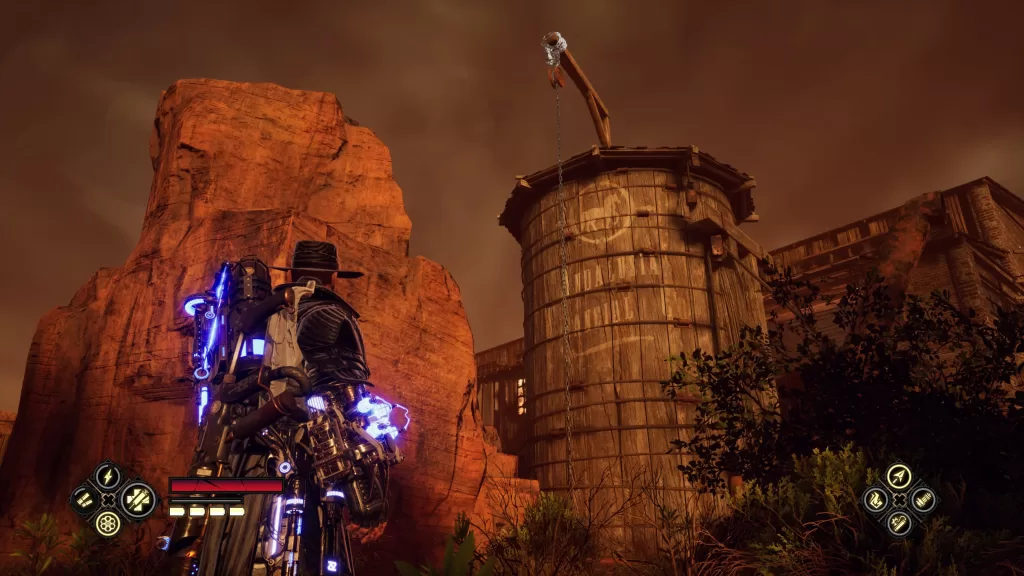
Chest – Tooldown Perk
This chest can be found atop a silo. You’ll need to shoot the chain to make it drop which will allow you to reach the top.
Bucks
This bag of bucks can be found on a crate near a fuse box that you’ll need to power up.
Bucks
This bag of bucks can be found across from the last fuse box that you’ll need to power up.
Bucks
This trunk filled with bucks can be found on a platform reachable via a moveable mining car near the last fuse box.
Bucks
This bag of bucks can be found on top of a train car reachable via a moveable mining car near the last fuse box.
Bucks
Walk across the turntable to find this bag of bucks on the right.
Collectible – William Rentier Writings 3/3
This lore can be found along the main path after smashing through some boards to enter a brick building.
bucks
In the brick building with the Glamour, head straight to the next room then take a right. On the other side of the mine cart you’ll find a breakable crate.
Bucks
This money bag can be found next to the above crate behind breakable wooden boards.
Bucks
This breakable crate can be found on a wooden platform on the main path.
Bucks
Once on the upper metal walkway, follow the path left then drop down to find this bag of money.
Bucks
After breaking the Glamour, head outside via the new path and head up the ramp. On the left, you’ll find a bag of bucks on a barrel.
Bucks
Facing the ramp, head left then shoot the TNT to reveal the bag of money on the ground.
Collectible – William Rentier’s Letter 2/2
This lore can be found on a coffin across from the ramp.
Welcome to our guide on where to find all the collectibles in 13 Old Friends of Evil West. In this chapter you’ll find 4 lore collectibles, 1 chests and 24 money stashes.
Old Friends Collectibles
Bucks
This bag of cash can be found in the kitchen.
Collectible – A Manual by William Rentier
This lore can be found in the large machine room.
Collectible – Thomas A. Edison Visiting Calico
This lore can be found on the worktable in the large machine room.
Bucks
This bag of bucks can be found on a desk in the briefing room.
Bucks
On the second level of the briefing room, you’ll find this bag of cash on the table.
Bucks
This breakable crate can be found between the wagons and the cliffside.
Collectible – A Fragment of a Letter From Chester Morgan
Just before you climb up, you’ll find this lore to the right along the cliffside to the right of the climb up spot.
Bucks
After skirting along the cliffside, you’ll find this bag of money on some crates just after the path widens again.
Bucks
This bag of bucks can be found along the main path just before some bushes you’ll need to burn.
Bucks
This bag of bucks can be found on a crate along the main path just after the second fight when you drop down the cliff.
Bucks
Follow the path down all the way. When you reach the river, turn left to find a hanging man. Shoot him down to loot the money.
Bucks
This bag of money can be found along the main path in the cave on a barrel.
Bucks
After you blow through a section of the cave wall, head on through then take a right to find a bag of money.
Bucks
Continue following the main path a short way to find this bag of money just after punching through a barrier.
Chest – Life Support Perk
In the sinking paths area, shoot down two planks then follow the path hugging the left side each time to reach the chest.
Bucks
After getting the Amped Bolts upgrade for your X-Bow, crouch under the partially opened gate. Follow the path left and drop down to the ledge below to find the money.
Bucks
This bag of bucks can be found on a barrel after emerging from the waterfall.
Bucks
After crossing the bridge, take the narrow path to the right. Follow the path to the bag of bucks at the top of a waterfall.
Bucks
This bag of bucks can be found on the main path just before entering a cave.
Bucks
After getting the Gatling gun, this breakable crate will be straight ahead.
Collectible – A Letter from Chester Morgan
On the same wooden platform as the above breakable crate.
Bucks
From the above collectible, look to the right to find a trunk of bucks down the stairs.
Bucks
This breakable crate can be found under the walkway.
Bucks
This bag of bucks can be found on a crate along the river near an overturned wagon.
Bucks
After jumping over a log, take the right path to find this bag of bucks on a crate along the river.
Bucks
After revealing the Glamour seals, head up the ledge to the left to find a trunk of bucks.
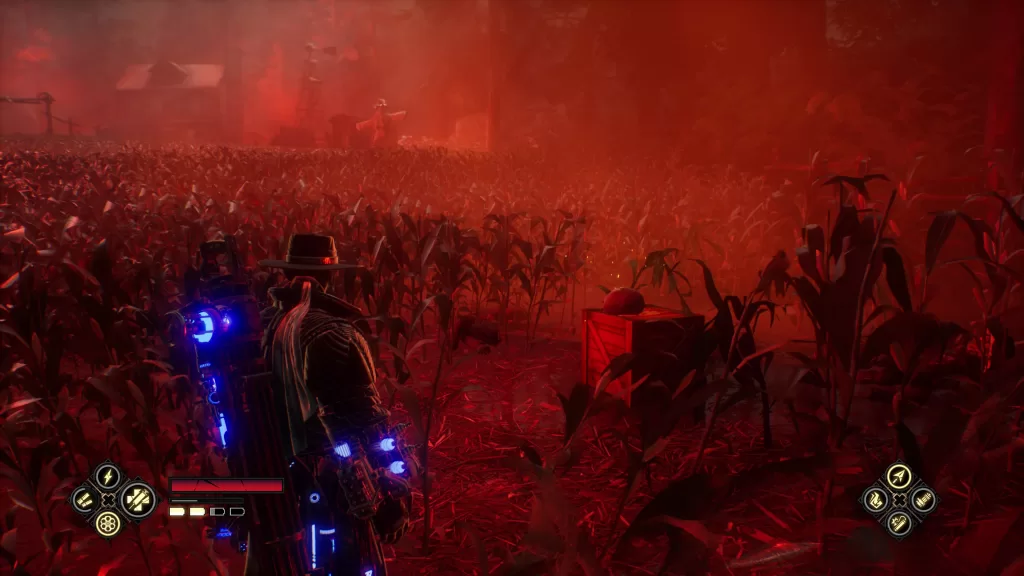
Bucks
This bag of bucks can be found on the right side of the corn field.
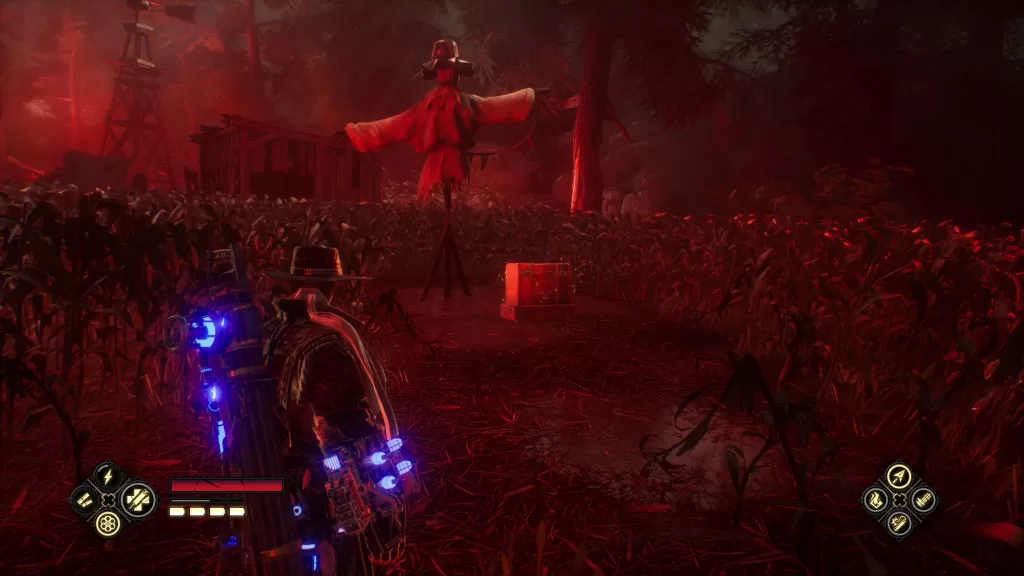
Bucks
This trunk of bucks can be found by the back right scarecrow.
Bucks
This one is also in the cornfield! We accidentally picked it up!!
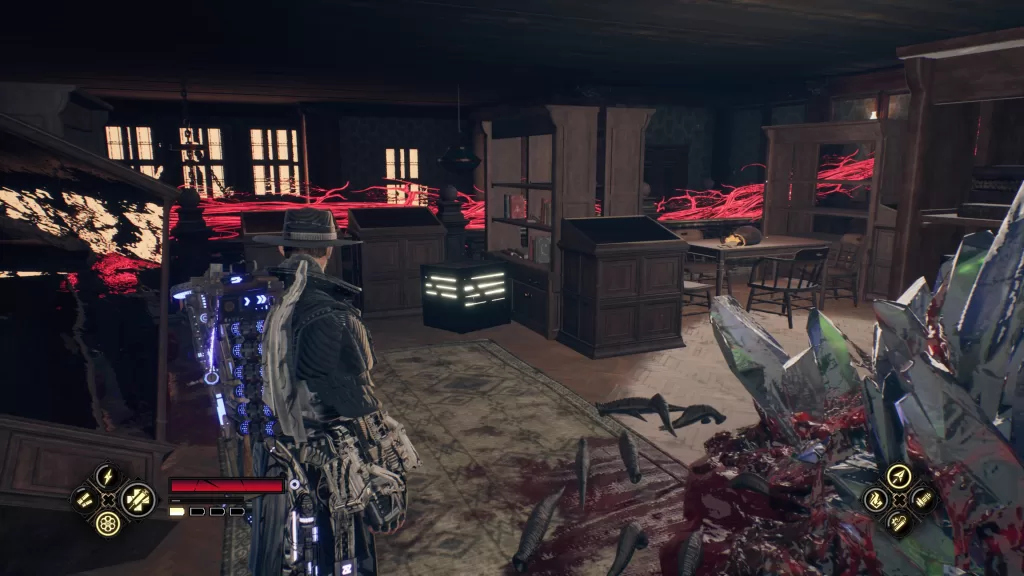
Welcome to our guide on where to find all the collectibles in 12 Lightning in a Bottle of Evil West. In this chapter you’ll find 3 lore collectibles, 2 chests and 19 money stashes.
Lightning in a Bottle Collectibles
Bucks
After exiting the mine cart, look to your left to spot a breakable crate.
Collectible – Agent’s Letter to the RI Crew
In the area you fight the first group of enemies, melee the wall to find the lore in a small room.
Bucks
Jump over the fallen tower to find this breakable crate.
Bucks
To the right of the above shoot the TNT crates to find a trunk of cash.
Bucks
Above Vergil, shoot the bag of money hanging on the tower.
Bucks
After blasting through the rocks on the main path, you’ll climb up a ledge. Look to the left to spot this bag of bucks.
Bucks
This breakable box can be found by the power switch for the second tower.
Bucks
This bag of bucks can be found on a barrel underneath the 2 lights.
Bucks
This breakable crate can be found underneath a platform near the mine cart.
Bucks & Chest – Ghost Gauntlet
Near the above breakable crate, shoot the chain so that it drops down then climb up it to find a breakable crate and chest.
Bucks
After pushing the mine cart, you’ll climb up it. The breakable container will be right in front of you.
Collectible – President Chester Arthur’s Letter
This lore will be straight ahead from the previous breakable crate.
Bucks
Shoot the TNT right next to the above to find a money bag.
Chest – Perk Point
After fighting a group of flying enemies, you’ll duck under a log to find this chest.
Bucks
On the way to the third tower, you’ll walk across a metal walkway then will need to skirt your way along the ledge where you’ll find a bag of money.
Collectible – William Rentier’s Letter 1/2
This lore will be located on a desk next to a perk reset station.
Bucks
After you climb up the long ladder, head left and drop down to a lower level. Shoot the TNT crates then follow the snowy path to a trunk of bucks.
Bucks
Along the main path just before squeezing through a tight space, you’ll find a bag of money.
Bucks
You’ll find this bag of money next to a charging station.
Bucks
This bag of money can be found near a switch.
Bucks
Next to the above collectible, zip line down to find a breakable crate.
Bucks
After turning on the third tower, you’ll head through a metal door and drop down off a ledge. Look to the left to find a bag of money on some crates next to a zip line.
Bucks
This trunk of bucks can be found under the frozen elevator.
Welcome to our guide on where to find all the collectibles in 11 A Man of People of Evil West. In this chapter you’ll find 3 lore collectibles, 2 chests and 19 money stashes.
A Man of People Collectibles
Bucks
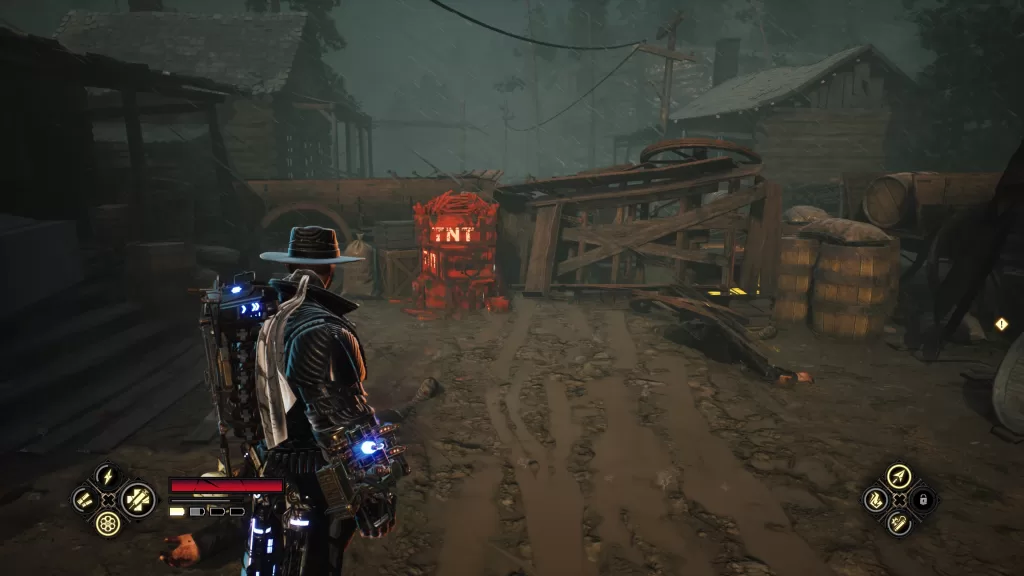
From the starting point, head all the way down the road to the left. At the end, you’ll see some TNT. Shoot it to reveal a trunk of cash.
Bucks
Head to two buildings left of the Saloon (when facing the Saloon). On the left side of this building, you’ll find a bag of money behind a wagon.
Bucks
Jump over the bridge near the wagon to find a bag of cash next to a nest.
Bucks
Across from the Saloon, you’ll find a fence to punch. Do so to reveal a bag of money.
Bucks
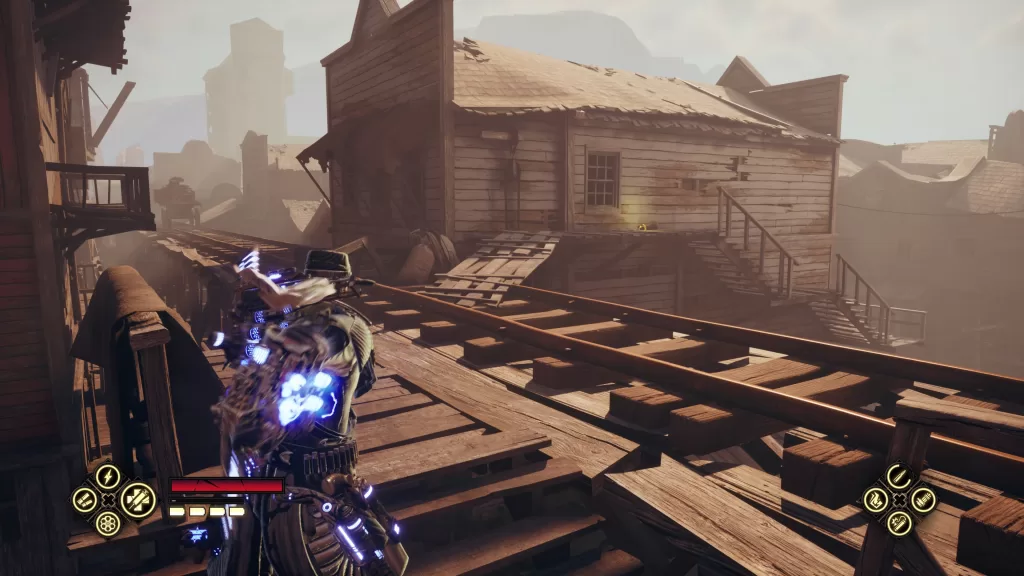
Across from the spot to reset your perks, you’ll find the Saloon. Climb up the stairs to find a bag of money on the upper balcony.
Bucks
Continue along the walkway heading behind the Saloon to arrive at a bag with cash on a barrel.
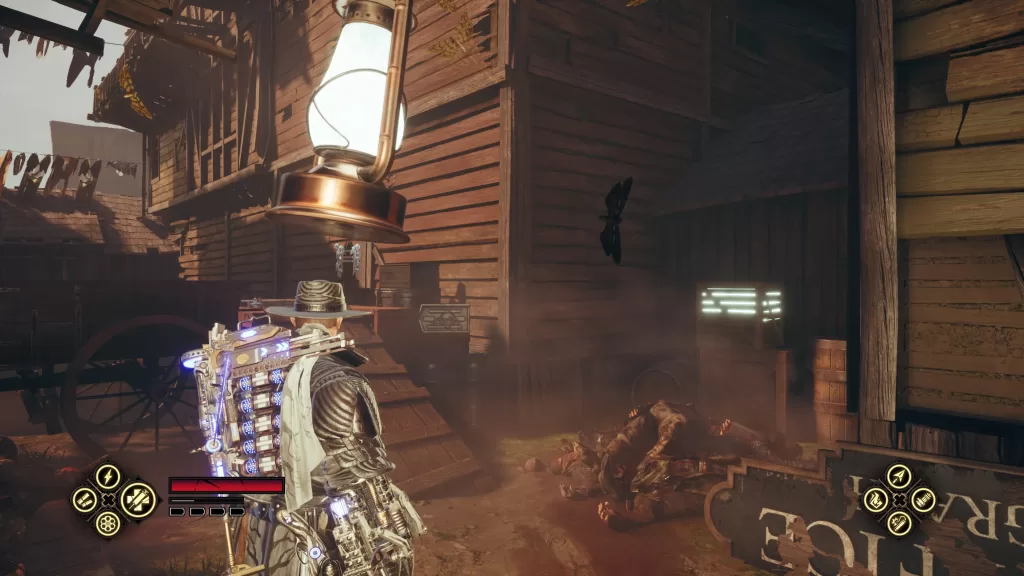
Bucks
Drop down then punch the nearby wall to reveal the money bag.
Bucks
Jump over the ledge to the right of Tonics Remedies. A bunch of enemies will spawn so defeat them then you’ll be able to access the breakable crate containing the bucks, which is over the obstacle on the right side of the building (when facing the back of the building).
Bucks
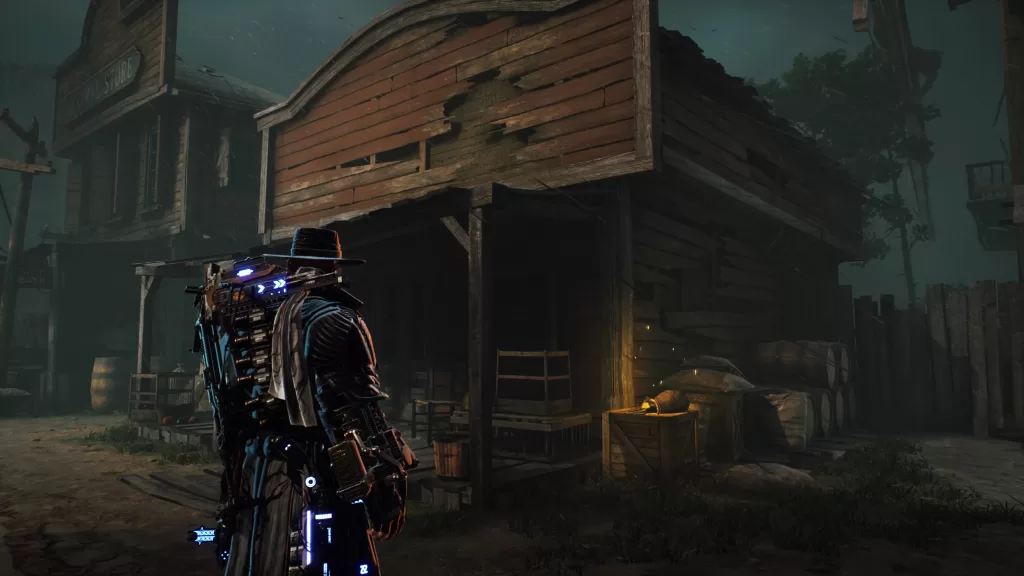
To the right of the General Store, you’ll find a bag of bucks on a crate near the porch of the building.
Bucks
Facing the crate of the above collectible, walk straight ahead towards the fence then walk along the porch to spot a bag of trunks.
Bucks
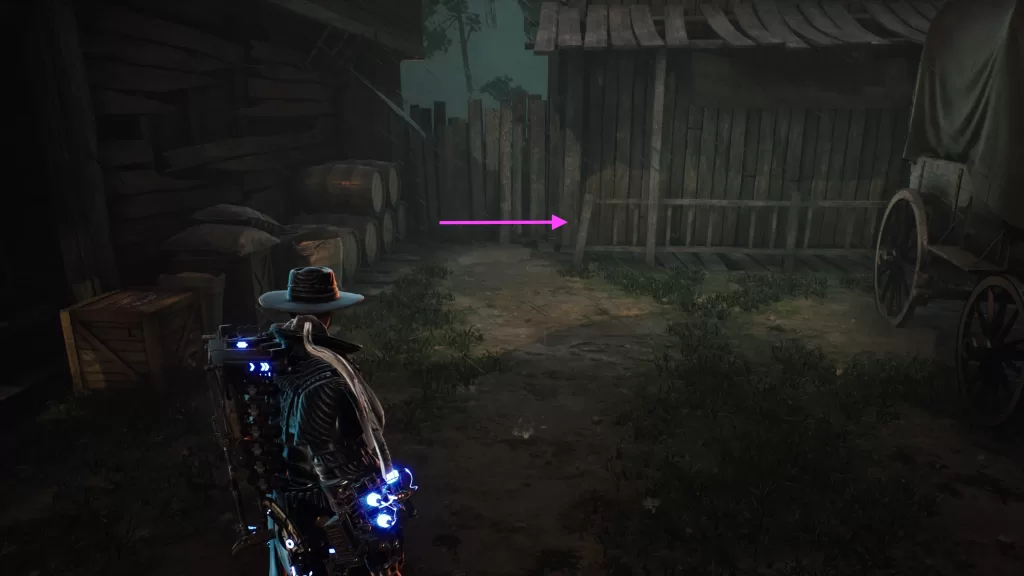
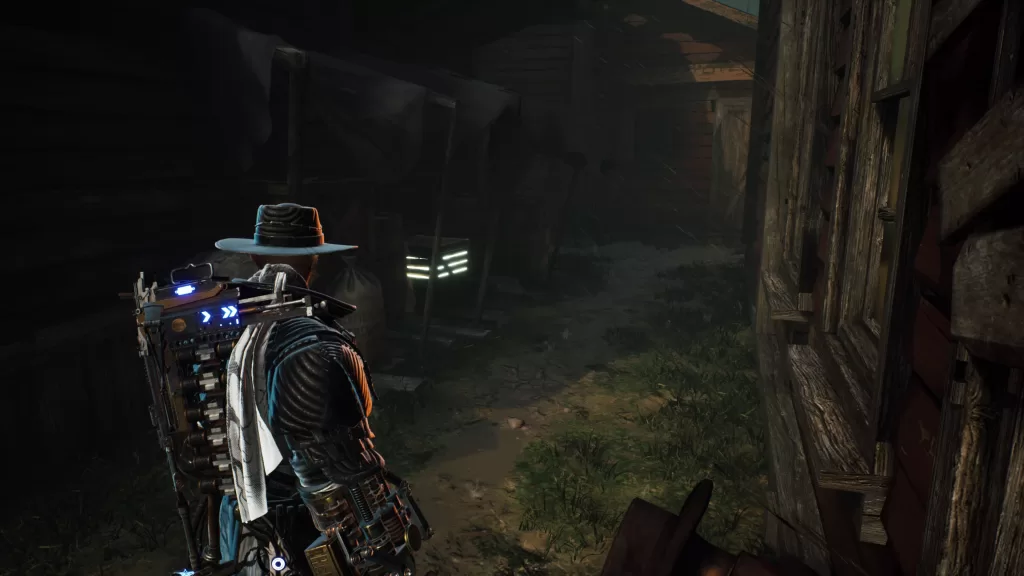
You’ll find this breakable crate in the alley to the right of the General Store.
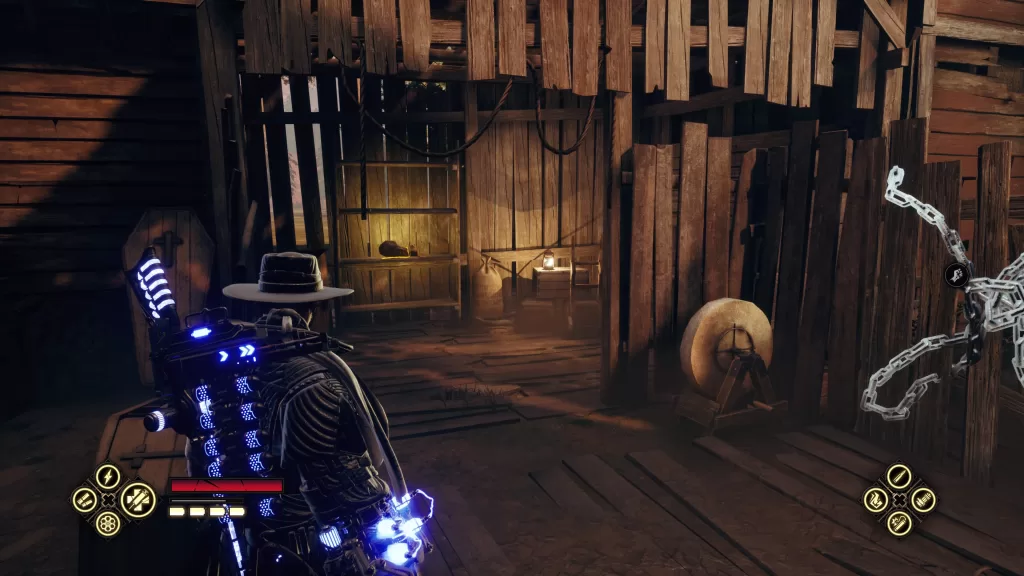
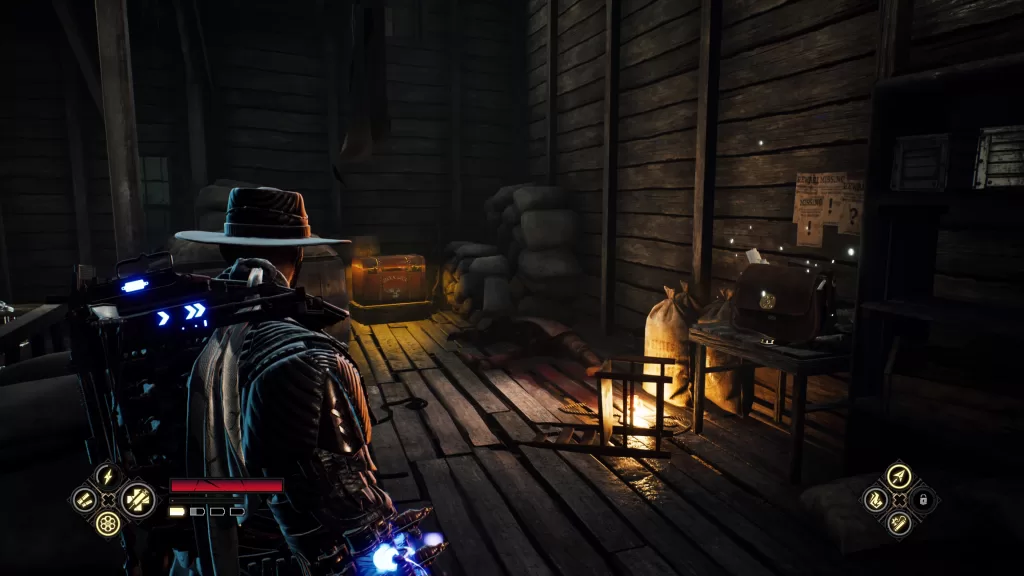
Bucks & Collectible – 7 Years Old Kid Drawing
Head deeper into the alley to trigger enemies to spawn from the water mill. Head inside and turn right to find the trunk of cash and lore.
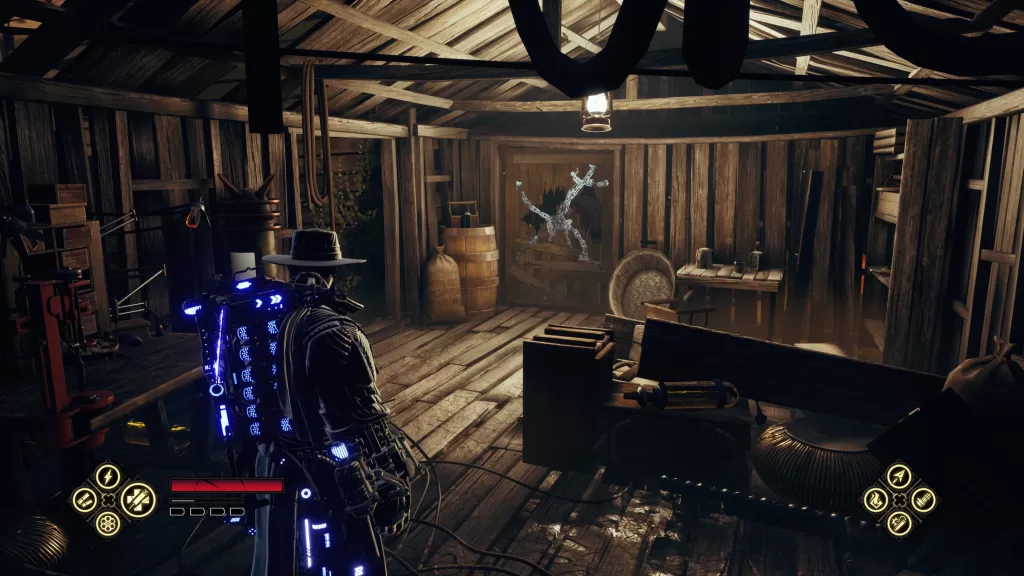
Chest – Work-Life Balance Perk
On the second level of the water mill.
Bucks
In a shed behind the watermill you’ll find a breakable crate.
Bucks
Across from the shed you’ll see a TNT stack between some wagons. Shoot it to reveal a trunk of cash.
Bucks
Head behind the shed and cross the bridge to find this bag of money on a cart.
Collectible – Grey Oaks Resident Letter 2/2
From the cart, head across to the other side. Jump over the obstacle to find a lore.
Bucks
Next to the above collectible, you’ll spot some TNT crates. Melee them to find a breakable crate straight ahead near a nest.
This site uses cookies. By continuing to use this website, you are giving consent to cookies being used. For more information on cookies, view our Privacy Policy.OkPrivacy Policy