Welcome to NGB and our Bravely Default Flying Fairy Intro Chapter walkthrough for the HD Remaster! In this opening section, you’ll be introduced to the world of Luxendarc, meet the core party members, and get a feel for the game’s battle mechanics and job system. Whether you’re new to the series or returning to experience the enhanced visuals and updated features of the remaster, this guide will help you get started on the right foot with tips, enemy info, and early-game strategies.
Walkthrough Quick Links
Bravely Default Flying Fairy Intro Walkthrough
Return to Noredne to Look for survivors
Speak with the King of Caldisla
When you gain control of Tiz at the beginning of the Bravely Default Flying Fairy Intro Chapter, he’ll have just woken up at the Caldisla Inn. Before heading outside, there are two things you can obtain from the inn (and they are listed below). Once outside, near the entrance to the Inn, you’ll spot a man dressed in red. Speaking with him will allow you to save the game.
- Potion – Interact with the corner shelf on the right of the most southeastern bed
- 100 pg – Interact with the plant near the front desk
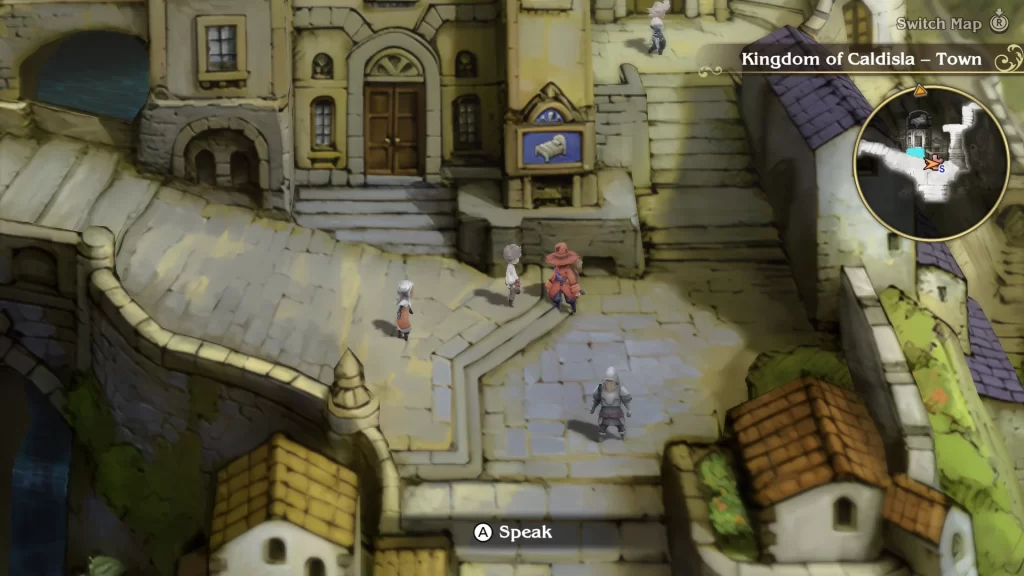
To progress the story, you’ll want to ascend the stairs in town leading up to the palace. After you arrive, enter it and speak with the king sitting on his throne for a quick event. Before leaving, be sure to grab the pg hidden in the room.
- 100 pg – Interact with the braizer on the right side of the stairs.
There are some shops around town you can stop at to spend your limited pg if you wish. However, at this stage in the game, it might not be entirely necessary. When you’re ready to press on to the crater that was Norende Village, exit the town.
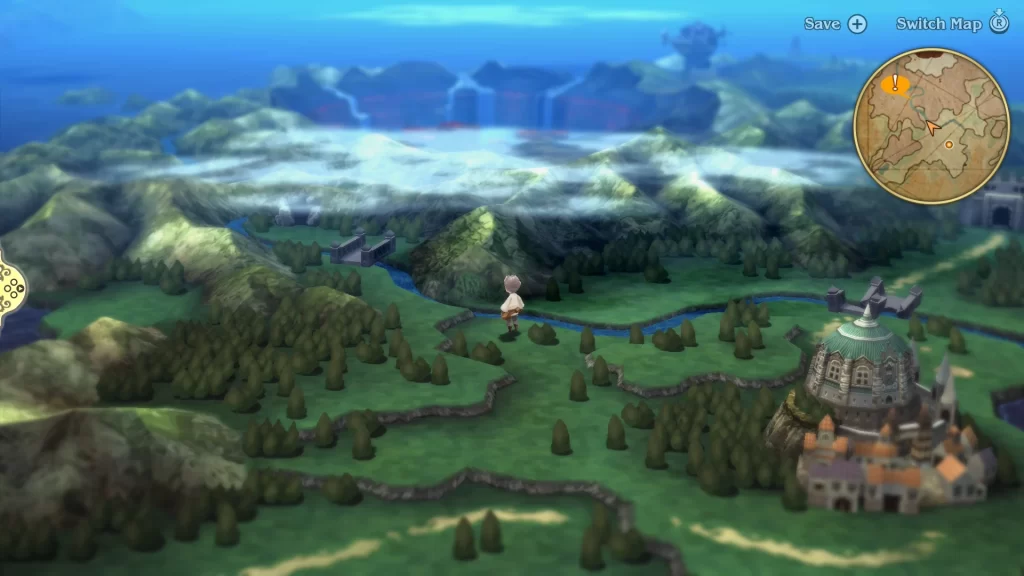
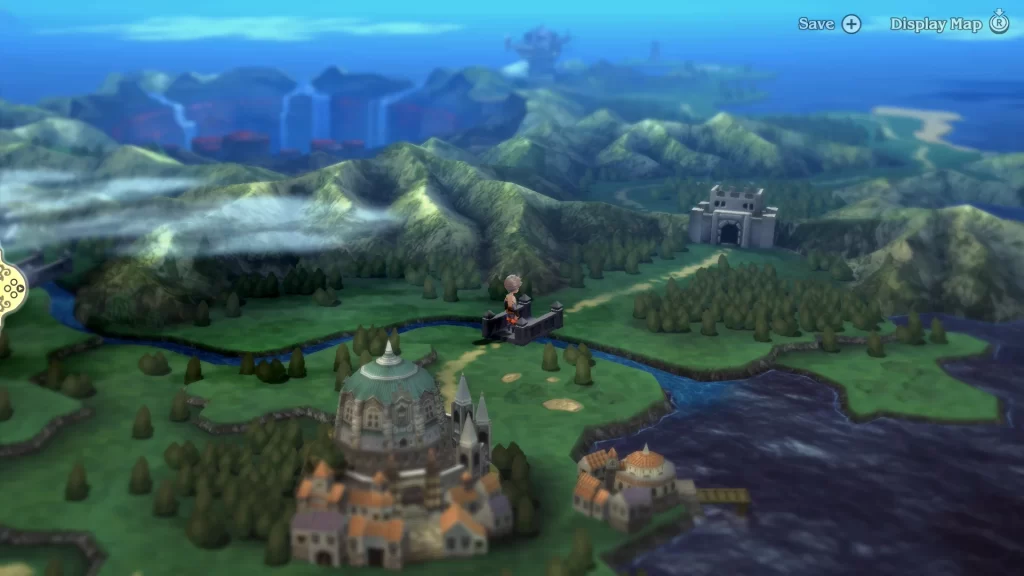
Travel to Norende Village
On the world map, you’ll want to head northwest from Caldisla through the plains towards the bridge. Cross the bridge and enter the cave just beyond that to reach the Norende Ravine.
Pass through Nordende Ravine
Once in the Norende Ravine, you’ll need to proceed through the Trail, Climb, and Vista areas to reach Norende Village. There are two chests to be found in the ravine, listed below.
- Potion – Where the path splits in the Trail area, keep heading left
- 200 pg – In the Climb area, there will be a side path leading to the chest
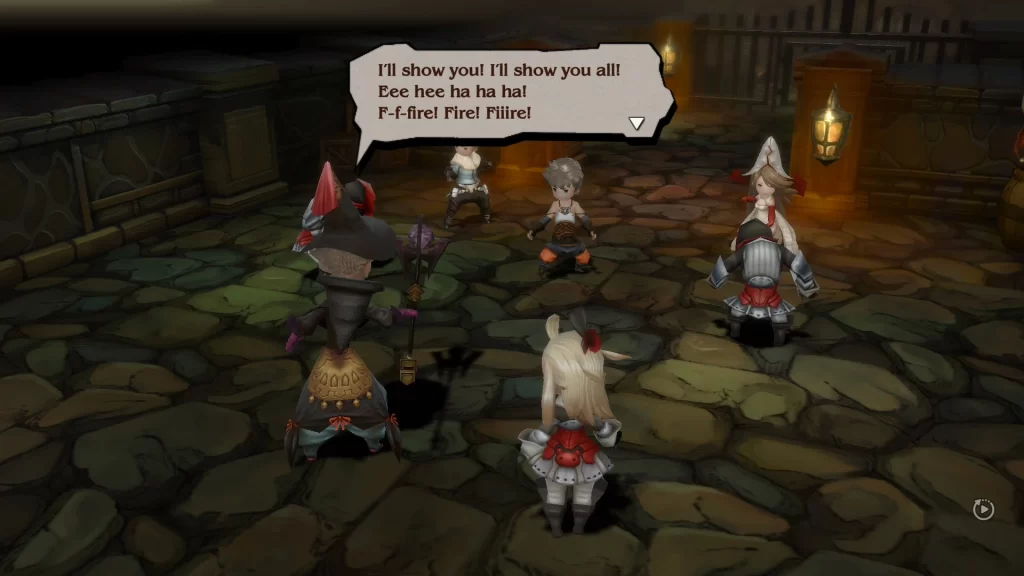
Upon reaching the Vista area, you’ll find a guy wearing red. Speak with him to save the game. You can also use his tent to heal your HP and MP for 5 pg. When you’re ready to proceed, head through the doorway past the guy to trigger an event where you’ll meet Agnes, leading to an action sequence.
During this section, you’ll need to flee from the cave while protecting Agnes from an enemy airship. When you’re about halfway through the Climb area, a series of battles will take place where you’ll need to face three separate groups of enemies. The first two will each contain a single Sky Dueler, while the third will have a Sky Dueler and a Sky Archer. Defeating all three of them will cause the airship to flee. Return to Caldisla to inform the king about what happened. Along the way, you’ll have a couple of party chats you can view.
Deal with the Enemy Airship
Return to Caldisla and Speak with the King
Back in Caldisla, head back to the palace and speak with the king to inform him of the attack. Agnes will then introduce herself and vow to take care of the airship on her own. Tiz will also receive a document from the king, allowing him to begin rebuilding Norende Village. You’ll be able to access that from the quick menu on the left side of the screen.
When you start building up Norende Village, we’d recommend starting by leveling up the Weapons, Armor, Accessory, and Trader shops. These will get you access to some solid gear early on in the game. The caveat to doing this is that you’ll need to unlock almost all of the areas in the village.
Head for the Airship
Before making your way to the airship, now would be a good time to stock up on some items and upgrade your equipment. We’d recommend you have somewhere between 10 and 15 potions and pick up a buckler for Tiz. You can upgrade him and Agnes further if you wish with any remaining funds. After you’ve prepared, exit the town to the world map.
Boss Fight: Barras and Holly
If you haven’t saved in a while, now might be a good time. When you reach the world map, follow the path leading southwest from Caldisla. As you approach the lake, just before the ocean, an event will trigger, leading to a boss fight with Barras and Holly. The game will give you a few more tutorials on combat before turning you loose to face the bosses.
The HP of the bosses is from playing on Normal difficulty. They will be a bit higher if you’re playing on hard.
For the fight, Barras will use his Invigorate skill, which will increase his physical attack. He’ll then attack a single party member each turn until the buff wears off, which will cause him to repeat the cycle. Holly, on the other hand, has a few more skills at her disposal. She will cast Protect on either herself or Barras, which will reduce the incoming damage while it’s up. Additionally, she will cast a Cure on herself and her partner when their health drops, which will restore approximately 80 HP. Rounding out her skills, she can also cast Aero, which deals wind damage to a single target.
Our strategy for this fight was to use Default to build up 3 BP for both Tiz and Agnes and then use Brave for four attacks, focusing on a single enemy. In our case, we took down Barras first since he deals more damage than Holly. When his health got low enough where his HP was another round of four attacks away from zero, we used Brave again to finish him off. You’ll also want to keep an eye on both Tiz and Agnes’ health. When it starts to get low, use a potion on them to heal back up.
After Barras was taken care of, we focused on Holly, who proved to be a bit more challenging. Again, we used the same strategy as Barras to emerge victorious. For defeating the duo, you’ll receive the Monk and White Mage Asteriks, which unlocks the Monk and White Mage jobs for the party. With the airship dealt with, return to Caldisla.
Put a Stop to the Black Mage
Speak with the King Caldisla Once More!
Back in Caldisla, return to the palace and speak with the king to tell him that the airship has been dealt with. As a reward, the Inn will be cooking Tiz and Agnes a special feast. Make your way there to trigger an event that leads to the pair gaining another party member.
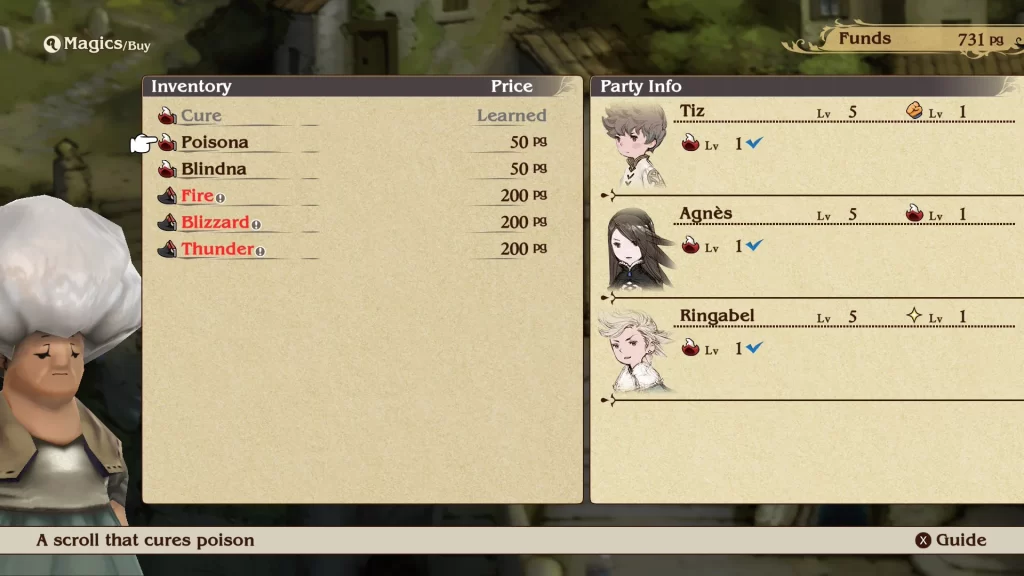
Stock Up On Supplies
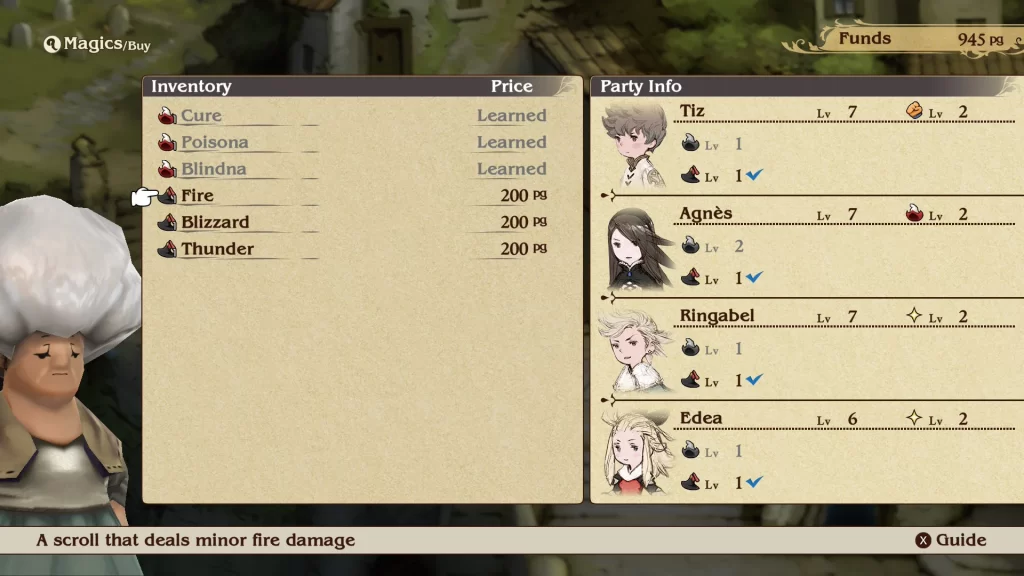
Before setting out for the Ruins of Centro Keep, make sure to swing by the magic store to purchase the Cure, Poisona, and Blindna scrolls so that the White Mage has access to those spells. You may also want to change the jobs of your party to utilize the White Mage for healing and the Monk for dealing damage.
Travel to the Ruins of Centro Keep
From the world map, you’ll want to head northwest of Caldisla, where you’ll cross the newly repaired bridge. From there, you can reach the Centro Keep. Head inside for another cutscene, which will end with a tutorial on how to change the Encounter Rate.
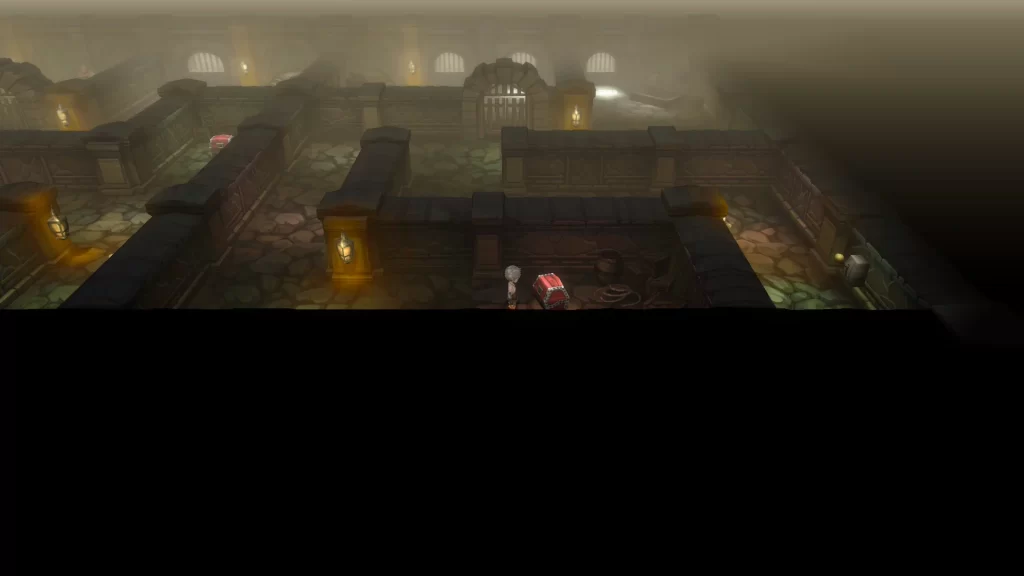
Find the Black Mage
Once the tutorial concludes, you’ll want to head through the doors on the eastern side. From there, you should spot a lever on the east wall. Interact with it to open a gate on the north side of the room. Head through it and take the stairs up to 2F.

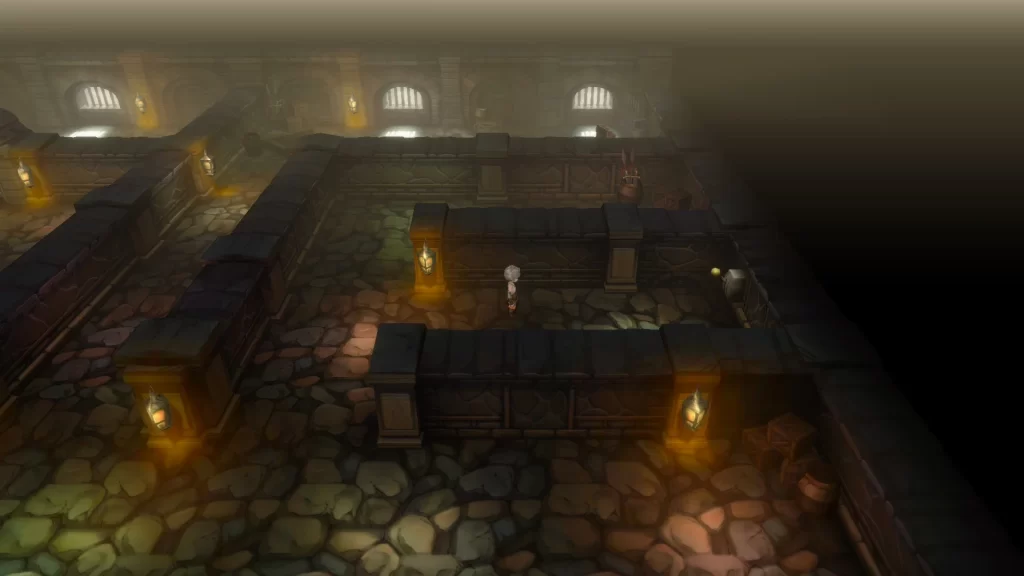
When you reach floor 2F, locate the gate, then follow the path south from the gate to reach another lever on the wall. Interact with it to open the gate. You can then head through to reach 3F. Before doing that, take a left just before the gate and follow the path to reach a chest containing a pair of Silver Glasses.
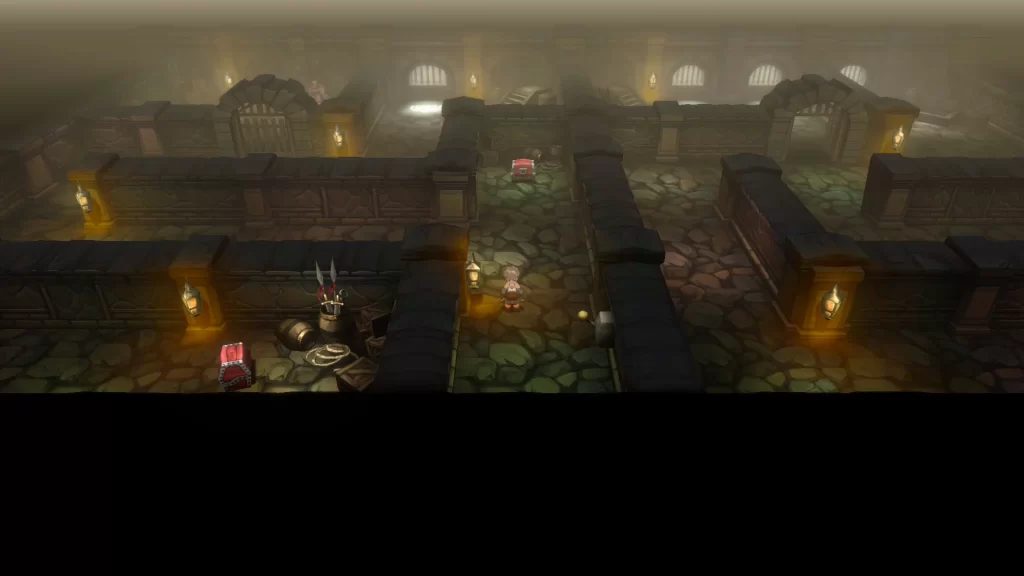
On 3F, head right to find a chest containing a Phoenix Down, and follow the path leading south of the stairs. You’ll then take a right and enter the middle section to find another switch. This will open a metal gate where you took the right turn. Before going through the gate, head to the next section up to find a chest with some Echo Herbs inside.
Pass through the gate and follow the path heading west past the next gate. This will bring you to another lever on the wall. Interact with it to open the gate you passed, then grab the nearby chest containing a Wakeup Bell, before heading through the gate. Take the stairs past the gate back down to 2F when you’re ready to proceed.

Back on 2F, you’ll follow the path south, past the gate, and take the next right, then head south again to reach the lever. Interact with it to open the gate. You’ll then want to grab the two nearby chests containing a Potion and Mage Masher before heading through the gate. Speak with the man wearing red to heal the party and save up before using the stairs to head back down to 1F. You may also want to equip the Mage Masher to deal some extra damage.
Boss Fight: Black Mage Ominas
On 1F, you will finally catch the Black Mage. Approach him to trigger a cutscene leading to a boss fight against Ominas. During the fight, you’ll also receive assistance from Edea. Ominas has 1800 health points and can inflict silence, sleep, and poison on party members. He likes to cast his fire spell, which will hit multiple targets for less damage or a single target for more damage.
Our strategy to take down Ominas was to build up 3 BP with Default (also reducing damage) and then attacking him four times in a row with Brave. Our main attackers were Tiz as a Monk with Ringabel and Edea as Freelancers. Agnes played support as a White Mage, healing up the party and removing poison as needed. We also saved some Echo Herbs for her in case she got silenced.
Once Black Mage Ominas is defeated, you’ll receive the Black Mage Asterisk, which will unlock the Black Mage job for the party. Exit the Ruins of Centro Keep to trigger an event taking place in Caldisla. When it concludes, make your way back there.
Return to the Kingdom of Caldisla
Upgrade Gear
Back in the city, you’ll be able to save at the man in red and upgrade your gear. You might want to pick up your Black Mage spells and some new gear for the party before heading to the palace. Doing so will trigger an event.
Once the event at the palace concludes, exit the palace for another, which will then place you in control of Edea. Make your way to the graveyard, to the left of the Magics shop, for the third event. After it concludes, you’ll be able to leave the town to pursue the king’s kidnappers!
Pursue the King and His Captors
Travel to Lotano Villa
To reach Lotano Villa, you’ll need to travel north of Caldisla, through the Ruins of Centro Keep, and continue north along the dirt path on the world map. The villa will be at the end of the path near the ocean and the crater of Norende Village.
Once you reach the villa, an event will trigger where Edea convinces the guard that Agnes is her prisoner, allowing them safe passage.
After it concludes, make your way inside. This will trigger another event where some guards identify Edea as a traitor, leading to a fight against a Sky Dueler, a Sky Pikeman, and a Sky Archer. After the battle, the game will give you a tutorial on auto battles.
Explore Lotano Villa
The enemies in Lotano Vila like to inflict poison and blindness on your party, so make sure to bring antidotes/eye drops or a White Mage with cure and poison to remove them!
Starting out, you’ll be on 1F of the Lotano Vila, which consists of three floors total, with the boss being located on the third floor. The layout of the villa is pretty straightforward in that you’ll need to keep heading up. Below, you’ll find a list of the chests you can find on each floor, along with the items they contain.
- 1F
- Ether
- Antidote
- Spear (accessible from 2F)
- 2F
- Potion
- 400 pg
- White Cape (after heading back outside)
- 3F
- Phoenix Down
- Locked Chest
When you reach 3F, you’ll find a man in red that you can use to save and heal up (for 100pg) before facing the boss just beyond him. When you’re ready, head through the doorway to trigger an event, leading to a fight against a Sky Duler, a Sky Pikeman, and two Sky Archers. After you defeat them, another event will trigger where the boss will head up to the roof. You’ll have an opportunity to heal and save again before chasing after him.
Before confronting Heinkel, make sure to set up your party so that a few of them can cast Black Magic. The boss is weak to lightning, so you can deal some extra damage by casting Thunder to make the fight go quicker. We went into the battle with a Monk, White Mage, Black Mage, and Freelancer. The White Mage and Black Mage were set so they could both use White and Black magic.
Boss Fight: Heinkel
Follow after Heinkel to eventually wind up on the airship, where you’ll do battle. A pair of Sky Archers will accompany him, so you’ll want to deal with them first, as they can inflict poison and blindness on the party. This can be a bit tricky since Heinkel can take attacks for them. You can get around this by using the Black Mage’s magic to attack all enemies.
Heinkel himself has 2,400 HP and is weak to lightning, so be sure to cast Thunder on him to deal some good damage. Most of the attacks he uses will hit a single target, so keep an eye on the party’s health and heal up as needed. Once he’s defeated, you’ll receive the Knight Asterisk, which unlocks the Knight Job. An event will also trigger, bringing you back to the world map.
Prepare for the Journey Ahead
Return to Caldisla
When you gain control of the party on the world map, make your way back to Caldisla and travel to the palace to trigger an event with the king.
Rest at the Inn
Once it concludes, swing by the inn to heal and then return to the airship for another event where you’ll be able to start flying it.
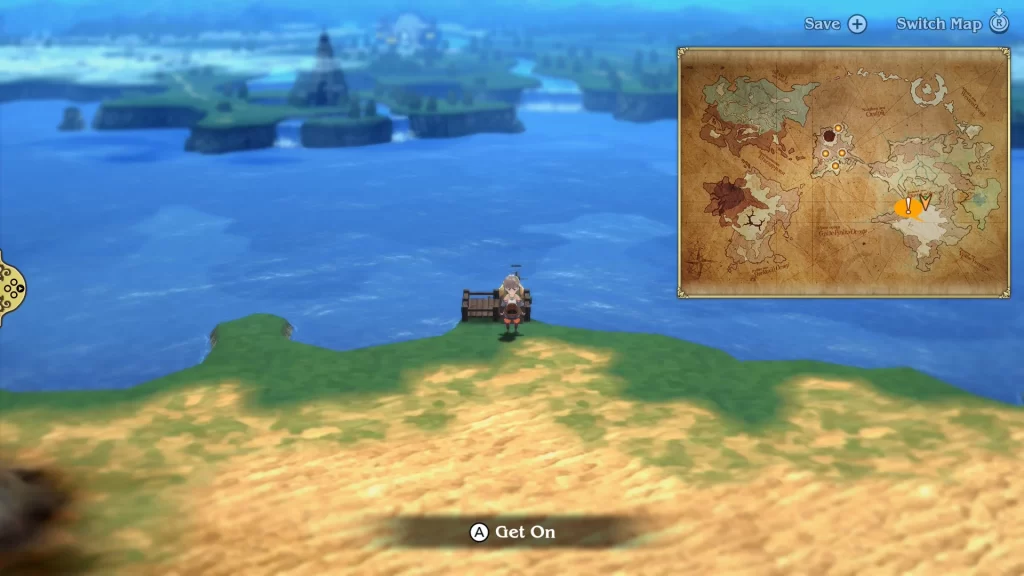
Reach Anchiem
You’ll want to fly southeast of Caldisla to reach Anchiem. Land the airship in the water and approach the dock there to complete the Bravely Default Flying Fairy Intro chapter!
Additional Bravely Default Flying Fairy Guides and Walkthroughs
For additional guides and walkthroughs on Bravely Default Flying Fairy, be sure to check out our Bravely Default Flying Fairy HD Remaster main page!