Welcome to NGB and our Bravely Default Flying Fairy Chapter 7 walkthrough! As the story nears its climax, familiar paths start to feel eerily repetitive—but with new layers of tension and deeper consequences. In this chapter, you’ll once again confront the Crystal bosses and face moral questions that challenge your resolve. Our guide covers all key battles, side content, and tips to prepare you for the escalating difficulty and lore-heavy twists.
Quick Links
- Bravely Default Flying Fairy Chapter 7 Walkthrough
- Bravely Default Flying Fairy Chapter 7 Optional Side Content
- Awaken the Crystals
- More Bravely Default Flying Fairy Guides and Walkthroughs
Bravely Default Flying Fairy Chapter 7 Walkthrough
Bravely Default Flying Fairy Chapter 7 Optional Side Content
When you reach Chapter 7, the side content changes a bit. The bosses in this chapter will be against multiple bosses, and the difficulty of the game will increase a bit.
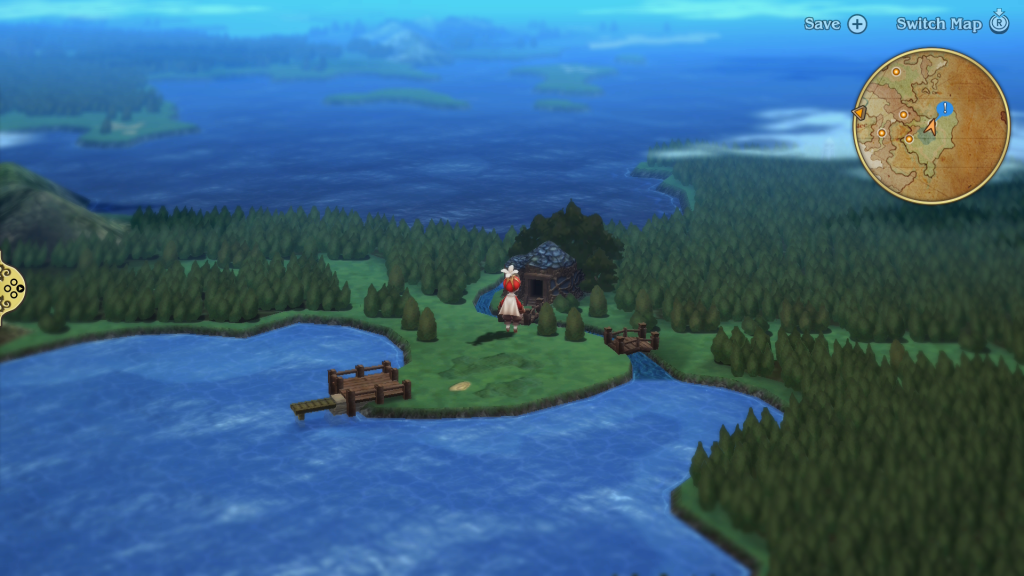
Ruins of Centro Keep – Caldis Region
Before heading to the ruins to face Ominas, there are a few important things to keep in mind. This battle will consist of two phases, and he will have allies to support him during each phase. It’s essential to bring a Thief or someone with the Thievery job command, as you’ll be able to loot some powerful items from both phases of the fight.
When you’re ready, head over to the Ruins of Centro Keep (northeast of Caldisla) and make a save before going inside. You’ll find Black Mage Ominas Crowe hanging out in the area where you fought him before. Speak with the mage to trigger an event that will kick off phase 1.
Boss Fight Phase 1
In phase 1 of the Ominas fight, you’ll be facing Ominas and his companion, Bahamut. The Black Mage will have 65,000 HP, while Bahamut will have 88,610 HP. Throughout the fight, you’ll have to contend with Ominas’ powerful black magic spells while fending off the might of the dragon. The skills they use are as follows:
- Omnimas
- Poison – Inflicts the poison ailment on the target
- Silence – Inflicts the silence ailment on the target
- Sleep – Inflicts the sleep ailment on the target
- Fira – Fire spell that deals moderate damage to the whole party
- Thunder – Electric spell dealing some damage
- Bahamut
- Picto Flare – Launches a fireball at a single target
You may want to bring a Spiritmaster to prevent the ailments that Ominas can inflict, such as poison, sleep, and silence. It can also boost the party’s defenses against elemental attacks. Additionally, you’ll want a White Mage to keep the party healed up. Also, be sure to use mug/steal on Ominas to receive some Lordly Robes.
Concentrate your efforts on Ominas; when he falls, the battle will be over. This will trigger an event where things really get difficult, as both Barras and Heinkel will arrive to support the Black Mage. This leads to Phase Two, where you must face all three enemies at once.
Boss Fight Phase 2
Phase 2 can be quite the doozy as you’ll be facing Ominas along with his comrades, Barras and Heinkel. Ominas’ health pool will increase to 90,000 HP while Barras and Heinkel will have 70,000 HP, with the latter being weak to electric-based attacks. They will still use the skill from their previous fights, but this time in support of each other. They are as follows:
- Barras
- Invigorate – Increases physical attack by 25%
- Heinkel
- Shield Strike – Single-target attack, hitting the target with a shield
- Protect Ally – Takes damage on behalf of an ally
- Stomp – Deals 1.25 times damage but decreases the user’s physical and magic defense by 25% for two turns
- Iron Clad – Physical defense up
- Ominas
- Poison – Inflicts the poison ailment on the target
- Silence – Inflicts the silence ailment on the target
- Sleep – Inflicts the sleep ailment on the target
- Fira – Fire spell that deals moderate damage to the whole party
- Thunder – Electric spell dealing some damage
This time around, you’ll need to defeat all three of the enemies to bring the battle to an end. Barras will focus on attacking the party with physical attacks, while Ominas flings spells and status ailments at the party. While doing this, Heinkel will take hits in the place of his allies. So logically, you’ll want to focus on taking out Heinkel.
His weakness to electric-based attacks comes in here. Since he has a higher magic defense than physical, you may want to set the Spell Fencer as the job command for someone like the Dark Knight or a Ninja to lay down the elemental hurt. Once he’s out of the picture, you’ll be free to focus on the other two. Alternatively, you can use attacks that target all enemies, like the Dark Knight’s Black Bane attack. This will bypass Heinkel’s blocking ability.
Make sure to bring a Spiritmaster to protect the party from the ailments that Ominas will try to inflict. We recommend using a Spiritmaster and White Mage combination as your main healer. Don’t forget to use steal/mug on all three enemies, as they drop valuable items. You can obtain a Lustrous Shield from Heinkel, Hadean Claws from Barras, and another set of Lordly Robes from Ominas.
Florem Gardens – Florem Region
Next up on the agenda is to travel to the Florem Gardens, west of Florem. Once there, work your way to the Interior area, where you’ll come across a man in red. Use him to heal up and save if needed, and progress to the next area, Florie Dewelling.
Before heading into this fight, you may want to bring someone with the Thief job or the Thievery job command so that you can steal items from the bosses. When you’re ready to kick things off, head to the back of the area to trigger an event. This will lead to a battle against the Eternian Board of Girl Power!

Boss Fight
For this fight, you’ll be facing Victoria, Artemia, and Kikyo. Victoria has 85,000 HP with a weakness to light-based attacks, Artemia has 75,000 HP with a weakness to fire-based skills, and Kikyo has 70,000 HP with no notable weaknesses. They will be using the following skills throughout the fight:
- Artemia
- Multiburst – 4-Attack on random targets
- Targeting – Attack that pierces the Default effect
- Kikyo
- Shippujinrai – Attack at the start of the turn
- Utsusemi / Transience – Dodge a physical attack, then follow up with a counter
- Victoria
- Poison – Chance of inflicting poison on the whole party
- Exterminate – Deals massive dark damage to those suffering from poison
- Dark – Spell that deals Dark damage to a single target
- Corpse – Can inflict doom on the target
Victoria and Kikyo are the two main ones to watch out for in this fight. The arcanist will try to inflict poison on the party, which will be followed up by the exterminate skill to deal massive damage to those that are poisoned. Kikyo, on the other hand, will use her ninja skills to dodge attacks and follow up with a counter. She can also use the Shippujinrai skill to attack first in a turn, which could KO a party member with low health. Then there’s Artemia, who will assault the party with her pair of bow skills.
To effectively counter the enemies, it’s essential to bring a Spiritmaster to prevent ailments and a White Mage to maintain the party’s health. Since the opponents are strong and numerous, having a Dark Knight that can hit multiple targets at once will also be beneficial. Additionally, we utilized a Performer/Time Mage who helped the party gain BP while providing speed buffs. Don’t forget to steal their items! Victoria has a Life Ring, Kikyo has a Brave Suit, and Artemia possesses Yoichi’s Bow, all of which are just waiting to be liberated.
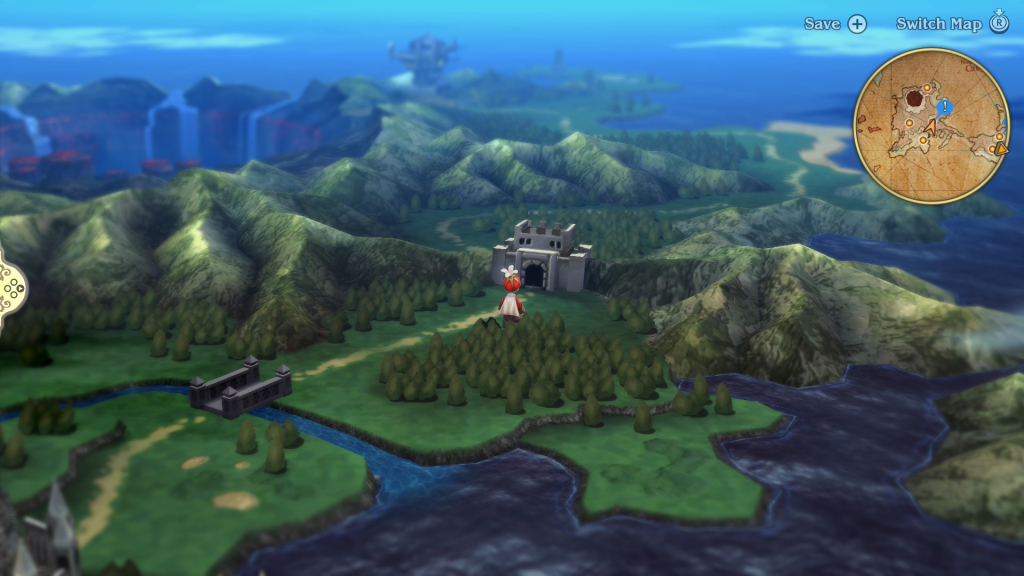
Yuluana Woods Needleworks – Yulyana Region
Travel to the Yuluana Region and make your way to the sage’s house. Go inside and speak with the sage, who’ll ask if the party wants to test their strength. Choose the “Let us do battle!” option to continue the event where Mephilia and Barbarossa make an appearance. At Yulyana’s suggestion, the pair will join him in battle against the party!
Boss Fight
In this fight, we’ll be facing Yulyana, Barbarossa, and Mephilia. The sage will have 70,000 HP, while Barbarossa has 75,000, and Mephilia has 65,000. Of the three, only pirage has a weakness, and it’s to electric-based attacks. Throughout the fight, they will use the following attacks:
- Barbarossa
- Double Damage – Deals double the damage of a basic attack
- Shell Split – Deals the same damage as a basic attack while reducing the target’s defense by 25%
- Defang – Deals the same damage as a basic attack while reducing the target’s physical attack by 25%
- Mephilia
- Girtabulu – Deals earth damage to all enemies
- Susano-o – Deals non-elemental damage to all enemies
- Yulyana
- Meteor – Attacks the whole party with flaming meteors
- Amped Strike – A single-target attack that deals 9,999 damage
- Promethean Fire – Raises own physical attack for 10 turns
- Deus Ex – Raises own magic attack for 10 turns
This fight may be challenging due to Barbarossa, who will reduce the party’s defense and attack. Yulyana will unleash powerful physical and magical attacks, while Mephinlia will use her summons to damage the entire party. To survive this encounter, it’s crucial to have a White Mage to keep the party’s HP topped off. Additionally, a Spiritmaster can help mitigate damage from magical attacks. A Ninja or Templar is recommended to dodge or block the sage’s Amped Strike, which inflicts a staggering 9999 damage.
If you have a Thief or someone with the Thievery job command, you can steal a Gold Hairpin from Yulyana, a Death Axe from Barbarossa, and a Lamia’s Tiara from Mephilia. Once all three of them fall, an event will trigger where Mephilia and Barbarossa will take their leave.
Eisen Bridge – Eisen Region
Next up, travel to the Eisen Bridge in the Eisen Region to trigger an event with Commander Goodman. Once it ends, speak with him again and choose the Let’s take care of that option. This will lead to another event where the party confronts Praline, resulting in a confrontation and a fight.
Boss Fight: Praline
This fight will be the typical Praline fight to start, where a Black Axefighter and a Black Blade accompany her. She will have 90,000 HP, while the Axefighter and Blade will both have 10,000 HP each and are weak to electric-based attacks. When her health drops to around 55,000, the Jackal will appear to offer her support. He’ll come with 99,999 HP.
- Praline
- One More For You – Give 1 BP to the target
- Love Power – Increases the party’s physical attack by 25%
- Bodyguards – Summons a Black Blade and Black Axefighter with 7,000 HP each
- Black Blade
- Edge of Madness – An attack that may inflict confusion on the target
- Black Axefighter
- Shell Split – Attack that also drops the target’s defense by 25%
- The Jackal
- Steal – Steals an item from the party (primarily a potion)
For this fight, focus on Praline. Once she goes down, the fight will end. Like every other time you’ve faced her, she will spend most of the time buffing her allies and will use her Bodyguards skill to summon them again once they’ve been defeated. When her health gets down to about half, the Jackal will enter the fray to back her up. Keep focusing on Praline when this happens.
We’d recommend you bring a White Mage to this fight to keep the party’s health topped off. A job like the Dark Knight also comes in handy as it can deal damage to all of the enemies with a single attack. You can pair a Performer of your own to buff the Dark Knight, increasing the damage it will deal. Once the fight ends, an event will occur between Praline and the Jackal.
Harena Region
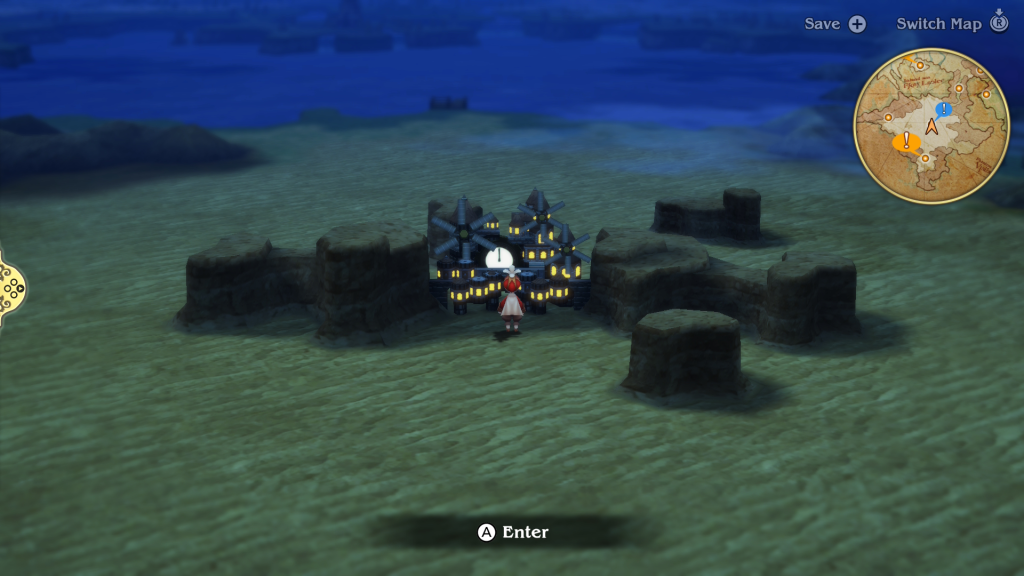
Once you’ve defeated Praline and the Jackal, travel to Anchiem in the Harena Region. Wait until the night, then enter the city. You’ll then want to head through the Grand Mill Works to reach Anchiem Palace. Follow the walkway around and interact with the prompt at the end to proceed to the section below. Approach the throne to trigger an event, leading to a boss fight.
Boss Fight: Praline, Jackal, and Khamer
In this fight, you’ll be facing Khamer, the Jackal, and Praline. The king will have 70,000 HP, while the Jackal has 75,000, and Praline has 70,000 HP. They don’t have any items you can steal, so you won’t have to worry about that in this fight. Praline and the Jackal will use the same skills as in the previous fight, in addition to having support from Khamer.
- Praline
- One More For You – Give 1 BP to the target
- Love Power – Increases the party’s physical attack by 25%
- Bodyguards – Summons a Black Blade and Black Axefighter with 7,000 HP each
- The Jackal
- Steal – Steals an item from the party (primarily a potion)
- Khamer
- Stop – Prevents the target from moving for several turns
- Quara – Multi-target earth spell
Prline will focus on supporting her teammates while occasionally attacking the party with her microphone. At the same time, the Jackal will steal potions from the party, then expend BP to attack multiple times per turn. Meanwhile, Kahmer will use his time magic to try and inflict Stop on your party, increase the speed of his allies, and attack your party with earth magic.
Make sure to bring a Spiritmaster while Khamer is around to prevent him from inflicting the party with Stop. Outside of that, this fight shouldn’t be too bad. We used a Dark Knight to consistently hit all three for 9,999 damage each turn while healing them back up to full HP with a White Mage.
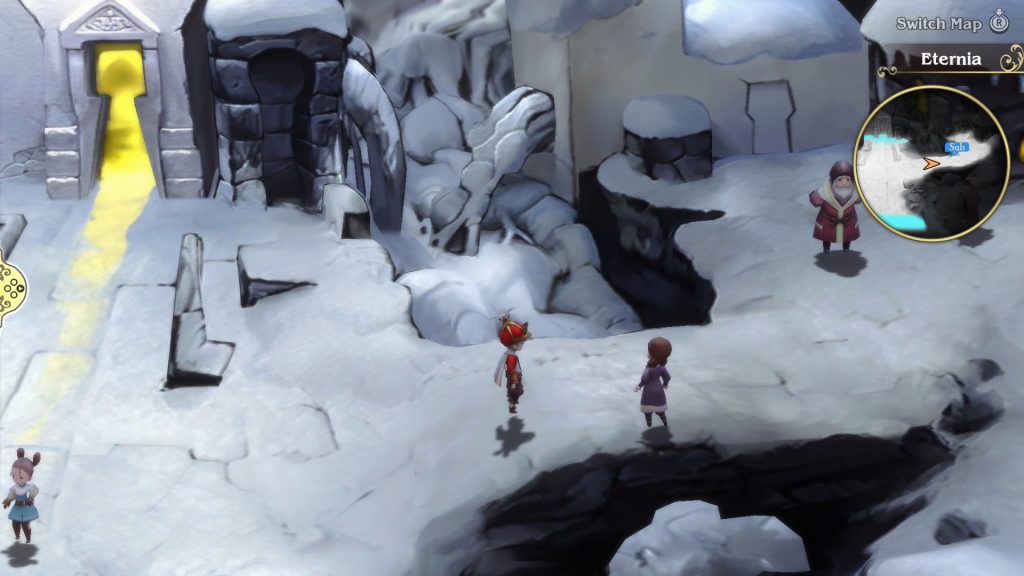
Eternia City – Eternia Region
Set out for Eternia City in the Eternia region. Once you arrive, enter the city and head for the eastern side. Just across the bridge, you’ll run into Spell Fencer Khint, which will trigger an event. During the event, Einheria and Holly will appear, leading to a fight against the three of them.
Boss Fight: Khint, Holly, and Einheria
In this battle, Khint will have 75,000 HP, Holly will have 65,000 HP, and Einheria will have 70,000 HP. If you bring someone with the Thief job or the Thievery job command, then you can steal a Luminous Robe from Holly and the Longinus from Einheria. They will be using the following skills:
- Holly
- Aero – Single-target wind magic attack
- Cure – Single-target spell that heals some HP
- Protect – Increases the target’s defense by 25%
- Khint
- Sword Magic Fire – Imbues the caster’s weapon with fire
- Sword Magic Silence – Imbues the caster’s weapon with the ability to inflict Silence
- Einheria
- Crescent Moon – Attack that hits the whole party
- Jump – Jumps up in the air when used to slam down on a single target in the following turn
- Spirit Barrier – Negates damage while losing MP equal to 10% of the damage taken
In this fight, Holly will cast Protect on herself and her allies while attacking your party with Aero spells and healing her teammates when their health drops low. Meanwhile, Einheria will aggressively assault your party, using Crescent Moon to hit all members or employing Jump to deal increased damage to single targets.
When her health gets low, she will activate her Spirit Barrier skill to negate all damage for a few turns. Khint will target individual party members with his Fire and Silence sword attacks.
To combat them, bring a Spiritmaster to negate the Silence effect from Khint’s magic. We also used a Dark Knight to deal consistent damage to the whole party. Additionally, we have a Thief who will focus on Holly to remove her from play ASAP to prevent her from supporting her allies. Once the three of them are defeated, another event will trigger.
Central Command – Eternia Region
After the battle with Khint and crew, exit Eternia and head north to reach Central Command. Use the elevator in the northeastern part of 1F, then head up to the Command Room, where you’ll find the Grand Marshal. This will trigger an event leading to a fight against Braeve the Templar and Altenris.

Boss Fight: Braev the Templar and Alternis
As mentioned, you’ll be facing Braev and Alternis. Braev will have 70,000 HP and is weak to dark attacks, while Alternis will have 90,000 HP. If you’ve brought someone with the Thief job or the Thievery job command, you can steal a Rebuff Locket and Black Belt from Braev and a Chaos Blade from Alternis. After Braev’s health drops to around 20,000 HP, Swordmaster Kamiizumi will enter the fray with 65,000 HP! From him, you can steal the Muramasa blade.
- Braev
- Radiant Blast – A light-based physical attack, ignoring Defaut’s damage reduction and dealing 1.5 times the damage
- Heart Strike – An attack that is always a Crit, dealing double the damage
- Giant Slayer – Deals 1.5 times the damage of a basic attack to an opponent with more HP than you
- Alternis
- Black Bane – Sacrifice 30% of the caster’s max HP to deal 1.5 times dark damage to all enemies
- Dark Bane – Sacrifice 20% of the caster’s max HP to deal 1.25 times dark damage to a single target
- Minus Strike – Damage one target by an amount equal to the amount of missing HP
- Kamiizumi
- Before Swine – Halve the damage you get from a magical attack, and counter with three times the damage
- Know Thine Enemy – Counterattack with four times the damage when hit by a single-target attack from the selected enemy
- Nothing Ventured – Counterattack on whoever last attacked, dealing massive damage
As with every other time you’ve faced Braev, he’ll build his BP up and then attack the party using multiple physical attacks in a turn. While at the same time, Alternis will be using his Black and Dark Bane skills. When his HP gets low, he’ll start using Minus Strike to deal 9,999 points of damage. When Kamiizumi shows up, he’ll make use of his Swordmaster abilities.
To combat the three, you’ll want to bring a job like the Templar or Performer to reduce physical damage. We also used the Dark Knight to hit all enemies with one attack. This will deal a little less damage to Alternis because of his resistance to dark. A White Mage is also recommended to keep the party’s HP topped off. After you manage to defeat them, an event will trigger.
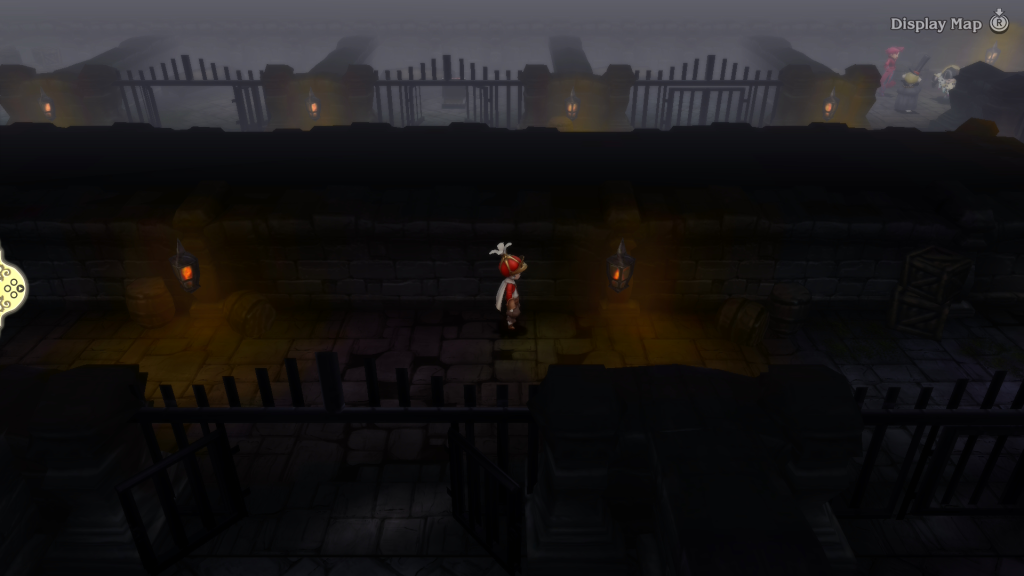
Head to the Dungeon
Before leaving Central Command, head back down to 1F and use the man in red there to heal up and save. After doing that, head down the hall to the west of him and take the stairs there down to the prison. Make your way to the northeastern corner of Prison B2 to find a group of familiar faces. Approach them to trigger an event leading to another boss fight!
Boss Fight: Dandy Derossa, Qada, and Chairman Profiteur
It’s time to put an end to the wicked schemes of Dandy DeRosa and his group of conspirators! DeRosa will have 75,000 HP, Qada will have 65,000 HP, and Chairman Profiteur will have 70,000 HP. If you bring a Thief or someone with the Thievery job command, you can steal a pair of Hermes Shoes from DeRosa. Below is a list of skills that this trio will use against you:
- Chairman Profiteur
- Takeover – Deals 2000 damage to a single party member
- Angel Investment – Applies crit up to the target
- Dandy DeRosa
- Thundara – Electric-based spell that hits the whole party
- Cura – Heals self for around 2000 HP
- Captivating Cologne – Will inflict charm on the target
- Qada
- Dark Breath – Deals users missing HP as damage to the target
- Poison Hi-Potion – Deals about 1,000 damage and can inflict poison
- Water of Life – Adds Regen to the target (1,800 HP)
This fight is going to be a little tough. Mainly because Qada will start using Water of Life on his allies and Dark Breath when his health gets low, which can one-shot the party member that it hits. Additionally, DeRosa has access to Cura, which he will use to heal up his allies, and the Chairman will be boosting the crit chance of his allies while continually dealing 2,000 points of damage per attack.
To combat them, you’ll definitely want to bring Spiritmaster to prevent the party from being inflicted with status ailments. Qada can poison the party, while DeRosa can charm them. You might also want to consider bringing two healers for the turns when you take massive amounts of damage or if multiple party members get KO’d.
Vampire Castle – Eternia Region
The final sub-story of this chapter will be at Vampire Caste, west of Central Command. Head inside and work your way up to the 7th floor to reach Lord DeRosso. Approach him to trigger a cutscene where you’ll be able to start a battle with him. Upon saying you’re ready, Victor will show up and join DeRosso in the fight at his request.
Boss Fight: DeRosso and Victor
For this fight, you’ll be facing Lord DeRosso with 99,999 HP and Victory with 80,000 HP. The Vampire will be weak to light attacks, while the Spiritmaster is weak to dark attacks. If you bring a Thief or someone with the Thievery job command, you’ll be able to steal a Heart Ring from Victor and a Blood Blade from DeRosso.
- Lord DeRosso
- Energy Burst – Multi-target attack that will hit the whole party for massive damage
- Battle Thirst – Absorbs 1 BP from the target
- Bone Rush – Single-target attack that deals more damage based on how much HP has been lost
- Graviga – Deals 75% damage of your max HP
- Victor
- Fairy’s Aid – Increases the Magic damage for all elements on the target
- Holy – Spell that deals Light damage to a single target
- Curada – Heals the target’s HP
In this fight, Lord DeRosso will be dealing most of the damage using his Energy Burst skill while stealing BP, HP, and MP from the party. Meanwhile, Victory will provide healing with his Curada skill, along with attacking the party using Holy. You can deal with him quickly enough using a Dark Knight to hit his weakness to dark attacks. Conversely, you can bring a Templar to deal light damage to DeRosso. Make sure to bring a White or Red Mage to keep the party’s HP topped off.
Awaken the Crystals
To progress the main story, you’ll need to travel to each temple and awaken all four crystals again. You can do this in any order you wish, but for the purposes of this guide, we’ll be following the order from the main story: Wind, Water, Fire, and then Earth.
Awakening the Wind Crystal
Travel to the Temple of Wind south of Ancheim in the Harena Region of the continent. When you arrive, head inside and make your way to the altar. The shortcut from the last time should still be available, allowing you to reach it quickly. Make sure to stop by the man in red to save and heal up if needed.
Boss Fight: Orthros
Upon entering the altar of wind, an event will trigger, leading to another fight against the beast, Orthros. As before, you’ll be facing its two heads made of fire and ice. They both have 70,000 HP each, while the fire head is weak to ice and the ice head is weak to fire. The pair will mostly attack using their Hellfire and Deep Freeze attacks, which will hit the entire party.
Together, they will use the Blazzard attack, dealing both ice and fire damage to the whole party. You can prolong this by attacking one of the heads with its weakness. That will prevent the Orthros from unleashing its attack.
To make the fight easier, you can equip the Iceflame shield to nullify fire attacks. You can also bring a Spiritmaster to use its Greater Spirit Ward skill, which will reduce all elemental damage.
- Fire Head
- Hellfire – Fire attack that hits the whole party
- Flaming Fang – Fire attack that targets a single party member
- Ice Head
- Deep Freeze – An Ice attack that hits the entire party
- Icy Fang – An Ice attack that targets a single party member
Awakening the Water Crystal
Next up is the Water Crystal at the Temple of Water in the Florem region. Travel to the temple south of Florem, then head inside. Again, use the man in red near the doorway leading to the altar to save up and heal. Head inside when you’re ready to face the boss.
Boss Fight: Rusalka
Upon entering the Altar of Water, an event will trigger, leading to a fight with Rusalka. This time around, it will have 70,000 HP and is weak to electric-based skills and spells. It has three main attacks that it uses: Bewitching Voice, Aqua Regi, and Seep/Dark Flow.
Bewitching Voice has a chance to inflict charm on the target. You can mitigate this by having a Spritmaster to negate ailments, a White Mage to head the ailment, or an item to prevent it from happening. It will also use its Aqua Regi attack to lower the target’s defense. The final attack it uses is a combo of Seep and Dark Flow. When it uses Seep, Rusalka will leave the battlefield for the turn, only to appear on the next turn, damaging the whole party for massive dark-type damage. Make sure to Default when this happens to minimize the damage.
- Rusalka
- Bewitching Voice – Inflicts charm on the target
- Aqua Regi – Lowers the target’s defense by 25%
- Seep / Dark Flow – Rusalka will leave that battlefield for one turn, returning the next to deal dark damage to the whole party
Awaken the Fire Crystal
Now that the Vestal Garb has been repaired, it’s time to get back to awakening the remaining crystals. Next one up on the list is the Fire Crystal. Travel to the Eisen Region and head to the Mythril Mine, northeast of Eisen Bridge. Head through the mines to reach the Underflow, then pass through that area to get the Temple of Fire. The shortcut that opened up after the initial visit will be open, so you’ll need to follow the path west from the Underflow entrance to reach it.
When you reach the Temple of Fire, use the man in red there to save and heal up if needed. You’ll then be free to enter the Altar of Fire to face the next boss.
Boss Fight: Chaugmar
An event will trigger once you enter the Altar of Fire, leading to a fight against Chaugmar. It will have 80,000 HP and is weak to electric-based skills and spells. When the battle begins, the floating eye will have an active barrier, reducing all damage it takes to zero. You’ll need to wait until it uses its Transform ability before you can start attacking.
The demon will use the skills listed below, with Energy Burst being its primary damage dealer. You can block this attack using the Rampart skill of the Templar job. The Ranger’s skills can also hit the demon for weak point damage.
- Chaugmar
- Soul Suck – Steals MP from the target
- Blood Suck – Steals HP from the target
- Heart Suck – Steals BP from the target
- Energy Burst – Physical attack that damages the whole party
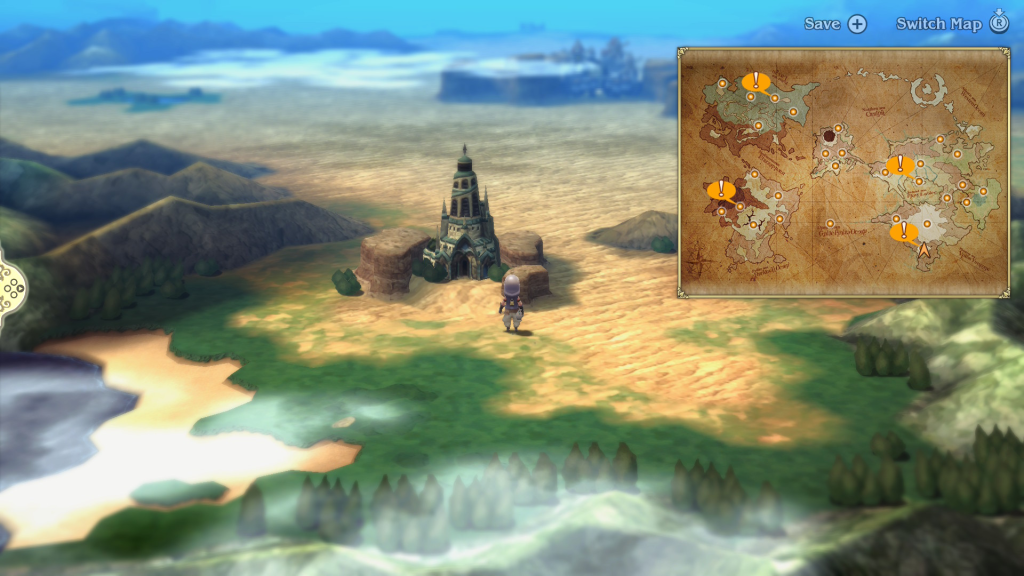
Awaken the Earth Crystal

Three crystals down, one more to go. Travel to Everlast Tower in the Eternia Region. You’ll then want to work your way up to the Temple of Earth. Once you arrive, stop by the man in red to heal up and save. When you’re ready, enter the Altar of Earth to face the final crystal boss.
Boss Fight: Gigas Lich
Upon entering the Altar of Earth, an event will trigger, which leads to a fight with the Gigas Lich. The undead monstrosity will have 120,000 HP and is weak to light damage. The lich will use Negative Power to buff itself and then use its Slam and Quada abilities to attack the party. It can also use Quada on itself to heal.
To face the lich, you may want to bring a Templar to attack it using light-based skills. You can also use the White Mage’s cure skills to damage it as well, or the Hunter and its Undead skill to hit the Lich’s weak point.
- Gigas Lich
- Quaga – Deals earth damage to a single target
- Negative Power – Buffs the caster’s physical and magic attack by 10%
- Slam – Physical attack that hits the whole party
- Fear – Inflicts dread on the target
Attempt to Seal the Great Chasm

Now that all four crystals have been awakened, it’s time to travel to the Pillar of Light in the southeastern corner of the map. You can head straight there and enter the Pillar of Light. This will trigger an event, leading to the completion of Bravely Default Flying Fairy Chapter 7.
More Bravely Default Flying Fairy Guides and Walkthroughs
For additional guides and walkthroughs on Bravely Default Flying Fairy, be sure to check out our Bravely Default Flying Fairy HD Remaster main page!