Welcome to NGB and our Bravely Default Flying Fairy Chapter 1 walkthrough for the HD Remaster! Our guide covers everything you need to navigate your first full adventure in the HD Remaster.
After the events of the intro, your party begins exploring the wider world, unlocking new job classes, and facing more formidable enemies. This chapter introduces side quests, larger dungeons, and your first major boss fights.
Whether you’re adjusting to the remastered systems or strategizing your ideal party setup, this walkthrough will help you make the most of Chapter 1.
Bravely Default Flying Fairy Chapter 1 Quick Links
- Bravely Default Flying Fairy Chapter 1 Walkthrough
- Additional Bravely Default Flying Fairy Guides and Walkthroughs
Bravely Default Flying Fairy Chapter 1 Walkthrough
Check on the Wind Crystal in Bravely Default Flying Fairy Chapter 1
Stop by Anchiem to Visit the King
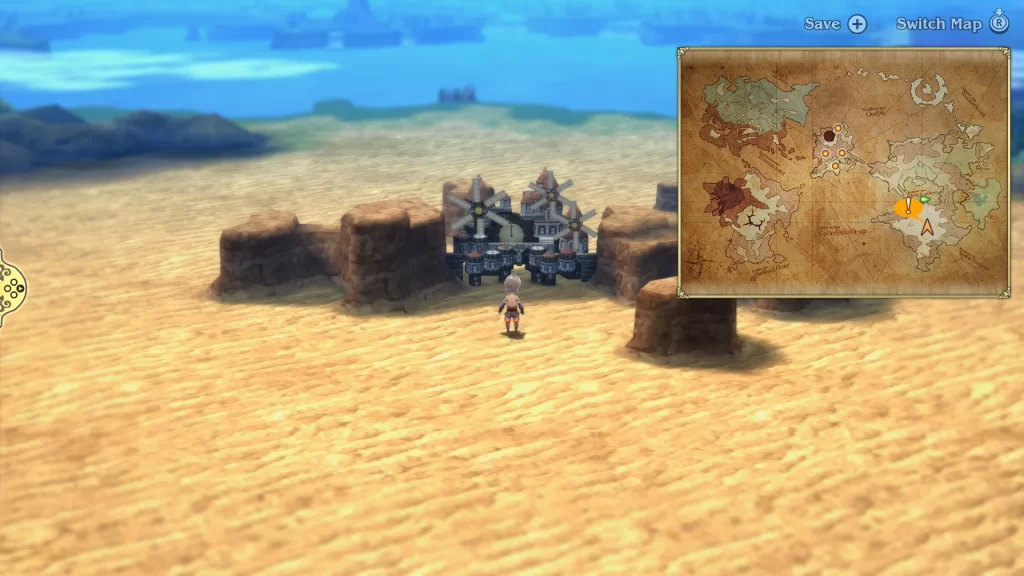
When you gain control of the party, head south from the dock to enter the desert and reach Anchiem. Enter the city to trigger an event. When it concludes, make your way to the palace at the highest point of the city for another event. After it ends, enter the castle to confront the king!
Stock Up and Explore Anchiem
Now might be a good time to parooze the town, visiting the Magics and Armory shops to upgrade your gear. You can find some decent armor for any character who has the Knight job, along with some more protective wear for anyone with the White or Black Mage jobs. Additionally, there are a few hidden items to be found around the city. What they are and where they can be found are listed below:
- Ether – Two doors to the left of the Magics shop
- Hi-Potion – Left of the steps at the bottom of the castle (near Khamer & Profiteur Merchantry)
- Gold Hourglass – Bookshelf behind the desk in Khamer & Profiteur Merchantry on the left
- Teleport Stone – Ball post on the right of the walkway leading to Profiteur’s desk
Thief and Merchant Sub-Scenarios
Before continuing the main story, there are also a couple of sub-scenarios you can do. Completing them will reward you with the Thief and Merchant asterisks, unlocking those respective jobs. For more details, please see our Bravely Default Flying Fairy Chapter 1 Jobs and Asterisks guide.
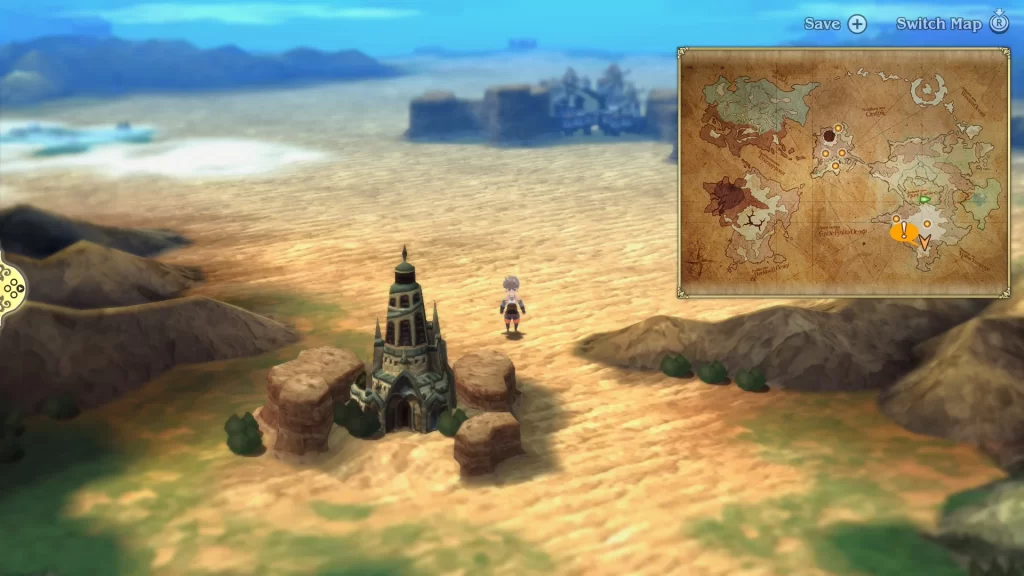
Head to the Temple of Wind
When you are ready to get back to the story, head south of Anchiem on the world map. This will bring you right to the Temple of Wind. Save your game and then head inside.
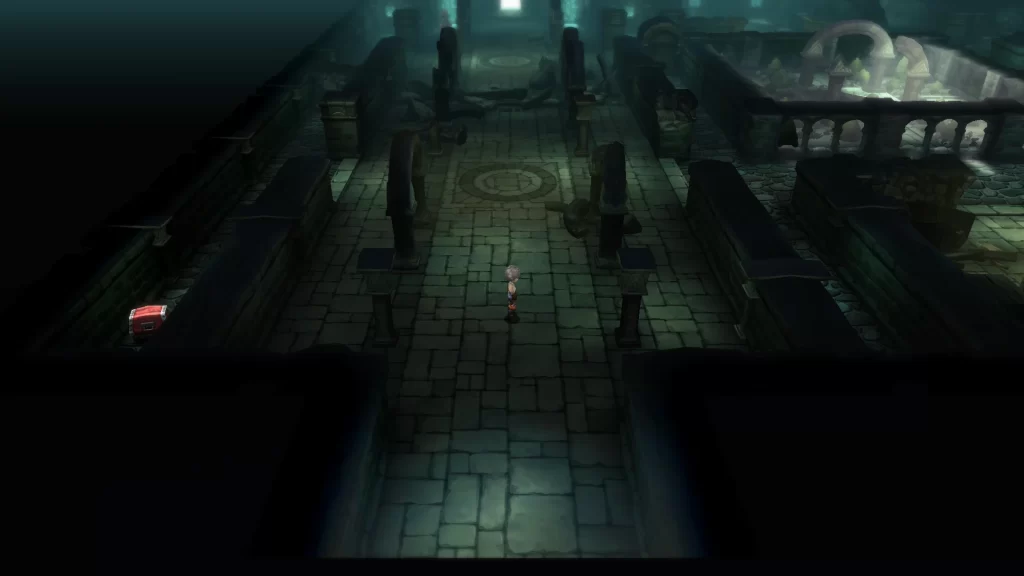
Head for the Altar in the Temple of Wind
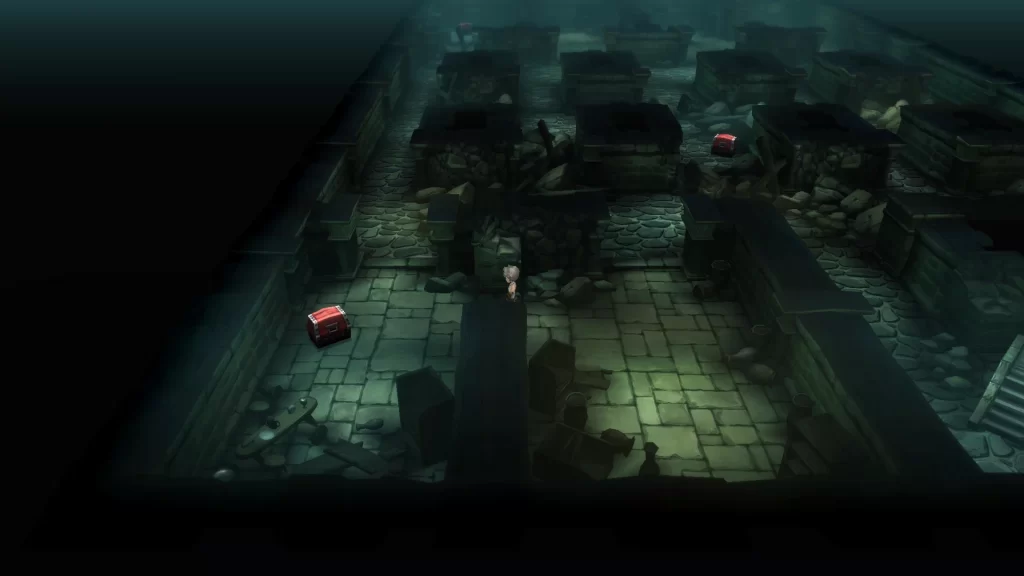
Upon entering the temple, you’ll be treated to an event amongst the party. After it concludes, hug the left wall, then take a left through the opening and go south to reach a chest with a Wind Charm.
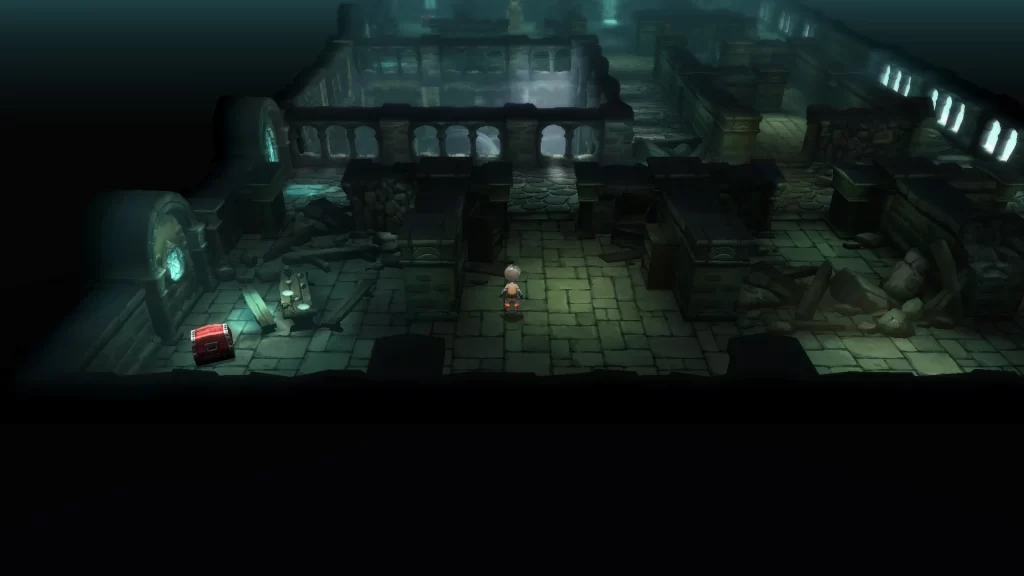
Return to the hallway, this time heading east. You’ll then want to head south through a doorway into a room with bookshelves and scattered parchment. You should then see a prompt on the screen to inspect the area. Do so to trigger an event where Agnes will explain the purpose of the room. Once finished, head east past the room and follow the path south to reach some stairs. Take them down to reach Temple of Wind – B1.

On B1, there will be three chests along the path you’ll want to collect, containing a Remedy, Hi-Potion, and Turbo Ether. You’re heading to the northeastern corner and can get there by heading clockwise around the room. You’ll find a set of stairs there that will take you back up to Temple of Wind – 1F.
Back on 1F, head north down the hallway, stopping in the room on the right with all the clothes. You’ll have another prompt to examine the room, which triggers another event where Agnes explains this is the room where the acolytes lived. After it finishes, continue following the hallway north to reach another set of stairs that will take you up to the 2F level.

When you reach 2F, follow the hallway south and then go west to get a chest containing an Ether. Next, head to the north side of the floor to where you’ll find another chest with a Mythril Rod in the northwestern corner. In the next room over, you’ll spot an owl-like humanoid. You can skip them for now, as we aren’t at the point where we can do anything with them. Instead, take the stairs in the hallway on its right, back down to 1F.
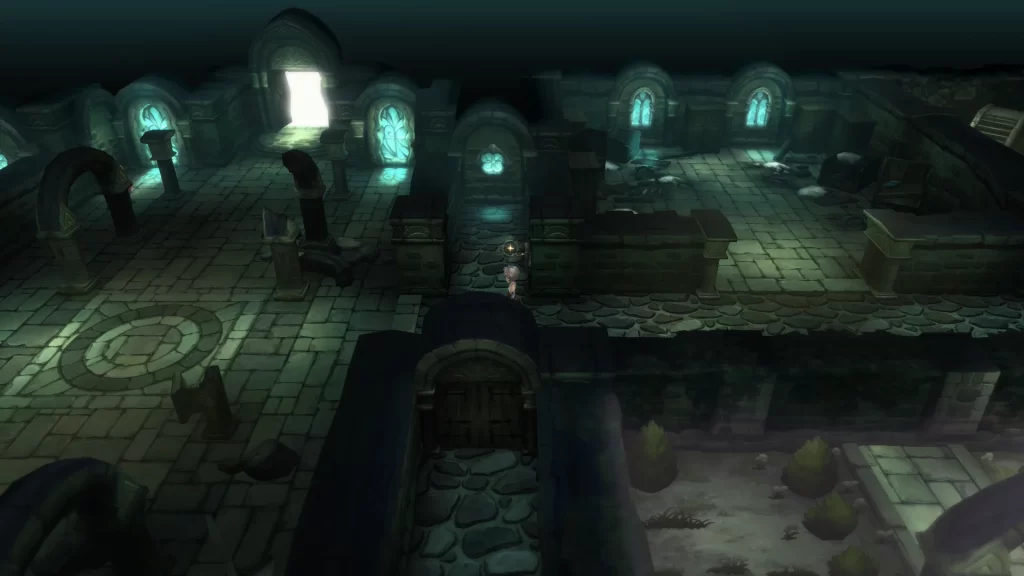
Now that we’re back on F1 of the Temple of Wind, head west to trigger an event with the party. Once it finishes, keep heading west down the hallway and interact with the flowing lever to open a door allowing you to access the temple’s entrance. Just past the hall, you spot a man in red. Make sure to heal up (costs 500pg) and save. There is also a chest with a Mythril Dagger in it on the west side of the room.
When you’re ready, go through the door to the north, past the man in red.
Check on the Wind Crystal at the Altar
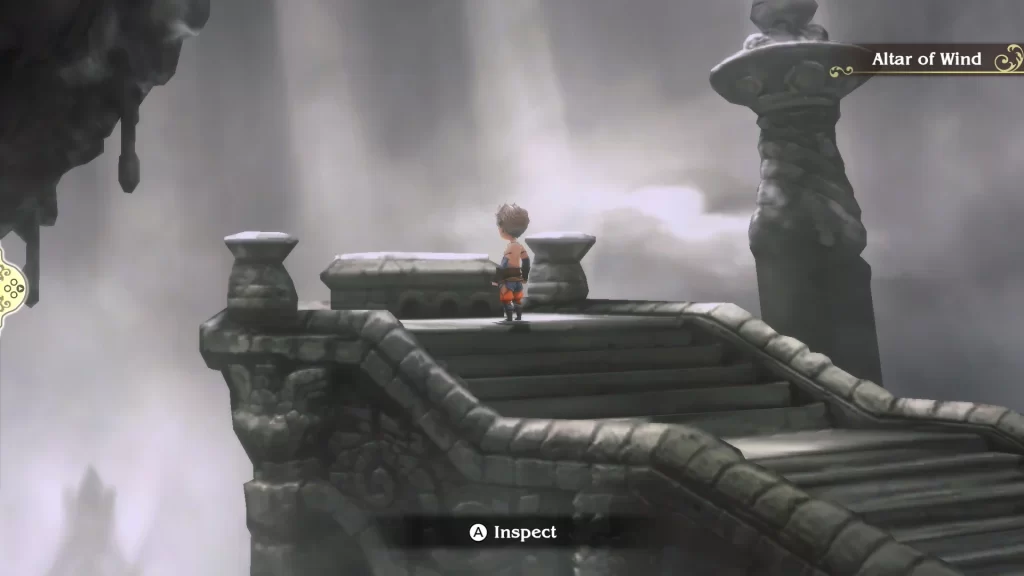
Once you reach the altar room with the crystal, an event will trigger. Approach the crystal once it’s finished and interact with it to initiate another event, where Agnes will inform everyone that she needs the vestal garb to perform the Rite of Awakening.
To find it, return to the Temple of Wind 1F, then head down the hallway, past the lever you flipped, and enter the room on its right.
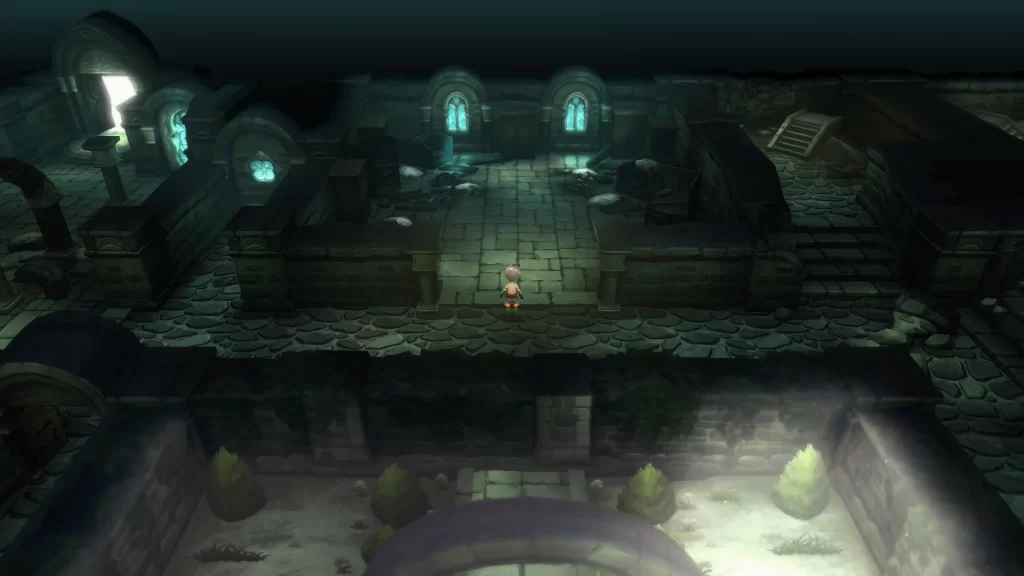
A button prompt will appear on the screen, which you must press to trigger an event in which the party discovers that the garb has been desecrated. Tiz comes up with the idea to get a new one, which prompts Agnes to set the Yulana Woods as the party’s next destination to find the old sage.
Repair the Vestal Garb for the Rite of Awakening
Set out for the Sage’s house

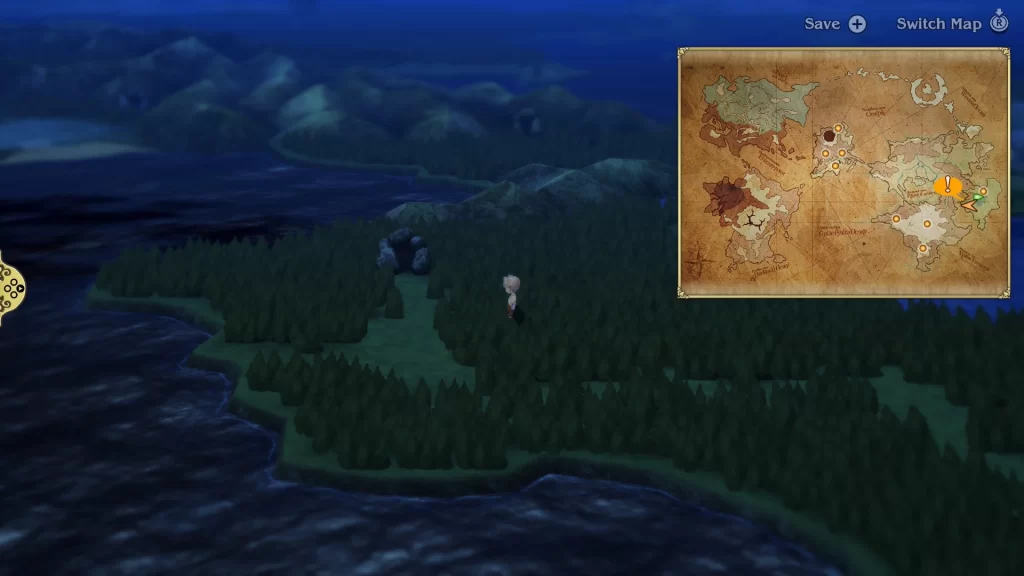
Exit the Temple of Wind and return to your airship. Fly east (northeast of Anchiem) to find a small patch of water you can land in. Do so, then dock your airship at the dock and enter the house there, triggering a lengthy event.
When you regain control of the party, exit the house. Back on the world map, you’ll want to head east, traveling clockwise around the lake to reach Vestment Cave.
Search Vestment Cave for the Required Material
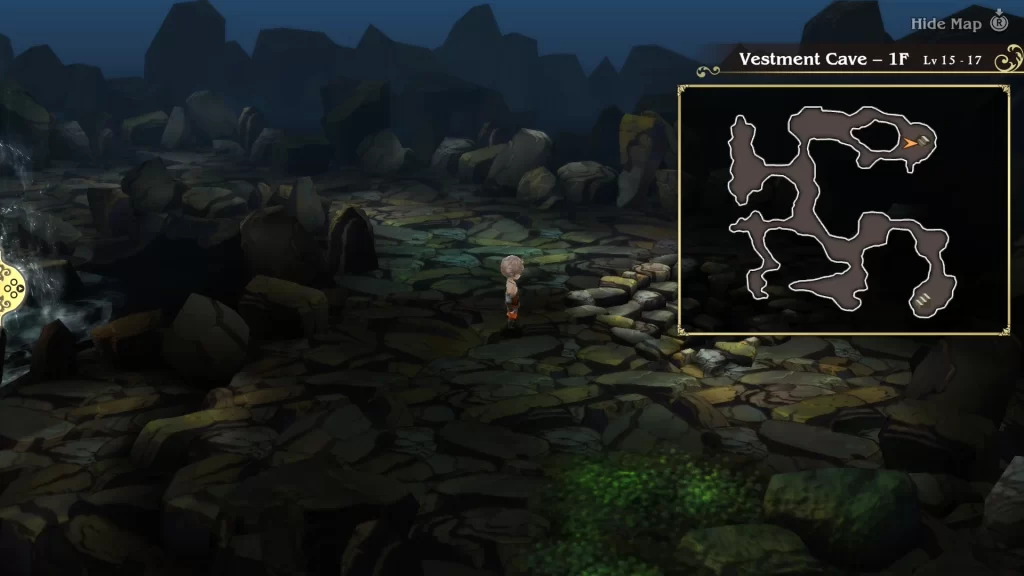
Starting on Vestment Cave – 1F, you’ll want to head to the southwestern corner of the floor to find a chest with a Hi-Potion in it. From there, work your way to the northwestern corner to locate another chest with a Phoenix Down.
Now that you have both chests, make your way to the northeastern corner of the floor to find some stairs that will lead down to Vestment Cave – B1.
On B1, follow the path south to reach a chest with 500pg. Next, mosey on over to the northwestern corner to find a chest with a Remedy inside. With both chests out of the way, there are two sets of stairs leading down to B2. You’ll want to take the set of stairs in the southwestern corner first. This will bring you to a chest with a Mage Shell inside.
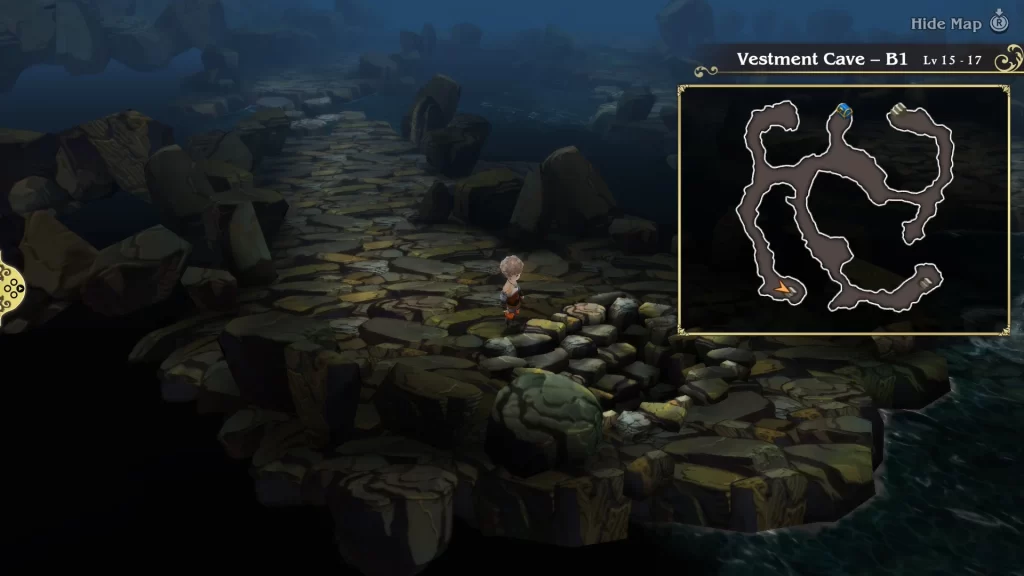
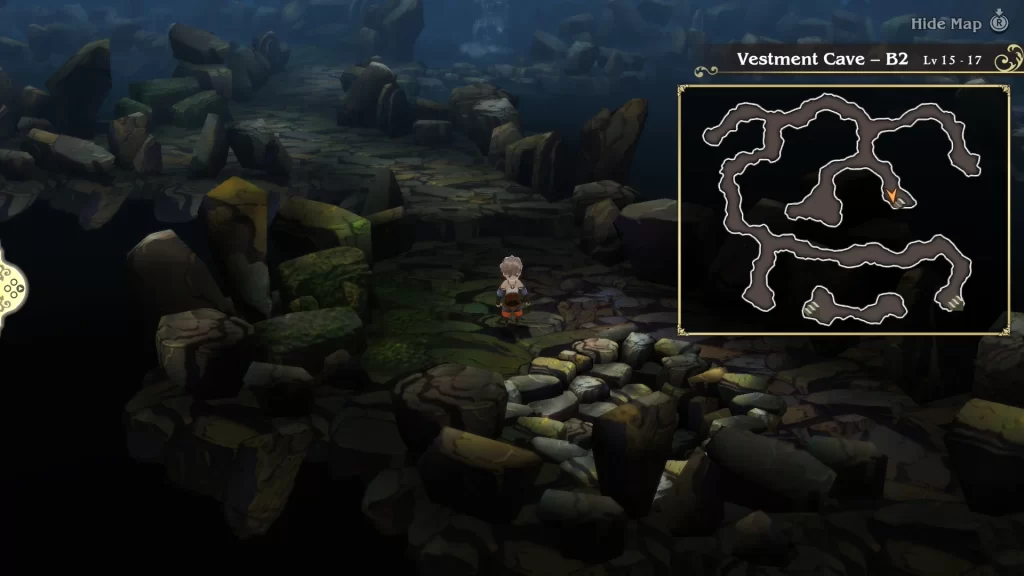
Once you’ve looted the chest, head back up to B1 and take the other set of stairs in the southeastern part of the floor. Back down on B2, you’ll want to follow the main path through the area, exploring the side paths to loot chests with the following items: Echo Herbs, Ether, 1000 pg, and Teleport Stone. Take the stairs at the end of the path to reach B3.
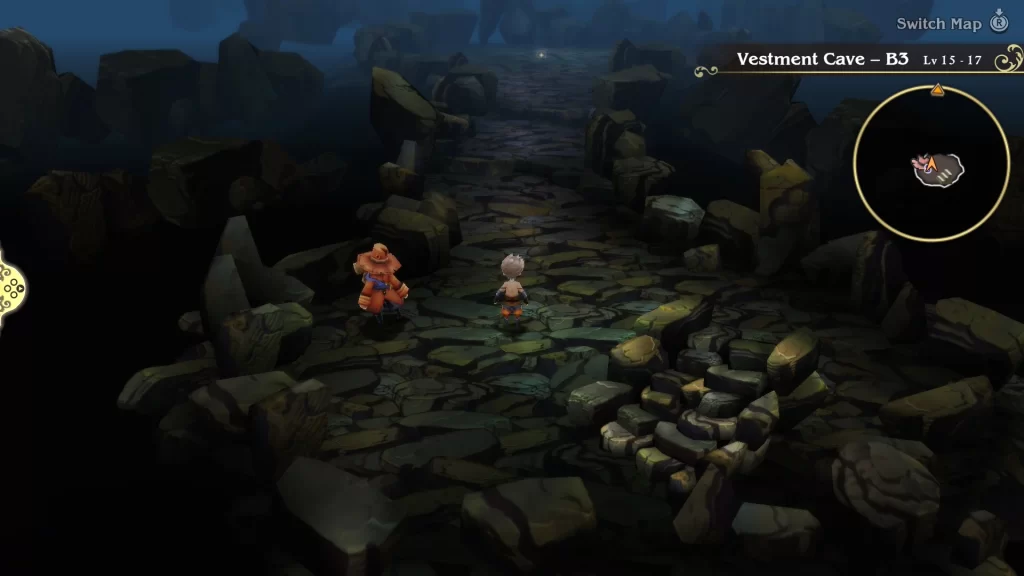
As soon as you reach Vestment Cave – B3, you’ll spot a man in red nearby. Speak with him to save and heal up if needed (costs 500 pg). When you’re ready, head north down the path toward the shiny object. It’s time to face the beast guarding the item we seek!
Vestment Cave Boss Fight: Dragon
As you approach the shiny object, an event will trigger, leading to a confrontation against a dragon. The beast will have 7.500 HP and is weak to ice. It will also employ two primary attacks: Mow Down and Bully. Mow Down is a tail swipe attack that will hit the whole party for moderate damage, while Bully is a single-target attack. The Dragon will attack between one and two times per round. If you have a Thief with you, you can steal a Dragon Fang off of it.
Our strategy for this fight was to outlast the Dragon. We used Agnes as the White Mage, whose sole job was to focus on healing the party. This freed the other three party members to focus on dealing damage to the boss. The other classes we had were a Monk, a Thief, and a Black Mage. Have the party build up BP by defaulting for three turns before unloading on it with Brave to get off four attacks. Use the Blizzard spell on the Dragon for extra damage. We also had the White and Black Mages set up to be able to use both White and Black magic skills so that they could both heal or deal damage as needed.
Once the Dragon goes down, another event will trigger, where Agnes will get the item she needs. Exit Vestment Cave and return to the Sage’s house. Speak with the Sage, who will begin creating the garb.
Awaken the Wind Crystal
Return to the Temple of Wind
Now that Agnes has a new vestal garb, it’s time to perform the Rite of Awakening on the Wind Crystal. Leave the Sage’s house and return to your airship. Fly it back to Anchiem and head south to reach the Temple of Wind. Once inside, make sure to save and heal up at the man in red if needed, before approaching the altar. It’s time to face our next major boss!
Temple of Wind Boss Fight: Orthros
For this fight, you’ll be facing the two-headed Orthros. Each head has 5,000 HP, with the ice head being weak to fire while the fire head is weak to ice. Both head also have their own set of attacks. The fire head will either use the Hellfire skill, which can hit the whole party with a fire attack, or its Flaming Fangs skill, which is a single-target fire attack. The ice head will use its Deep Freeze skill, which will hit the whole party with ice, or its Icy Fangs skill to deal ice damage to a single target. Together, they will use the Blazzard skill, which attacks using both fire and ice. They will deal a significant amount of damage.
To offset this, you’ll want to attack the fire head with the Blizzard spell and the ice head with the Fire spell. This will disable their elemental attacks for a couple of turns, forcing them to attack the party by biting them. You can take that opportunity to focus on one of the heads.
Return to the King of Anchiem
After awakening the crystal, return to Ancheim and approach the castle to trigger an event. Once it concludes, exit the city to trigger another one.
Clean Up Bravely Default Flying Fairy Chapter 1
Time Mage and Spell Fencer Sub-Scenarios
Now that the Wind Crystal has been awakened, you’ll be able to complete the final sub-scenario of Chapter 1. Enter the city of Ancheim after night falls, and you’ll now be able to enter Grand Mill Works (door to the left of the Magics store). Work your way through the mill to face the two powerful foes and receive the Time Mage and Spell Fencer Asterisks for defeating them. You can find more information on those sub-scenarios in our Chapter 1 Jobs and Asterisks guide. Also, make sure to swing by the Magics store to purchase the Time Mage spells afterward.
Starting Heading to the Water Crystal
Return to the Airship and Make for the Miasma Woods
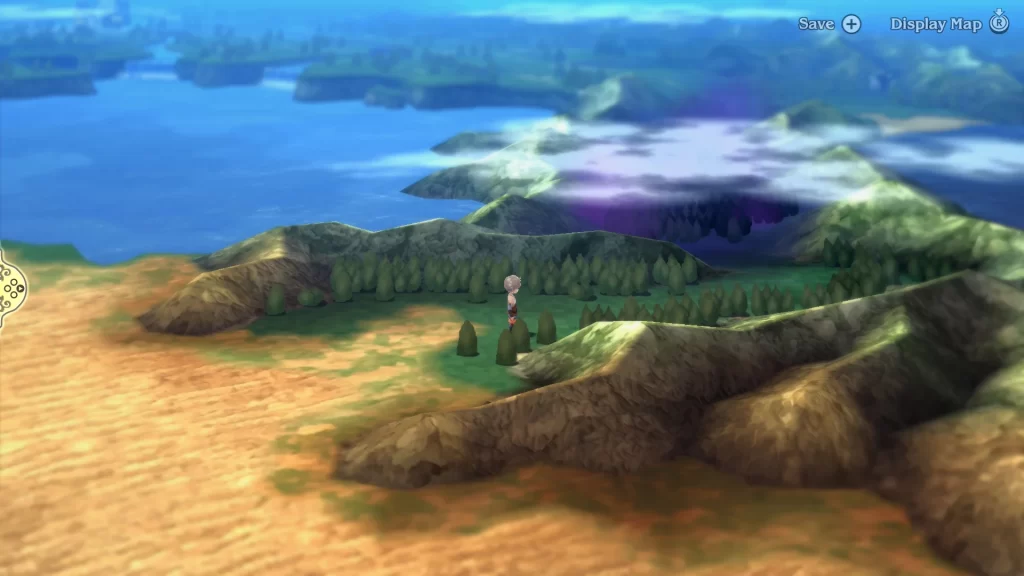
After you have done everything you’ve wanted to do in Chapter 1, it’s time to head toward the next crystal. Return to the airship to trigger a lengthy event. After it concludes, head east along the coast and enter the Miasma Woods. This will trigger another event leading to the completion of the chapter.
Additional Bravely Default Flying Fairy Guides and Walkthroughs
For additional guides and walkthroughs on Bravely Default Flying Fairy, be sure to check out our Bravely Default Flying Fairy HD Remaster main page!