Welcome to our Borderlands 4: The Fadefields – Idolator’s Noose Area Guide! This walkthrough covers everything you need to fully complete the region, including all collectibles, activities, and hidden objectives. If you’re aiming for 100% completion, our step-by-step breakdown will help you track down every item and activity in the Idolator’s Noose.
Quick Links
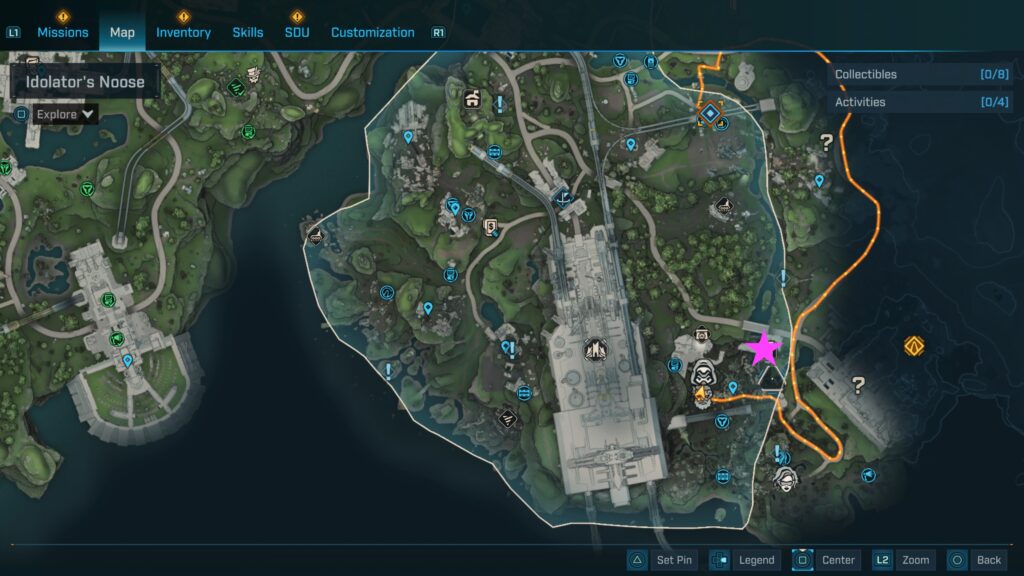
The Fadefields – Idolator’s Noose Area Guide
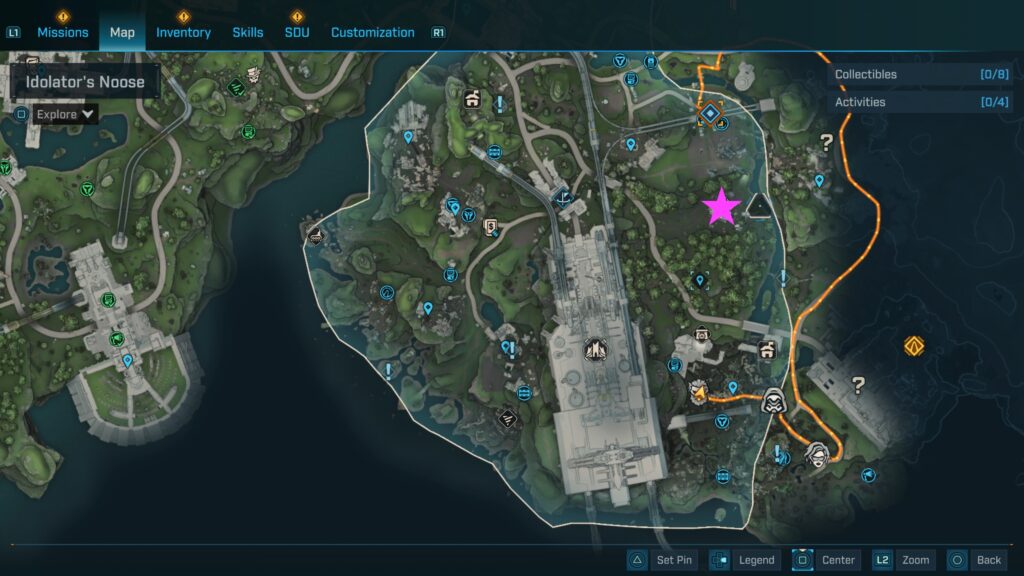
In the Idolator’s Noose, there are several items and activities to track down for 100% completion:
- Collectibles: 16 total
- Activities: 6 total
Idolator’s Noose Collectibles
ECHO Logs
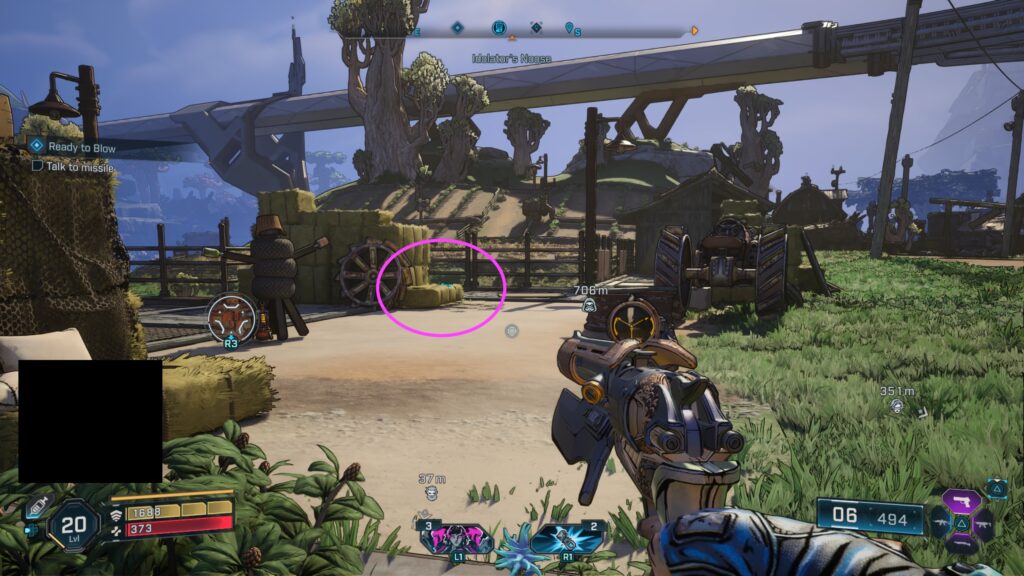
Happy Helper
This ECHO Log can be found on a haybale along the main road east of the Watershed Gate.
Safe and Sound
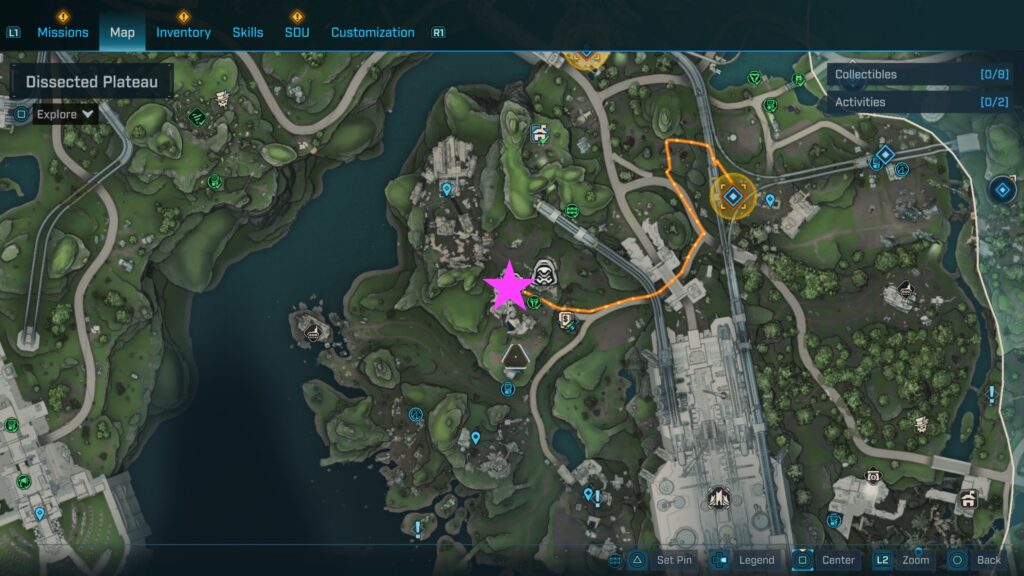
This ECHO Log can be found on a chair overlooking a ledge just south of the Tetanus Quad.
Hear Ye, Hear Ye
This ECHO Log can be found on a wooden table underneath a pavilion east of Rosemary’s Reserve.
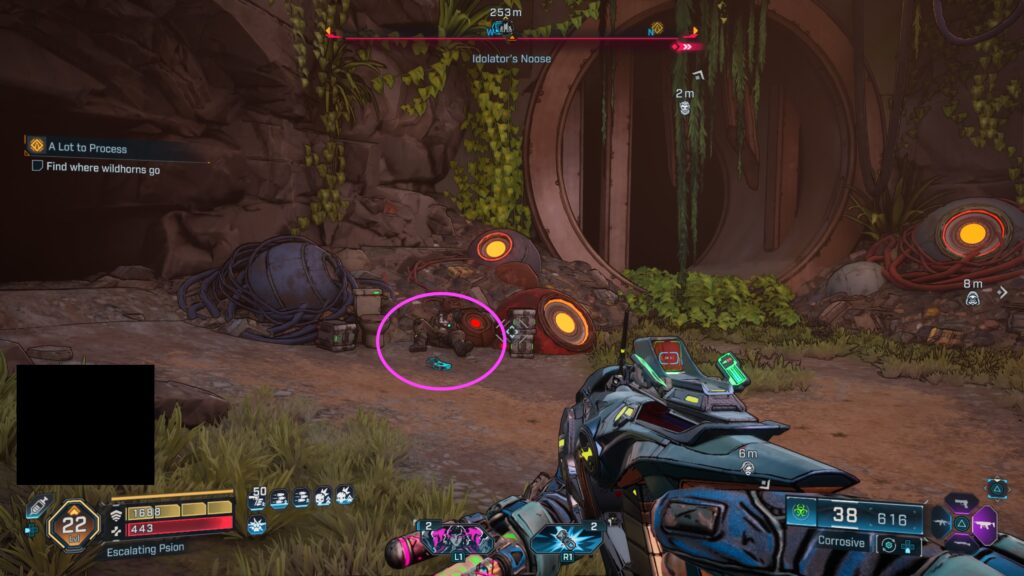
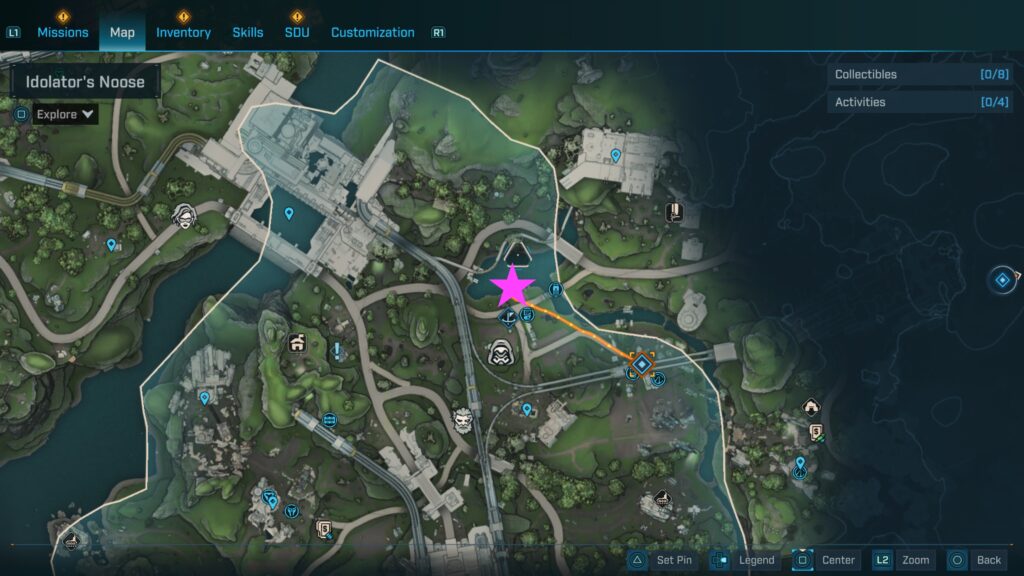
Till Death Do Us Part
This ECHO Log can be found southwest of the Tipping Point Order Bunker and is guarded by Wreck and his Burro.
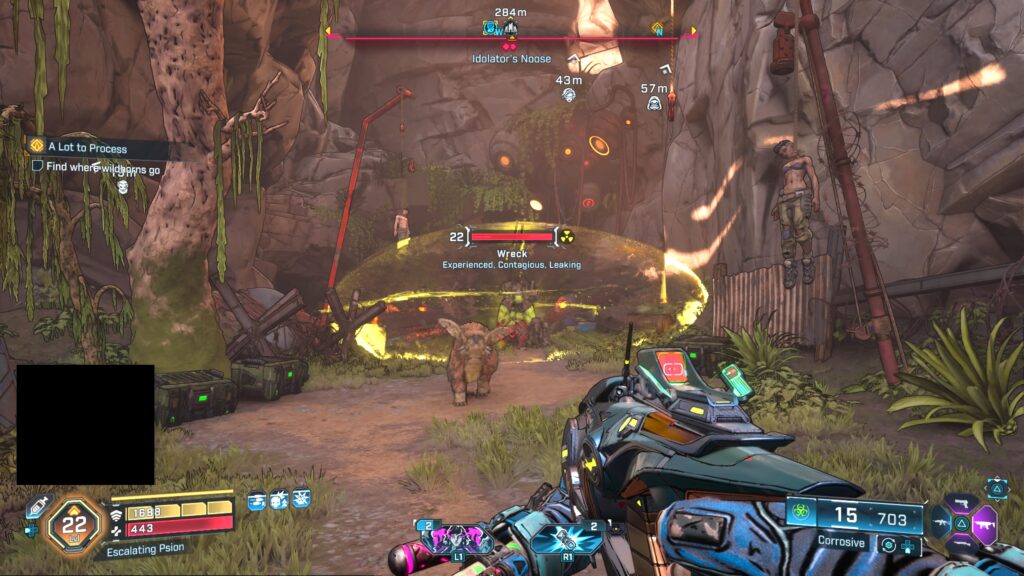
You’ll find it on the ground next to a corpse.
Dead Bolts
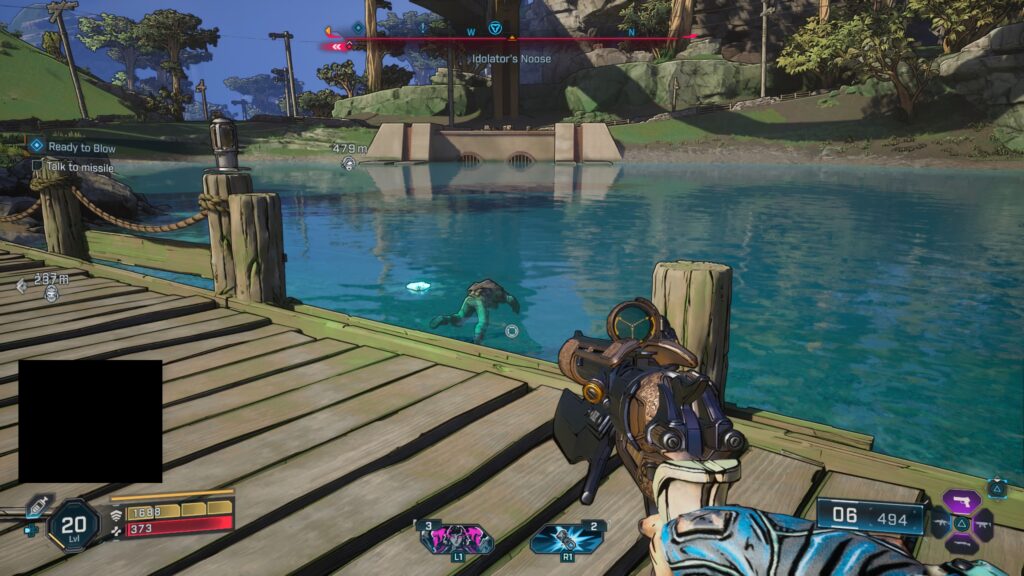
Starfish-Crossed
This Dead Bolt can be found in the water next to a corpse east of the Watershed Gate.
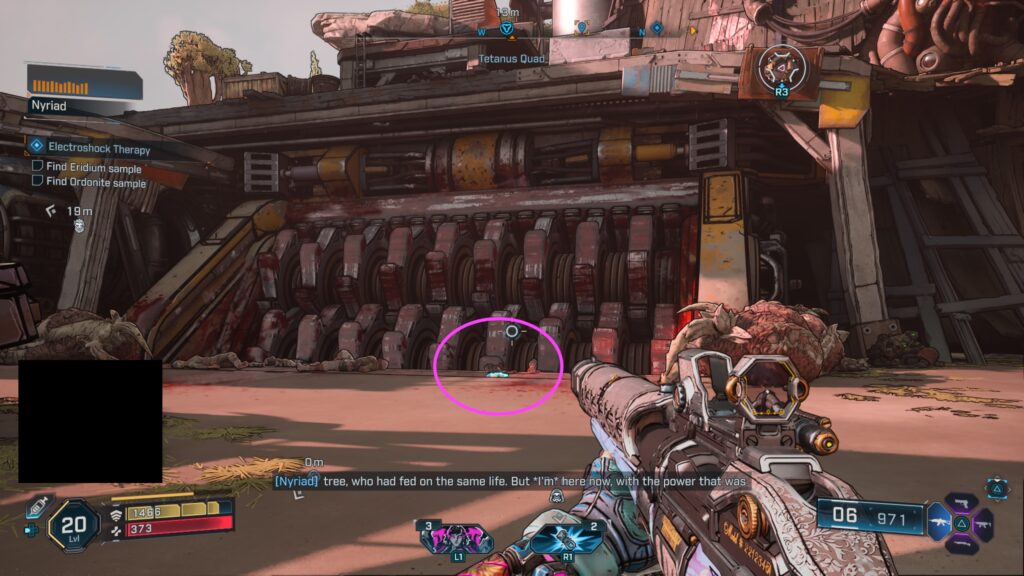
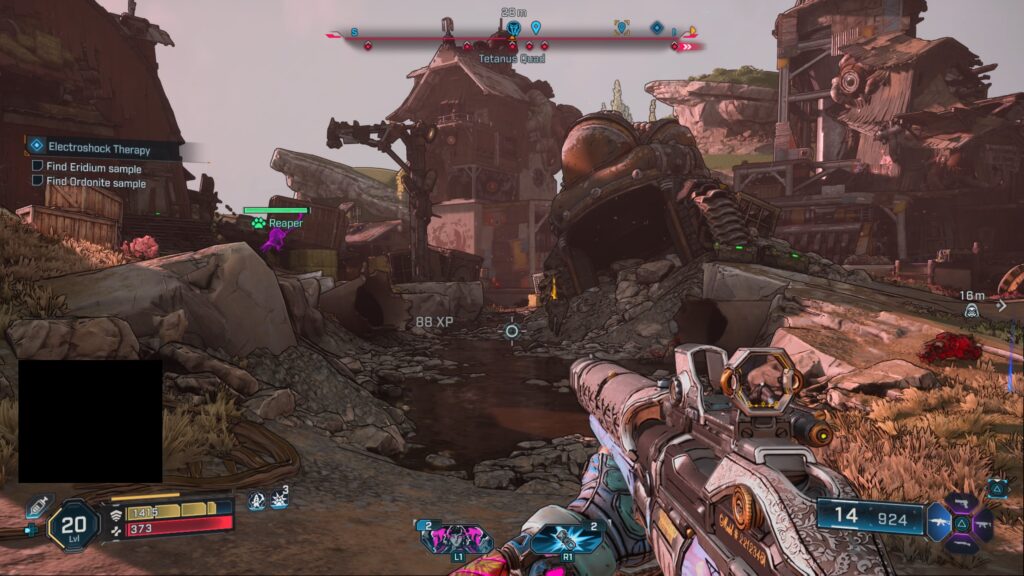
Watch This
This Dead Bolt can be found in front of the meat grinder at Tetanus Quad.
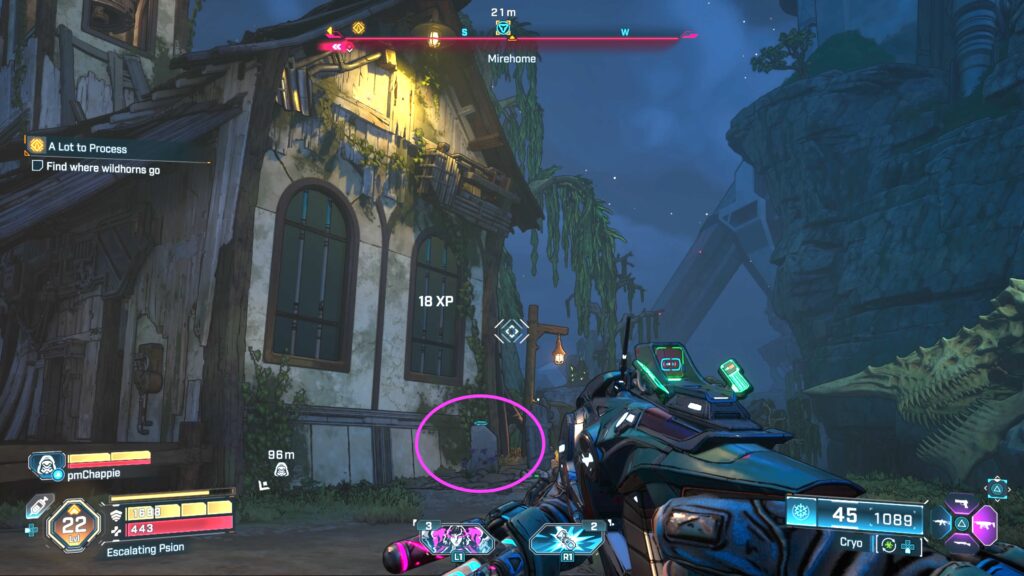
Dying Wish
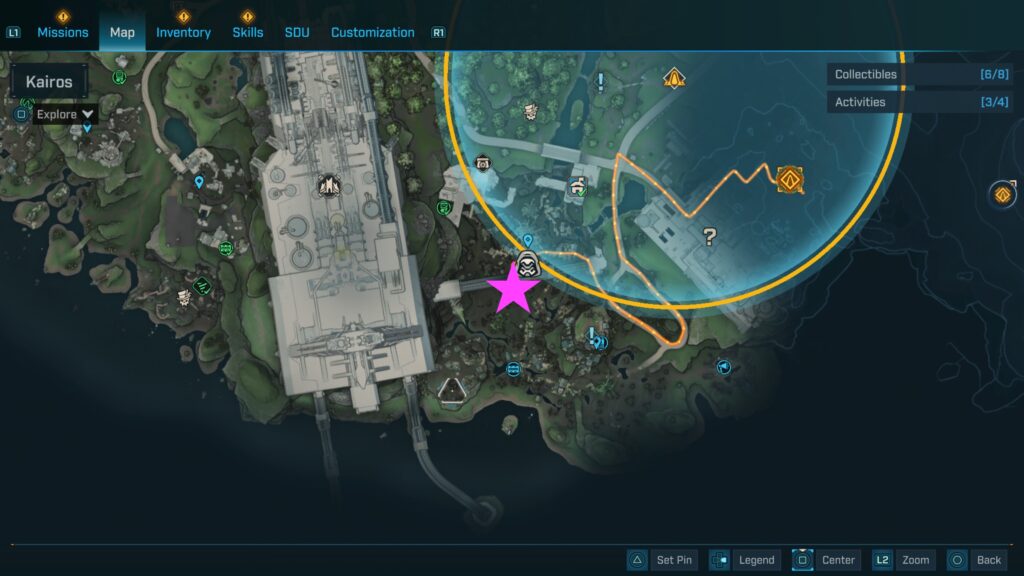
This Dead Bolt can be found in the southeastern corner of Idolator’s Noose next to a house.
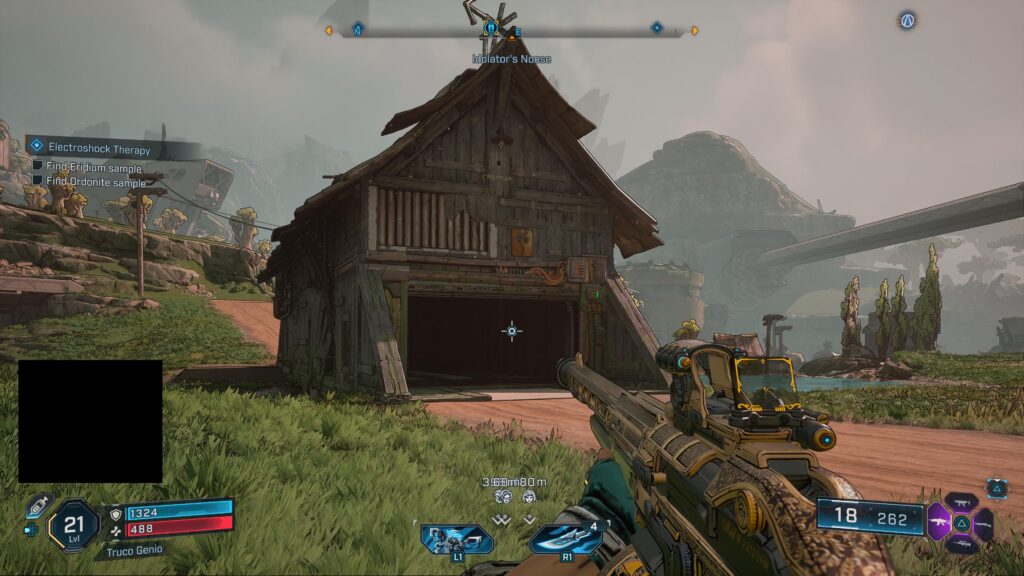
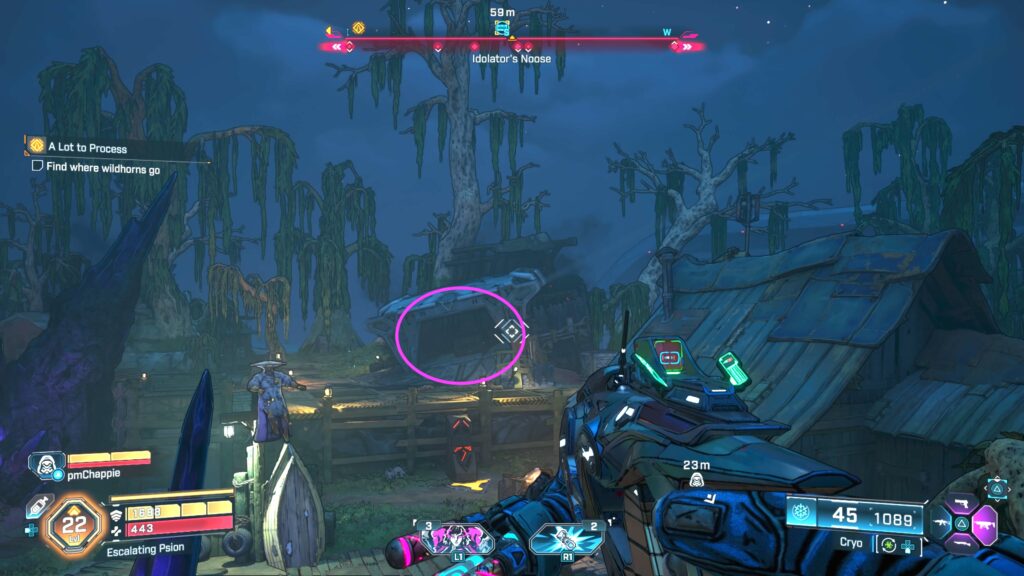
Lost Capsule
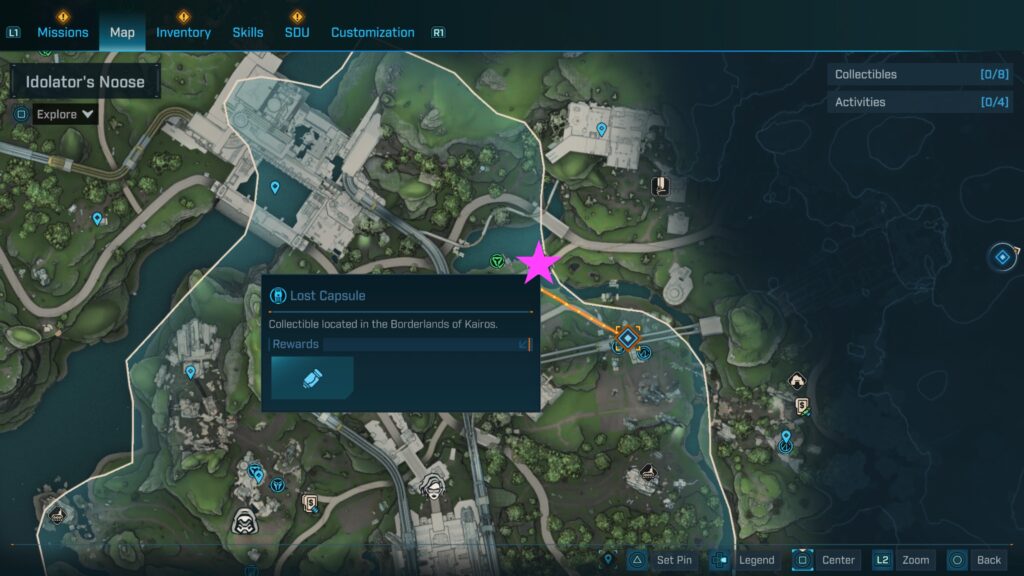
This Lost Capsule can be found along the eastern edge of Idolator’s Noose. You’ll find it in the rafters of a bridge!
When you find it, pick up the capsule and bring it to a safehouse! In the safehouse, place it in the receptacle.
Propaganda Speaker
This Propaganda Speaker can be found at Rosemary’s Reserve.
Survivalist Caches
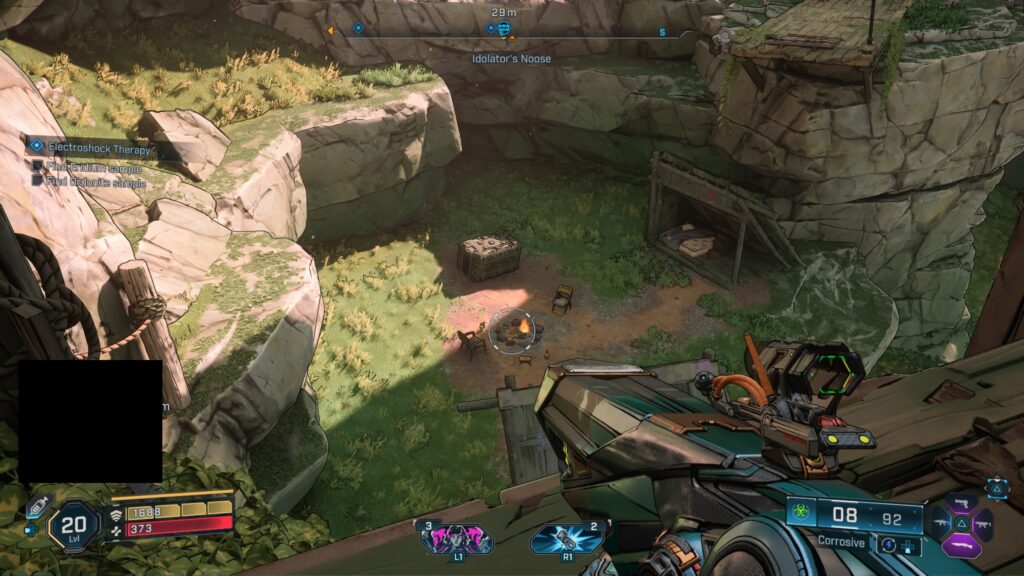
Survivalist Cache #1
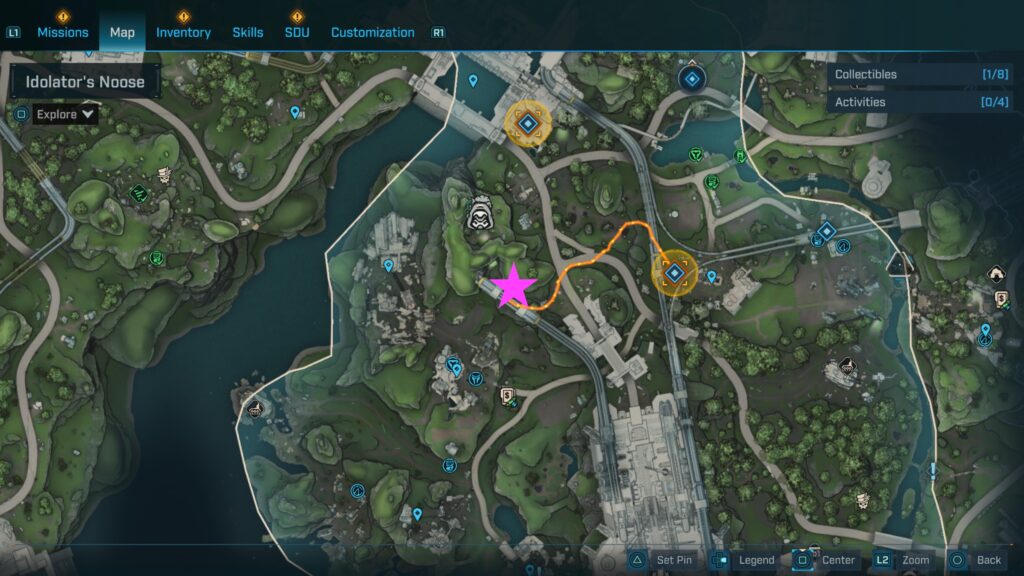
This survivalist cache can be found south of the Someday Rise safehouse. It will be nestled in the cliffs by a makeshift camp.
Survivalist Cache #2
This cache can be found on the southern side of the Racketrun in a small building.

Survivalist Cache #3
This survivalist cache can be found inside a shipping container on the southern side of Idolator’s Noose. It will be in an area heavily guarded by enemies!
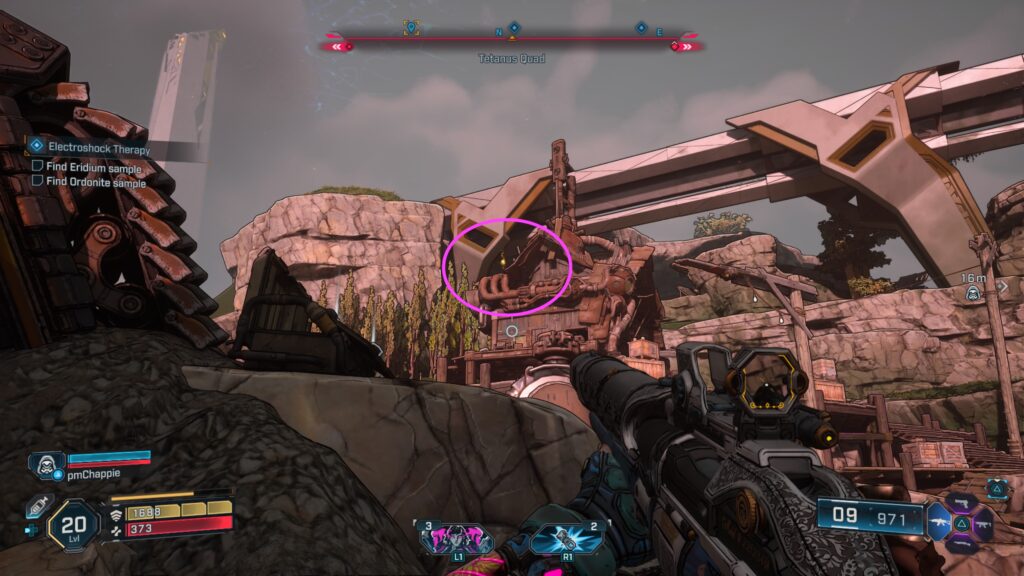
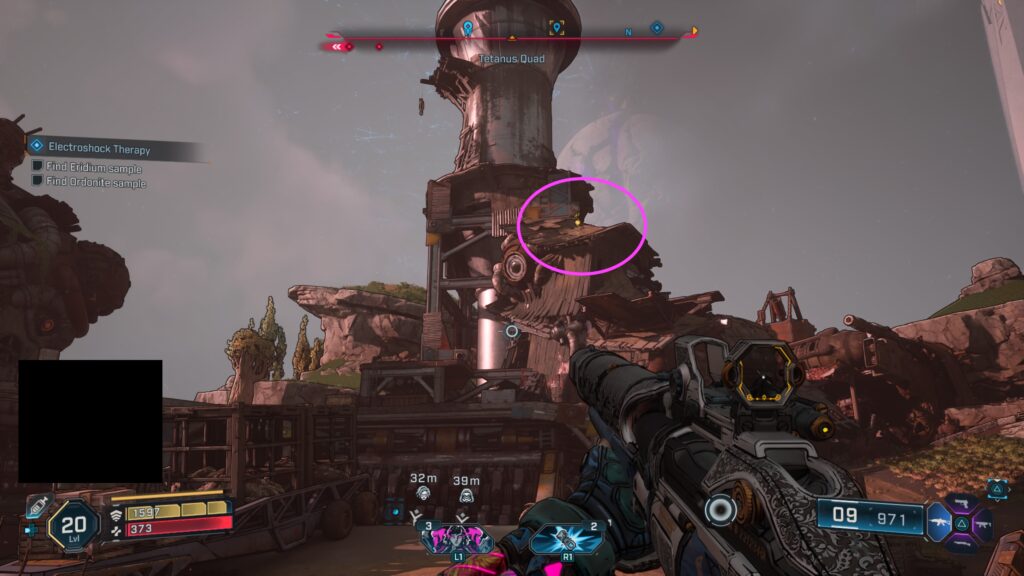
Evocarium

This Evocarium can be found at Tetanus Quad.
Vault Fragment
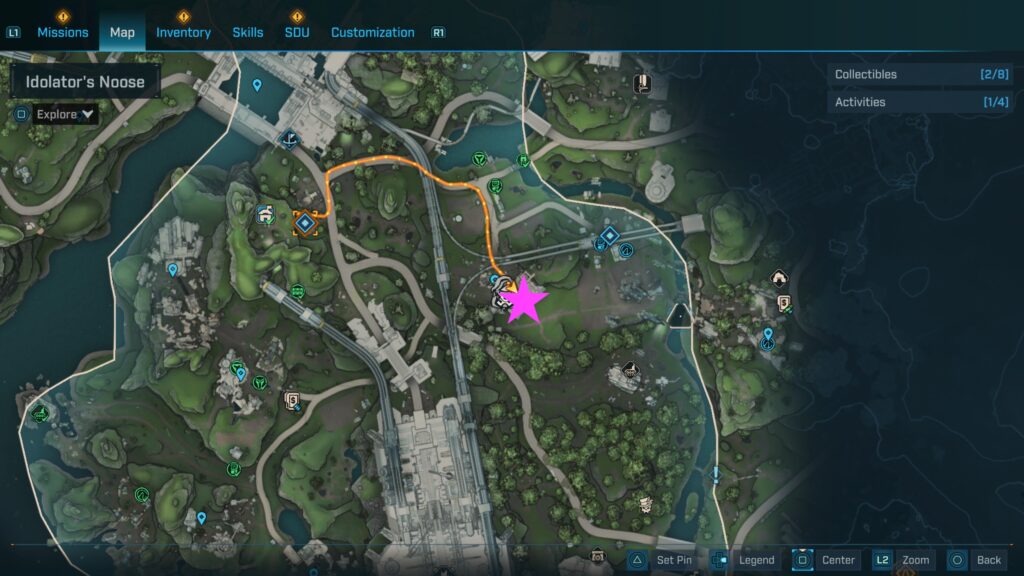
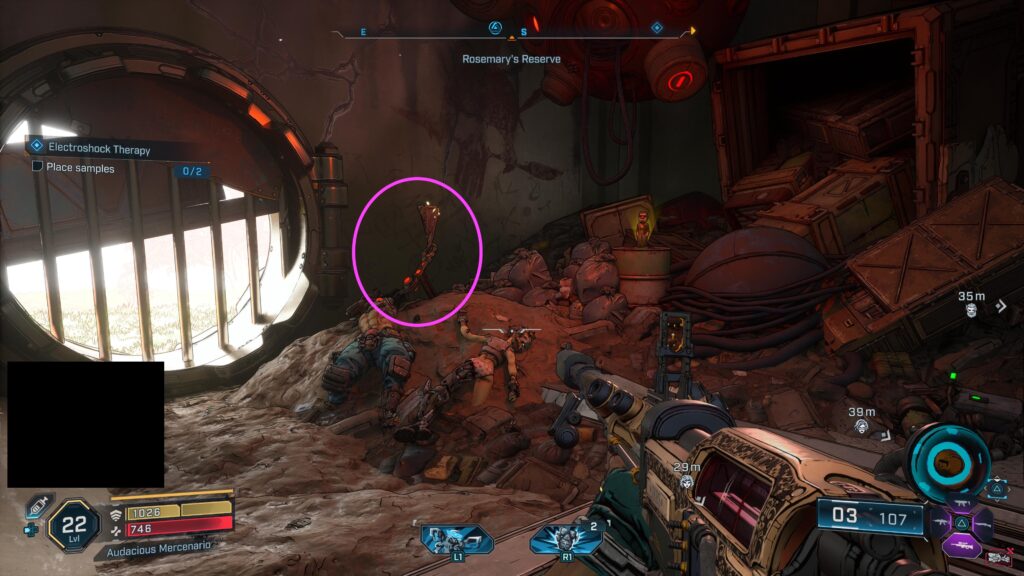
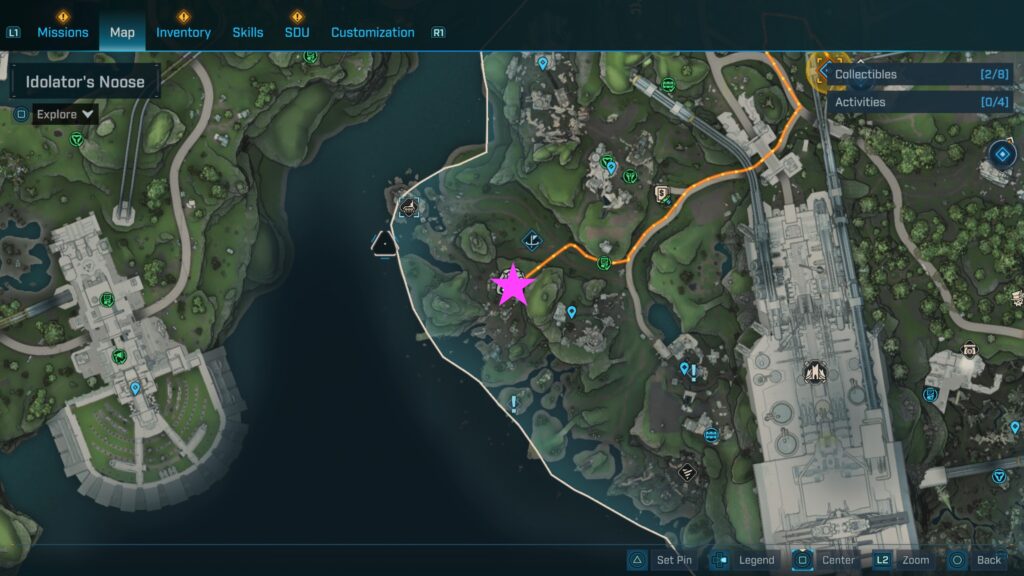
The Vault Fragment can be found at Rosemary’s Reserve.
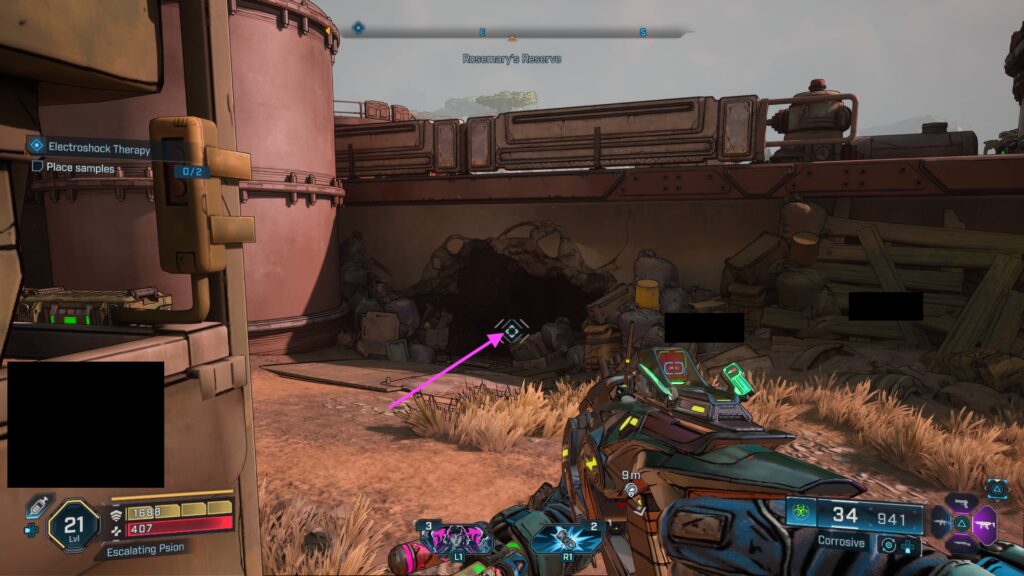
To reach the hidden room, you’ll need to pull the grate from a sewage pipe.
Vault Symbols
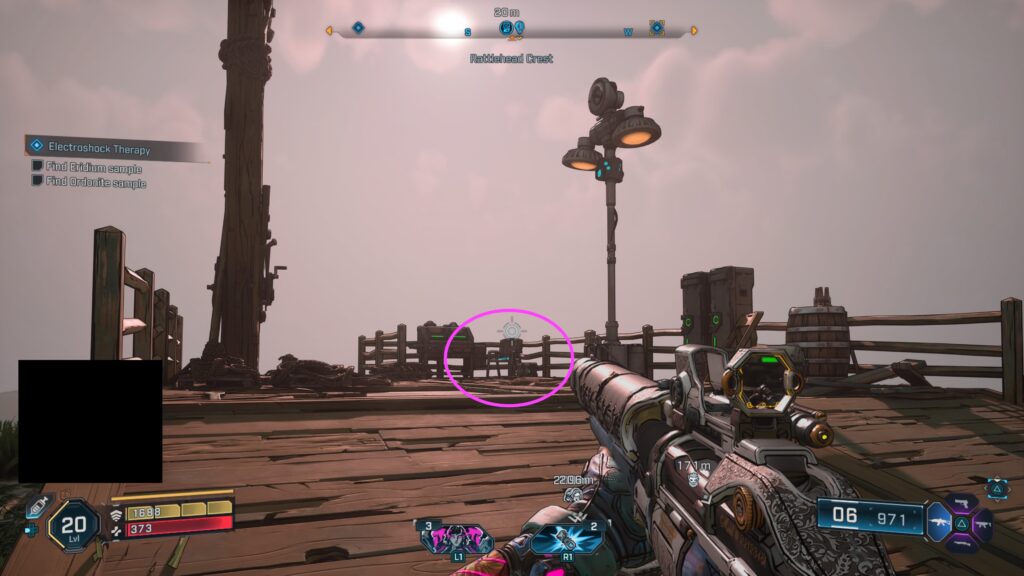
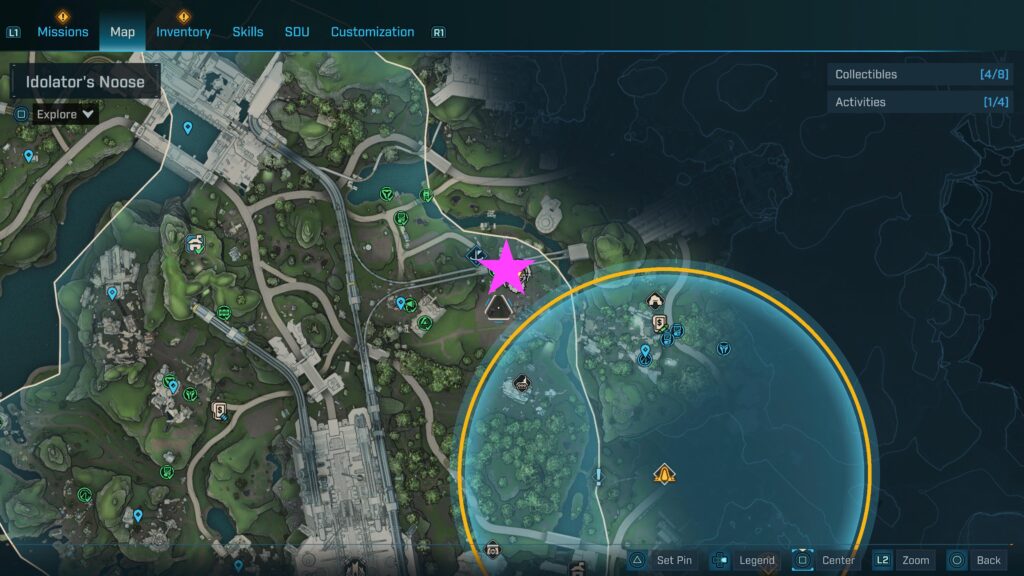
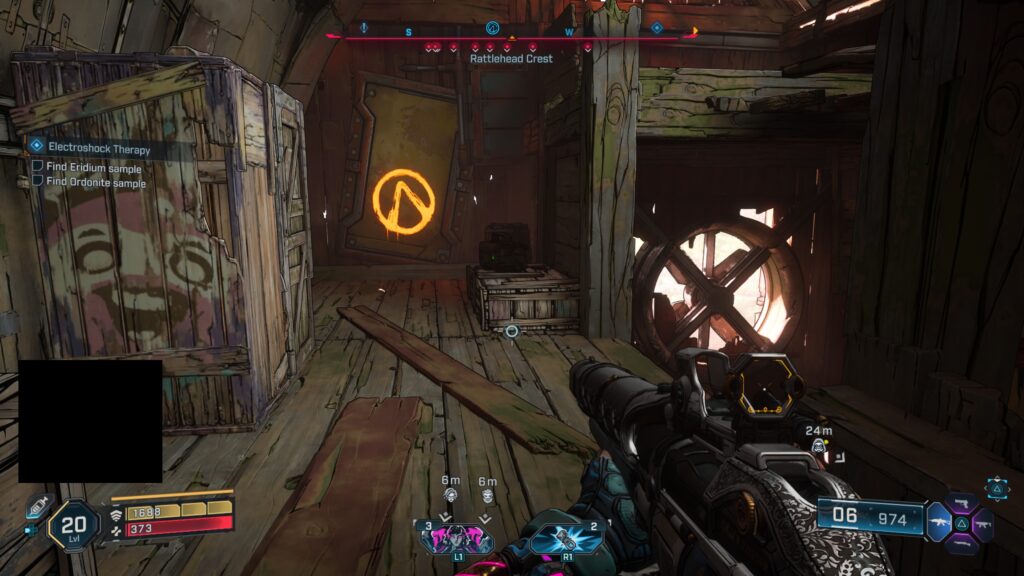
Vault Symbol #1
This vault symbol can be found on a wall in the tallest building near the top. It will be west of Rattlehead Crest.
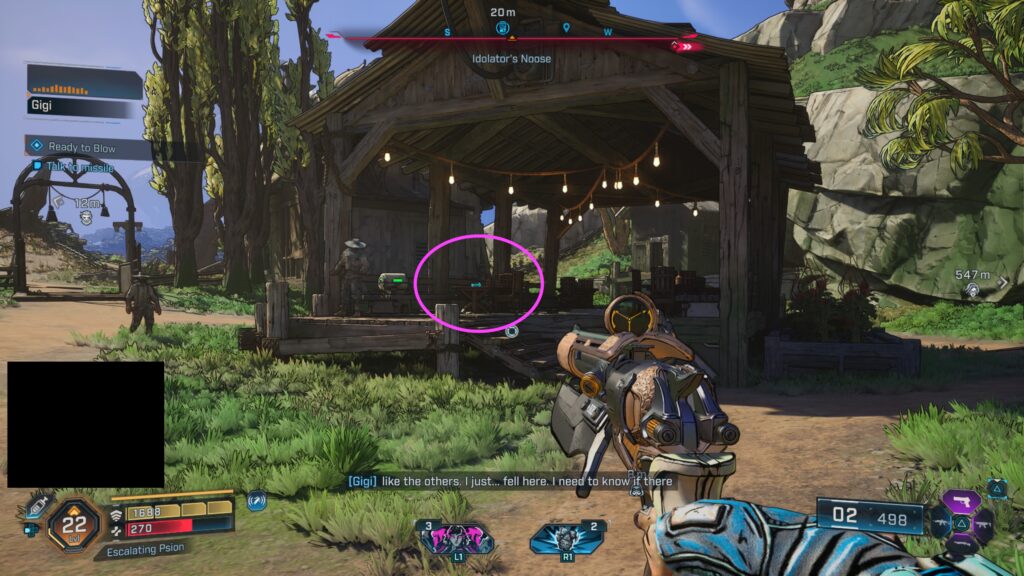
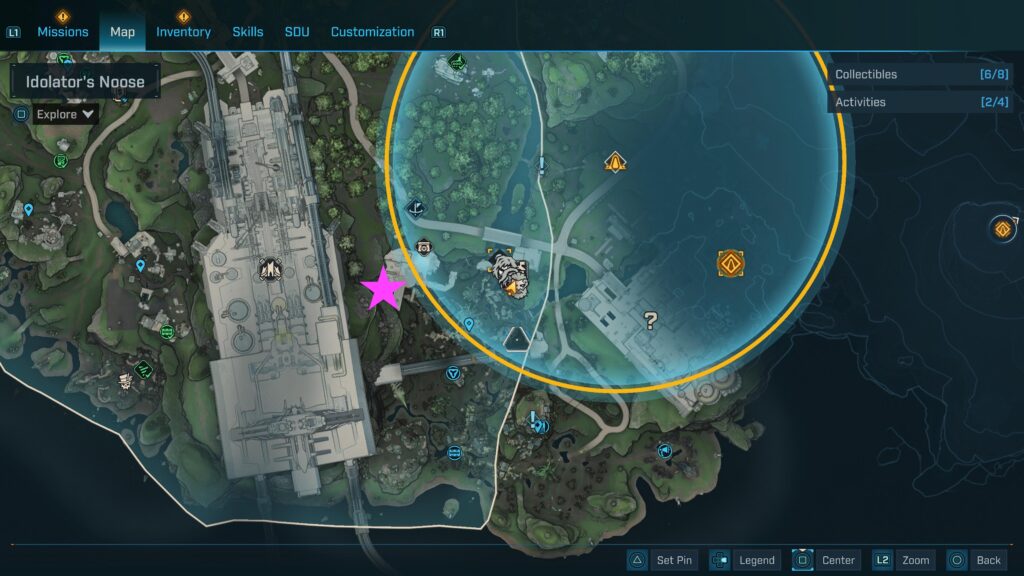
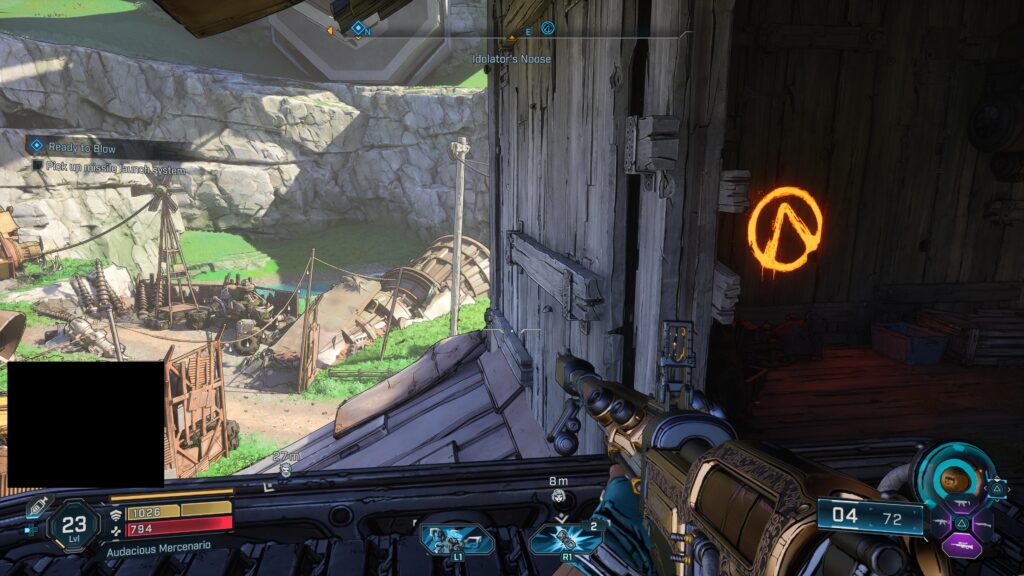
Vault Symbol #2
This vault symbol can be found on the upper wall of a building east of Rosemary’s Reserve along the edge of Idolator’s Noose.
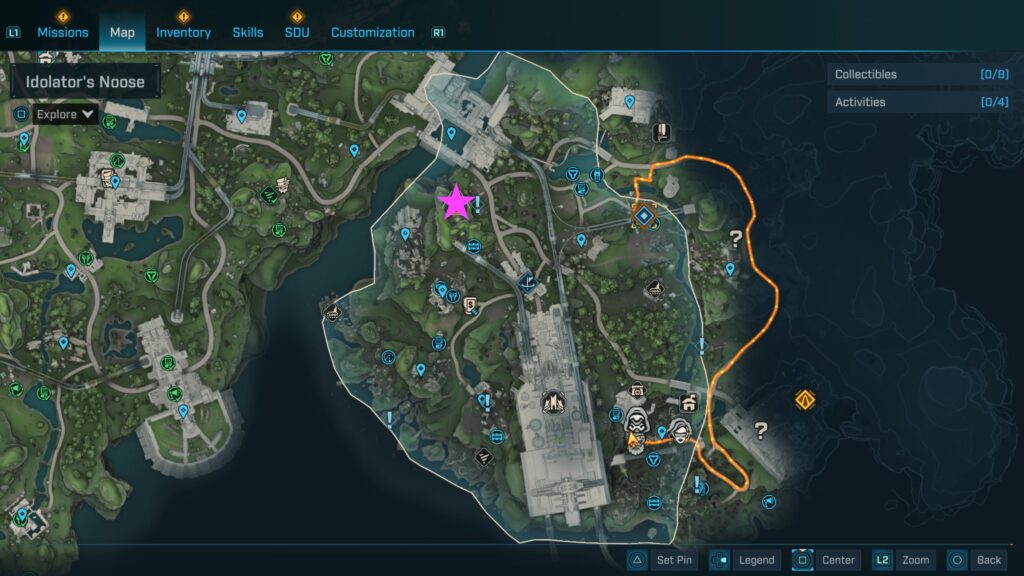
Idolator’s Noose Activities
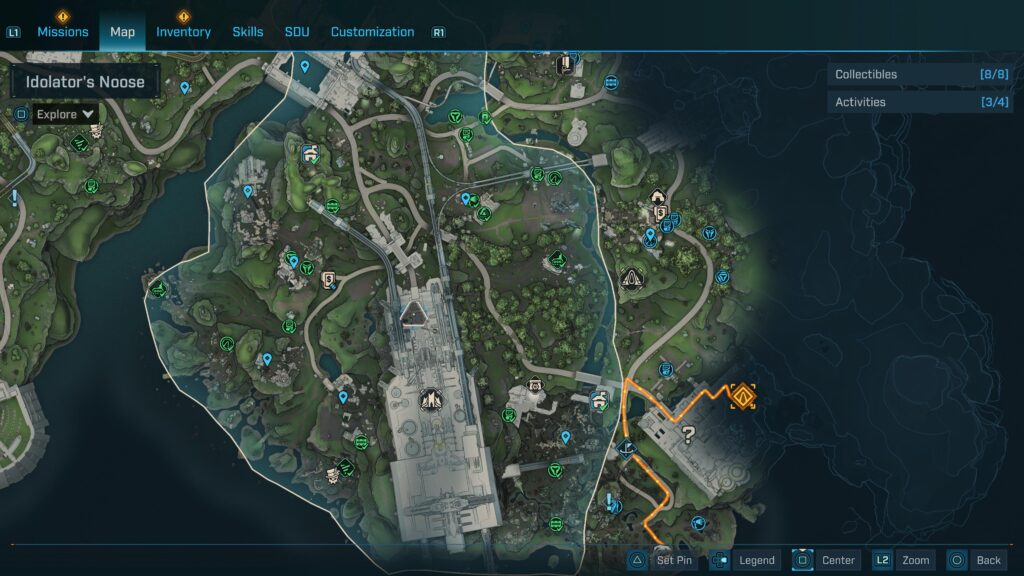
Ripper Drill Site: The Pitted Stain
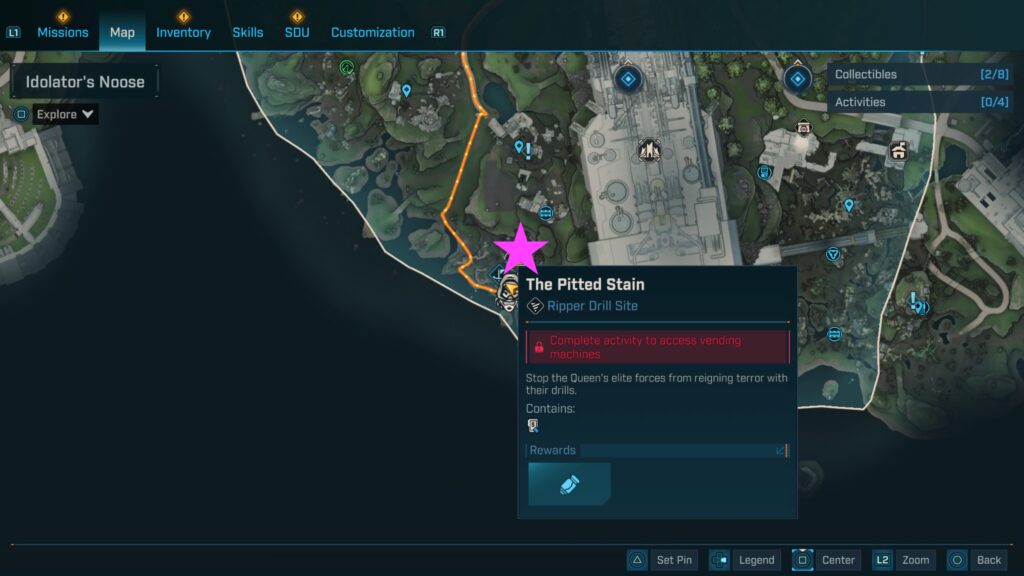
The Pitted Stain Ripper Drill Site can be found along the southern edge of Idolator’s Noose. Once you arrive, stop the Queen’s elite forces from wreaking terror with their drills! You’ll need to keep eliminating the rounds of enemies that will progressively get harder until ultimately you’ll face off against Frank, Hank, and Sal! Take them out to complete the activity.
Safehouses
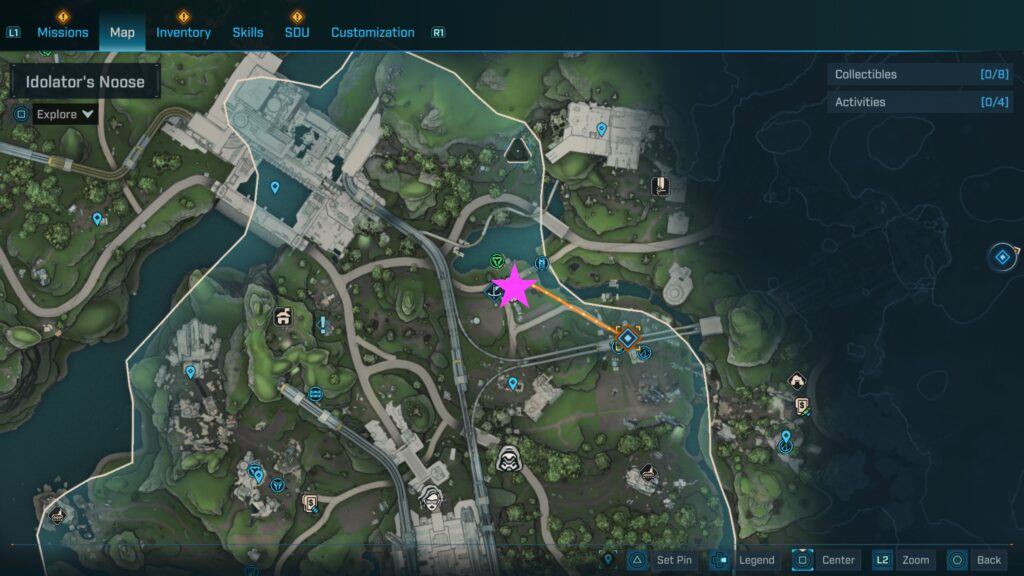
Someday Rise
This safehouse can be found on the western side of Idolator’s Noose on a mountain. To open it, you’ll need to find the datapad, which is resting on a mattress southeast of the safehouse objective marker. It will be across from the homes that are semi in the ground.

Once you have the datapad, bring it inside the newly opened door and place it in the pedestal to capture the safehouse!
Wyclef’s Reprieve
This safehouse can be found on the eastern edge of Idolator’s Noose. The datapad can be found on a crate next to the giant purple crystal to the right of the safehouse door.
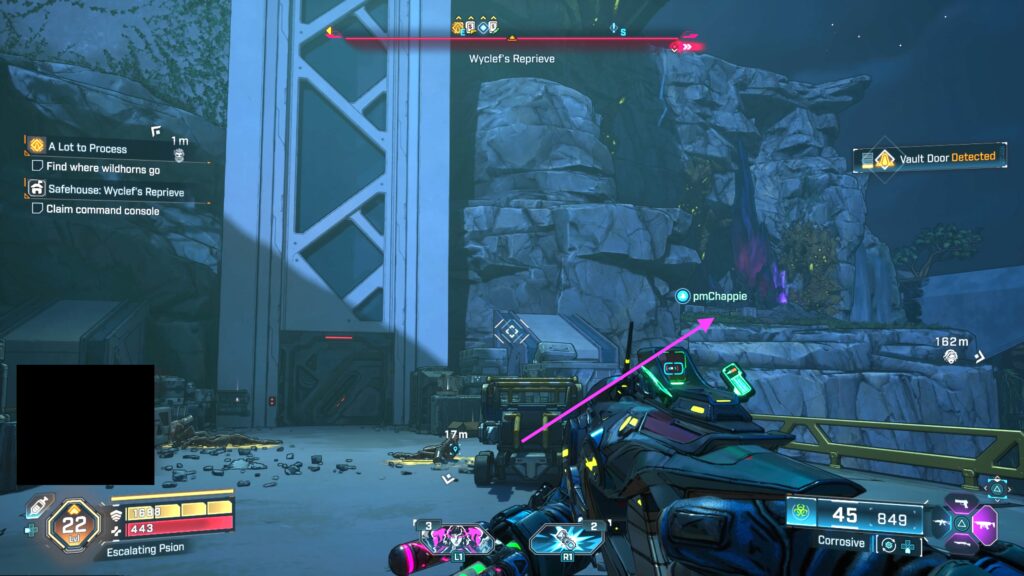
Next, you’ll need to find the command console. Head through the cave and climb the climbable wall. At the top, head straight then turn left to spot the safehouse. Make your way to it to find the command console. Capture it to claim the safehouse as your own!
Order Bunker: Tipping Point
You’ll gain access to the Order Bunkers at the start of the Rush the Gate main quest. When you find an Order Bunker, you’ll need to use the Locust Canisters to bypass their Bio-Armored doors, defeat their threats, and earn SDU Tokens.

This Order Bunker can be found on the southeastern side of the area. When you arrive at the bunker, make your way to the left of the door to find a giant fan.
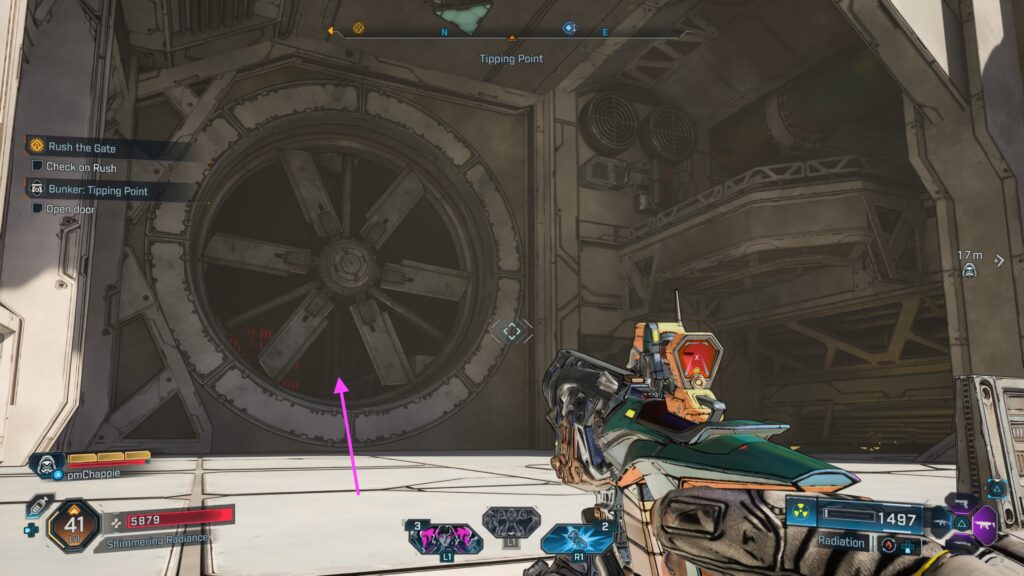
Head through the fan blades and follow the path to reach the Locust Canister.
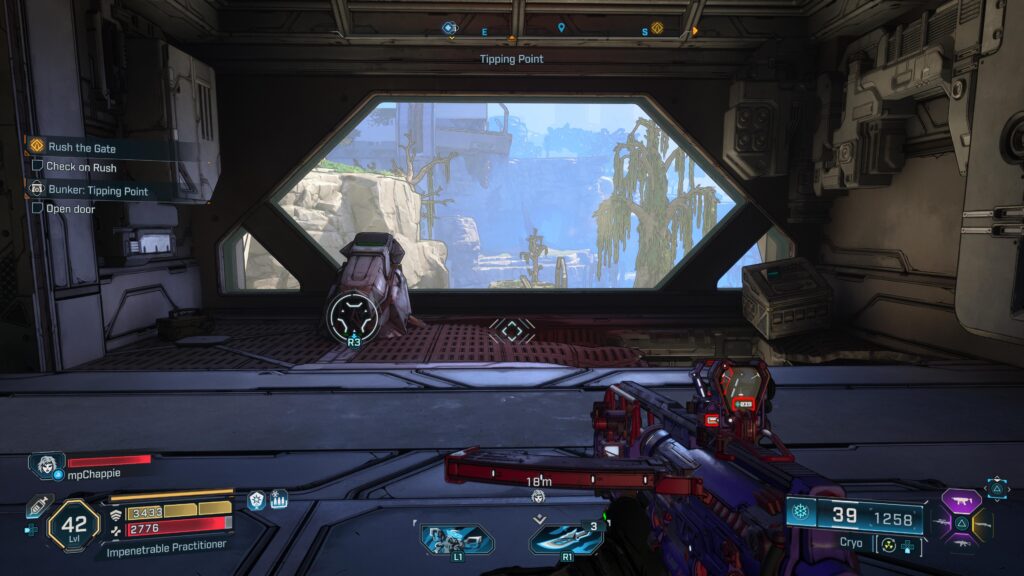
Once you have the canister, drop through a hole in the floor and bring it to the door. Once in the bunker, work your way through the area until you reach the boss fight at the end. Mimicron has two bars: one Shield and one Armor.
Ancient Crawlers
The Eminent Husk

This Ancient Crawler can be found along the western edge of Idolator’s Noose. The battery can be found on the southeastern side of the camp in the back of a truck.
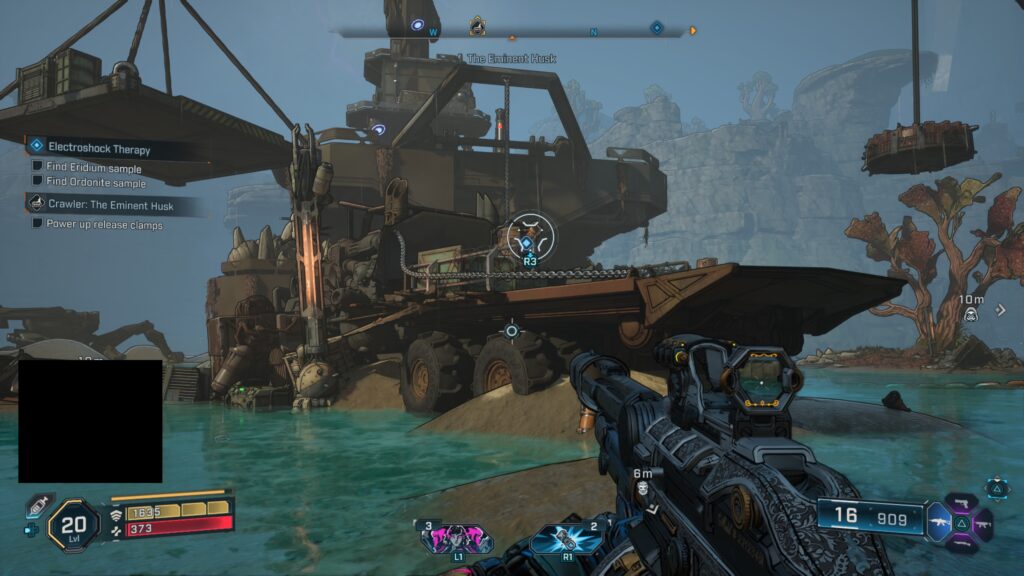
Once you have the battery, place it in the receptacle on top of the Ancient Crawler to power up the release clamps.
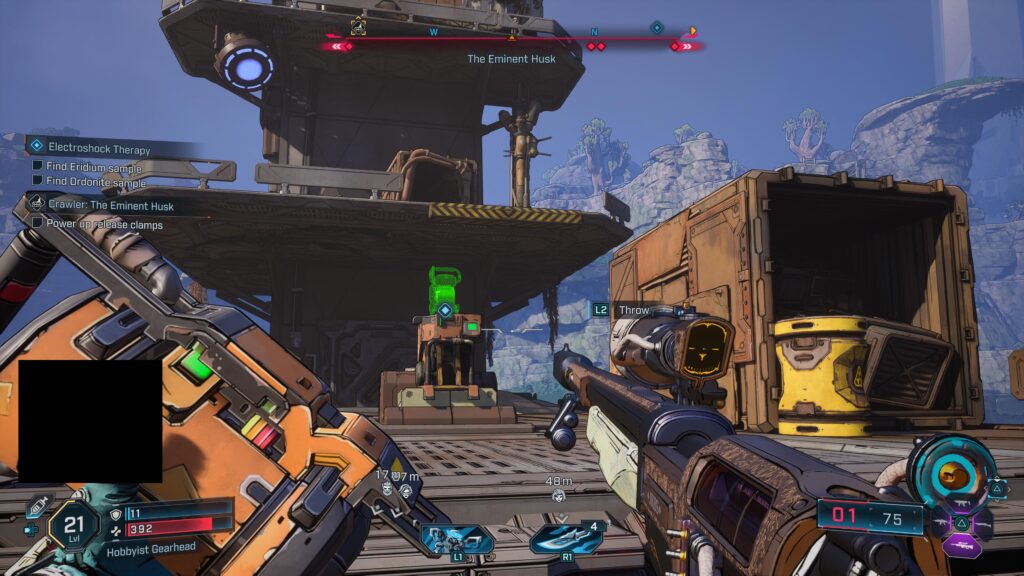
Next, you’ll need to find the vehicle kit near the top of the tower to acquire the Afterparty vehicle cosmetic.
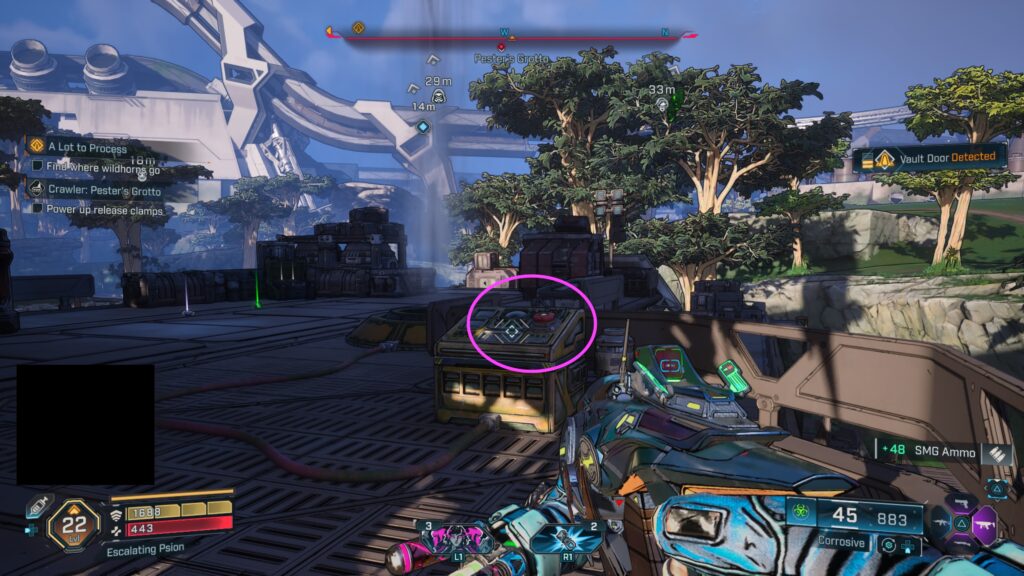
Pester’s Grotto
This Ancient Crawler can be found on the eastern side of Idolator’s Noose. You’ll find the battery on the eastern side of the area in a metal cylinder.

Once you have the battery, carry it up onto the Ancient Crawler and place it in the receptacle to power up the release clamps. Next, press the button on the console to cause a jet of air to flow upwards.
You can use this to reach the top. At the top, pull open the grate to reveal the vehicle kit.
Related Borderlands 4 Content
Looking for more Borderlands 4 content? Use the links below to keep exploring our guides:
- Next Guide: Continue with Borderlands 4 Side Missions Guide for complete walkthroughs on every quest!
- Main Page: Visit our Borderlands 4 Guides and Walkthroughs hub for all our latest content!
- Official Website: Check out the official Borderlands 4 website for news and updates!