Welcome to our Borderlands 4: The Fadefields – Coastal Bonescape Area Guide! This walkthrough covers everything you need to fully complete the region, including all collectibles, activities, and hidden objectives. If you’re aiming for 100% completion, our step-by-step breakdown will help you track down every item and activity in the Coastal Bonescape.
Quick Links
The Fadefields – Coastal Bonescape Area Guide
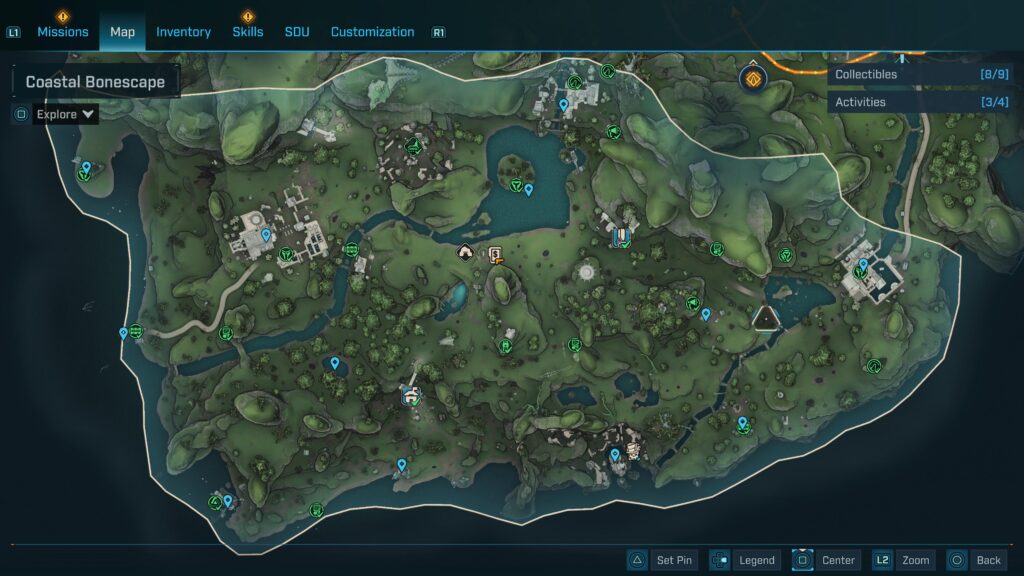
In the Coastal Bonescape, there are several items and activities to track down for 100% completion:
- Collectibles: 20 total
- Activities: 4 total
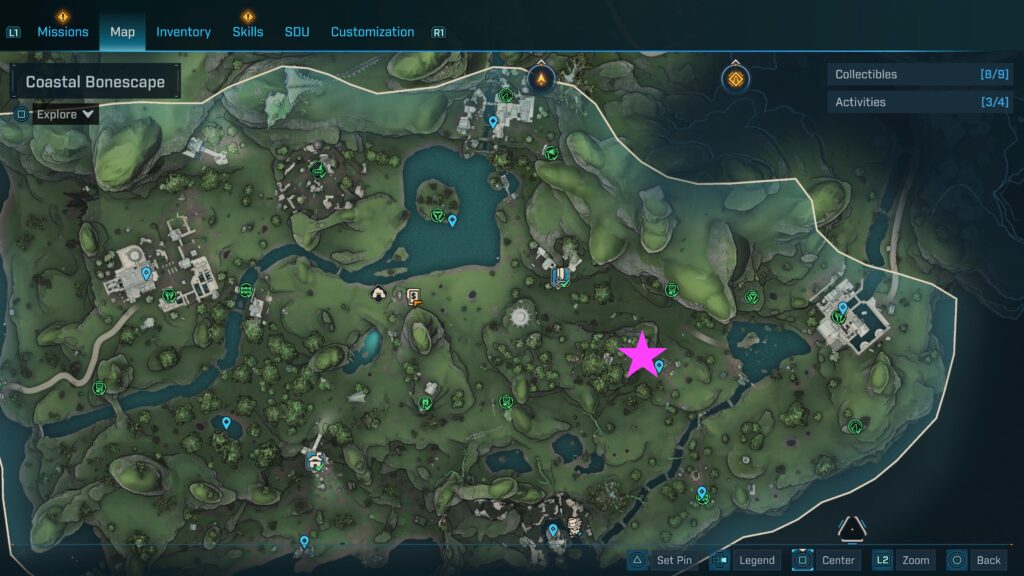
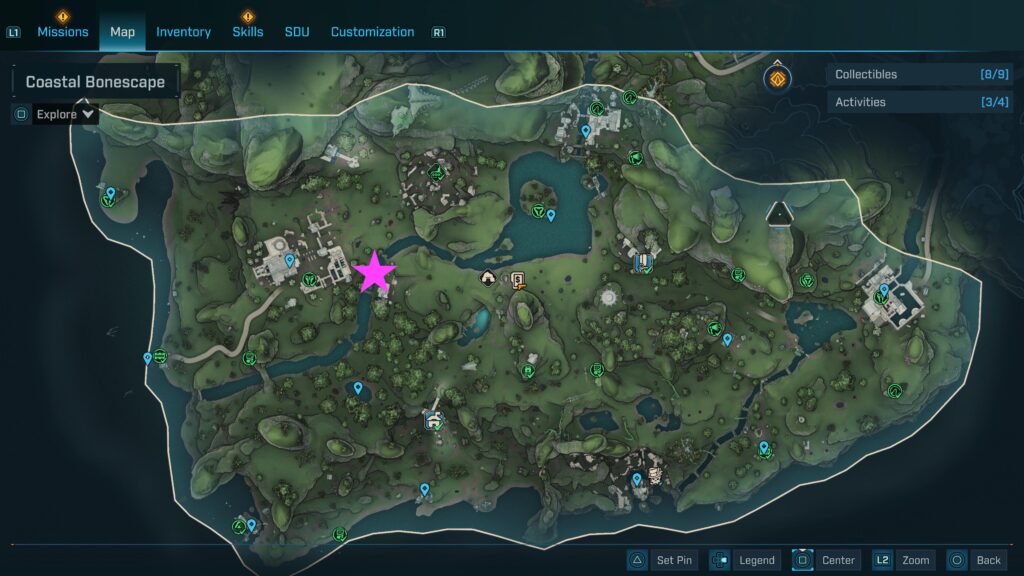
Coastal Bonescape Collectibles
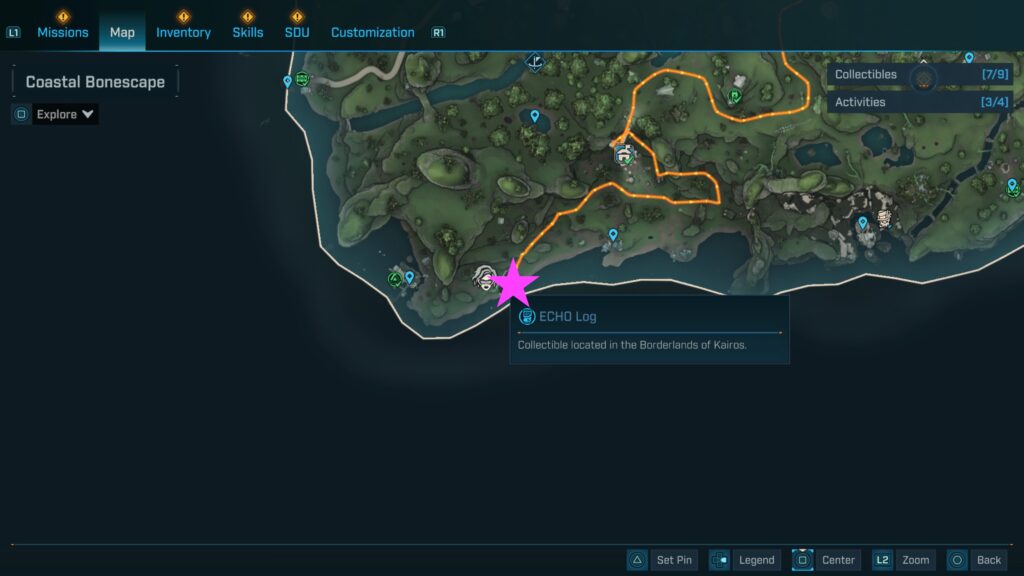
Vault Hunter’s Guide to Kairos: The Outbounders
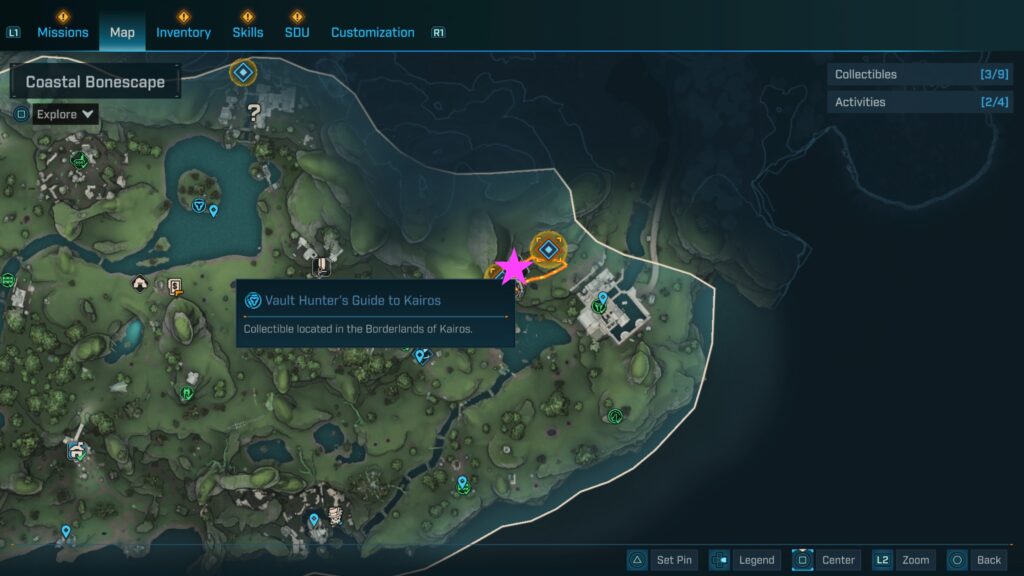
You can find this ECHO Log hanging from a wooden post on a shack just north of the lake to the east of Shammy’s Shack.
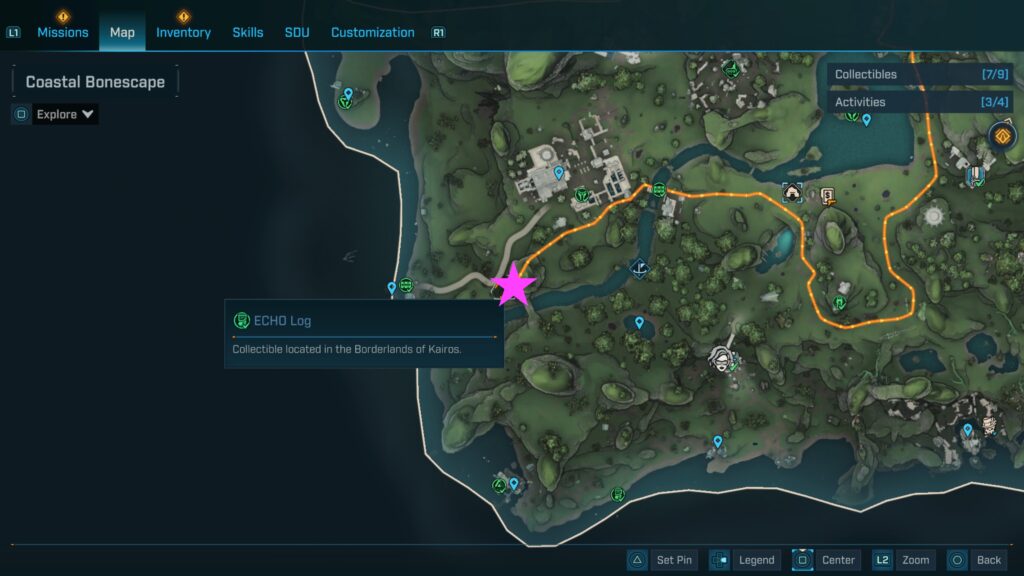
ECHO Logs
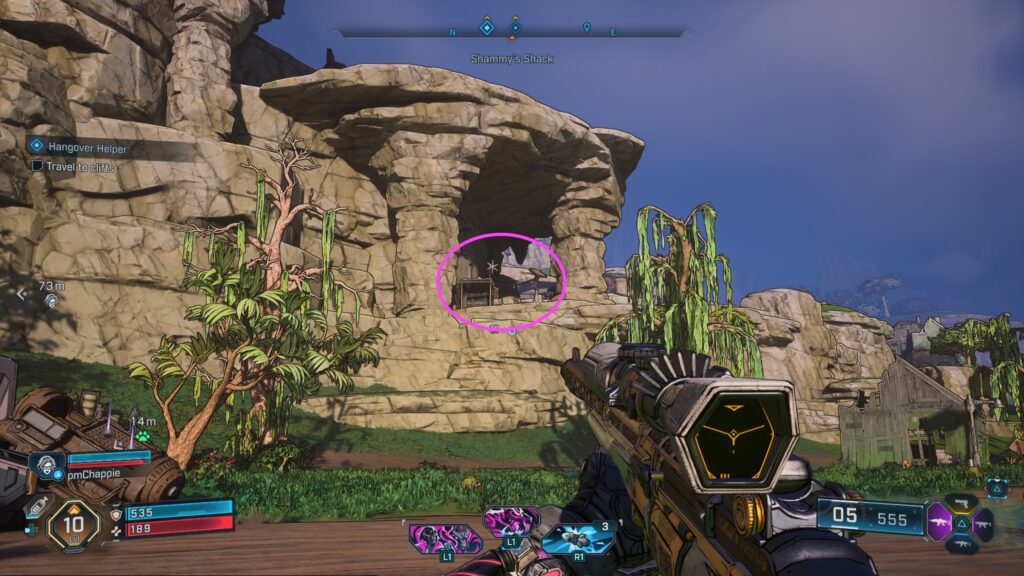
A Hair-brained Scheme
This ECHO Log can be found on a table inside a house resting on the edge of a cliff.

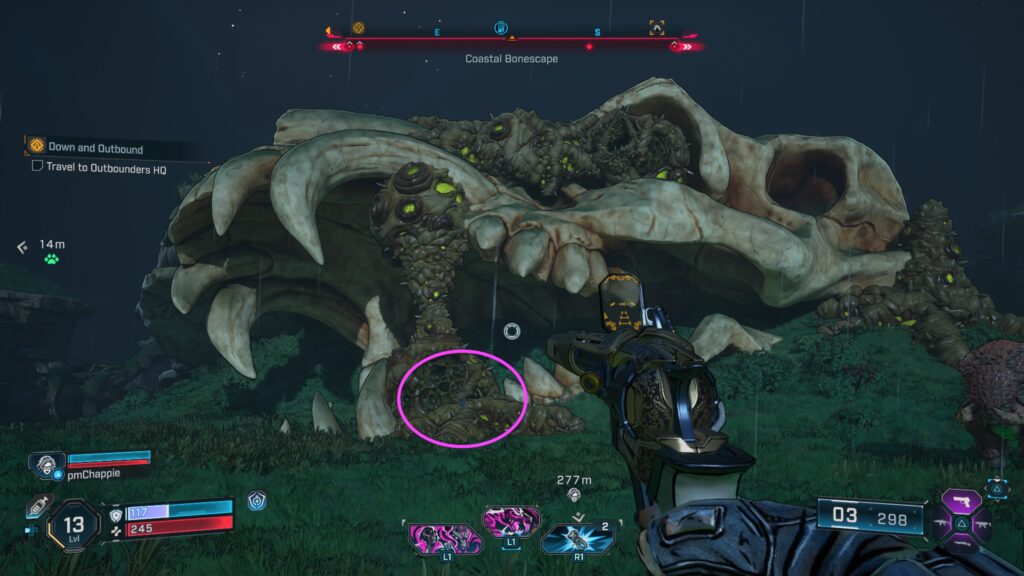
A Novel Find

This ECHO Log can be found at the base of a giant skull.
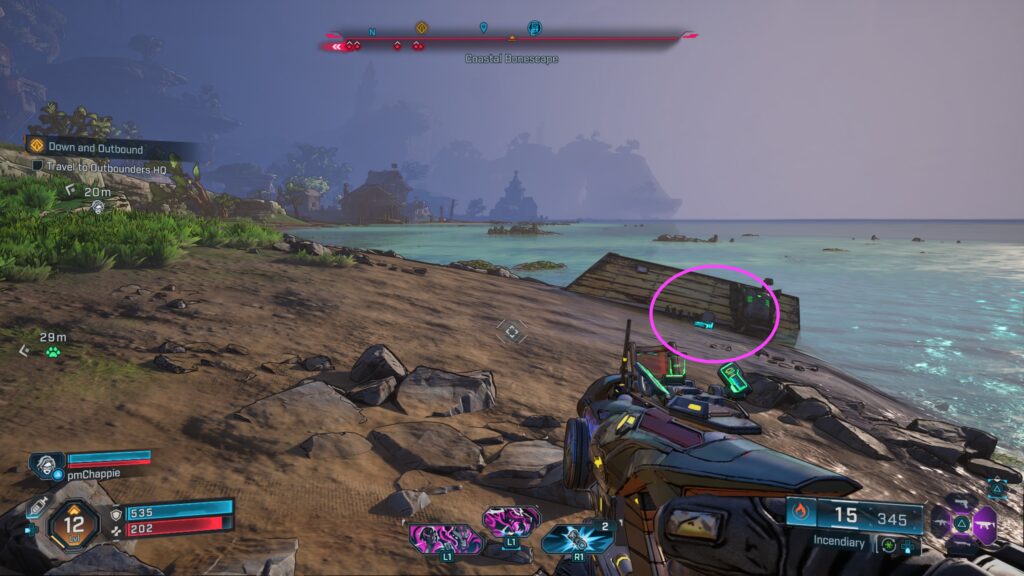
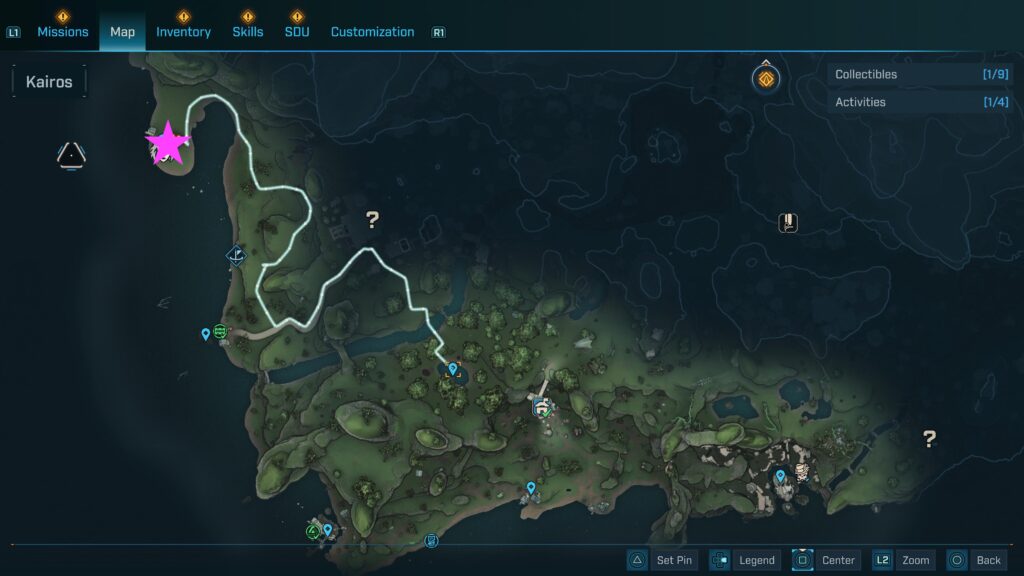
A Prisoner’s Promise
This ECHO Log can be found on the ground next to a boat along the shore east of Stillshore.
About the Doubt

This ECHO Log can be found on the cliffs to the west of Waterstop.

ECHO Log #5
???
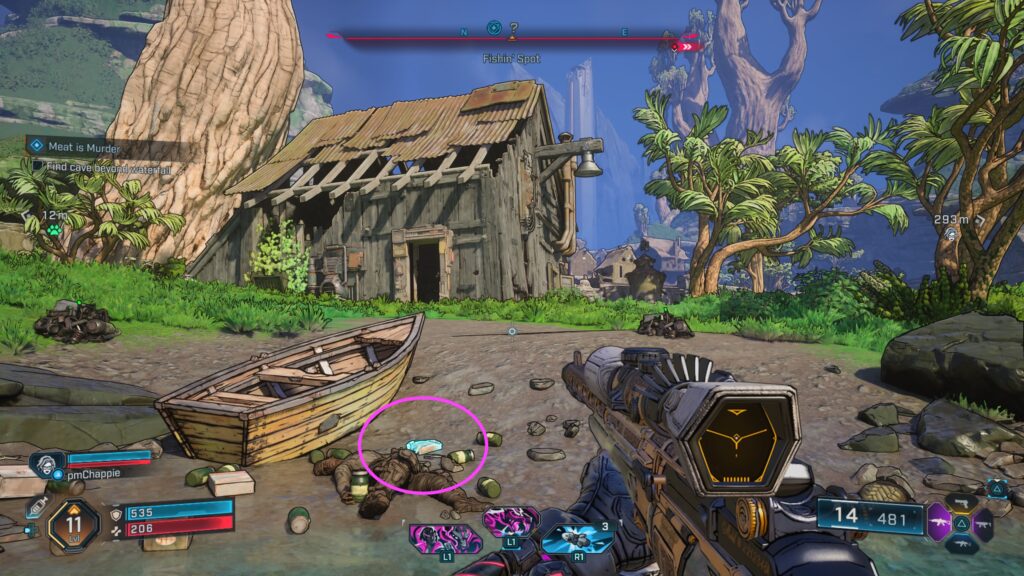
Dead Bolts
A Net of Lies
This ECHO Log can be found on the balcony overlooking the water on the building at Sandytoes Villa Point of Interest.

The Dilly-O
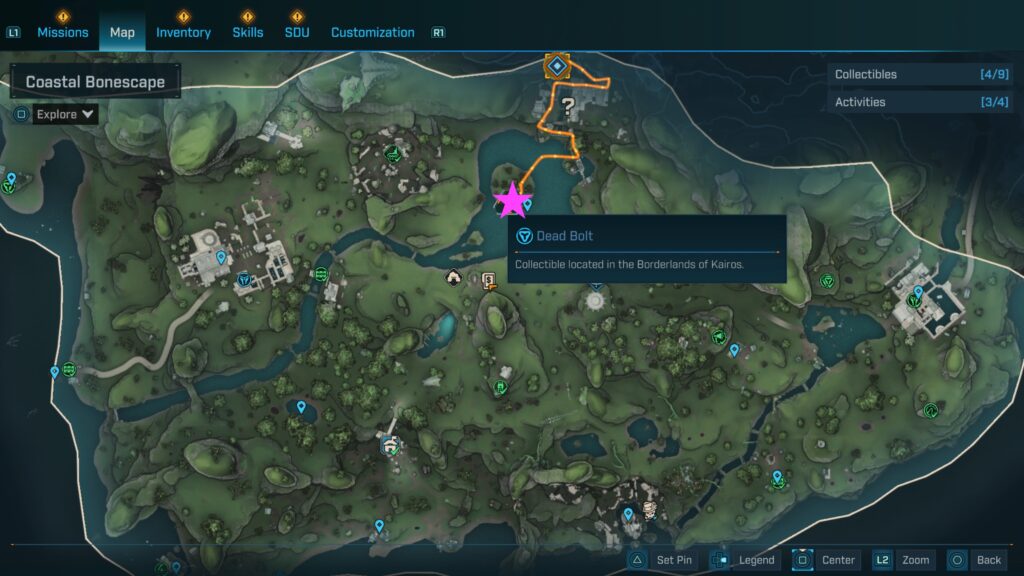
This Dead Bolt ECHO log can be found on the ground next to a boat at the Fishin’ Spot.
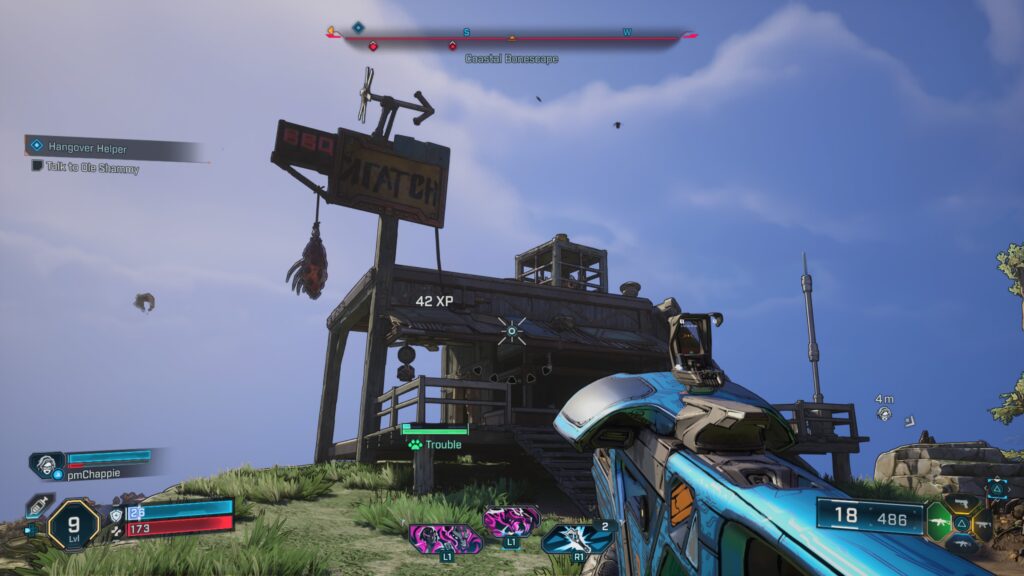
Lost Capsule
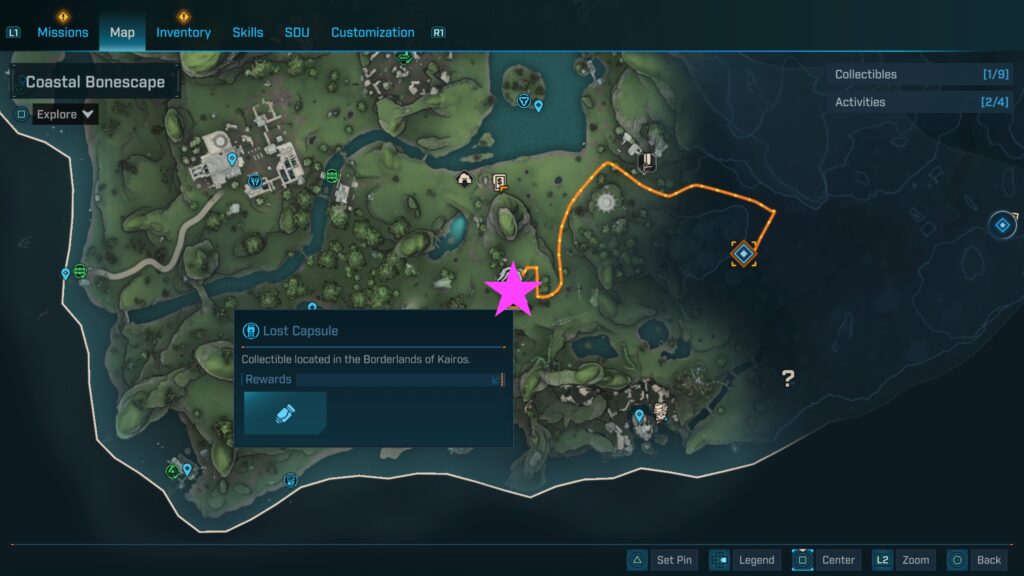
This collectible can be found resting on the counter at BBQ Kratch, which is located northeast of the Abandoned Post safehouse on a hill.
Once you’ve acquired the Lost Capsule, you’ll need to walk it back to the safehouse and place it in the decryption station.

Propaganda Speakers
Propaganda Speaker #1

This propaganda speaker can be found on the southeastern side of Plungeford.
Propaganda Speaker #2
This propaganda speaker can be found on the cliff to the west of Shammy’s Shack.
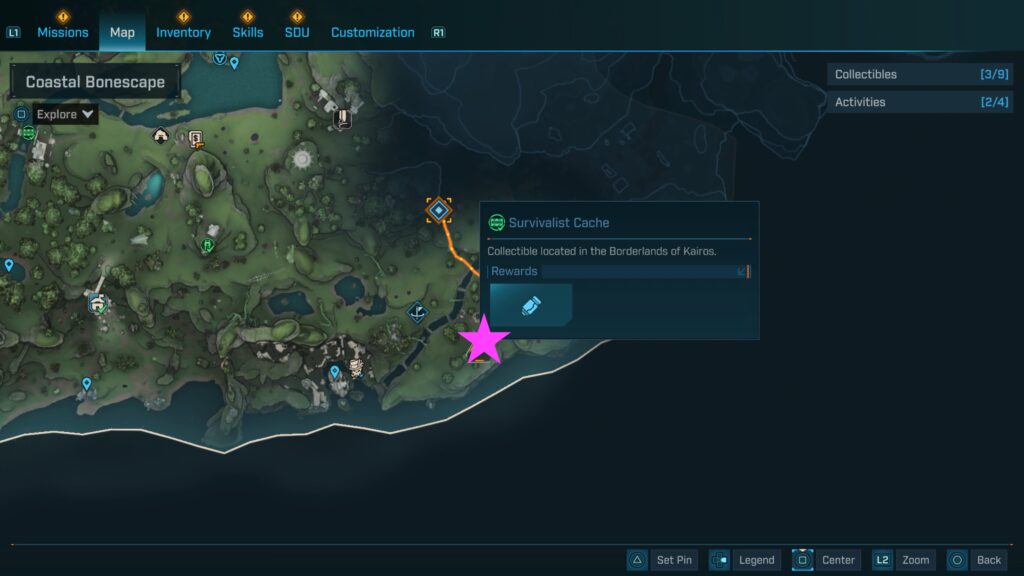
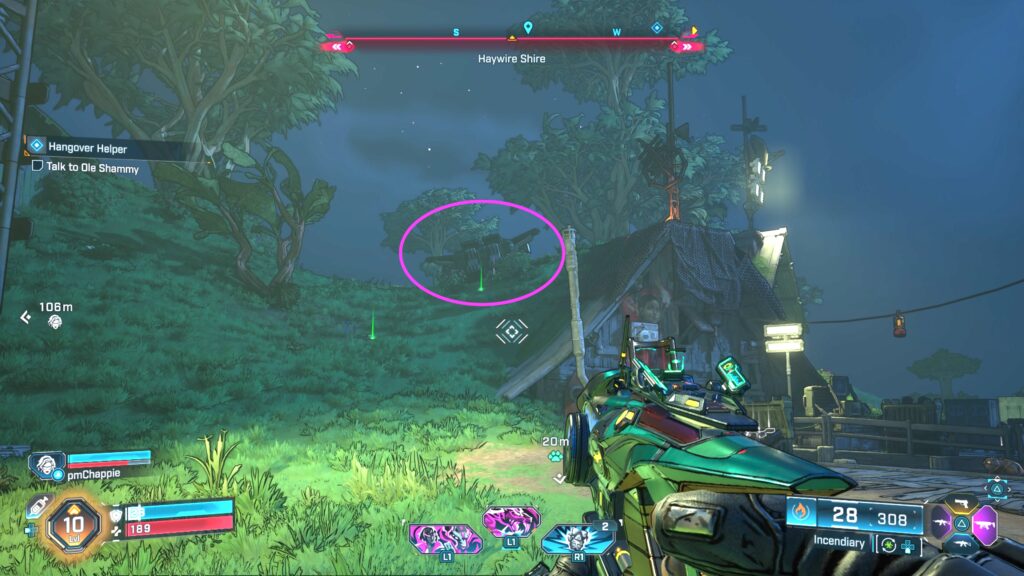
Survivalist Caches
Survivalist Cache #1
This cache can be found on the south side of Haywire Shire.
Survivalist Cache #2
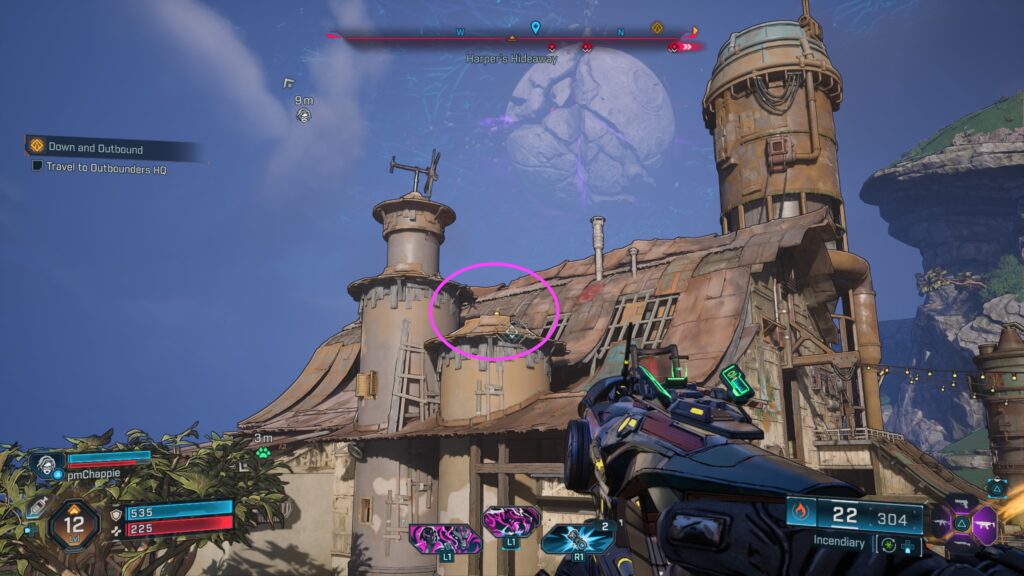
This cache can be found in the rafters of the bridge on the east side of Harper’s Hideaway.
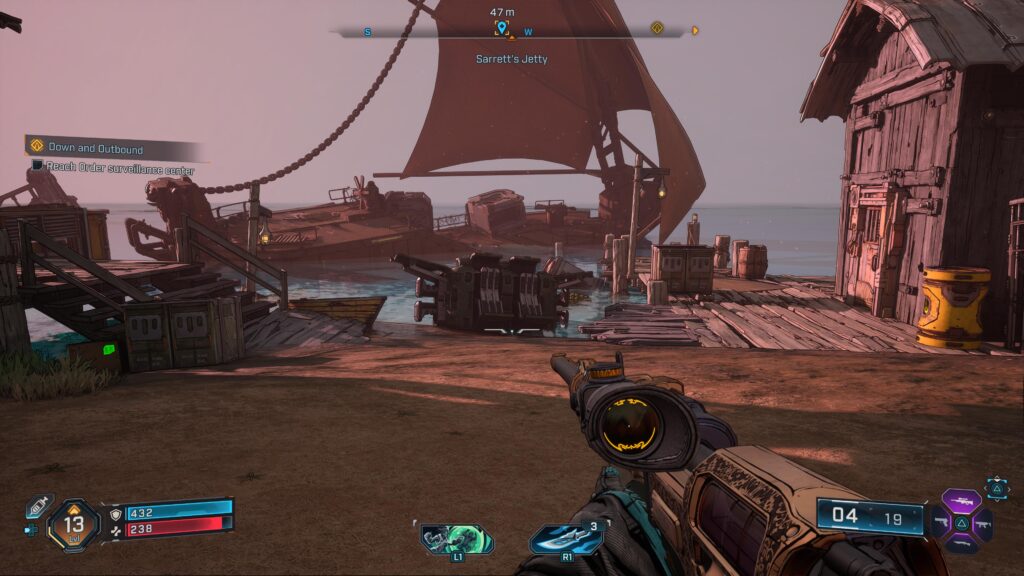
Survivalist Cache #3
This survivalist cache can be found on the beach at Sarrett’s Jetty.
Evocariums
To complete Evocariums and unlock the message left behind, you’ll first need to locate a glowing pedestal then use it, causing three lines to dart out. These lines will point the way towards a Memordium Orb. After collecting all three orbs, return to the pedestal and then scan it to earn your reward!
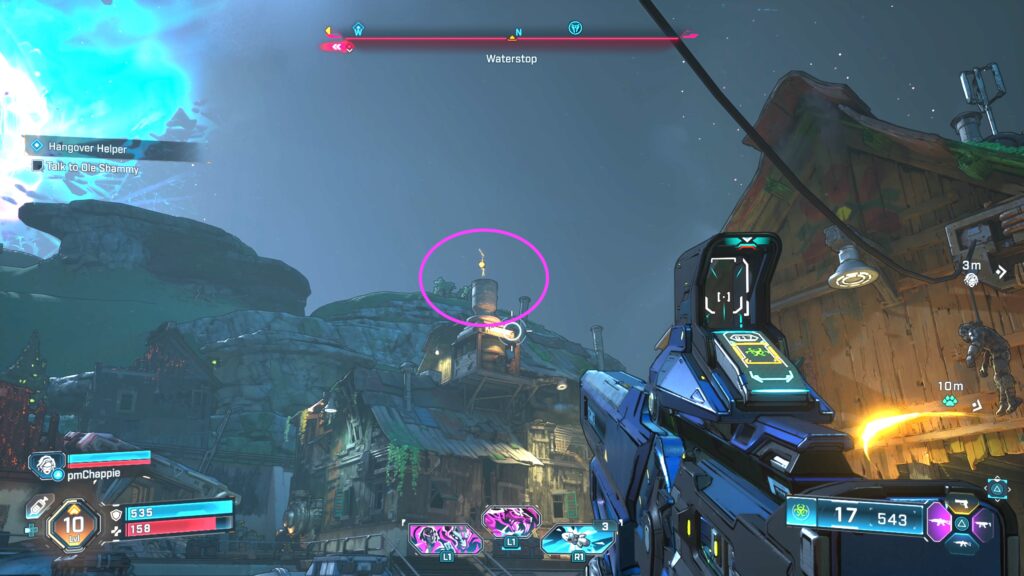
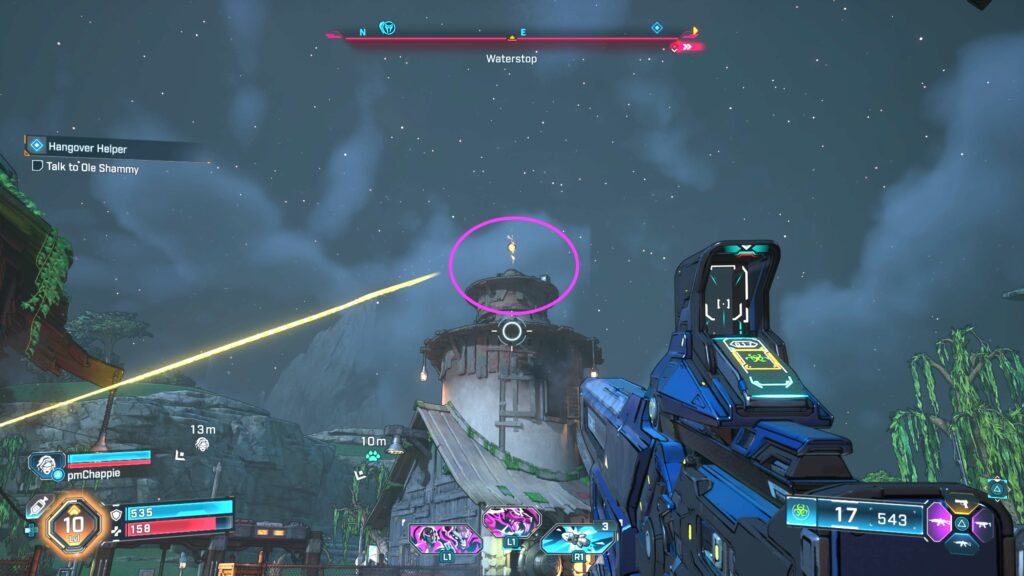
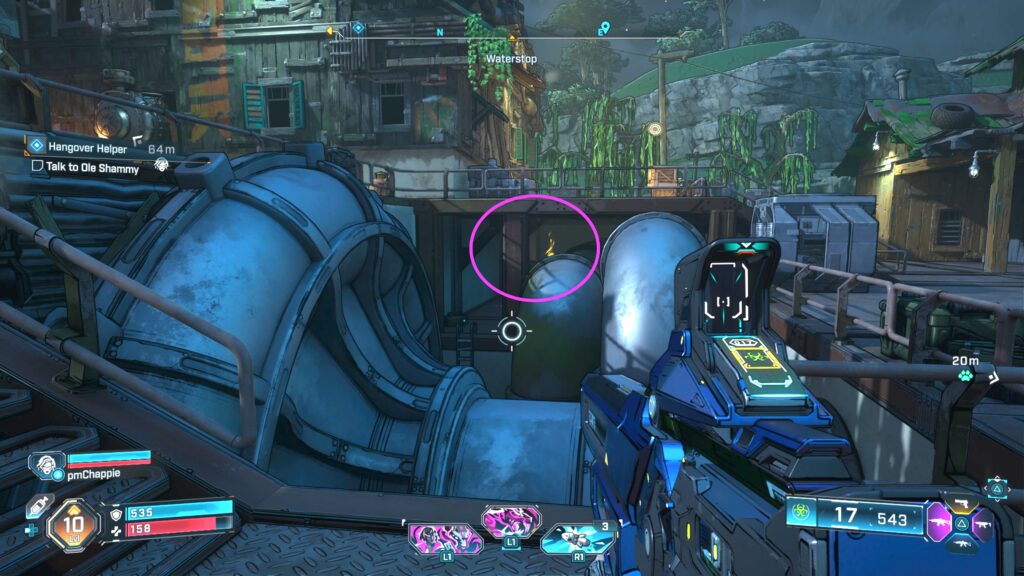
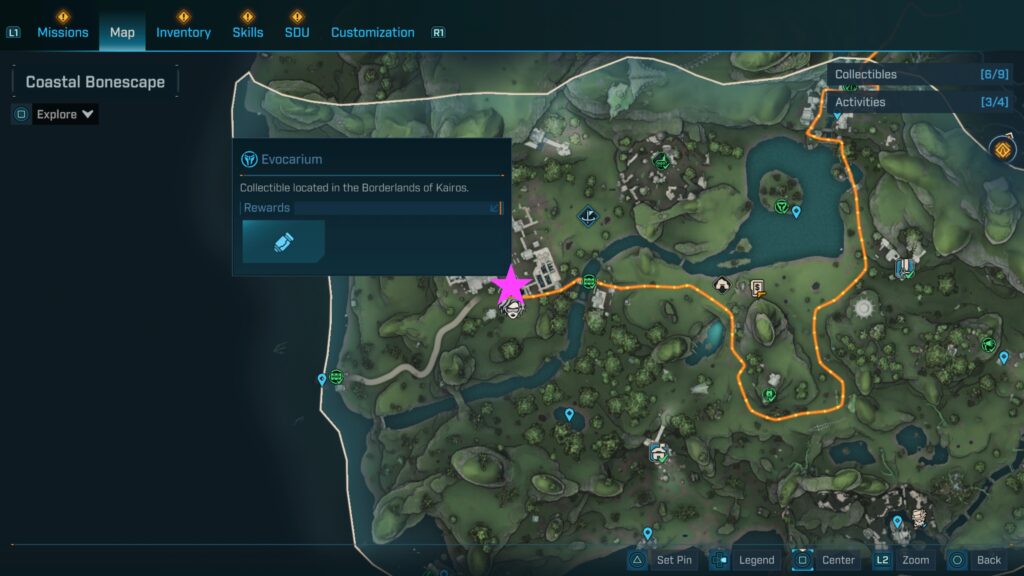
Evocarium: Waterstop
This Evocarium can be found at the Waterstop! You’ll find the Memorium Orbs at the locations shown in the pictures below.
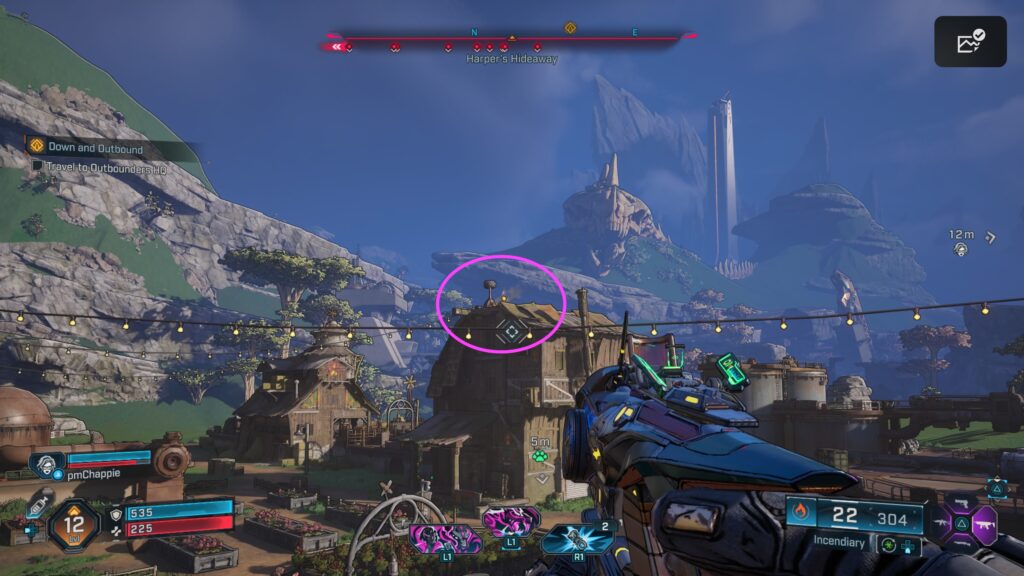
Evocarium: Harper’s Hideaway
This Evocarium can be found on the southern side of Harper’s Hideaway. You’ll find the Memorium Orbs at the locations shown in the pictures below.
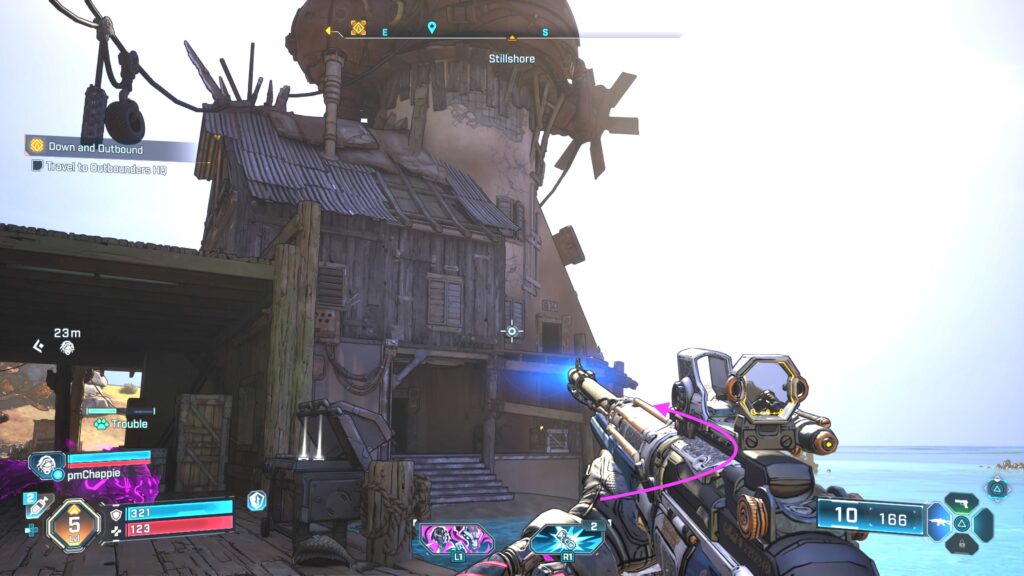
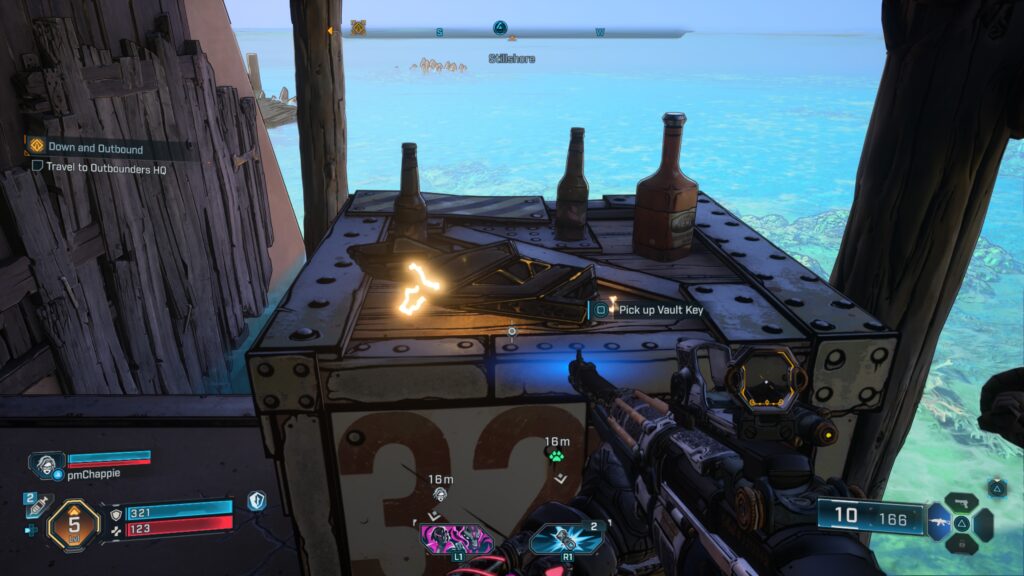
Vault Fragment
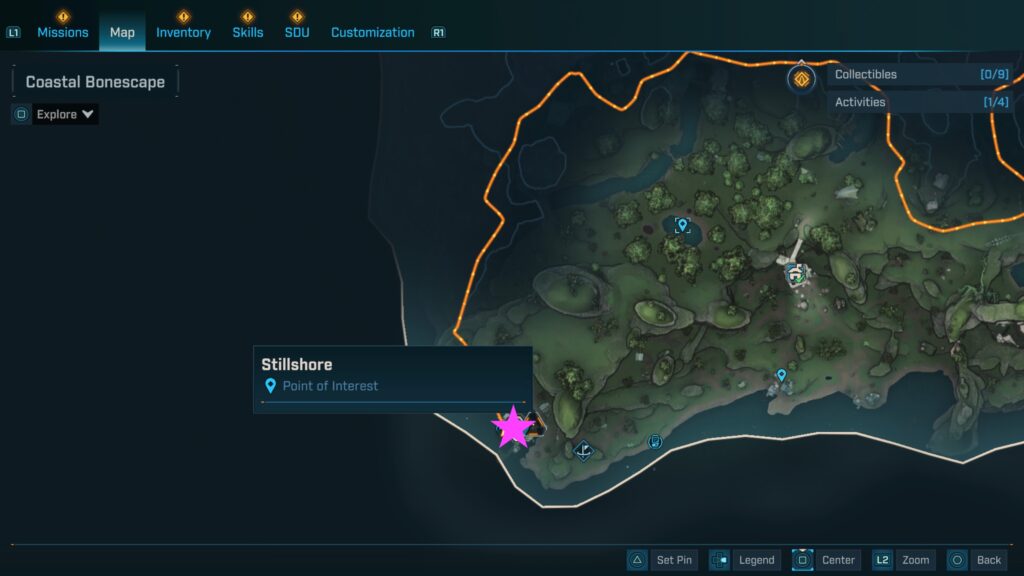
Once at Stillshore, head to the windmill’s western side to find a porch overlooking the ocean.
On this porch, you’ll find a Vault Key resting on a wooden crate labeled 32.
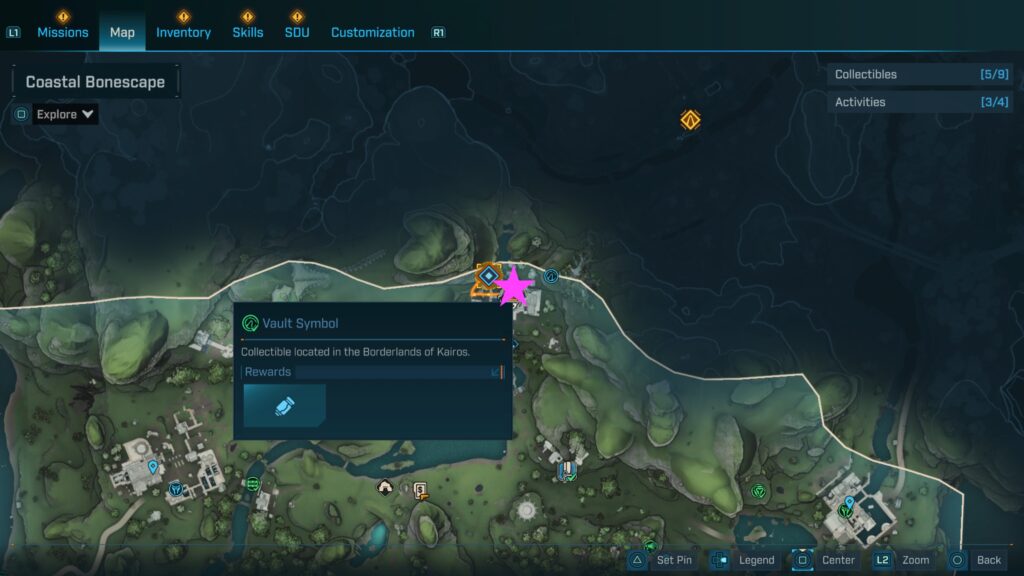
Vault Symbols
Vault Symbol #1
This vault symbol can be found near the top of a building located south of the Waterstop.

Vault Symbol #2
This vault symbol can be found on the interior wall of a tall building in Plungeford.
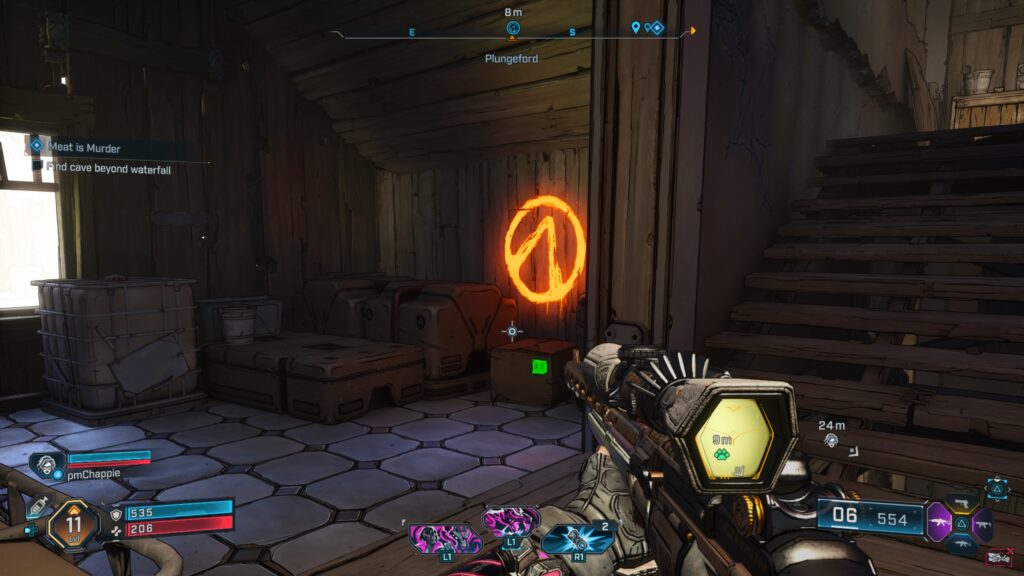
Vault Symbol #3
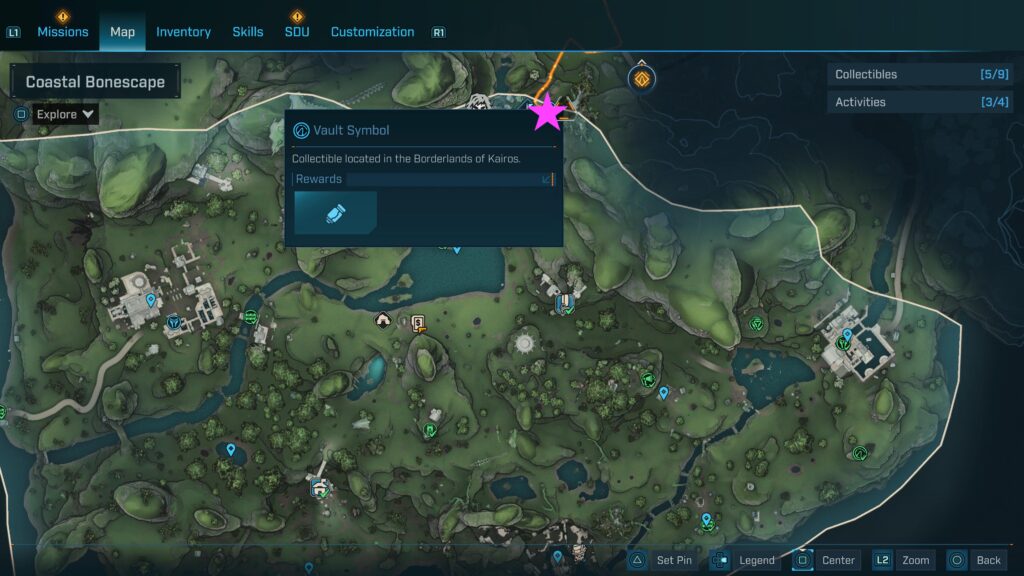
This vault symbol can be found on a cliff wall near Plungeford.
Coastal Bonescape Activities
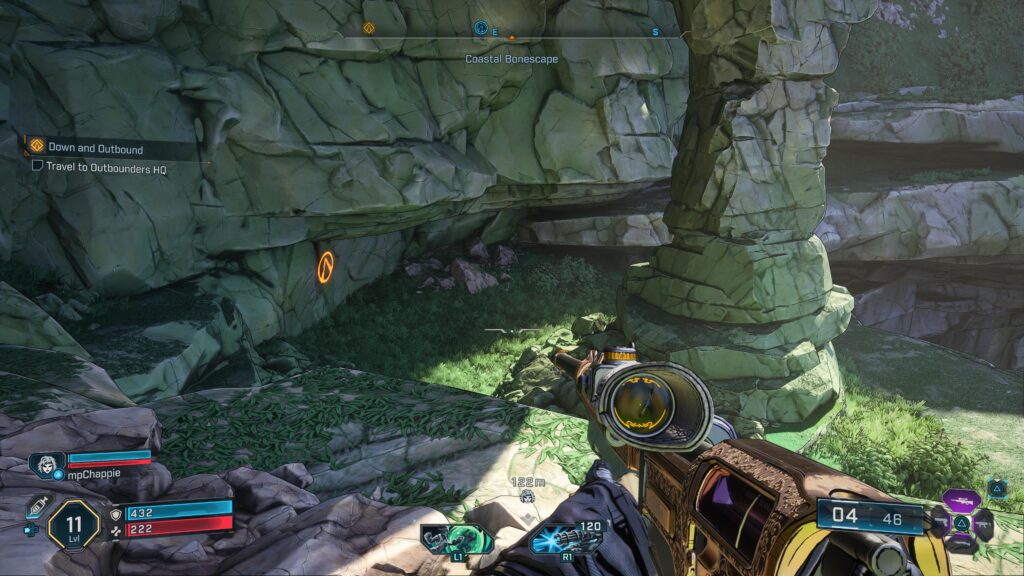
Abandoned Auger Mine: Timid Kyle’s Neglected Opening
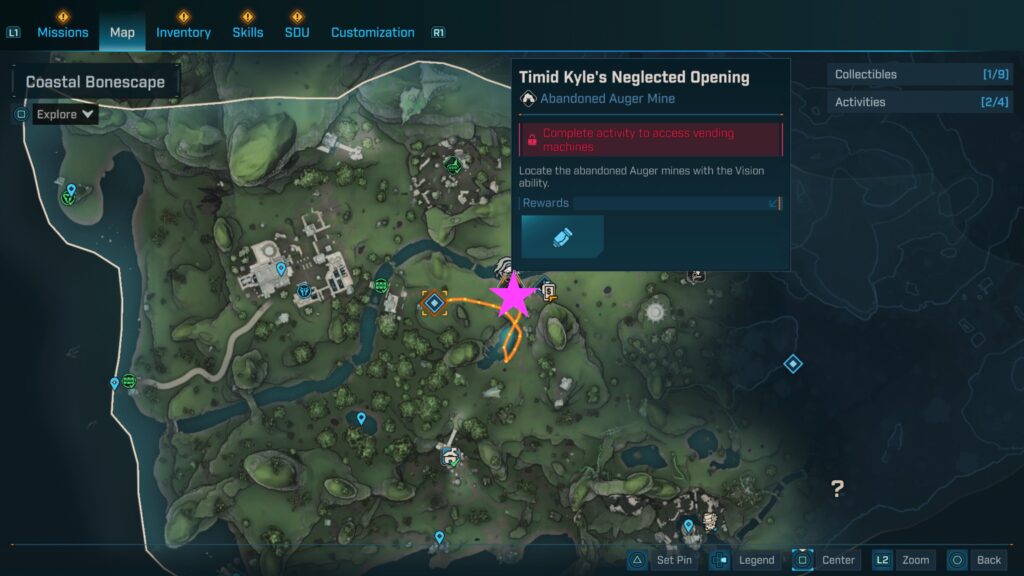
The entrance to the mine is clave-locked. You will need to progress through the main story until you finish the Shadow of the Mountain main mission, which is the first main mission in the Terminus Range. After you gain access to the ancient Auger Mines, defeat the Threshers inside and earn SDU Tokens. The boss, Voraxis, will have one Health bar.
Safehouse: Abandoned Post
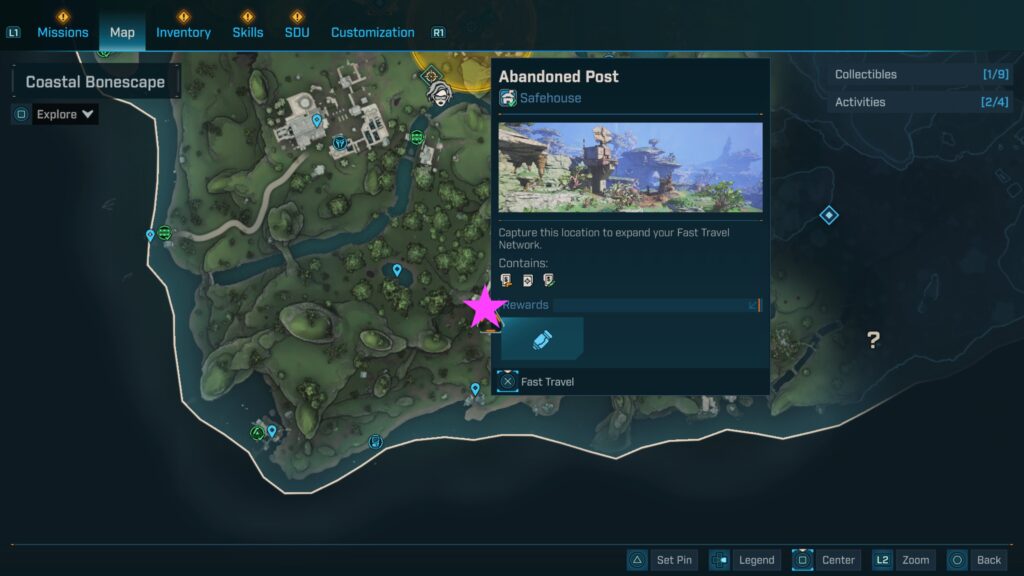
You’ll automatically unlock this safehouse as part of the main story!
Order Silo: The Stockroom
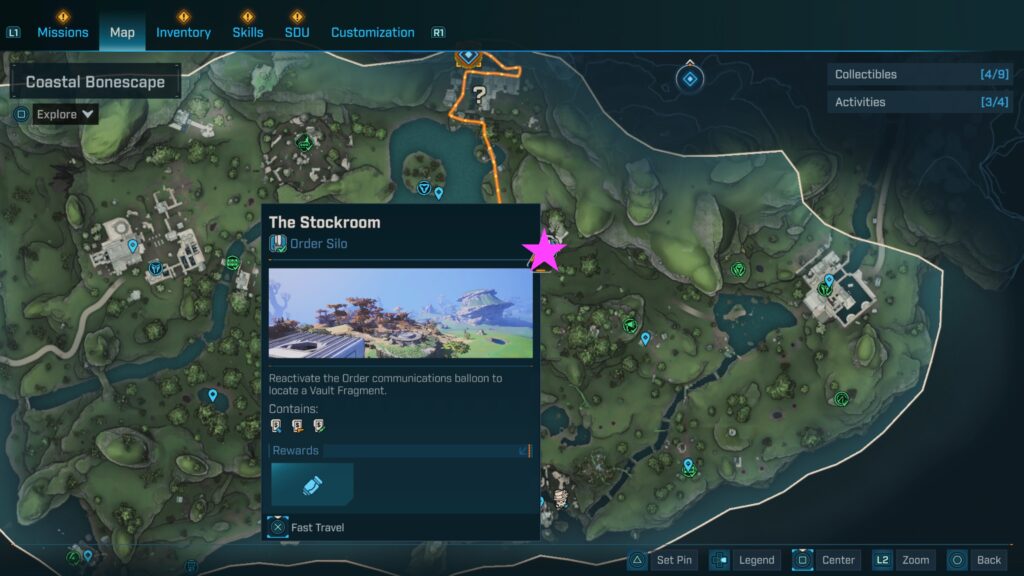
Clear out the silo of enemies then interact with the console!
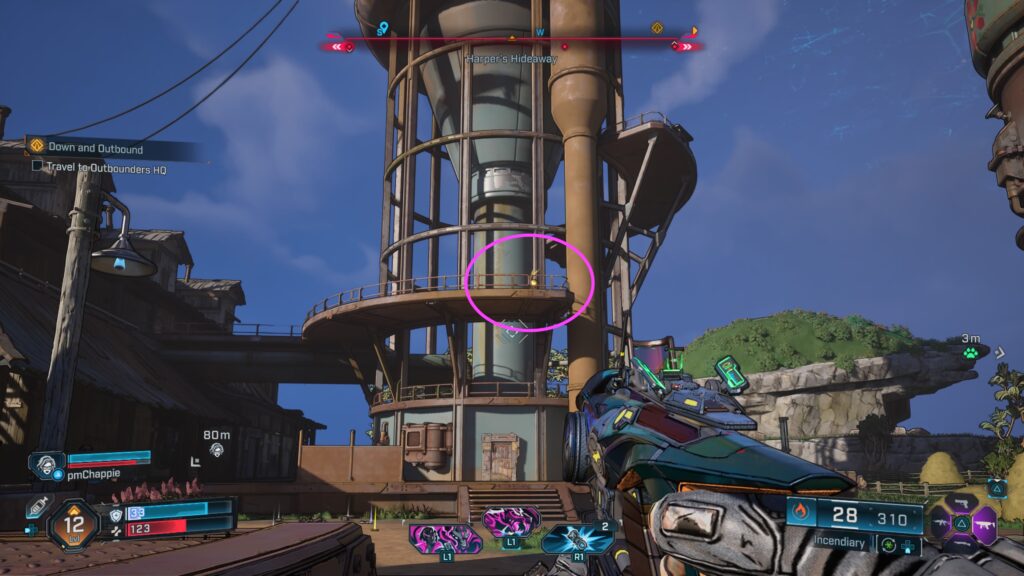
Ancient Crawler: Slugmetal Ditch
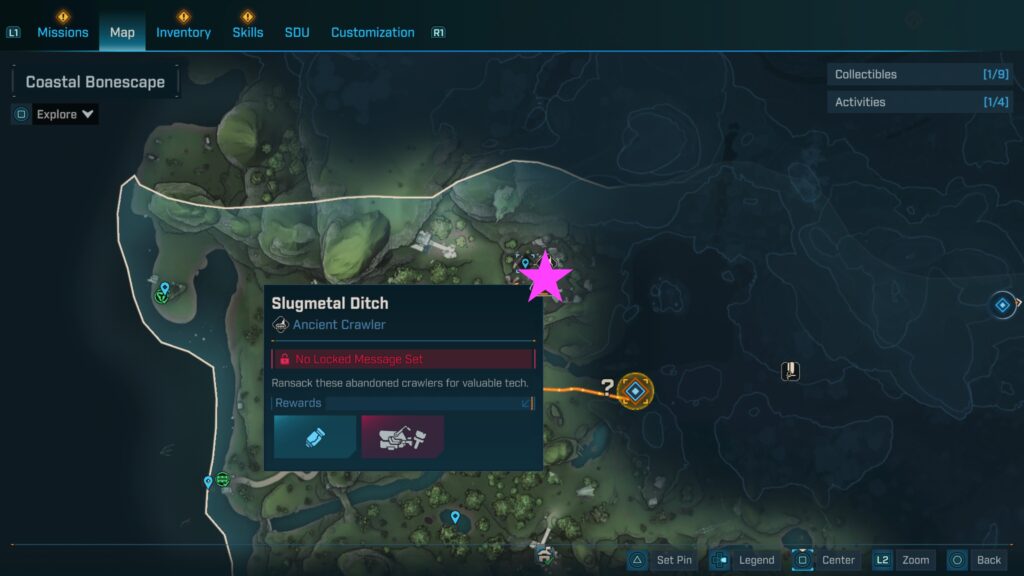
This activity can be found on the northern side of Coastal Bonescape between Harper’s Hideaway and Plungeford. First, you’ll need to locate the battery to power up the release clamps, which can be found on the cliff to the west of the tall tower.
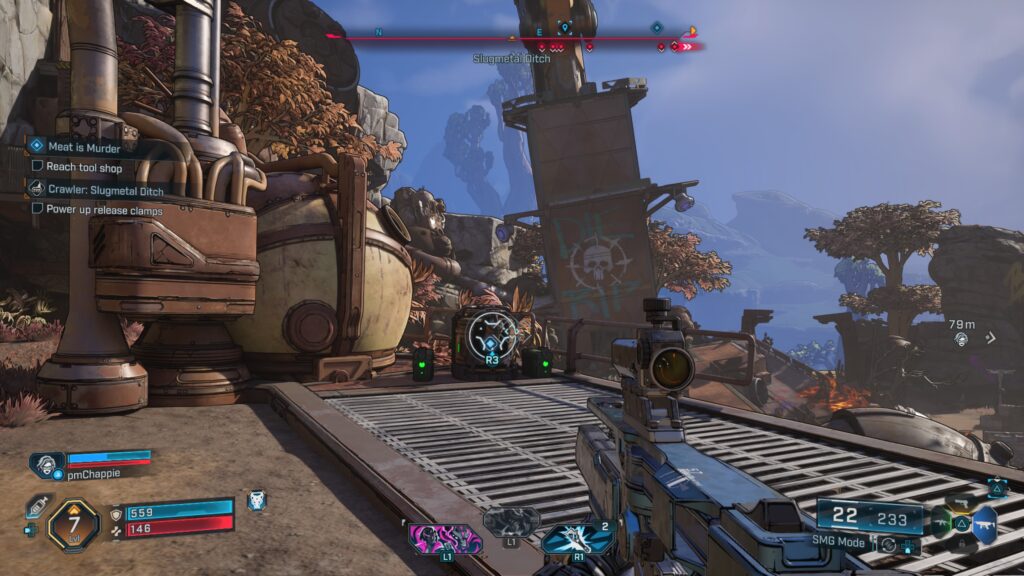
Next, you’ll need to find the vehicle kit, which can be found near the top of the tall tower.
Related Borderlands 4 Content
Looking for more Borderlands 4 content? Use the links below to keep exploring our guides:
- Next Guide: Continue with Borderlands 4 Side Missions Guide for complete walkthroughs on every quest!
- Main Page: Visit our Borderlands 4 Guides and Walkthroughs hub for all our latest content!
- Official Website: Check out the official Borderlands 4 website for news and updates!