Welcome to our Borderlands 4: Carcadia Burn – Grindstone of the Worthy Area Guide! This walkthrough covers everything you need to fully complete the region, including all collectibles, activities, and hidden objectives. If you’re aiming for 100% completion, our step-by-step breakdown will help you track down every item and activity in the Grindstone of the Worthy.
Quick Links
Carcadia Burn – Grindstone of the Worthy Area Guide
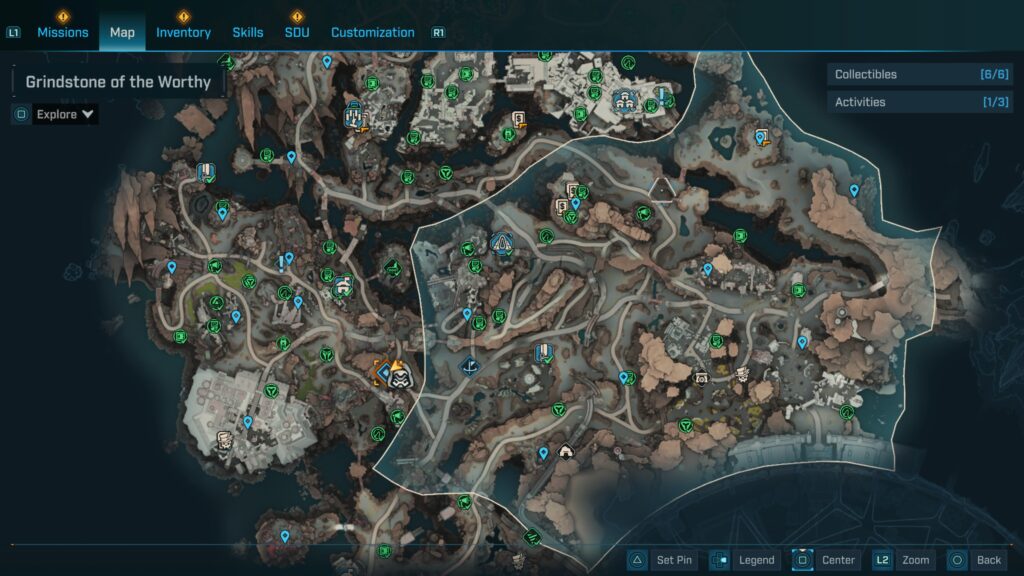
In the Grindstone of the Worthy, there are several items and activities to track down for 100% completion:
- Collectibles: 15 total
- Activities: 3 total
Grindstone of the Worthy Collectibles
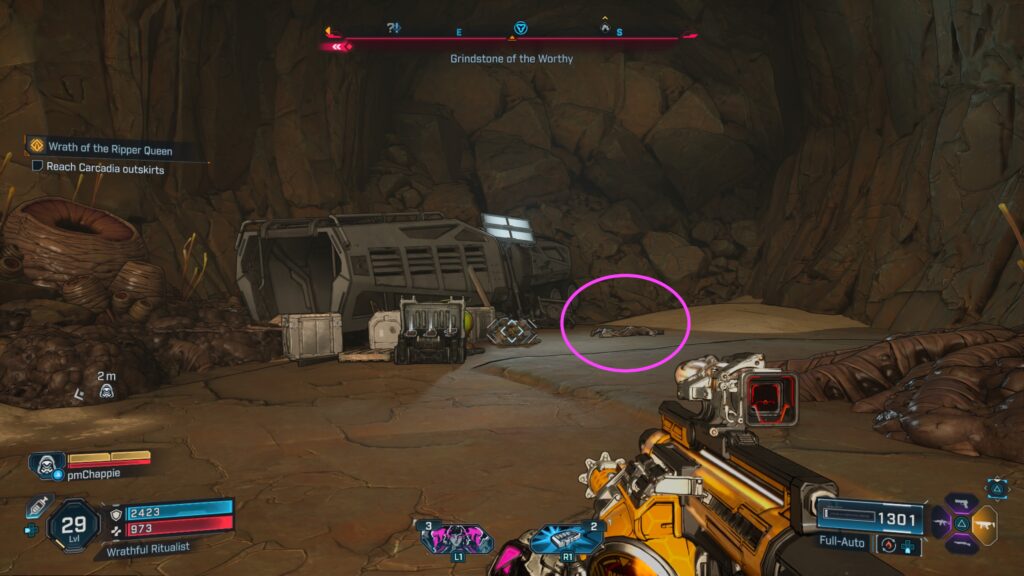
Dead Bolts
Painless

This Dead Bolt can be found next to a corpse in a cave just south of the Rustical Hurl Order Silo.
Open Dialogue

This Dead Bolt can be found southeast of The Couch Hole on the ledge of a cliff. To reach it, use the jet of air along the cliff.

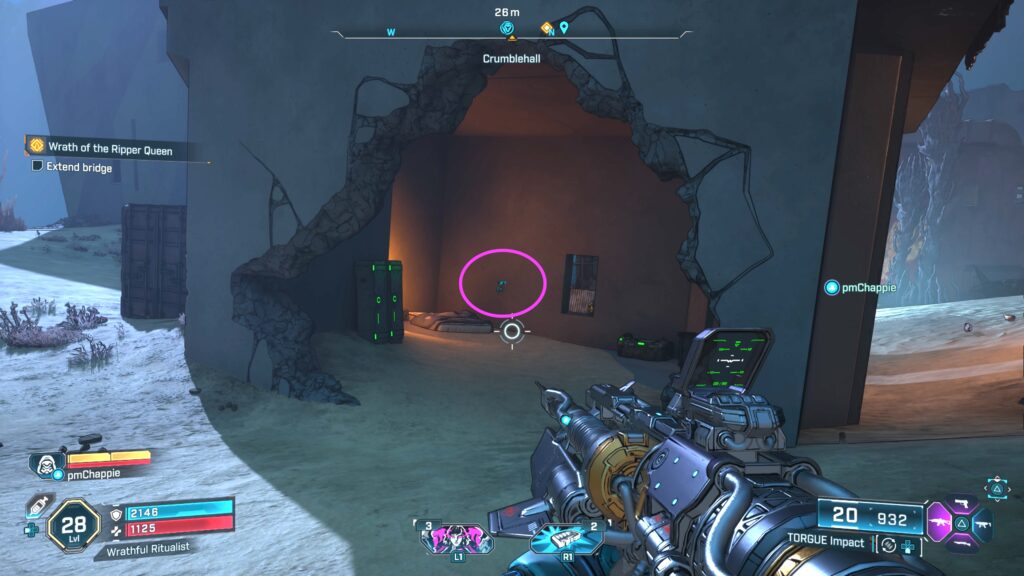
Vault Hunter’s Guide to Kairos: The Electi
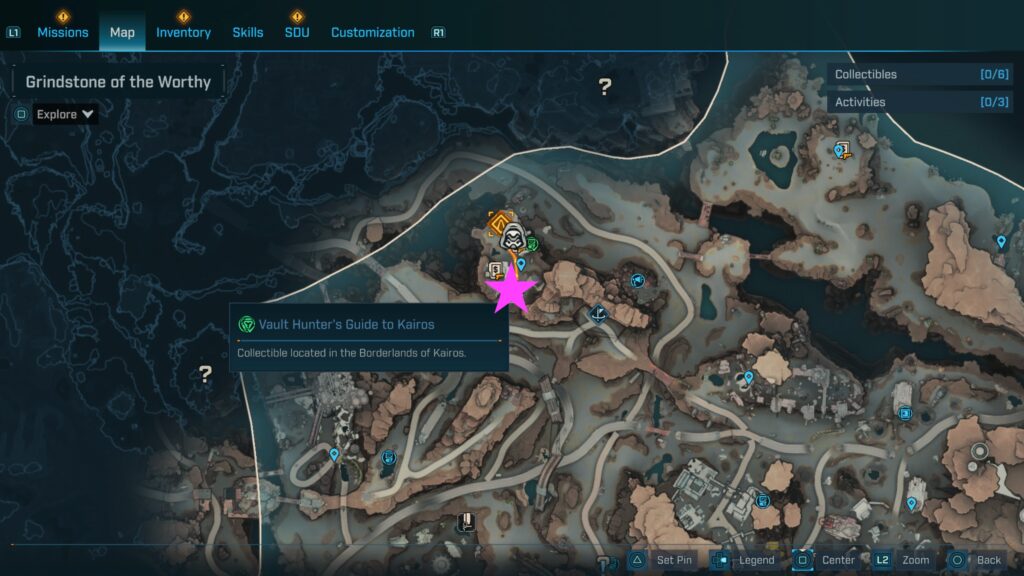
This Vault Hunter’s Guide can be found on the wall in the broken building at Crumblehall.
Electi Safes
Electi Safe #1
This Electi Safe can be found at the top of a tall crawler just north of The Excrucible.
Electi Safe #2
This Electi Safe can be found south of The Dusty Dangler on a cliff ledge across the ravine. To reach it, launch your vehicle from the stone ramp north of the safe.

Propaganda Speakers
Propaganda Speaker #1
This Propaganda Speaker can be found just east of Crumblehall.
Propaganda Speaker #2
This Propaganda Speaker can be found on the northern side of the Stopflow Bowels.
Vault Symbols
Vault Symbol #1
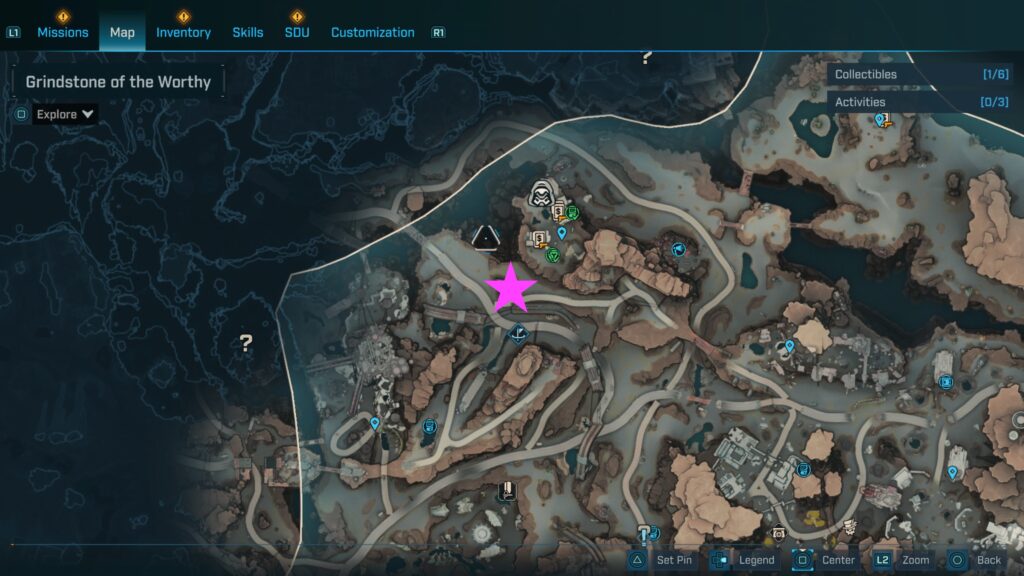
This Vault Symbol can be found on a rock just south of Crumblehall.
Vault Symbol #2
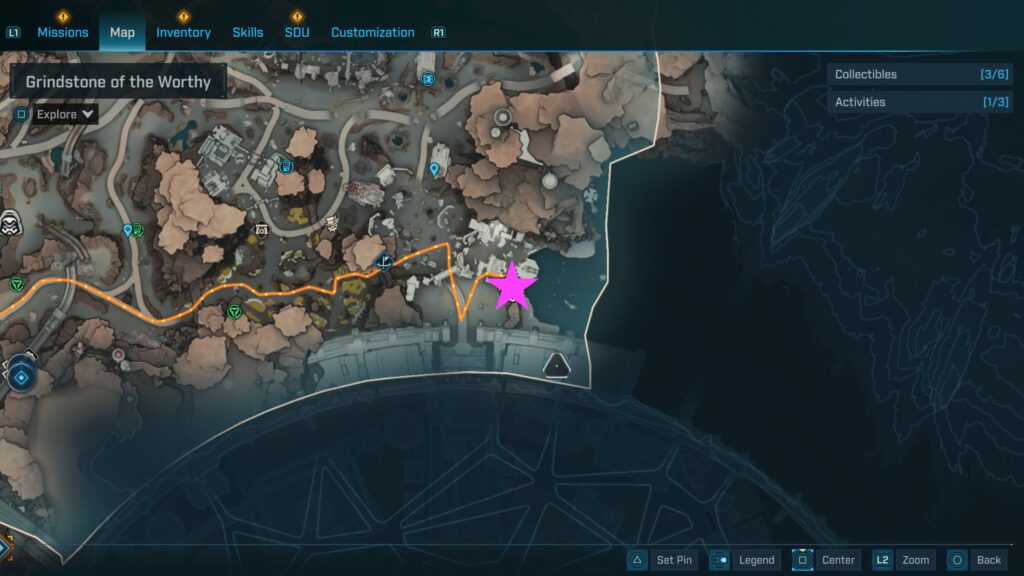
This Vault Symbol can be found in the far southeastern corner of the area. It will be on the wall of the enemy camp along the water.

ECHO Logs
Rafa’s Beauty Blog

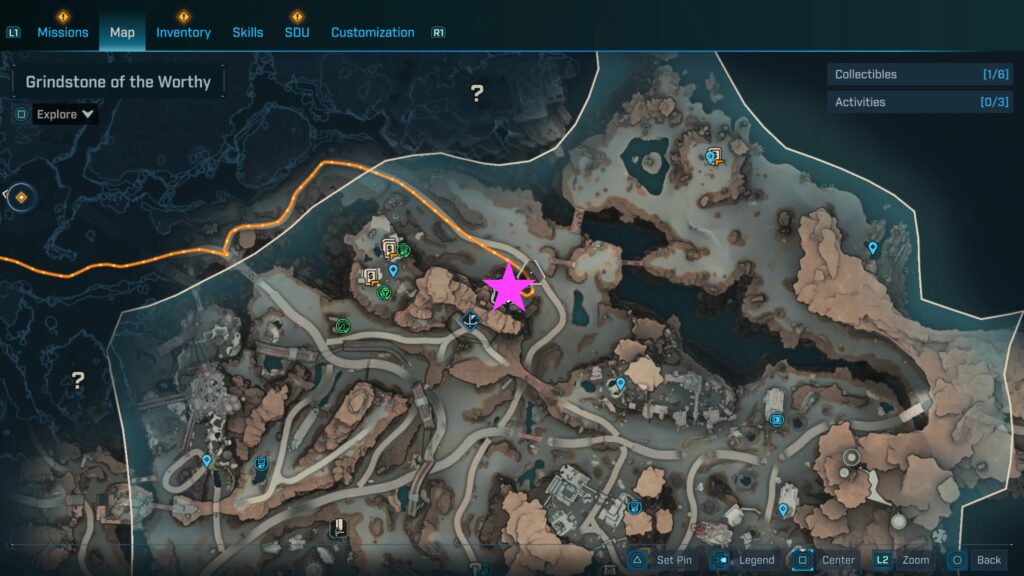
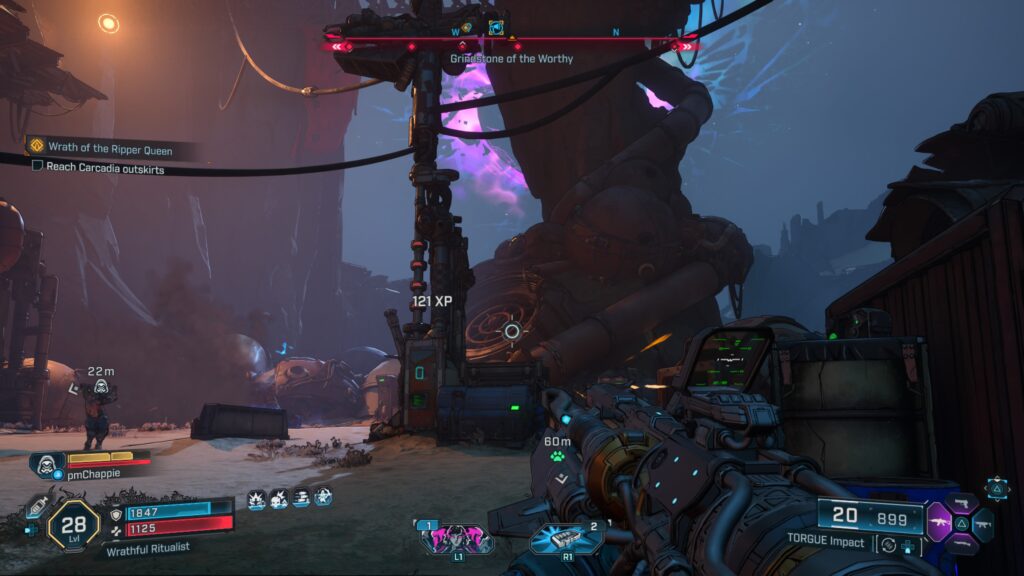
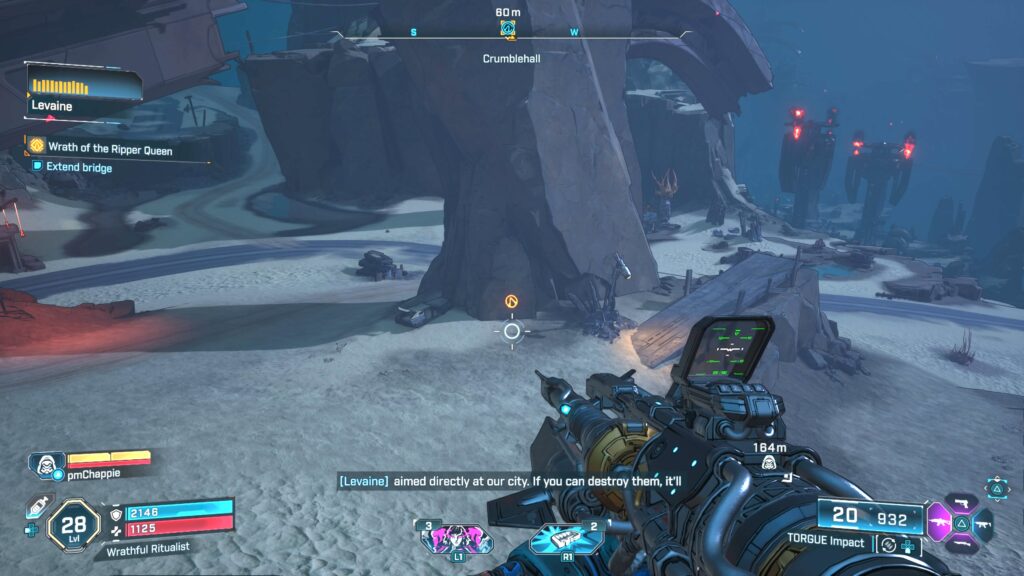
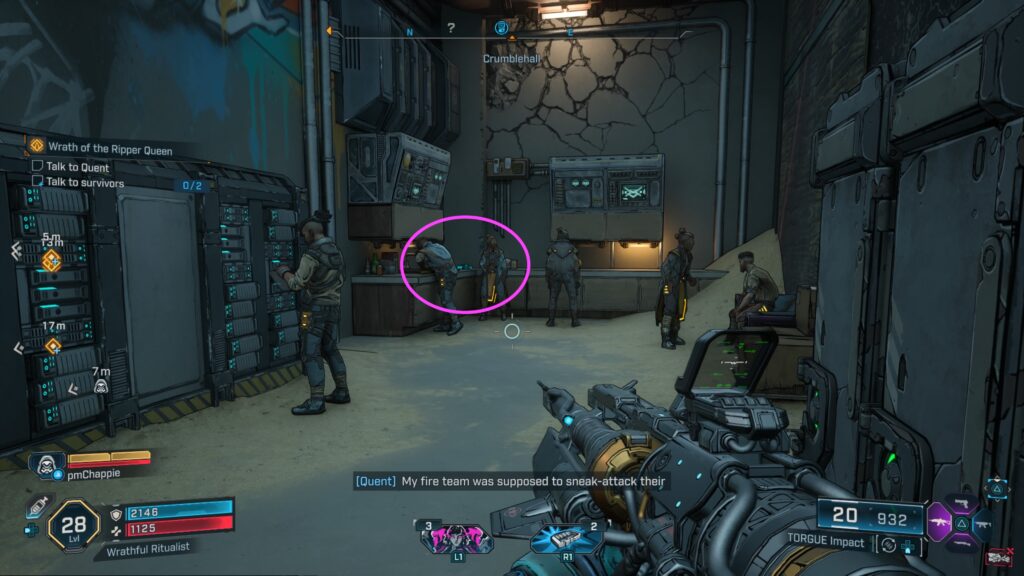
This ECHO Log can be found on the counter in Crumblehall. You’ll come here when you meet Quent during the Wrath of the Ripper Queen main quest.
Ready, Fire, Airm

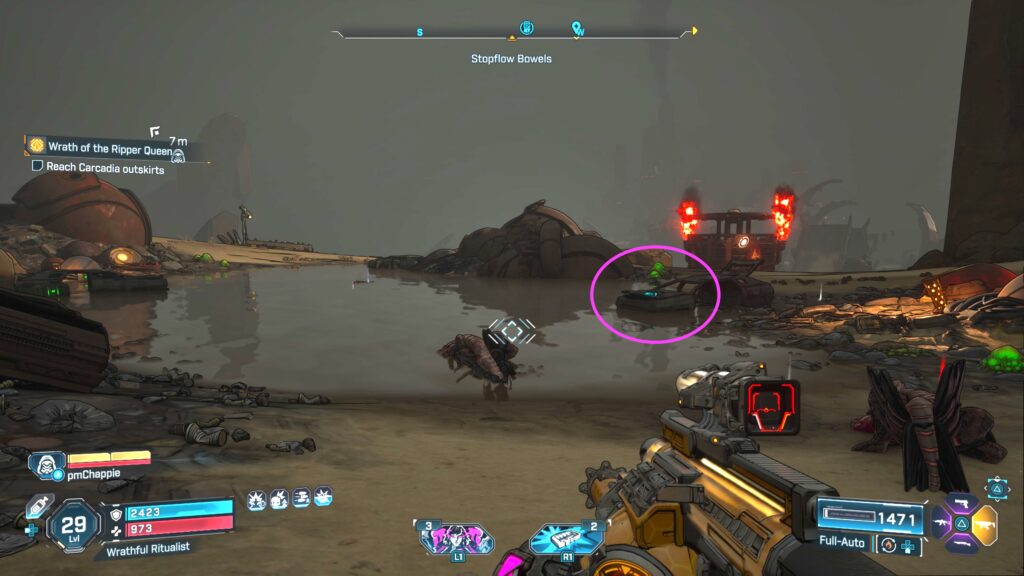
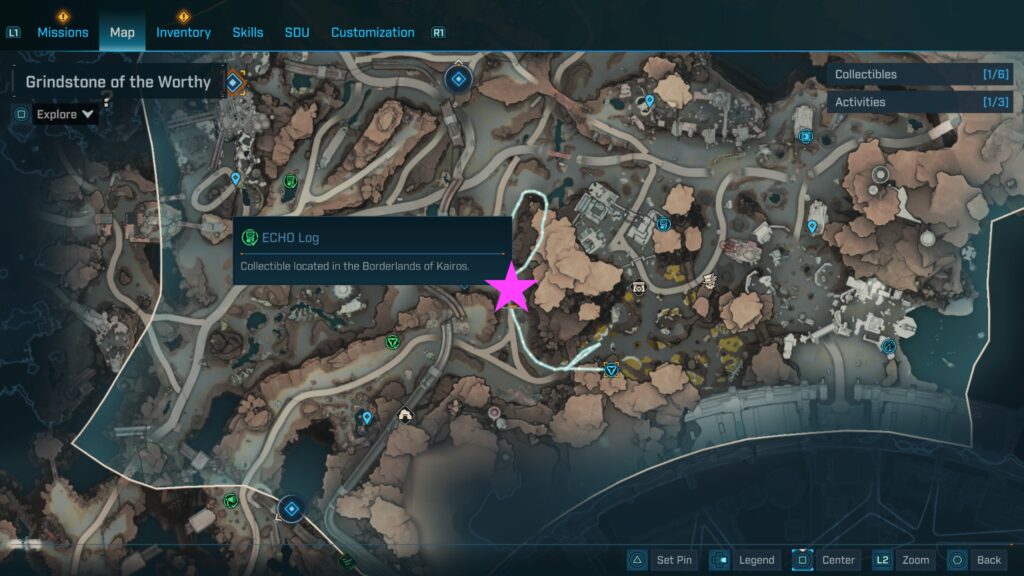
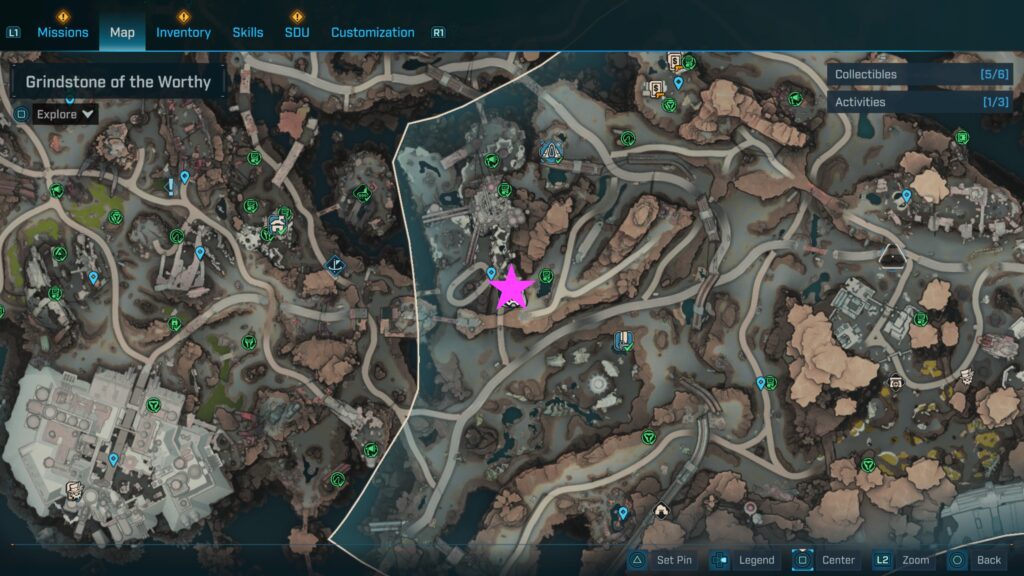
This ECHO Log can be found on the hood of a car in a pond just east of the Stopflow Bowels.
Casting Call
This ECHO Log can be found resting on a couch on the upper ledge in The Couch Hole.

Tiny Dancer

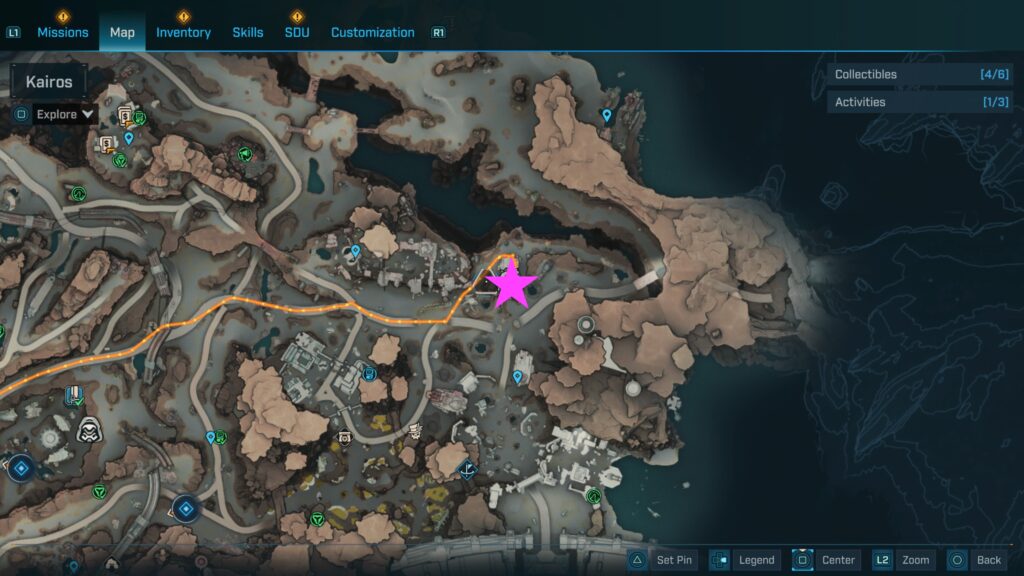
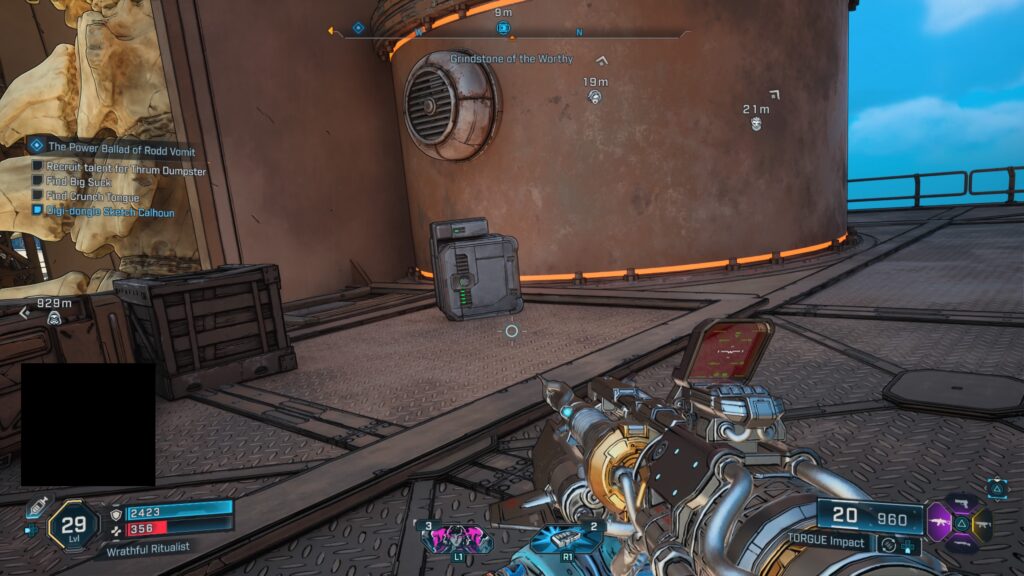
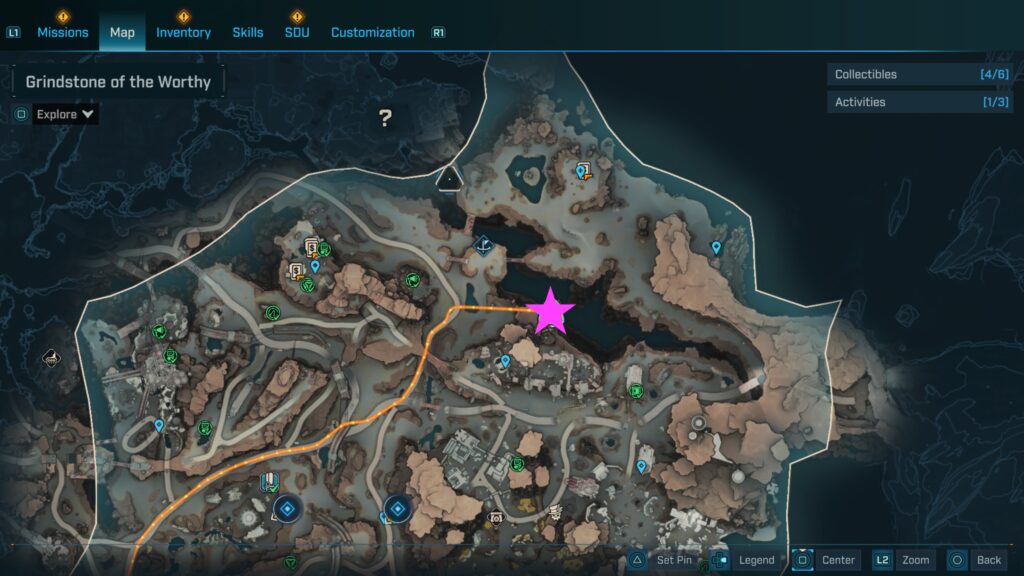
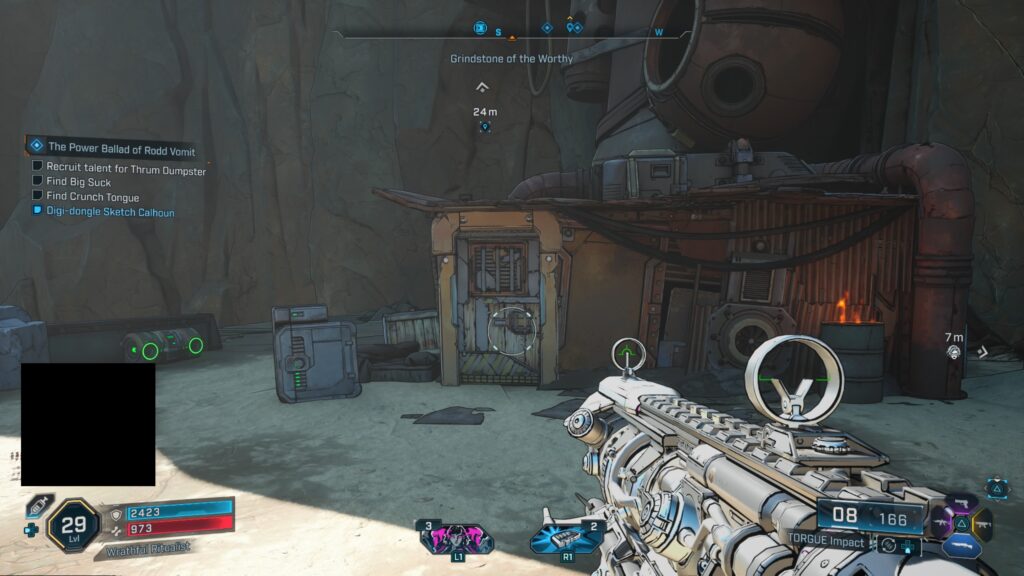
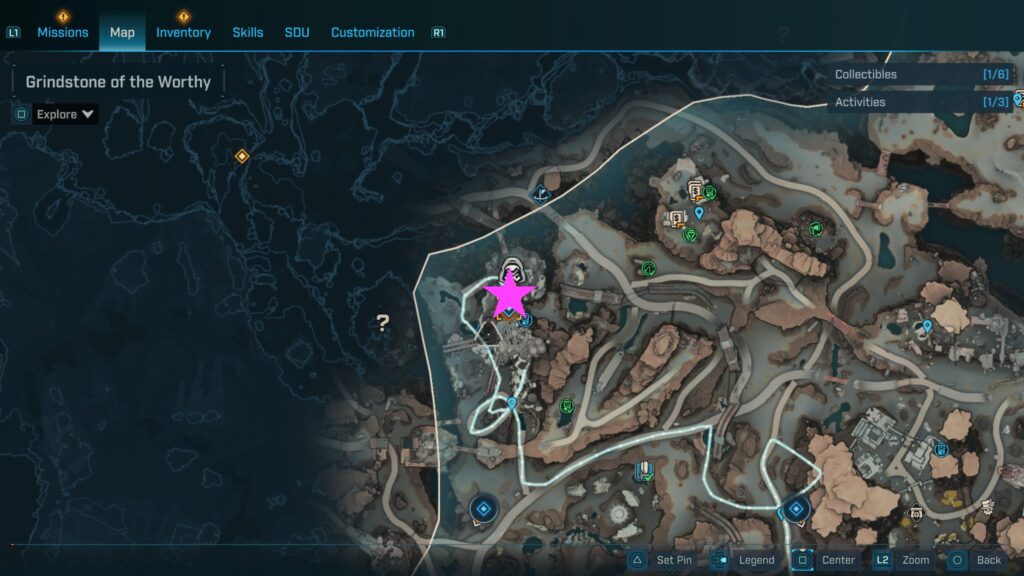
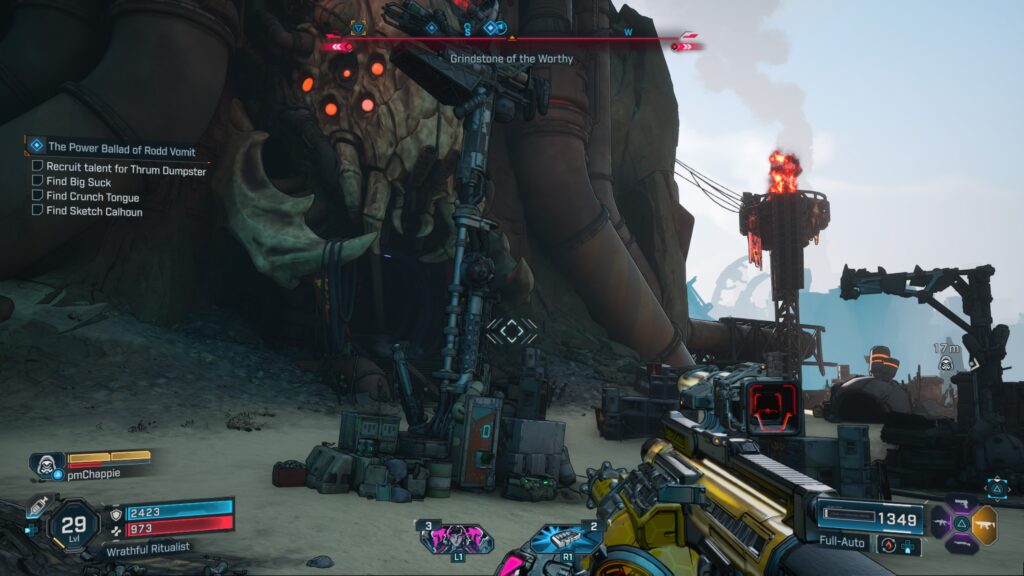
This ECHO Log can be found inside the club at the Stopflow Bowels. You’ll come here during The Power Ballad of Rodd Vomit when hunting down Sketch Calhoun. To reach the high ledge with the ECHO Log, you’ll need to jump from the platform to the suspended cars.

Hostage Negotiation

This ECHO Log can be found on the northeastern side of the enemy camp just north of The Crawlcroft Order Bunker in a small building.

Her Sorrows Revealed
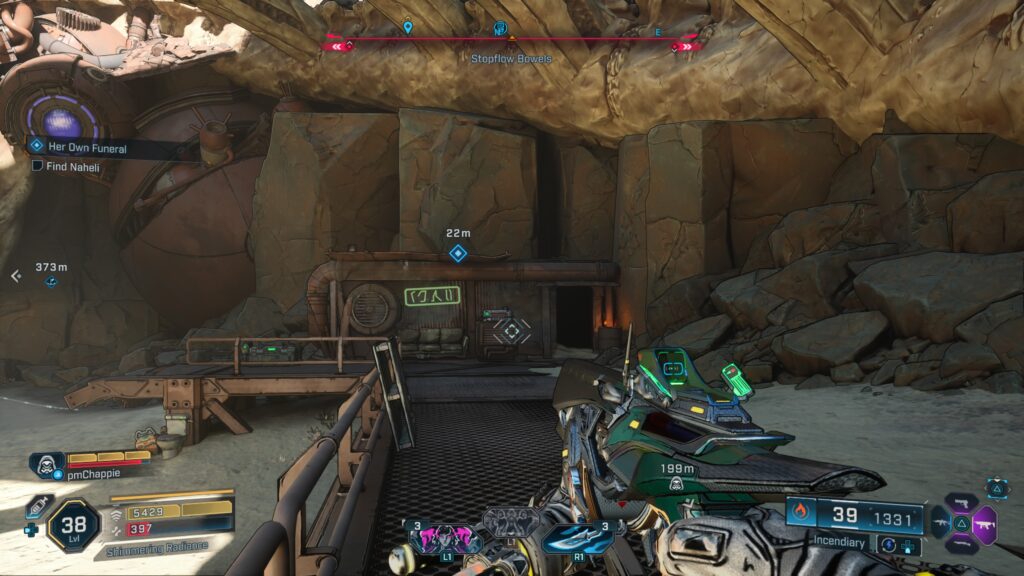
During the Her Own Funeral side mission, you will need to collect this ECHO Log as part of the side mission from the top of a small building just east of the Stopflow Bowels.
Grindstone of the Worthy Activities
Order Silo: Rustical Hurl
The Rustical Hurl Order Silo can be found southeast of the Stopflow Bowels. To enter the silo, you’ll need to use the cave next to a small lake. Once in the cave, take a right and follow the path, grappling as needed, to reach the console.
Abandoned Auger Mine: Embossed Fault

This Abandoned Auger Mine can be found in the southern part of the Grindstone of the Worthy. The entrance to the mine is clave-locked. You will need to progress through the main story until you finish the Shadow of the Mountain main mission, which is the first main mission in the Terminus Range. After you gain access to the ancient Auger Mines, defeat the threats inside and earn SDU Tokens. The boss, Skull Orchid, will have one bar of Health.
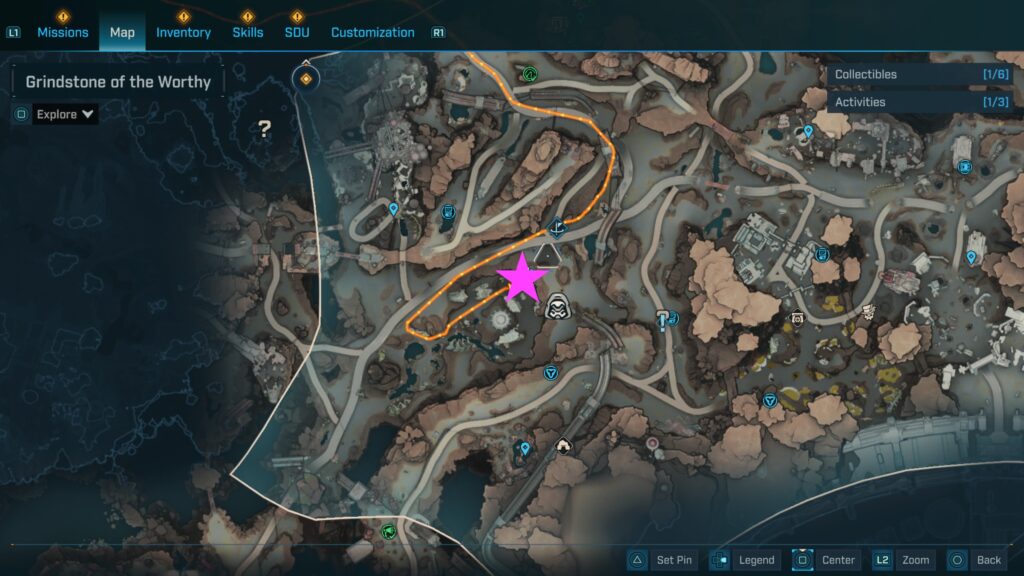
Order Bunker: The Crawlcroft
You’ll gain access to the Order Bunkers at the start of the Rush the Gate main quest. When you find an Order Bunker, you’ll need to use the Locust Canisters to bypass their Bio-Armored doors, defeat their threats, and earn SDU Tokens.

The Crawlcroft Order Bunker can be found east of The Couch Hole. After dropping into the pit, grab the Locust Canister from the right under the plaform and carry it to the door further into the cave.
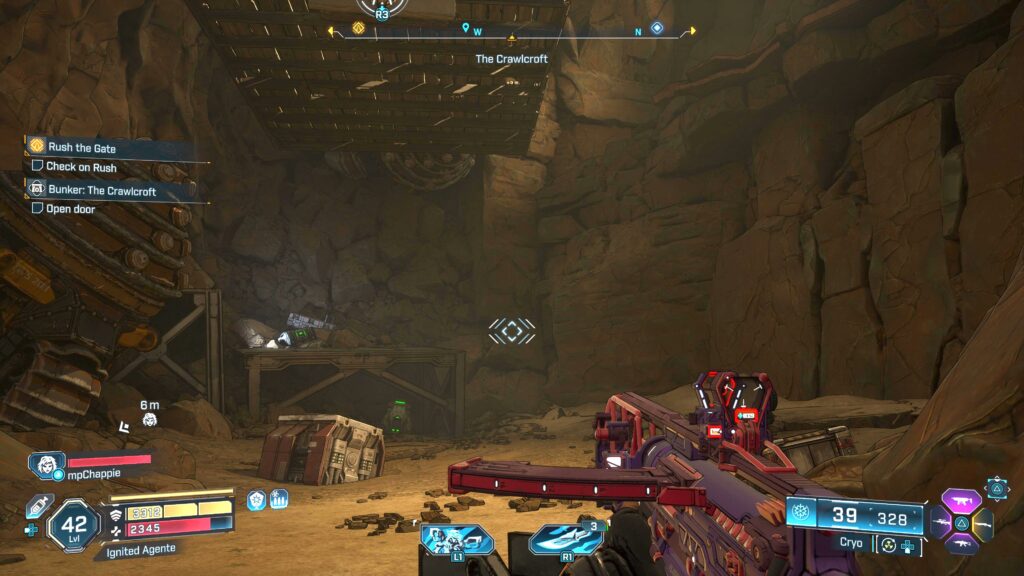
Once inside the bunker, work your way through the area until you reach the boss fight at the end. Fractis, the boss, will have one bar of Shield and one bar of Health!
Related Borderlands 4 Content
Looking for more Borderlands 4 content? Use the links below to keep exploring our guides:
- Next Guide: Continue with Borderlands 4 Side Missions Guide for complete walkthroughs on every quest!
- Main Page: Visit our Borderlands 4 Guides and Walkthroughs hub for all our latest content!
- Official Website: Check out the official Borderlands 4 website for news and updates!