Welcome to NGB and our walkthrough for the Bestower of Wealth: Ch. 3 Oskha the Trader quest in Octopath Traveler 0. Our walkthrough will show you how to start the quest, complete the objectives, and receive the rewards.
Quick Links
Bestower of Wealth: Ch. 3 Oskha the Trader Guide
How to Start the Bestower of Wealth: Ch. 3 Oskha the Trader Quest
The Bestower of Wealth: Ch. 3 Oskha the Trader quest in Octopath Traveler 0 will automatically begin after completing the Bestower of Wealth: Ch. 2 Fool’s Gold quest. The recommended level for this quest is 44.
Bestower of Wealth: Ch. 3 Oskha the Trader Walkthrough
Oskha, having returned to his hometown of Sufrataljah, orders his devotees to kill Lord Scarabe. And the next target on his list is none other than Valore.
Talk to Pierro
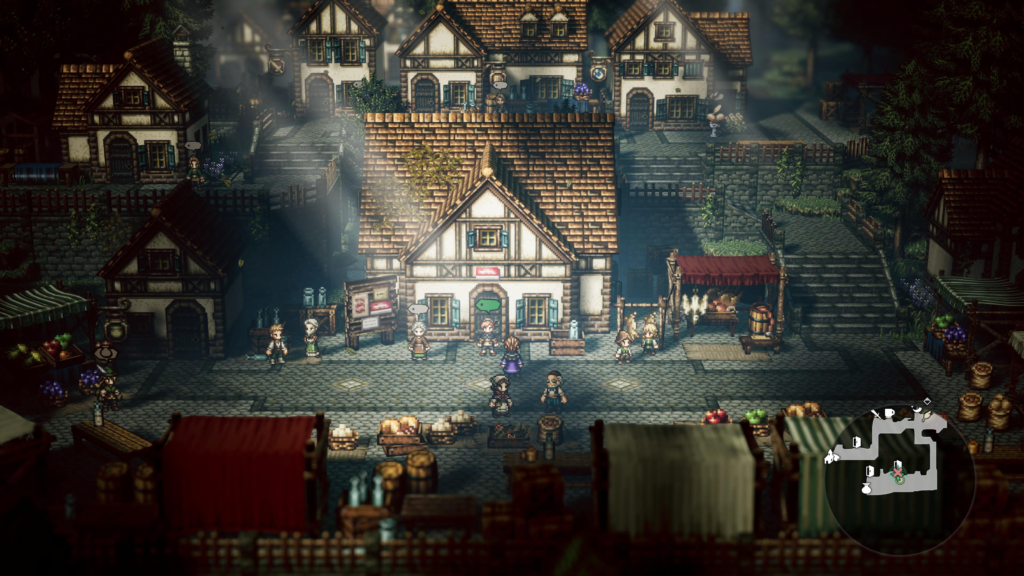
To officially start the quest, travel to Valore and speak with Pierro outside the hideout.
You’ll receive a warning that your journey is approaching a turning point. As such, certain actions will be unavailable. This just means that once you start the quest, Path Actions in Valore will become temporarily unavailable until you finish this chapter.
Gather information from the town’s residents
Next, you’ll need to use the Inquire Path Action on the following residents to inquire Town Information:
- Valore
- Cragspear Merchant – In front of tavern
- Valore: Main Boulevard
- Veteran Hunter – In town square
- Indomitable Dancer – Outside church
Once you have all three pieces of the Town Information, return to the hideout to review it with your party, triggering a lengthy cutscene. During the cutscene, agree to go with Bargello.
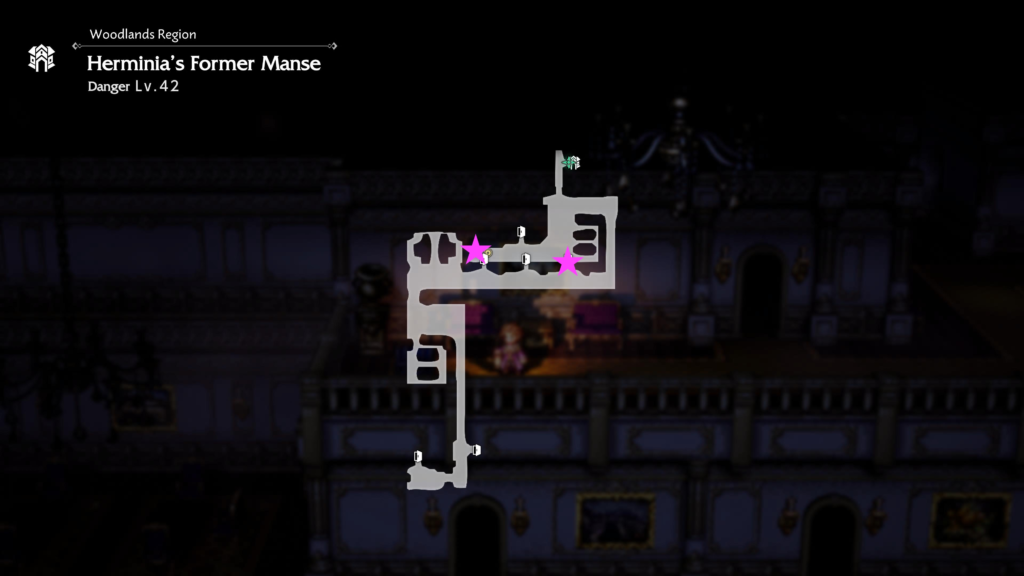
Search for Oskha
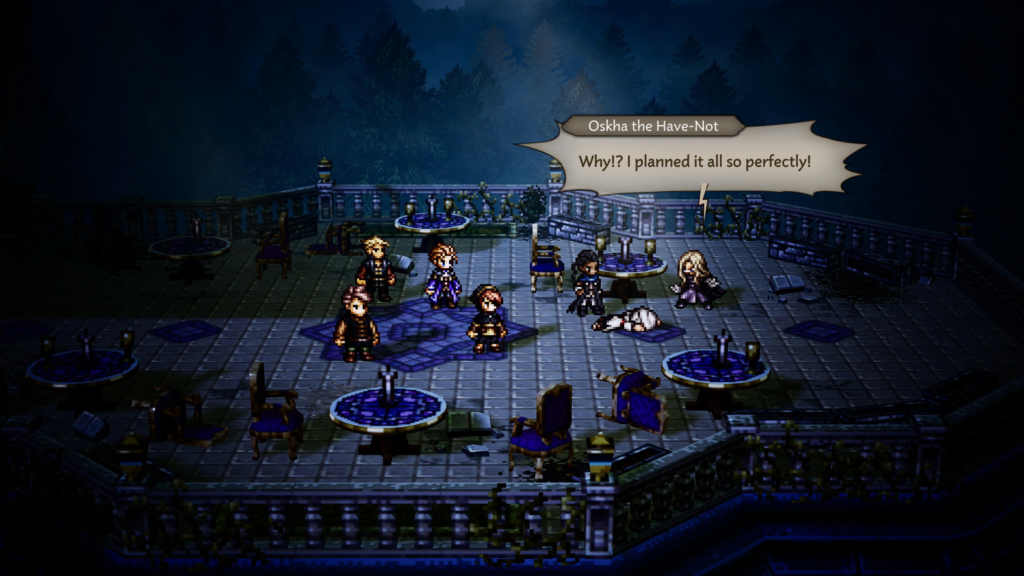
With the town on fire, quickly head for the northwestern exit to Herminia’s Manse: Entrance. From there, travel to Herminia’s Former Manse. Once inside, make your way through this area to find Oskha on the terrace. Confronting him will quickly lead to a fight.
| Enemy | Shields | Vulnerabilities |
|---|---|---|
| Oskha the Have-Not | 20 | Dagger, Tome, Fan, Ice, Wind, Dark |
During this fight, Oskha has a move that can reduce the entire front row’s BP to 0!
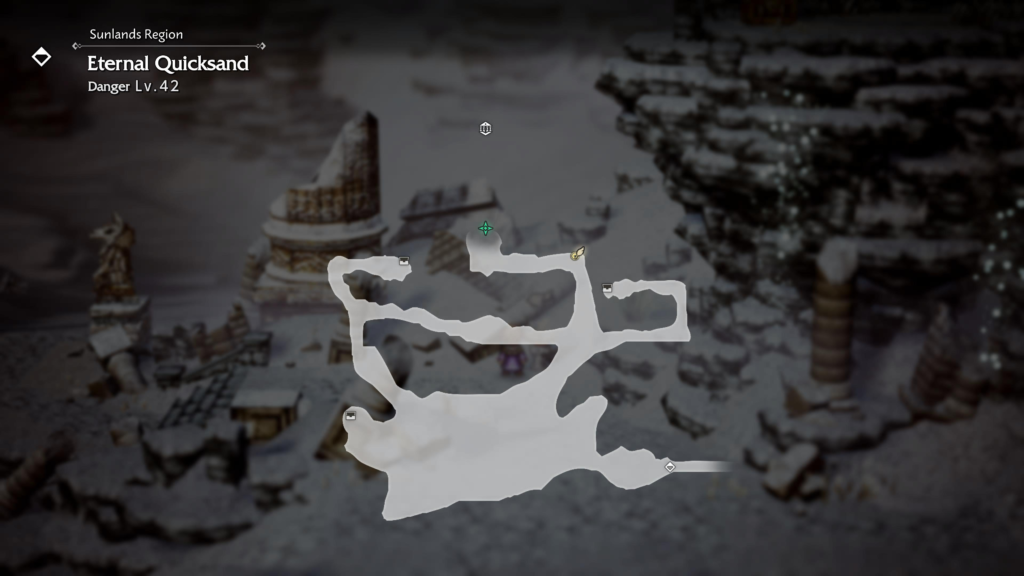
Go to the location identified on the map
After you gain control, travel to Eternal Quicksand in the Sunlands Region, which is just northwest of Sufrataljah. To reach it from Sufrataljah, you’ll need to travel through the following areas:
Once there, head to the northern side of the area to trigger a cutscene.
Search for the hidden fortune
After the cutscene, interact with the statue on the left. Next, use the Inquire Path Action on both statues, starting with the one on the right. With the left statue, purchase The Have-Not’s Proof for 50,000 leaves. You will then need to interact with the statue on the right to place the Have-Not’s proof in the statue. The hidden palace will then be revealed!

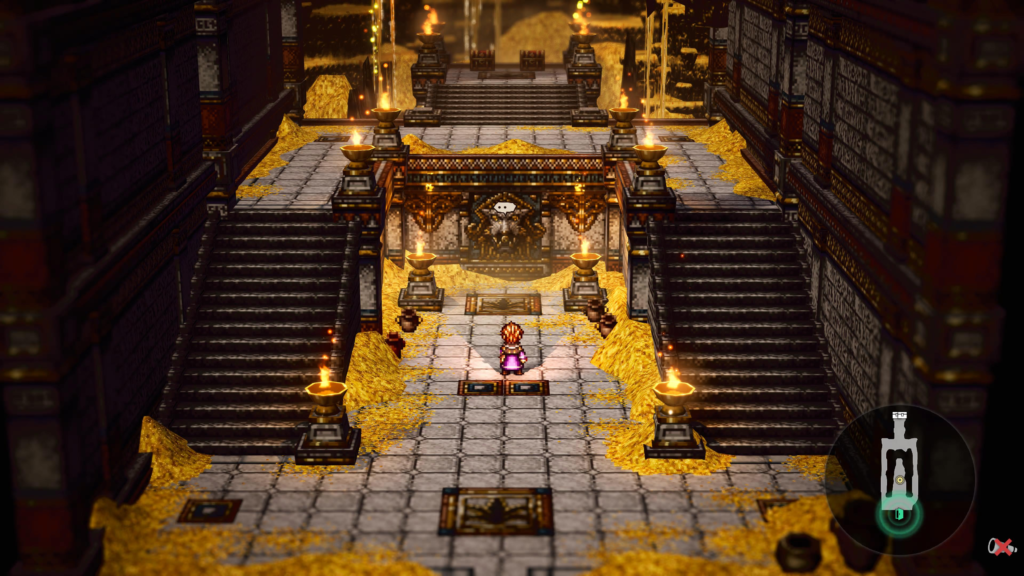
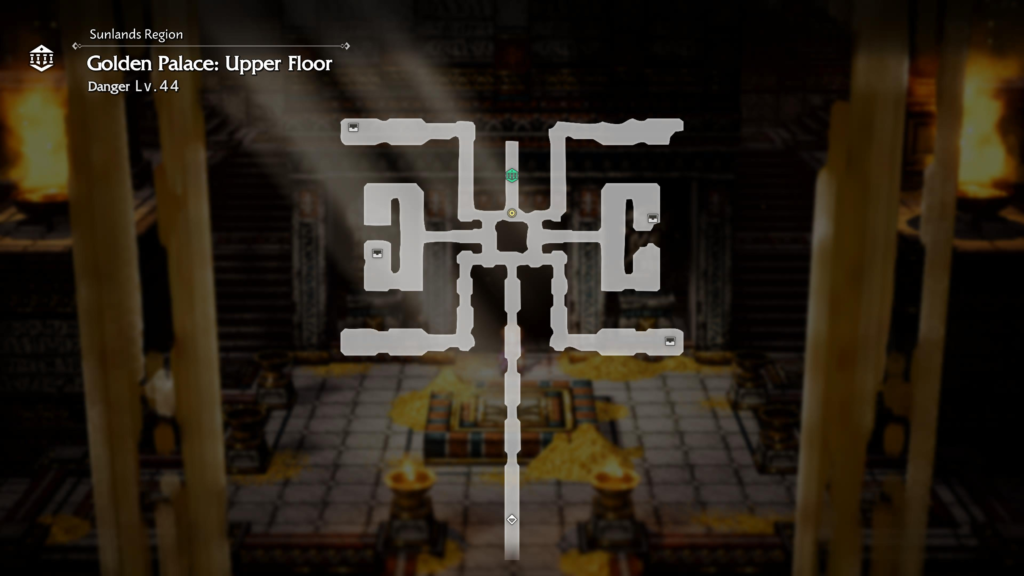
Proceed through the Golden Palace
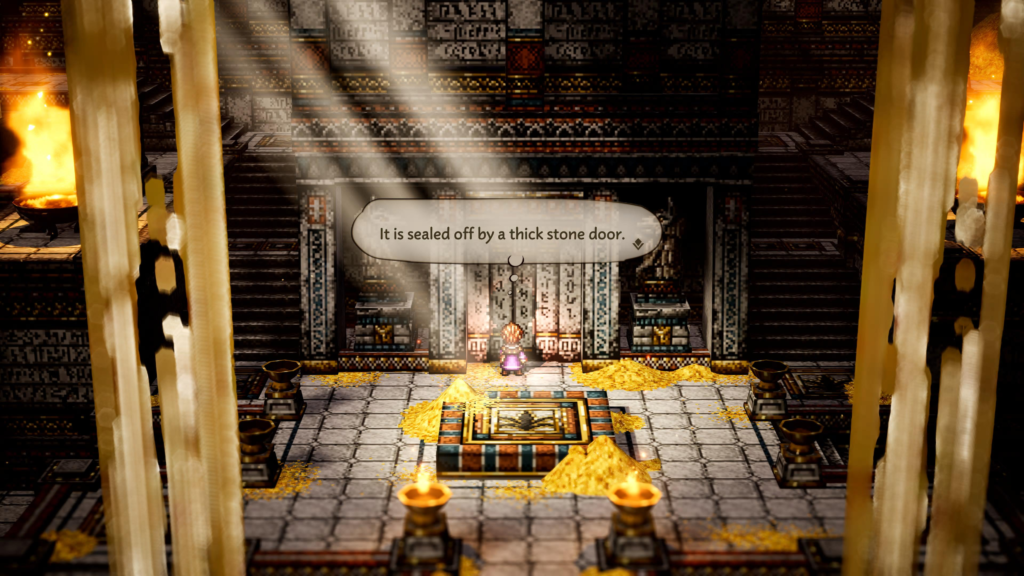
To open the giant sealed door, you will need to find two statues and press the button on them.
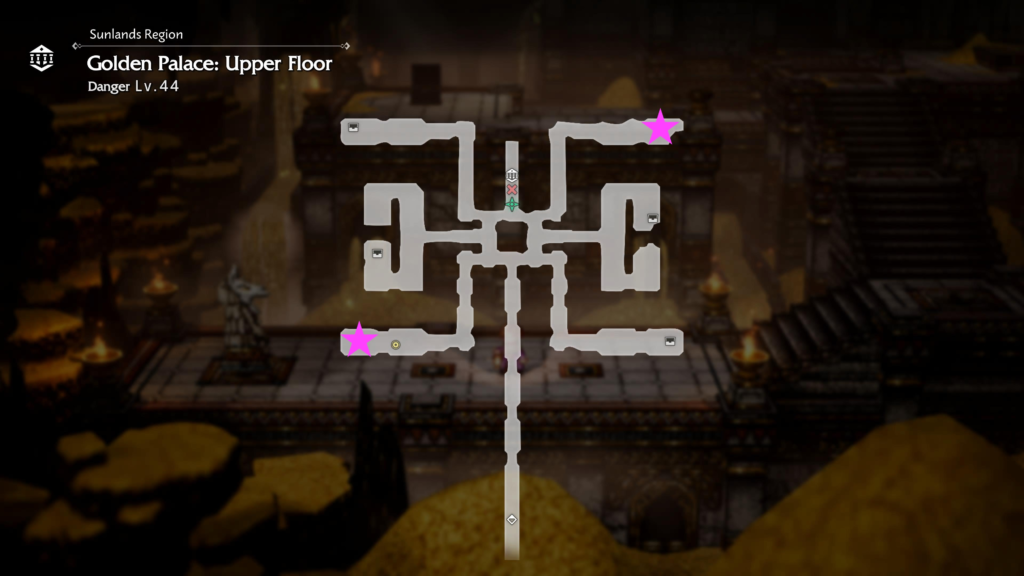
One can be found in the northeastern corner and the other will be in the southwestern. Once both have been pressed, the sealed door will then open! Head inside and proceed through the area!
When you reach the Golden Palace: Lower Floor, you’ll encounter another sealed door. Just like before, you’ll need to press the button on two statues to open it.
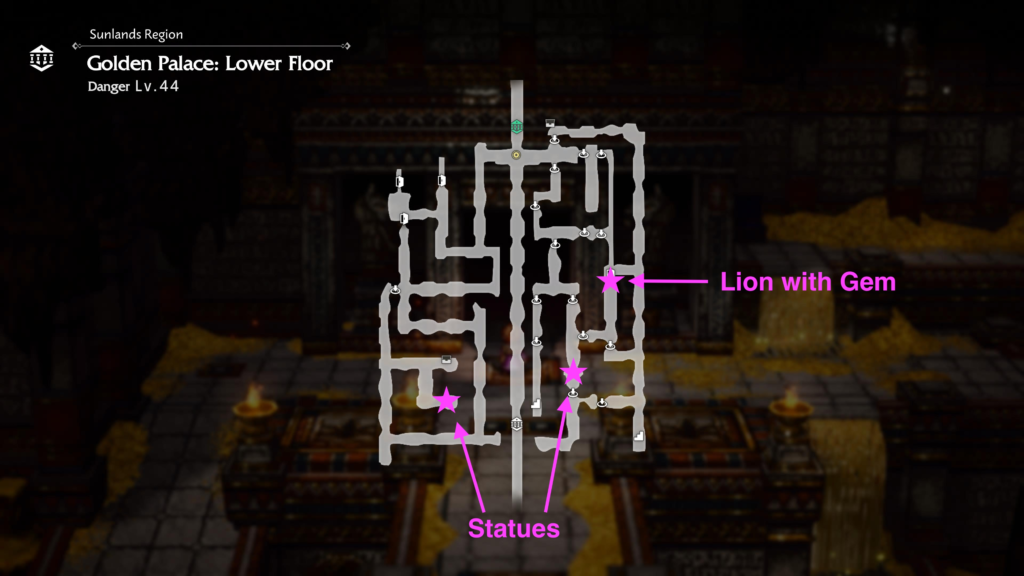
One statue can be found on the southwestern side of the area. The second can be found on the southeastern side of the area. For this statue, you’ll need to find something to place in its mouth. Enter the room on the central eastern side of the area to find a lion with a gem in its mouth. Take this gem and place it in the statue’s mouth.
Once the sand flows, follow it to reach the next statue.
The giant door should now be open! Head on through to reach the Silver Spring.
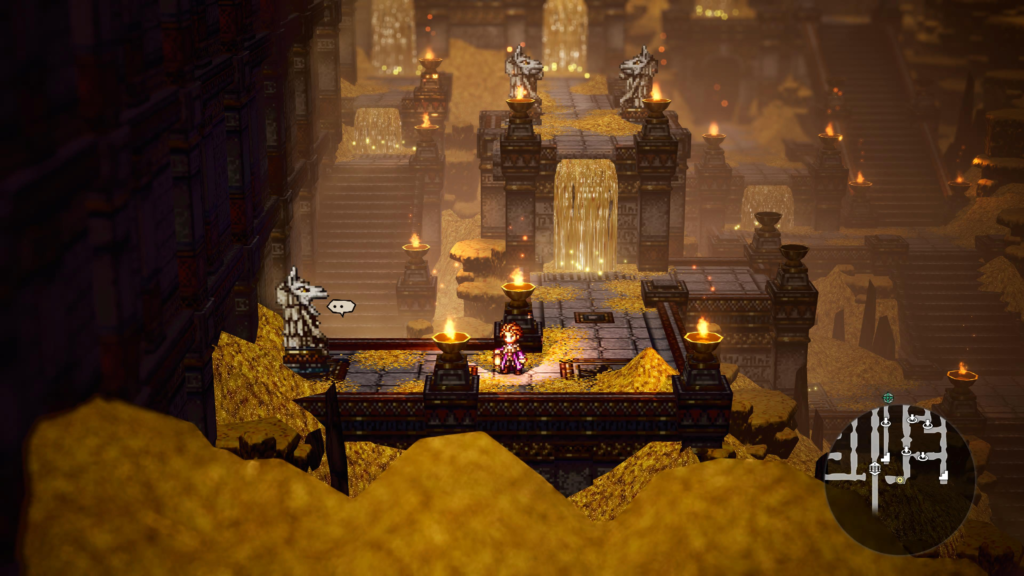
In Silver Spring, make sure to grab the Azure Flamestone, which is the glowing blue orb to the left of the save point.
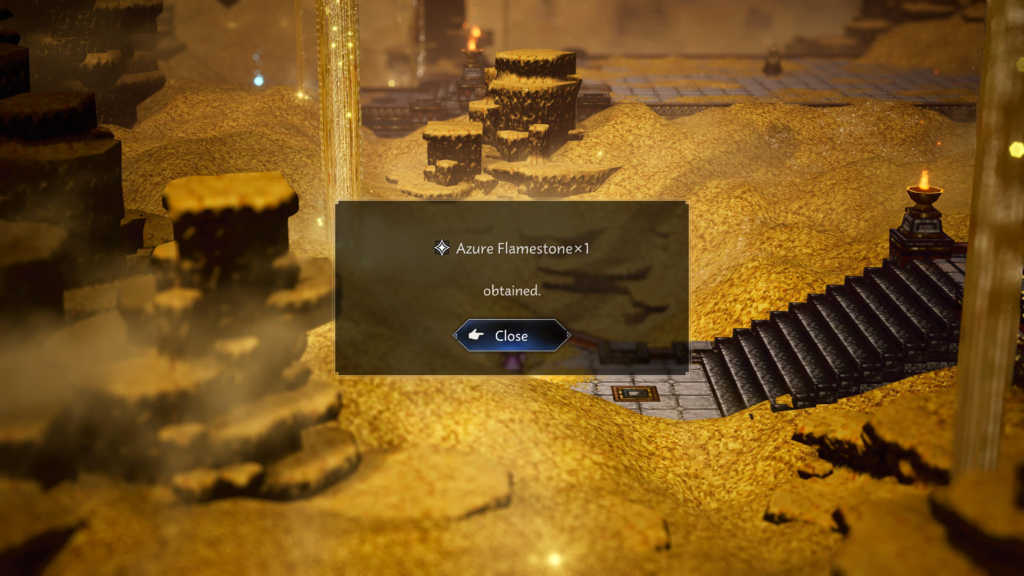
The other collection points in this area will be money! When you’re ready for the boss fight, approach Oskha.
| Enemies | Shields | Vulnerabilities |
|---|---|---|
| Oskha the Have-Not | 20 | Dagger, Tome, Fan, Ice, Wind, Dark; Dagger, Ice, Wind, Dark |
| Altered Gold Remnant | 6 | Dagger, Staff, Ice, Dark |
When Oskha the Have-Not’s health is in the yellow, it will change its vulnerabilities and summon an Altered Gold Remnant. Once defeated, the second round will begin! This time, you’ll fight Oskha the Trader.
| Enemies | Shields | Vulnerabilities | Stealable Item |
|---|---|---|---|
| Oskha the Trader | 18 | Dagger, Tome, Fan, Ice, Dark; Dagger, Fan, Ice, Dark; Dagger, Ice, Dark | Twin Strike Mastery |
During this fight, he’ll disable random skills each turn. Every time you break the boss, its vulnerabilities will change. After you defeat this boss, the chapter will complete.
Herminia’s Former Manse Area Guide
Treasure Chests
Thoroughly explore Herminia’s Former Manse to find these chests:
- Energizing Pomegranate (L)
- Blue Chest (Guarded by Elite Enemy)
- Arcane Healing Mastery – SP Cost: 16 / Restore HP of the entire front row or entire back row, and remove an attribute-reducing effect
Enemies and Weaknesses
Understanding enemy vulnerabilities is essential for quick and efficient battles. The following table summarizes the foes you’ll encounter in Herminia’s Former Manse:
| Enemy | Vulnerability |
|---|---|
| Bodyguard II | Polearm, Axe, Bow, Ice, Dark |
| Remnant Mk.II | Sword, Polearm, Axe, Fire, Ice |
| Sentinel Mk.III | Sword, Fan, Light, Dark |
Tips for battling enemies: Use weapons that exploit their weaknesses for faster battles and to break shields.
Elite Enemies
Elite Enemies are powerful foes that lurk within dungeons. The icon’s color represents the enemy’s strength.
- Blue = Weak
- Yellow = Moderate
- Red = Strong
Defeat them to obtain valuable items that can be used to improve Wishvale’s facilities. Make sure to be fully prepared before taking them on!
Menacing Master Thief III
| Shield | Vulnerability |
|---|---|
| 12 | Sword, Bow, Ice, Light |
Eternal Quicksand Area Guide
Treasure Chests
Thoroughly explore the Eternal Quicksand to find these chests:
- Enlightening Bracelet
- Slippery Nut (L)
- Wind Soulstone (L)
Enemies and Weaknesses
Understanding enemy vulnerabilities is essential for quick and efficient battles. The following table summarizes the foes you’ll encounter in the Eternal Quicksand:
| Enemy | Vulnerability |
|---|---|
| Overlord of the Flies | Polearm, Bow, Ice, Wind |
| Silversand Lizardman II | Polearm, Fan, Ice, Wind |
| Silversand Lizardman III | Polearm, Fan, Ice, Wind |
| Whiteworm | Polearm, Axe, Wind, Light |
Tips for battling enemies: Use weapons that exploit their weaknesses for faster battles and to break shields.
Golden Palace Area Guide
Treasure Chests
Thoroughly explore the Golden Palace to find these chests:
Golden Palace: Upper Floor
- Energizing Pomegranate (M)
- Empowering Bracelet
- Shadow Soulstone (L)
- Doombreaker (Guarded by Elite Enemy)
Golden Palace: Middle Floor
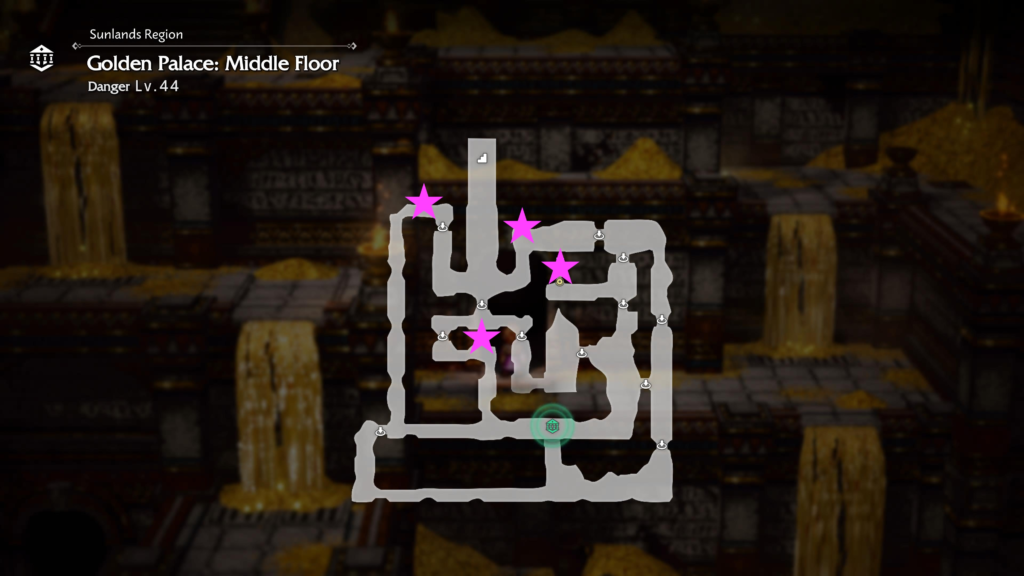
- Gold Nugget
- Nourishing Nut (L)
- Enchanted Circlet
- Commemorative Coin
Golden Palace: Lower Floor
- Blue Chest
- Celebration of the Arts Mastery – Extend the duration of song and dance effects by 1 turn
- Magus Glaive
- Thunder Soulstone (L)
- Elemental Heavy Armor (Guarded by Elite Enemy)
- Light Nut (L)
- Rejuvenating Jam
- SP Cleansing Stone
Enemies and Weaknesses
Understanding enemy vulnerabilities is essential for quick and efficient battles. The following table summarizes the foes you’ll encounter in the Golden Palace:
Golden Palace: Upper Floor
| Enemy | Vulnerability |
|---|---|
| Brigand Bones II | Axe, Staff, Fire, Light |
| Fierce Fly | Polearm, Bow, Ice, Wind |
| Ivory Curator | Polearm, Bow, Lightning, Light |
| Ivory Guardian | Sword, Polearm, Ice, Light |
| Light Revenant | Sword, Bow, Staff, Dark |
| Skull Roller | Polearm, Fan, Ice, Dark |
Golden Palace: Middle Floor
| Enemy | Vulnerability |
|---|---|
| Ivory Guardian | Sword, Polearm, Ice, Light |
| Ivory Remnant | Sword, Polearm, Axe, Dark |
Golden Palace: Lower Floor
| Enemy | Vulnerability |
|---|---|
| Fierce Fly | Polearm, Bow, Ice, Wind |
| Gold Remnant | Sword, Polearm, Axe, Light |
| Ivory Remnant | Sword, Polearm, Axe, Dark |
| Light Revenant | Sword, Bow, Staff, Dark |
| Skull Roller | Polearm, Fan, Ice, Dark |
Elite Enemies
Elite Enemies are powerful foes that lurk within dungeons. The icon’s color represents the enemy’s strength.
- Blue = Weak
- Yellow = Moderate
- Red = Strong
Defeat them to obtain valuable items that can be used to improve Wishvale’s facilities. Make sure to be fully prepared before taking them on!
Menacing Ivory Revenant
Location: Golden Palace: Upper Floor
| Shield | Vulnerability |
|---|---|
| 14 | Sword, Bow, Staff, Dark |
Menacing Gold Revenant
Location: Golden Palace: Lower Floor
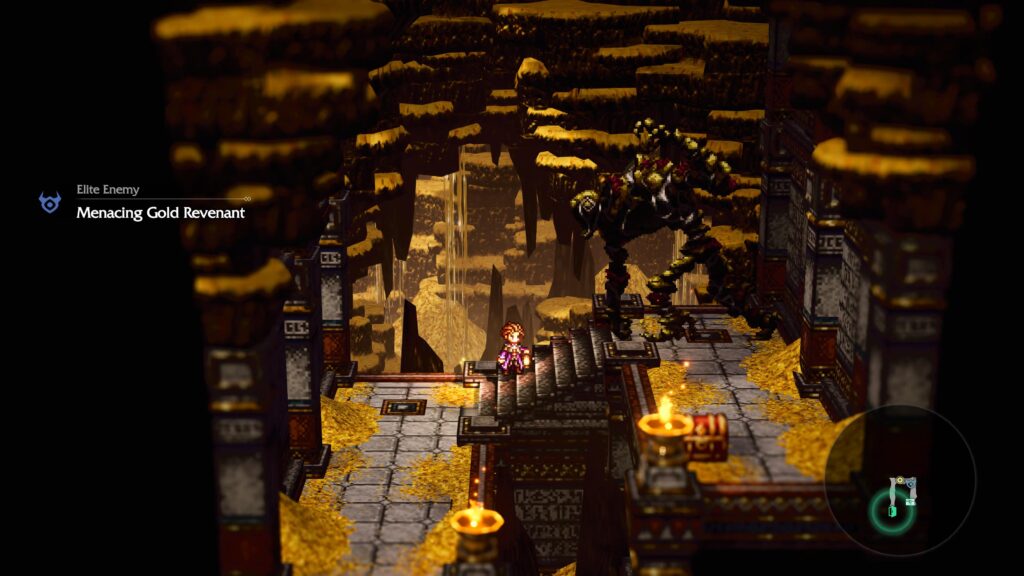
| Shield | Vulnerability |
|---|---|
| 22 | Sword, Bow, Dark |
This enemy drops the Cat God’s Statue!
Related Octopath Traveler 0 Content
Looking for more Octopath Traveler 0 content? Use the links below to keep exploring our guides:
- Main Page: Visit our Octopath Traveler 0 Guides and Walkthroughs hub for all our latest content!
- Official Website: Check out the official Octopath Traveler 0 website for news and updates!