Welcome to NGB and our walkthrough for the Bestower of Wealth: Ch. 2 Fool’s Gold quest in Octopath Traveler 0. Our walkthrough will show you how to start the quest, complete the objectives, and receive the rewards.
Quick Links
Bestower of Wealth: Ch. 2 Fool’s Gold Guide
How to Start the Bestower of Wealth: Ch. 2 Fool’s Gold Quest
The Bestower of Wealth: Ch. 2 Fool’s Gold quest in Octopath Traveler 0 will automatically begin after completing the Bestower of Wealth: Ch. 1 The Have-Not quest. The recommended level for this quest is 40.
Bestower of Wealth: Ch. 2 Fool’s Gold Walkthrough
Tiziano lives, known now as Oskha the Have-Not. The gravely injured Bargello has yet to open his eyes.
Talk to Pierro
To officially begin this quest, travel to Valore in the Woodlands Region and speak with Pierro outside their base and agree to go with him.

Head to Sufrataljah
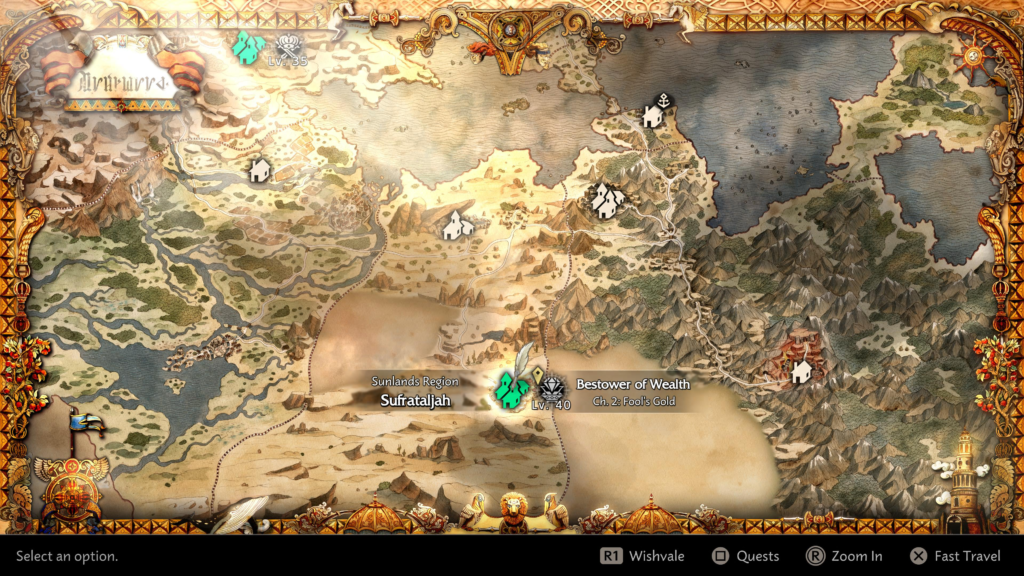
To reach Sufrataljah from Sunshade, you will need to head through the following areas:
Once you arrive, head north towards the palace to trigger a cutscene.
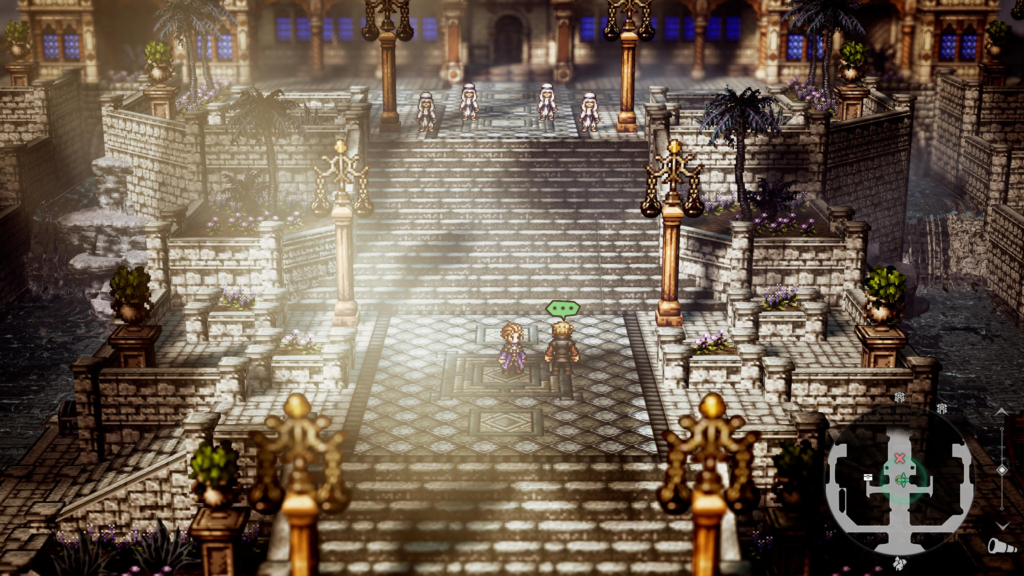
Work together to infiltrate the palace
During this objective, you will need to fight through the palace guards to try and get in! Their vulnerabilities can be found in the table below.
| Enemies | Vulnerabilities |
|---|---|
| Lookout (Polearm) | Sword, Axe, Tome, Ice, Wind |
| Lookout (Whip) | Polearm, Bow, Tome, Ice, Lightning |
When you gain control, head to the northeastern side of the area and speak with Pierro to sneak in through the back.
Unfortunately, you’ll need to take care of the guards first. For this fight, you will face one Lookout (Polearm) and one Lookout (Whip). After the fight, more guards will come out, so you’ll be forced to retreat. Next, head to the middle path and speak with Rosso.
During your conversation, hand him his powder. Afterwards, a fight will trigger against a Lookout (Polearm) and two Lookouts (Whip).
Once you take them out, another fight will trigger with one Lookout (Whip) and two Lookouts (Polearm). When the fight is over, Rosso will head inside, leaving you behind. Return to Pierro on the eastern path to report the situation to him.
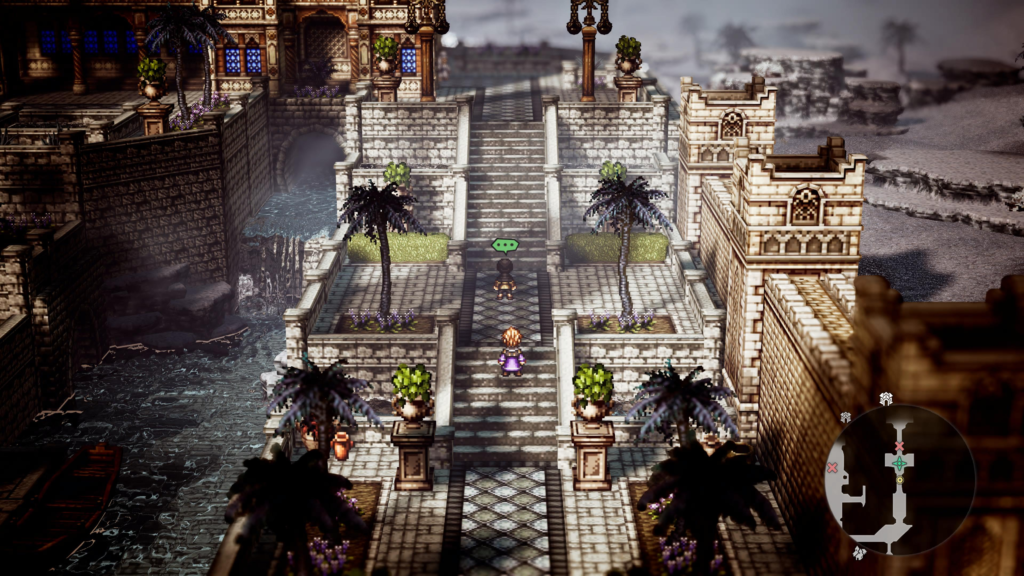
Investigate the palace
Next, head north into Sufrataljah: Palace. Inside, you’ll find Rosso, who will be drawing the guards’ attention so you can proceed through the palace.
Eventually, you’ll reach the palace archives.
Visit the Have-Not
After the cutscene, continue through the palace, heading up the stairs to reach a save point. In the next room, you’ll find Lord Scarabe and Oskha the Have-Not. Once the scene ends, you’ll face Judah the Believer and his two aides.
| Enemies | Shields | Vulnerabilities |
|---|---|---|
| Judah the Believer | 16 | Dagger, Bow, Staff, Wind, Dark |
| Judah’s Aide (Axe) | 12 | Sword, Staff, Fan, Fire, Dark |
| Judah’s Aide (Fan) | 11 | Polearm, Bow, Tome, Lightning, Dark |
During this fight Judah can inflict Silence on your party members. Once it ends, the chapter will conclude.
Sufrataljah: Palace Area Guide
Treasure Chests
Thoroughly explore the Sufrataljah: Palace to find these chests:
Sufrataljah: Palace
- Herb of Vitality
- Bottle of Poison Dust
- Elemental Ward
- Superior Wine
- Blue Chest
- Abating Orb Mastery – SP Cost: 8 / Remove 1 attribute-raising effect from a foe
Sufrataljah: Palace – Upper Floor
- Invigorating Nut (L)
- Olive of Life (M)
- Light Soulstone (L)
- Reapter’s Blade (Guarded by Elite Enemy)
- 18000 Leaves
Enemies and Weaknesses
Understanding enemy vulnerabilities is essential for quick and efficient battles. The following table summarizes the foes you’ll encounter in the Sufrataljah: Palace:
Sufrataljah: Palace
| Enemy | Vulnerability |
|---|---|
| Insurgent (Axe) | Sword, Polearm, Bow, Lightning, Light |
| Insurgent (Fan) | Polearm, Dagger, Bow, Lightning, Light |
| Insurgent (Staff) | Polearm, Axe, Bow, Lightning, Light |
Sufrataljah: Palace – Upper Floor
| Enemy | Vulnerability |
|---|---|
| Gold Flame Guardian | Sword, Axe, Ice, Dark |
| Insurgent (Axe) | Sword, Polearm, Bow, Lightning, Light |
| Insurgent (Staff) | Polearm, Axe, Bow, Lightning, Light |
| Silver Wind Sentinel | Sword, Axe, Lightning, Dark |
Tips for battling enemies: Use weapons that exploit their weaknesses for faster battles and to break shields.
Elite Enemies
Elite Enemies are powerful foes that lurk within dungeons. The icon’s color represents the enemy’s strength.
- Blue = Weak
- Yellow = Moderate
- Red = Strong
Defeat them to obtain valuable items that can be used to improve Wishvale’s facilities. Make sure to be fully prepared before taking them on!
Menacing Gold Wind Curator
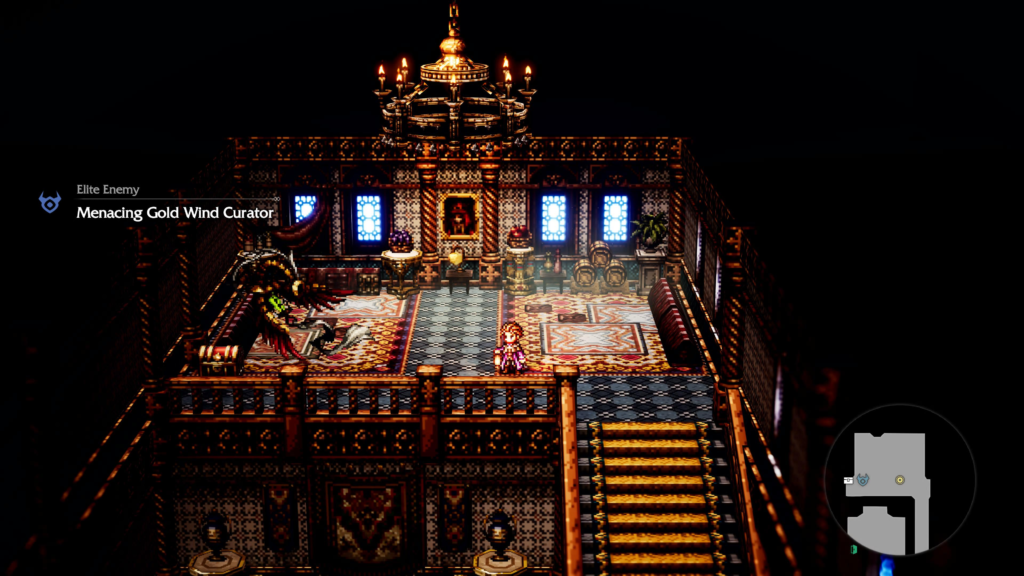
| Shield | Vulnerability |
|---|---|
| 16 | Polearm, Bow, Lightning, Dark |
Related Octopath Traveler 0 Content
Looking for more Octopath Traveler 0 content? Use the links below to keep exploring our guides:
- Main Page: Visit our Octopath Traveler 0 Guides and Walkthroughs hub for all our latest content!
- Official Website: Check out the official Octopath Traveler 0 website for news and updates!