Welcome to NGB and our walkthrough for Arbitrary Measures quest in The Outer Worlds 2. During this quest, you will search for the Refugee Camp in Golden Ridge then help Tristan. Our guide will walk you through all the objectives, highlight the best strategies, and make sure you don’t miss any rewards.
Quick Links
Arbitrary Measures Side Quest Guide
How to Start the Arbitrary Measures Side Quest
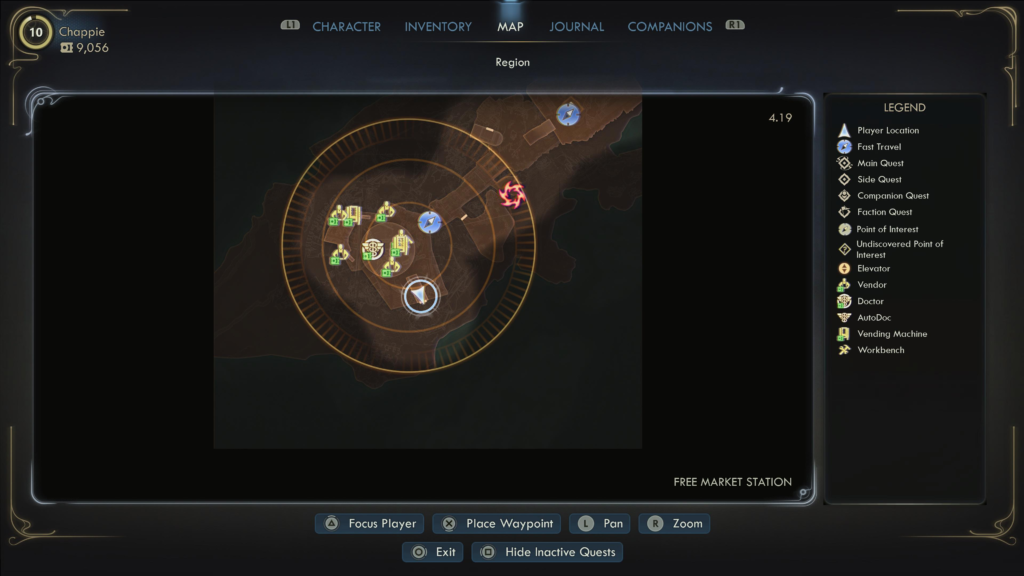
To begin the Arbitrary Measures side quest, you’ll need to travel to Free Market Station and head to The 2nd Choice saloon. Once there, speak with Barney “Bruiser” Bass and Tristan.
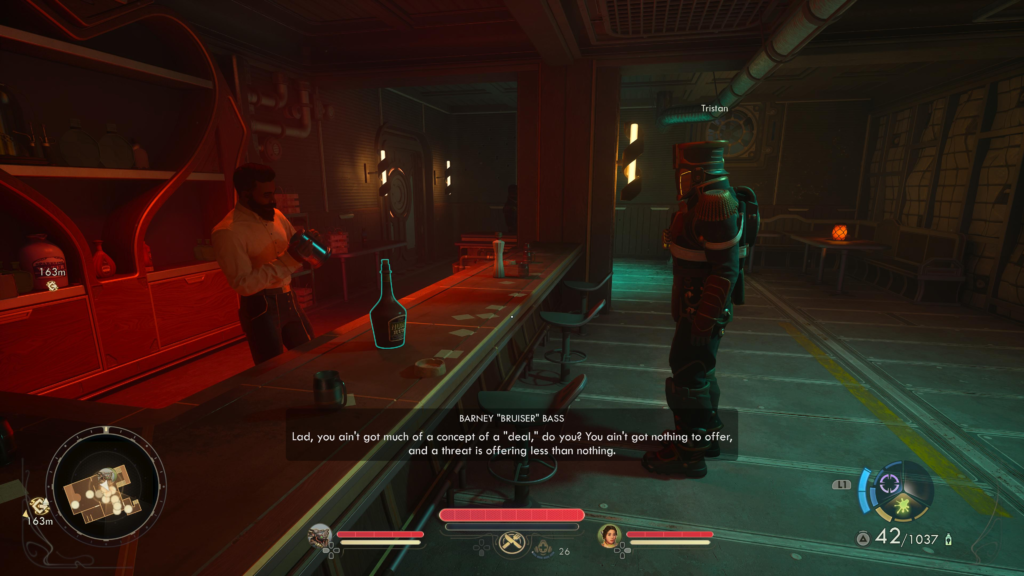
Tristan wants to speak with the Broker, but Barney doesn’t trust the Arbiter. You can then mediate between them and convince him to let Tristan earn his way to see the broker. He’ll agree, then task the two of you with traveling to Golden Ridge on Dorado and checking up on some folks at a refugee camp.
Arbitrary Measures Walkthrough
Search the Refugee Camp on Golden Ridge
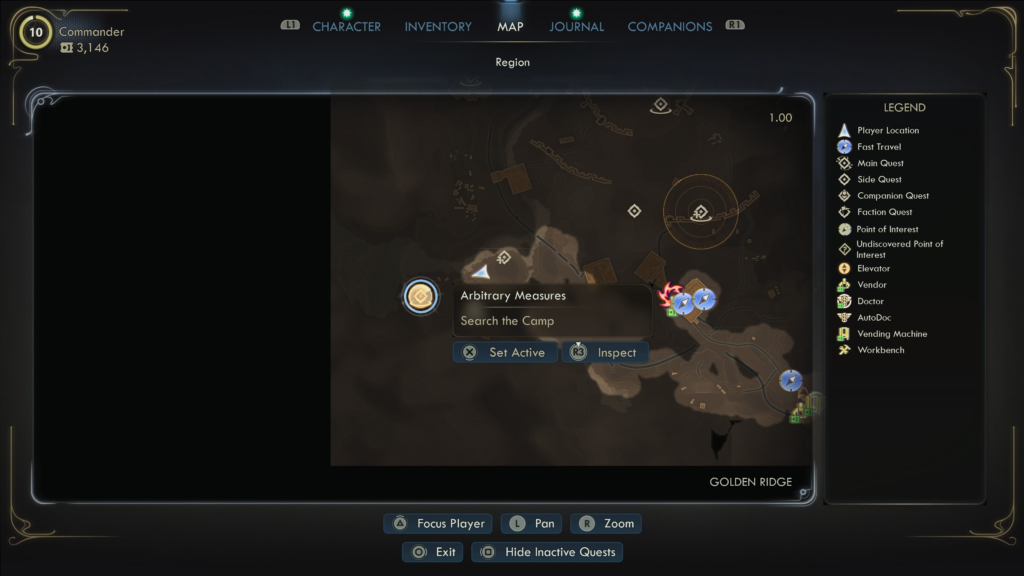
Travel to Golden Ridge on Dorado, then head to the far western part of the map, west of the landing pad and past the Guardian Estates.
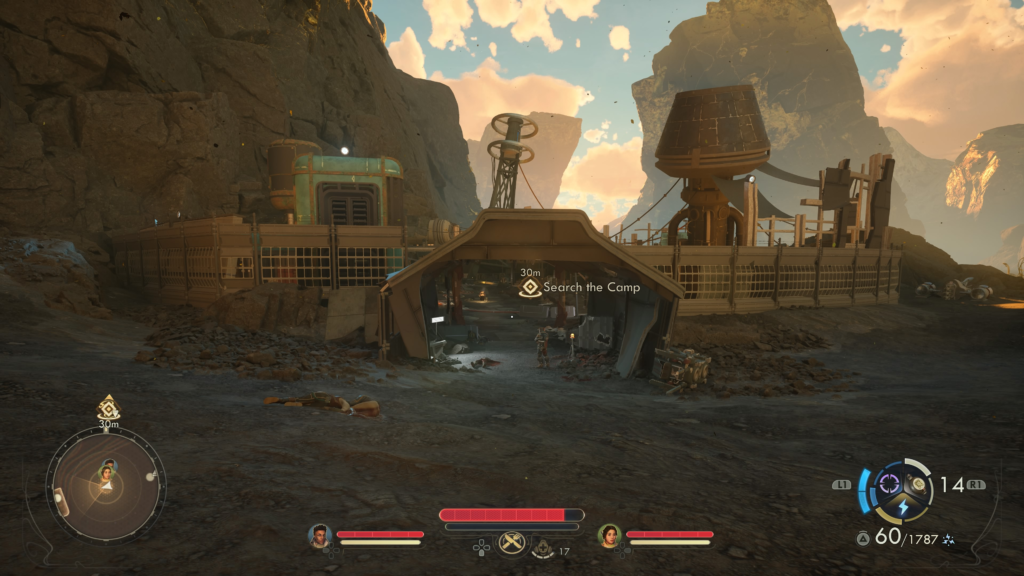
When you arrive at the refugee camp, Tristan will be waiting for you. Approach him to trigger some dialogue.
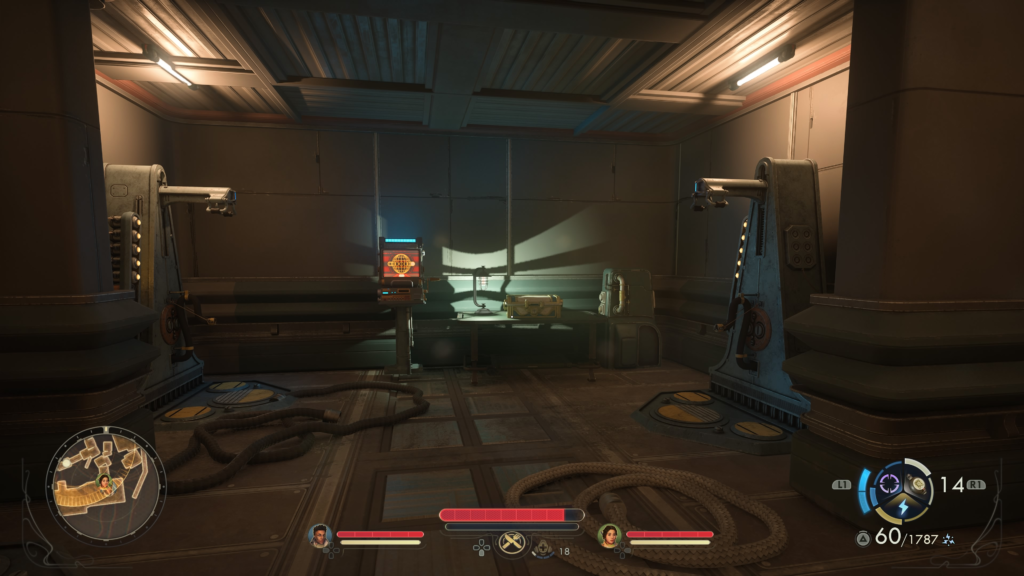
After entering the camp, proceed to the first building on the left and interact with the terminal located there.
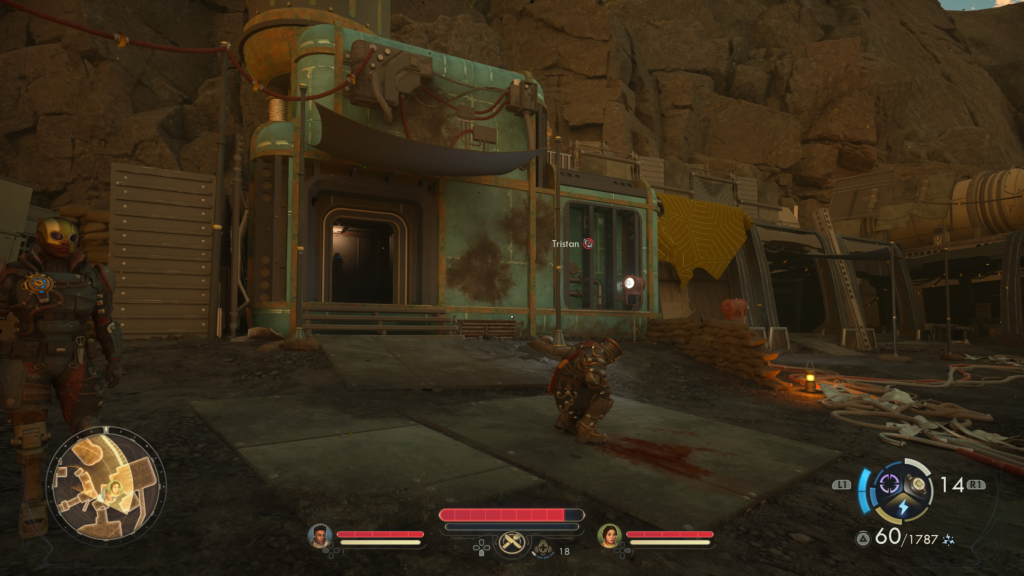
Make sure to pick up the High Security Lockbox next to the terminal!
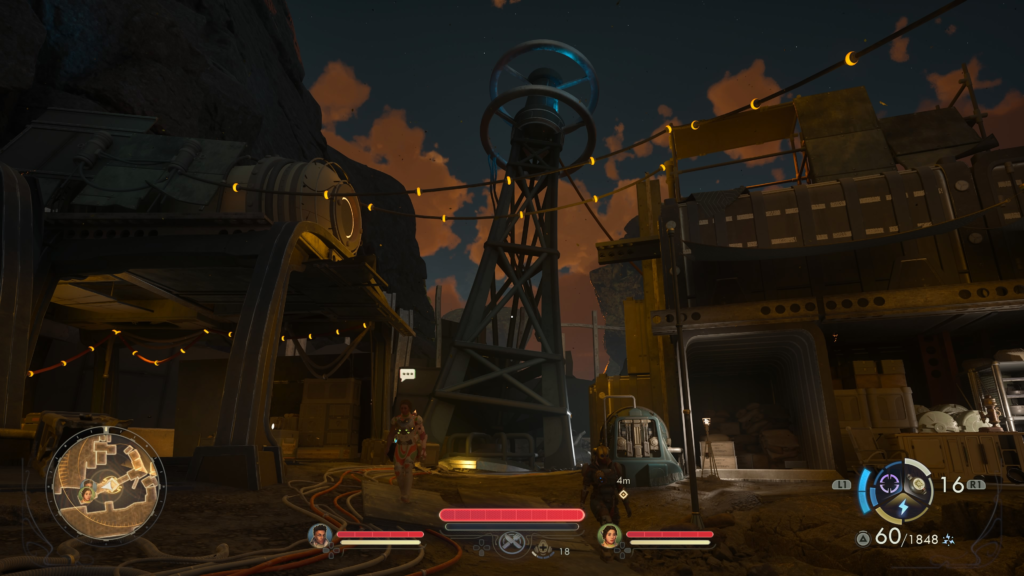
Once you’re done with that, head to the tall transmission tower and interact with it. You’ll need an Engineering 5 to find some evidence as to what happened.
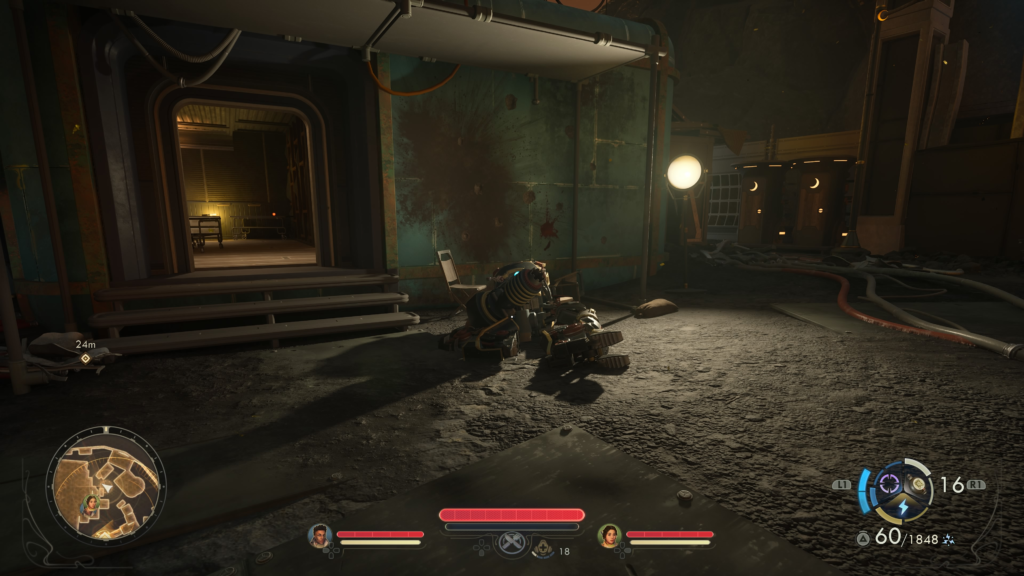
Next, head to the blue building and examine the damaged automechanical on the ground in front of it. You’ll need a Hack 5 to understand it.
Now that you’ve done that, climb to the top of the blue building and interact with the golden radio tower. It will require a Science 5 to understand it.

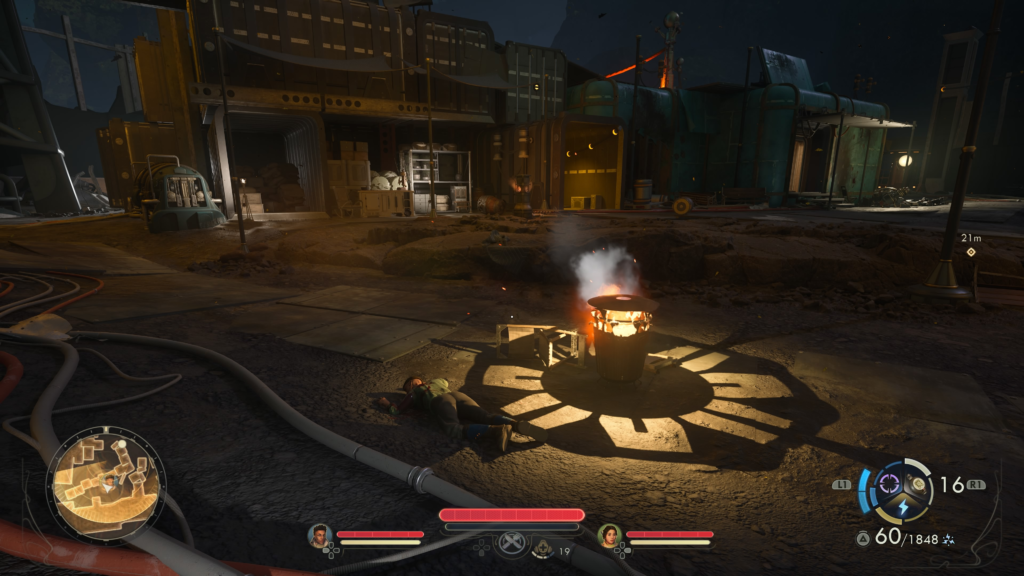
The final thing you’ll want to examine is the body of one of the refugees in the center of the camp, next to the fire.
Discuss Findings with Tristan
With all of the evidence collected, it’s time to speak with Tristan and go over the facts. You’ll be able to deduce some more stuff based on your skills as you go over the evidence, but you’ll want to choose options related to the mechs attacking the village.
Once you’ve gotten through everything, some drones and dragoons will attack!
Survive the Ambush
For this objective, you’ll need to survive a couple of waves of attack from hostile automechanicals, comprised of drones and dragoons. You will have the support of Tristan, which will make things a little bit easier.
Following the battle, speak with Tristan once more.
Return to the Bartender
After all of the business at the refugee camp has been taken care of, head back to Free Market Station and make your way to the Second Choice to speak with the bartender.
Investigate the Malfunctioning Lamp
Head past the bar and use the keycard on the door to unlock it. Head down the stairs to the basement, then interact with the lamp on the wall to reveal the broker’s hidden room. Enter the office room straight ahead on the right and speak with Francis Min.
If you pickpocket Francis Min, you can acquire the Sub Rosa Headquarters Stash Room Key. Use this to open the door behind him. Inside, you’ll find the following items: Armored Suit, Masked Flat Cap, bits, etc.
Debrief With Tristan
When you’re done speaking with Min, exit the Second Choice and speak with Tristan outside. After some dialogue with him, he will request to join you so he can learn the truth about his mentor. If you agree, then he’ll become a party member. Either way, the quest will then be completed.
Related The Outer Worlds 2 Content
Looking for more The Outer Worlds 2 content? Use the links below to keep exploring our guides:
- Main Page: Visit our The Outer Worlds 2 Guides and Walkthroughs hub for all our latest content!
- Official Website: Check out the official The Outer Worlds 2 website for news and updates!