Welcome to NGB and our walkthrough on the Alternate Dimension quest in Digimon Story Time Stranger. For this quest, Mirei needs your help investigating a problem concerning the natural laws of the world. Our walkthrough will show you how to start the quest, complete the objectives, and receive the rewards.
Quick Links
Alternate Dimension Quest Guide
How to Start the Alternate Dimension Quest
The Alternate Dimension quest in Digimon Story Time Stranger is a DLC quest that is part of the Additional Digimon & Episode Pack 1: Alternate Dimension DLC. To play this new content, access the Door of Truth in the In-Between Theater.
Alternate Dimension Walkthrough
Take the Elevator
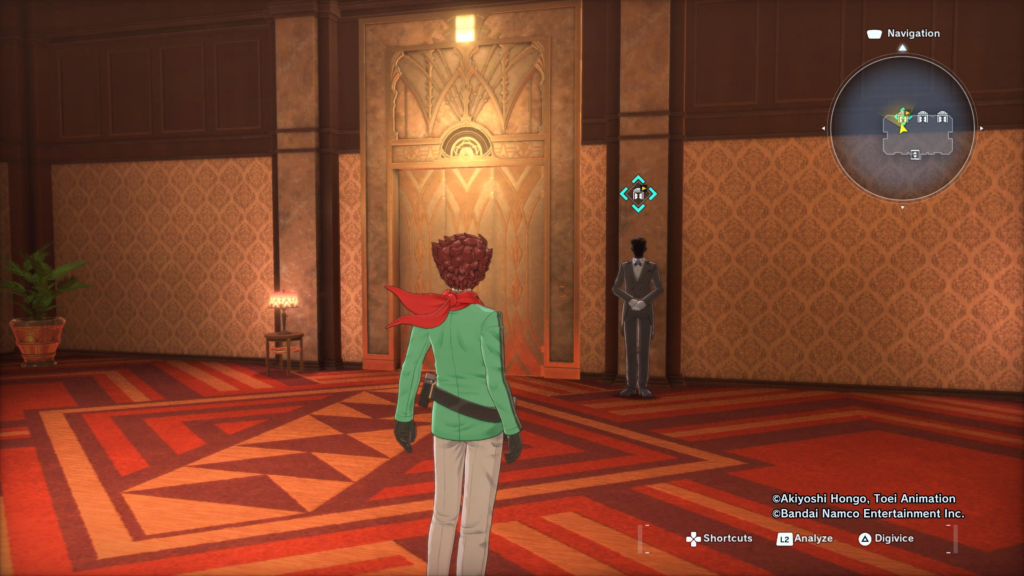
Use the elevator in the In-Between Theater and speak with the Butler next to the door on the left to trigger some dialogue with Mirei. Afterwards, speak with the Butler again to enter the Akashic Backdoor I. Please note that the difficulty is equivalent to the main story endgame content!
Investigate the space

In the white room, head through the door marked with the objective marker to encounter BlitzGreymon, CresGarurumon, and Parallelmon. Following the cutscene, you’ll find yourself in a circular hallway. Follow the hallway until you spot a door on the right and head through to find Kyoko Kuremi.
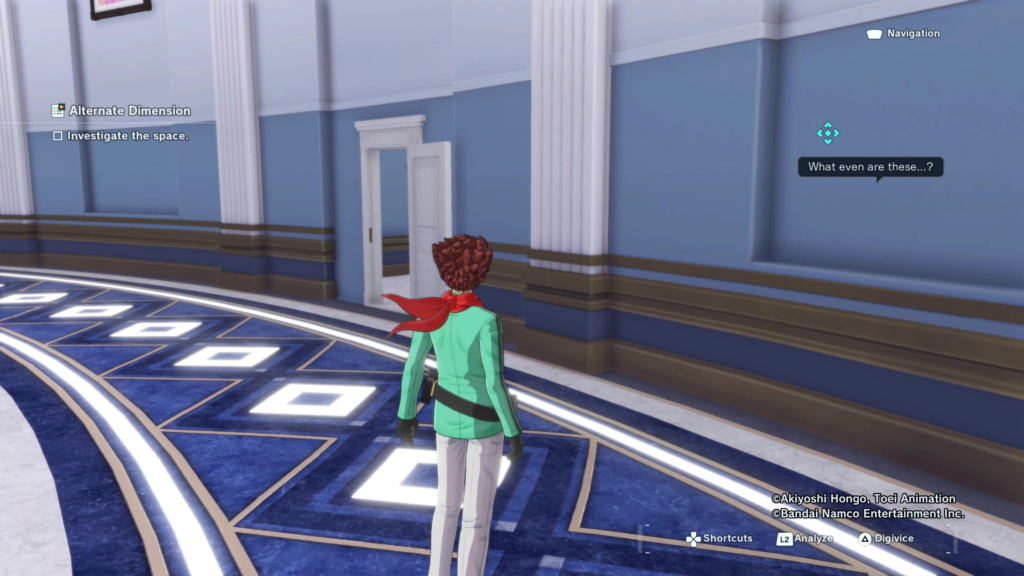
Once able, investigate the bubbles then exit the room. Take a right then follow the hallway to the next door. Inside this room, you’ll find another door in the center of the room. Interact with this door to head inside.
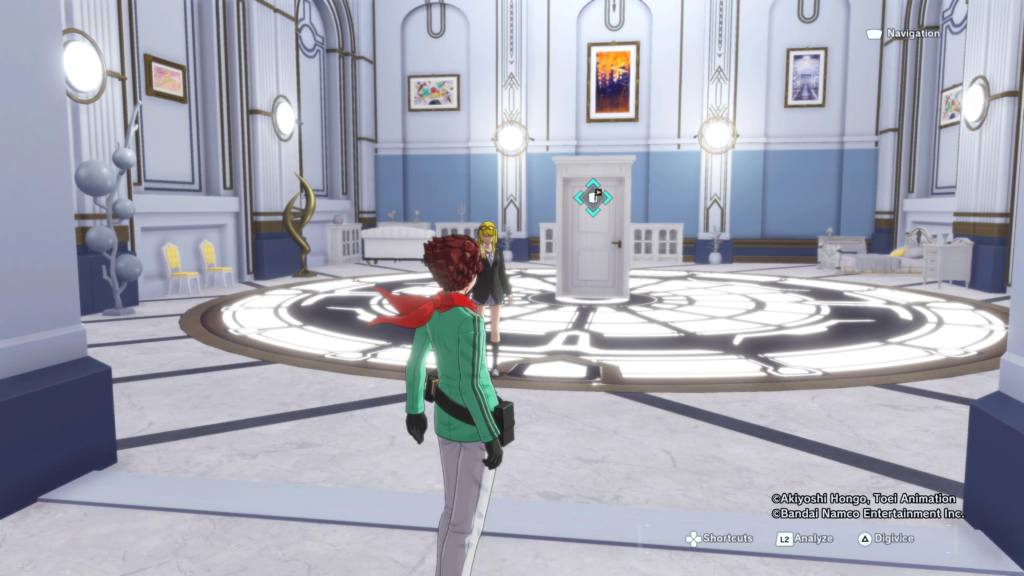
After the cutscene, you’ll find yourself in a battle against waves of Digimon!
- Goldramon – Level 65
- Vaccine / Holy Dragon / Mega
- Weak: Dark (2x damage), Null
- Resists: Earth
- No Damage: Light
- Megidramon – Level 65
- Virus / Evil Dragon / Mega
- Weak: Water, Ice
- Resists: Fire, Dark
- MirageGaogamon – Level 65
- Data / Beast Knight / Mega
- Weak: Plant, Electric
- Resists: Steel, Null
Find the exit
In this area, you can scan the following Digimon:
- Higashi-Shinjuku: Vision Square
- Gaogamon
- Chirinmon
- GeoGreymon
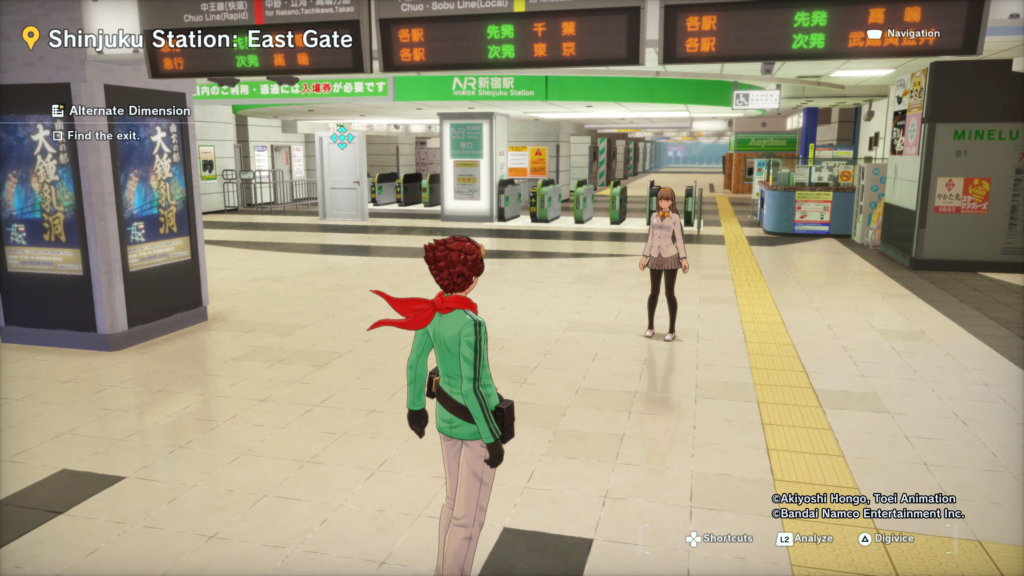
To find the exit, head toward the subway station with the green NR.
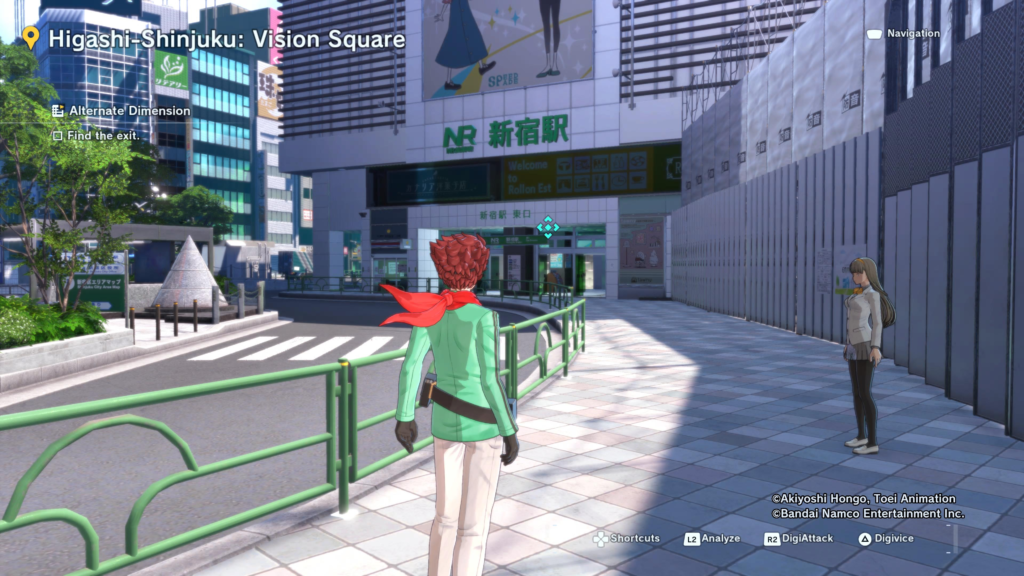
Once inside Shinjuku Station: East Gate, turn right and enter the white door.
Look for Parallelmon
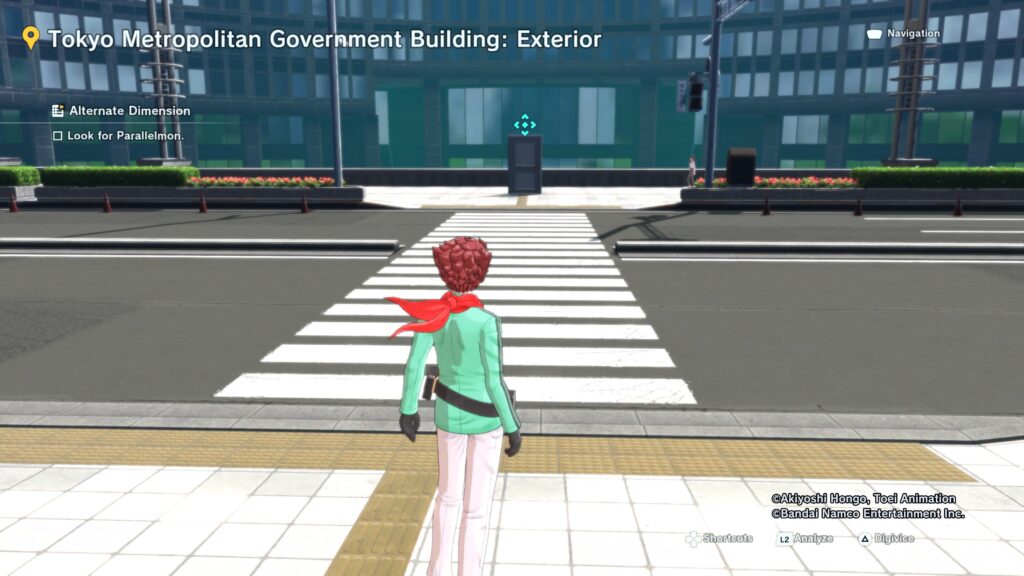
Now that you’re back in the Circular Hallway, turn right and follow the hallway to the next door to reach the room with the floating bubbles. Here, enter the door in the center of the room. This time you’ll find yourself in the Tokyo Metropolitan Government Building: Exterior. Cross the street and enter the door.
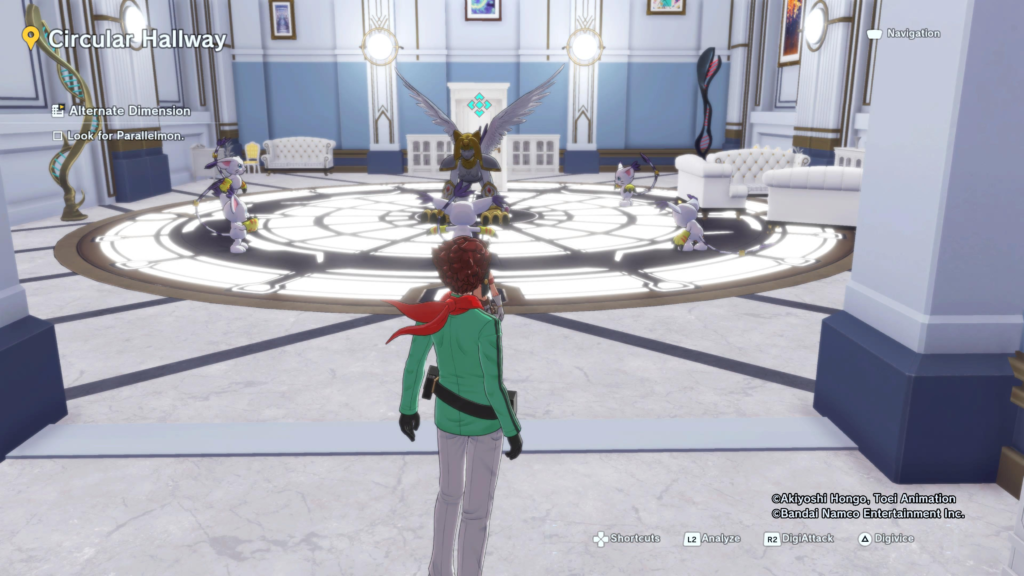
In the Circular Hallway, you’ll encounter CresGarurumon and BlitzGreymon again. After speaking with them, continue down the hall and enter the first room on the right. Inside, you’ll encounter several Gatomon surrounding a Nefertimon. Approach them to trigger a fight!
- Gatomon – Level 60
- Vaccine / Holy Beast / Champion
- Weak: Plant / Dark
- Resists: Wind, Light
- Nefertimon – Level 65
- Free / Holy Beast / Armor
- Weak: Water, Electric, Wind, Dark
- Resists: Fire, Earth, Steel, Light
After clearing out the Digimon, enter the white door. When the cutscene ends, enter the door on the northwestern side of the plaza. Once the cutscene ends, enter the door to the left of the desk to reach Shinjuku Underground Waterway: Lower Level. In this area, you’ll find the following Digimon:
- MegaGargomon
- Minotarumon
- Monochromon
- Paildramon
- WarGrowlmon
- Wingdramon
Proceed through this area to arrive in Rebellion Village. Once here, enter through the door on the island in the water. After a brief scene, you’ll find yourself in a fight against Lanamon.
- Lanamon – Level 65
- Variable / Pixie / Hybrid
- Weak: Fire, Electric (2x damage)
- Resists: Steel
- No Damage: Water
- Calmaramon – Level 65
- Variable / Aquatic / Hybrid
- Weak: Fire, Electric (2x damage)
- Resists: Steel
- No Damage: Water
With the battle out of the way, you’ll find yourself at the Higashi-Shinjuku: Koshu-Kaido Intersection. The next door that you’ll need to go through will be located in the corner in front of the premium coffee shop.
In this next area, Shinjuku Park: Waterfall Plaza, enter through the doorway located to the left of the fountain near a set of stairs. After reaching the Circular Hallway, follow the path and enter the first room on the right. Inside this room, you’ll be ambushed by Mistymon.
- Mistymon – Level 55
- Virus / Magic Warrior / Ultimate
- Weak: Electric, Earth
- Resists: Fire, Water
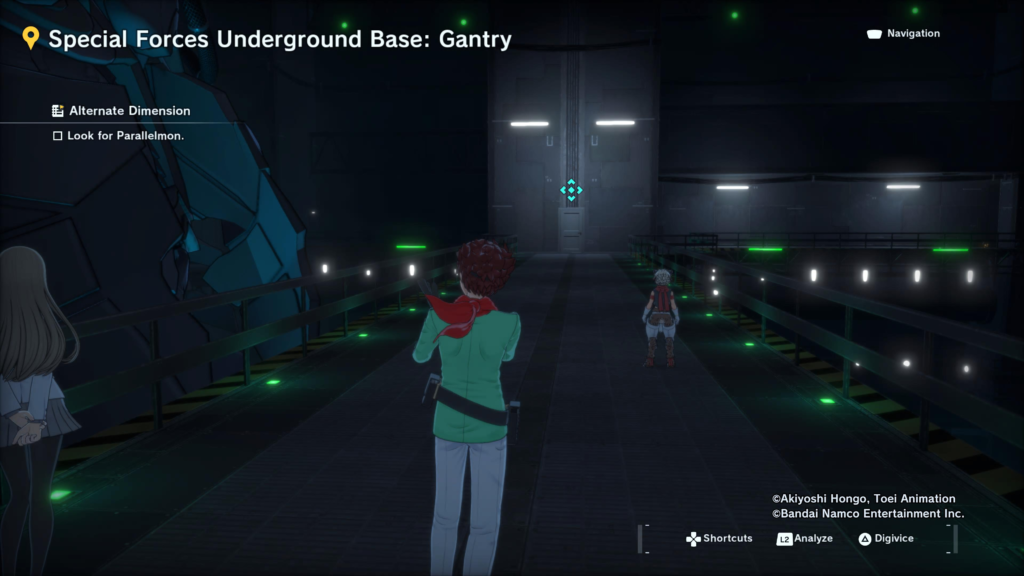
Defeat them then head through the doorway they were guarding to reach the Special Forces Underground Base: Gantry. Once there, follow the walkway to the end to reach yet another door.
Now, you’ll find yourself in the Tokyo Metropolitan Government Building Entrance. In this area, you can find the following Digimon:
- Chaosdramon
- GreatGrizzlymon
- MachGaogamon
- Crescemon
- Digitamamon
- Ravemon
- Cyberdramon
- Antylamon
Make your way through this area and take the elevator to reach Tokyo Metropolitan Government Building: 36F North Tower. Here you’ll find the following Digimon:
- AvengeKidmon
- MagnaKidmon
- GreatGrizzlymon
- MachGaogamon
- Crescemon
- Cyberdramon
- Antylamon
- Digitamamon
- Ravemon
The next door you’ll take can be found by a broken section of wall towards the end of the path. Once you enter through the door, you’ll witness another cutscene.
After it ends, you’ll find yourself at the Wall of Hope. Head straight to find the door that will take you back to the Circular Hallway, where you’ll find Kodai battling Omnimon Zwart Defeat.
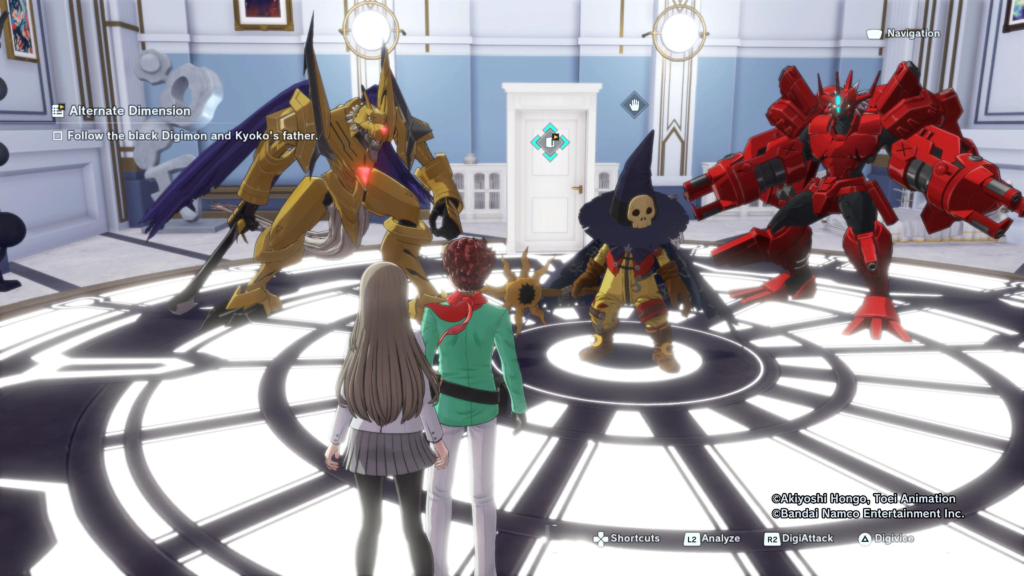
Follow the black Digimon and Kyoko’s father
Exit through the white door for another flashback with Dr. Simmons and Kodai. When it concludes, follow the Circular Hallway. This time it will have enemies!
- Wizardmon
- Sorcermon
When you enter the room on the right, you’ll encounter a Digimon. Since it’s not hostile, enter the doorway behind it!
This time, you’ll witness some more flashbacks featuring Kodai. At its conclusion, the Circular Hallway will make its appearance yet again. This time, you’ll need to interact with a closed white door.
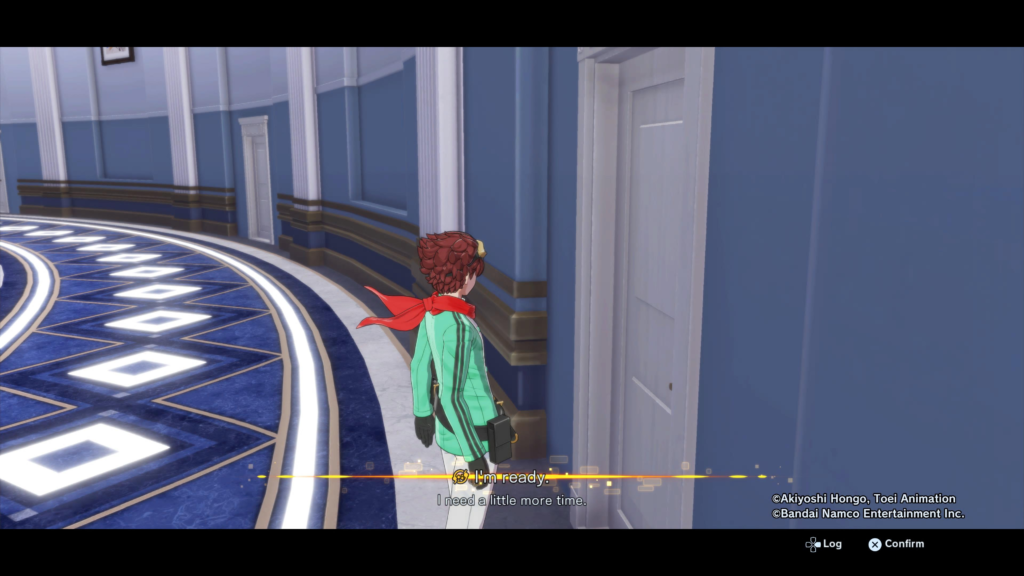
Once you’re ready, proceed through it to find Kodai and the black Digimon. Following the cutscene, you’ll find yourself in a battle against it!
- Omnimon Zwart Defeat – Level 65
- Virus / Holy Knight / Mega +
- Weak: Light, Null
- Resists: Steel, Dark
Upon Omnimon Zwart Defeat’s defeat, it’ll transform into Omnimon Altered-B. Matching Kodai’s spirit, your companions will transform as well!
- Omnimon Alter-B – Level 65
- Virus / Holy Knight / Mega +
- Weak: Earth, Light
- Resists: Null
- No Damage: Dark
Defeat Parallelmon
Before leaving, speak with Kyoko to receive Kyoko’s Goggles (Spare). Once you’re ready to take on Parallelmon, head through the door!
- Parallelmon – Level 70
- Virus / Mutant / Mega
- Weak: Light
- Resists: Null
- Kuzuhamon – Level 70
- Data / Deity / Mega
- Weak: Dark
- Resists: Wind, Light
- Gaiomon – Level 70
- Virus / Dragon Man / Mega
- Weak: Light, Null
- Resists: Fire, Steel
During this fight, the Digimon he summons will focus on debuffing your Digimon and buffing themselves. After you defeat Parallelmon, the quest will complete!
Related Digimon Story Time Stranger Content
- Complete Digimon Guide: Explore our Digimon Story Time Stranger Digimon Field Guide to view every Digimon, their stats, skills, digivolutions, and more!
- Personality Type Guide: View our Digimon Time Stranger Digimon Personality Guide to learn more about Digimon Personality Types!
- Main Page: Visit our Digimon Story Time Stranger Guides and Walkthroughs hub for all our latest content!
- Official Website: Check out the official Digimon Story Time Stranger website for news and updates!