In The Outer Worlds 2, the A Cause Worth Killing For main mission sends you to infiltrate Horizon Point. Choose the stealth route to disable the facility’s defenses, or go in head-first and cut the communications — either way, you’ll race to a rendezvous with de Vries, where a shocking turn of events will play out.
Quick Links
A Cause Worth Killing For Walkthrough
Your team is en route to Horizon Point, a research station in the isolated system of Arcadia. The Chief of Special Earth Directorate Operations has tasked you with the recovery of intelligence explaining the link between dangerous rifts in space and the skip drivers necessary for interstellar travel.
Infiltrate Horizon Point
Contact de Vries for a mission briefing
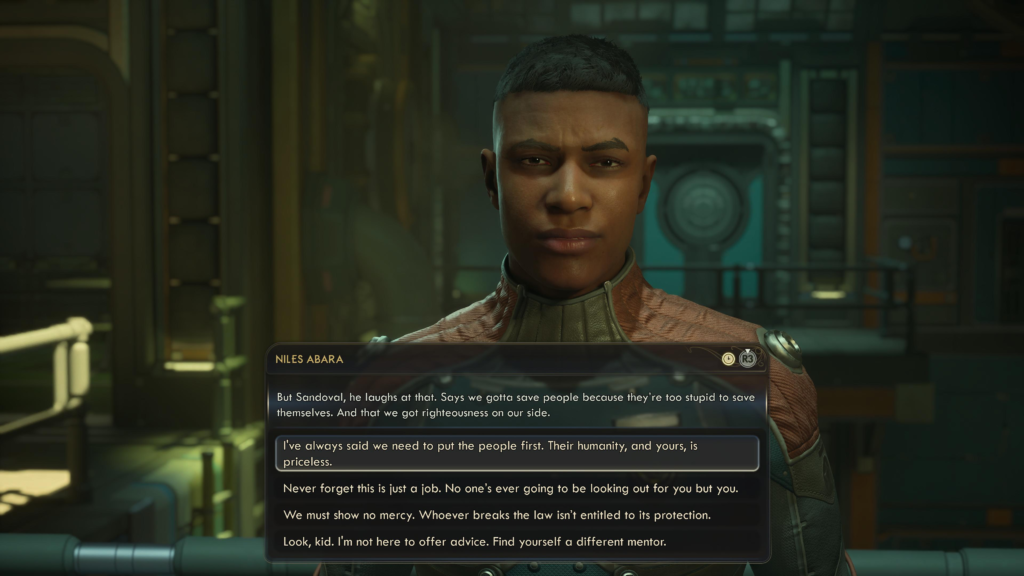
When you gain control of your character, you’ll find yourself on the bridge of the Incognito. Turn around and open the door behind you to be greeted by Niles Abara. Speak with him to get the rundown on the Tacticle Time Dilation Device.
After handing the device over, he’ll ask for your advice on how to be a better agent, saying the other agents have given him numerous ways to improve. You’ll be presented with four options from each of the agents, with the bottom option being that you won’t offer advice. No matter your choice, he will remember it later.
Obtain your command credentials from your cabin
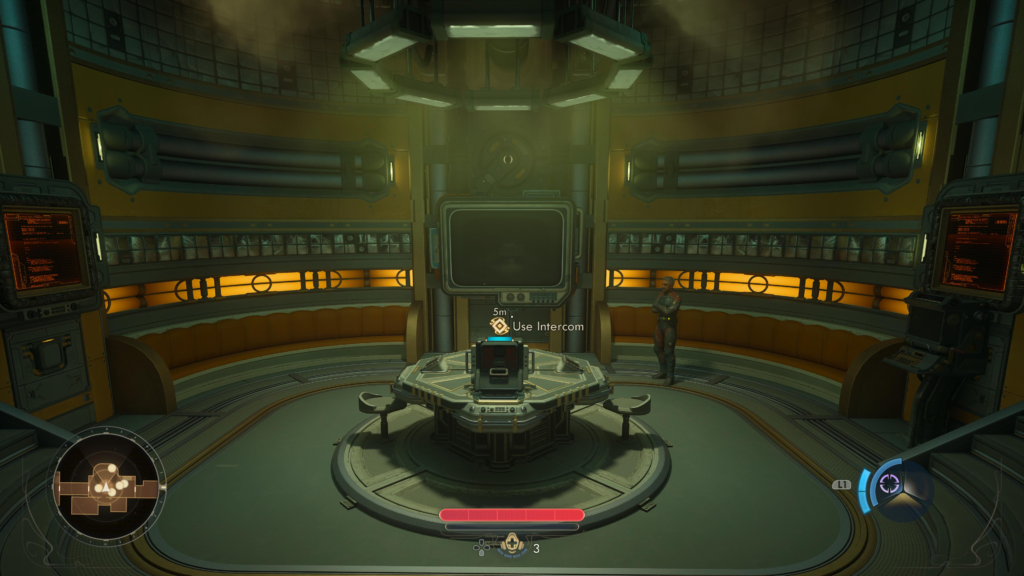
After your conversation, follow him downstairs and approach the console.
You’ll then need to acquire your command credentials from your cabin. To reach your cabin, head back up the stairs and pass the bridge. To unjam the door, you’ll need certain traits:
- Brawny
- Engineering 1
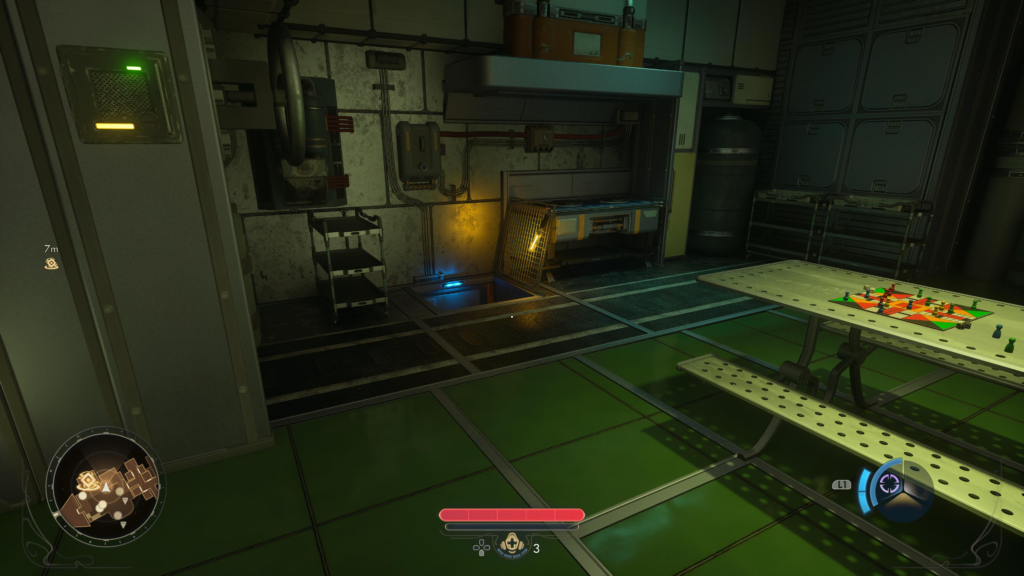
If you don’t have either, continue heading right down the hallway and enter the breakroom. Inside, look to the left to spot an open vent next to an oven. Use this to reach your cabin.
Once inside your cabin, pick up your credentials and agent helmet from the table. If you’re feeling nosy, interact with the terminal in your room to acquire some additional information!
With your credentials in hand, return to the console and interact with it to contact Agent Augustine de Vries for a mission briefing.
Travel to Horizon Point Station
Before heading to the cockpit, now would be a great time to explore the ship! There are some lockers in the room behind the console that you can loot!
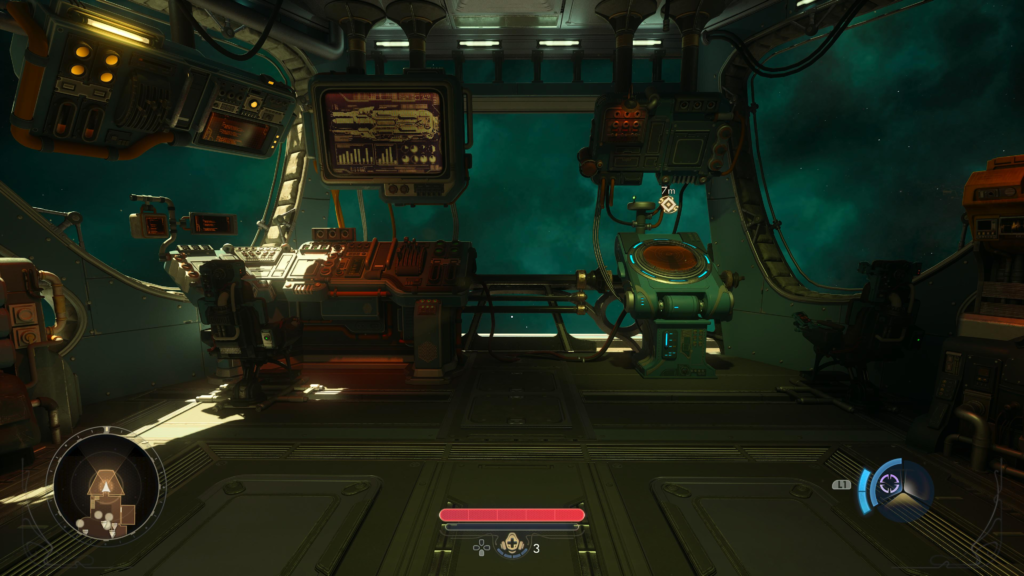
When you are ready, travel to the cockpit and use the Astrogator to travel to your next destination.
Repower the landing pad
Once the ship lands, you’ll need to repower the landing pad to unlock access into the sector. To do this, exit the ship and head north down the landing strip until you reach the gate. Enter the building on the left and head up the stairs.
At the top, interact with the dead Protectorate Tropper to loot the Mechanist Badge. Also, make sure to take the Power Fuse from his hand. Place this Power Fuse into the receptacle next to him to restore power to Horizon Point Station.
Deal with the security automechanicals
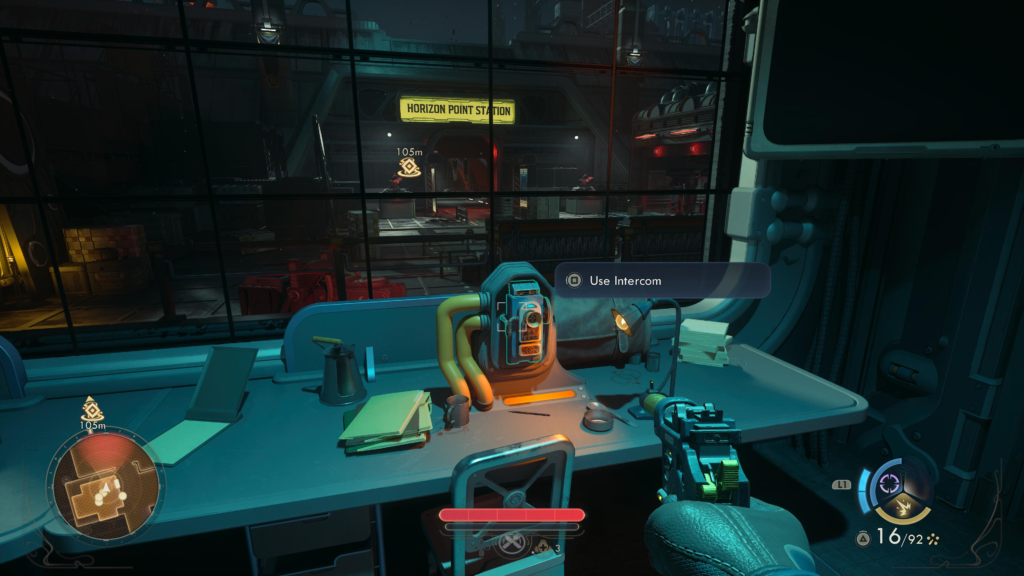
When you restore the power, head back down the stairs, and Helen Pascal will speak with you. Since you grabbed the above badge, select that dialogue option when prompted! You’ll then talk with Cadet 4th Class Corbin through the intercom, whom you’ll convince to shut down the security automechanicals.
Alternatively, if you select the lockpick option (requires the Lockpick 1 skill), you’ll receive a Mag-pick, which you can use to unlock the nearby vent in the breakroom. This vent gives you access to the area with the security automechanicals, allowing you to sneak up on them.
Once the mechanicals have been taken care of, you are officially ready to infiltrate Horizon Point Station!
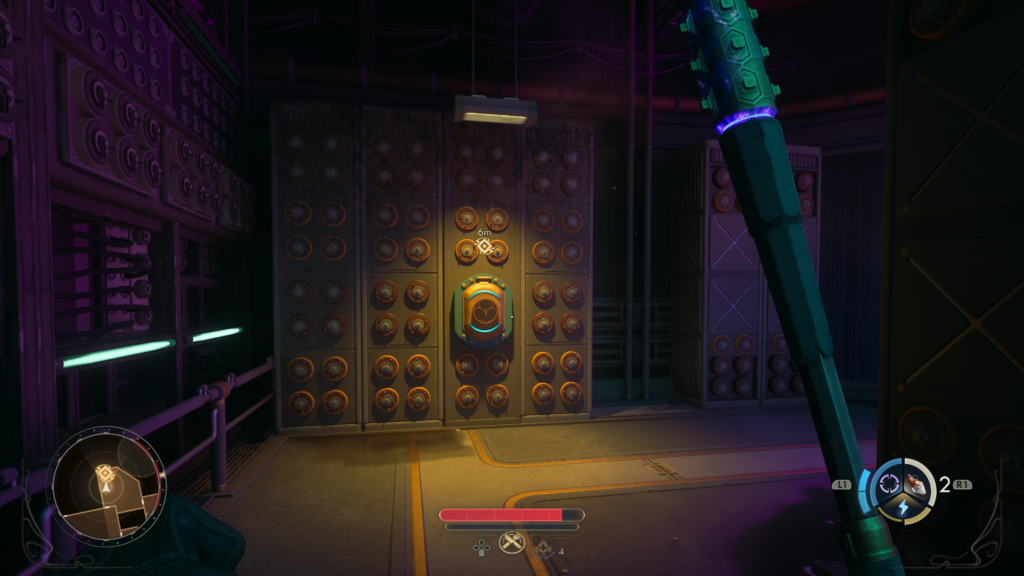
Disable Defenses or Communications

As you enter the station through the doors, Agent de Vries will contact you about modifying the plans. You’ll then be presented with one of the following:
- Security Ops: Sneaky route
- Central Dispatch: Face guards head-on
Security Ops Route
If you choose the security ops route, take the left path. At the end of the walkway, enter the building to find the information that Agent de Vries left for you, including the Horizon Point: Security Map and Horizon Point: Security Ops Maintenance Key. Afterwards, exit the building, then head south through the scaffolding.
At the end, take a right and enter the vent using the Horizon Point: Maintenance Key that de Vries provided.
Continue through the vent until you receive a tutorial on Awareness and Stealth just before emerging into the large room. Take out the drone, then enter the vents again. On the other side, de Vries will reach out again. Head west down the hallway and enter the room at the end.
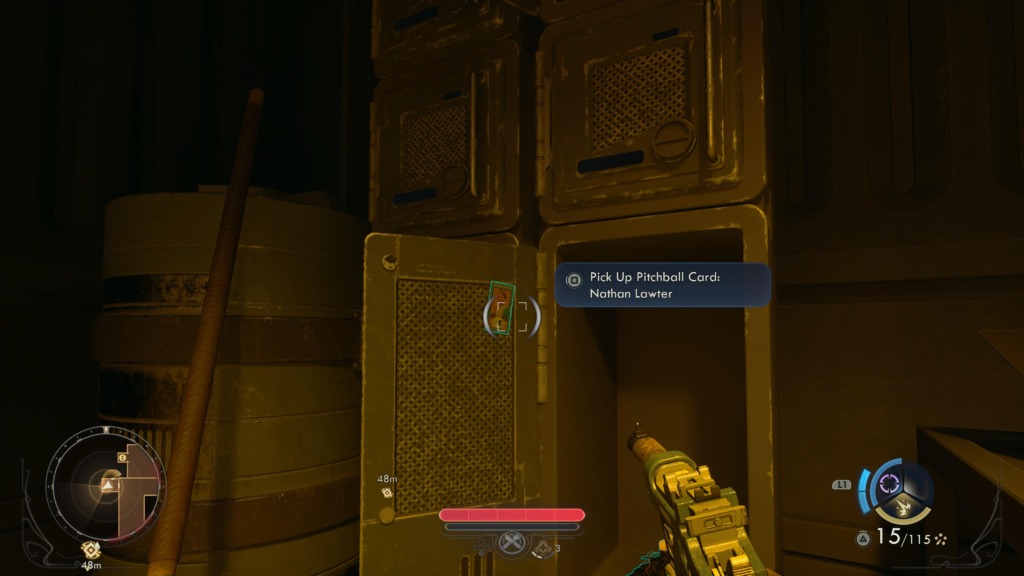
Pitchball Card: Pick up the Nathan Lawter Pitchball Card from the door of an open locker in this room to get the A Journey of a Thousand Miles trophy.
On the north side of this room, open the vent and grab the knife off the corpse! Exit the room and take a right heading south, sneak up behind the guy to the left of the stairs and take him out. On the cart next to him, interact with the device if you wish to read the Security Instruction Manual, Part 1.
Next, take the stairs up. At the top of the second flight of stairs, climb up the scaffolding on the right and enter the vent to enter a large room.
Take out the two enemies, then feel free to explore the room, looting everything. If you have the following, you can decrypt the Pumping Station Access Keycard and eject it from the terminal in the room:
- Hack 1
- Bypass Shunt 1
From the terminal, exit the room on the left and head through the hallway. On the next left, you’ll find an enemy cleaning a bathroom stall. Take him out then read the Security Instruction Manual, Part 2 on the shelf. Exit the bathroom and continue west down the hallway.
In the room straight ahead, you’ll find another terminal with information and an Automechanical Repair Station. If you have one of the following, you can retrieve the targeting module from the mech:
- Engineering 1
- Innovative
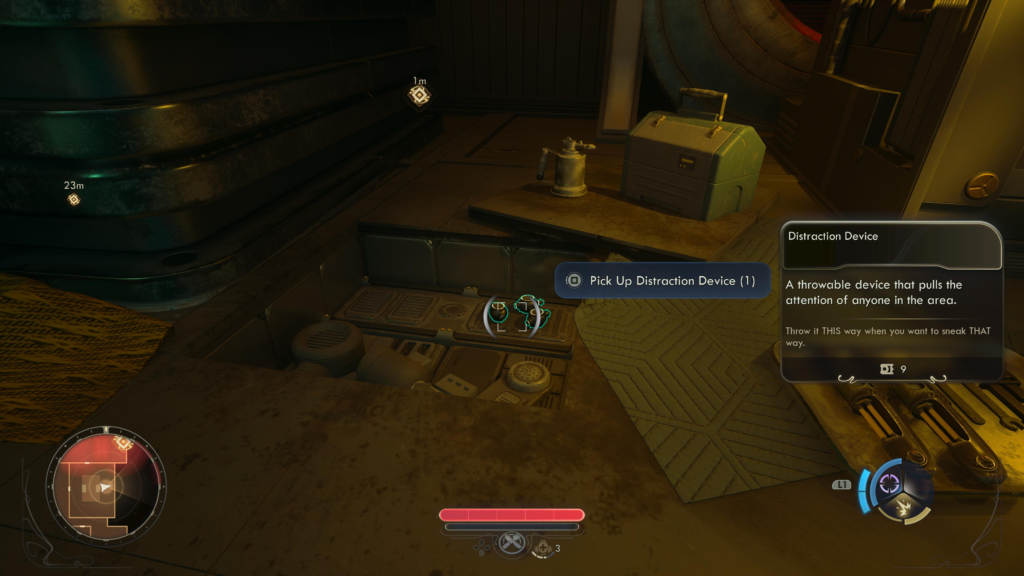
Exit the room and follow the hallway, taking the next doorway on the right. De Vries will give you another update upon entering the room. On the east side of the room, pick up the Distraction Devices from the missing panel on the floor. You’ll then receive a tutorial on how to use them!
Next to the Distraction Devices, climb up to reach the vent. In the rafters above the next room, you’ll find two enemies. Take them out, starting with the guy walking around. Once eliminated, explore the room, then interact with the Horizon Point Security Operations Monitoring console to disable automatic deployment.
Head to the west side of the room to find an elevator that takes you to the ground floor and the outdoor area. Head northwest towards the building to see an explosion.
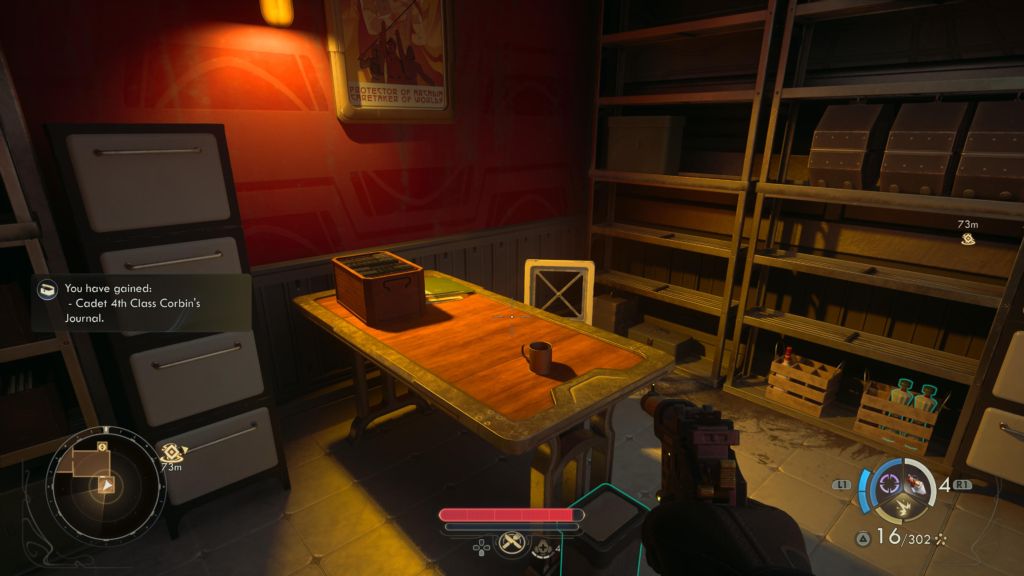
Before heading to investigate the explosion, take a right and enter the building. At the back of the room on the right, there will be a door leading to a storage room. In that room, pick up Cadet 4th Class Corbin’s Journal.
Central Dispatch
If you choose the Central Dispatch route, take the right path. Eliminate the two guards patrolling this area. There is a mechanical worker in this area, but he will not attack you, so ignore him! When you are ready, enter the building to find two human enemies and a drone. Eliminate the drone and the human enemy who is not throwing the grenades first.
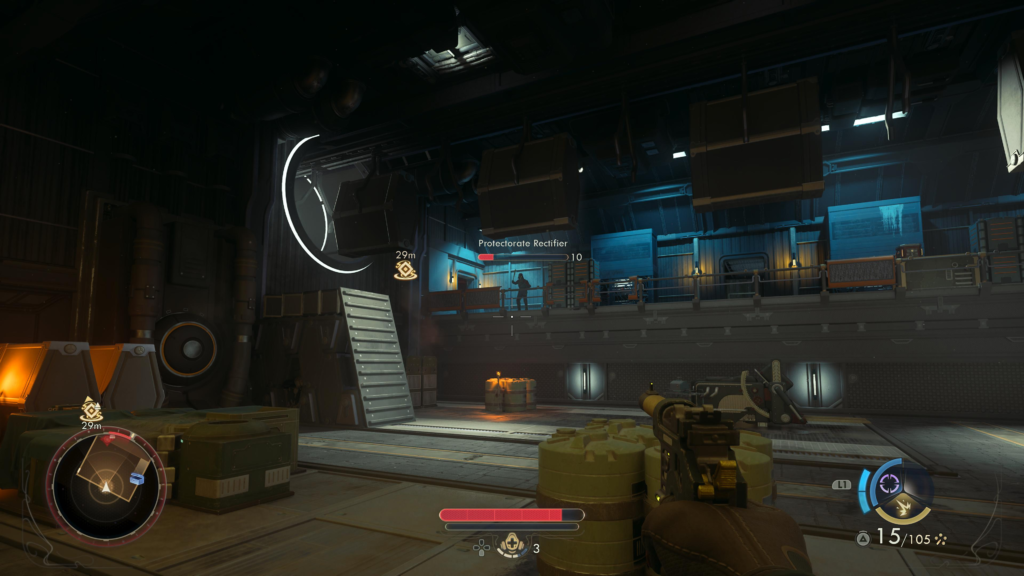
Waylaid Grenades Trophy: This is a great opportunity to farm for this trophy! Shoot the grenades in the air that the Protectorate Rectifier enemy on the second level is throwing down at you until you have shot three.
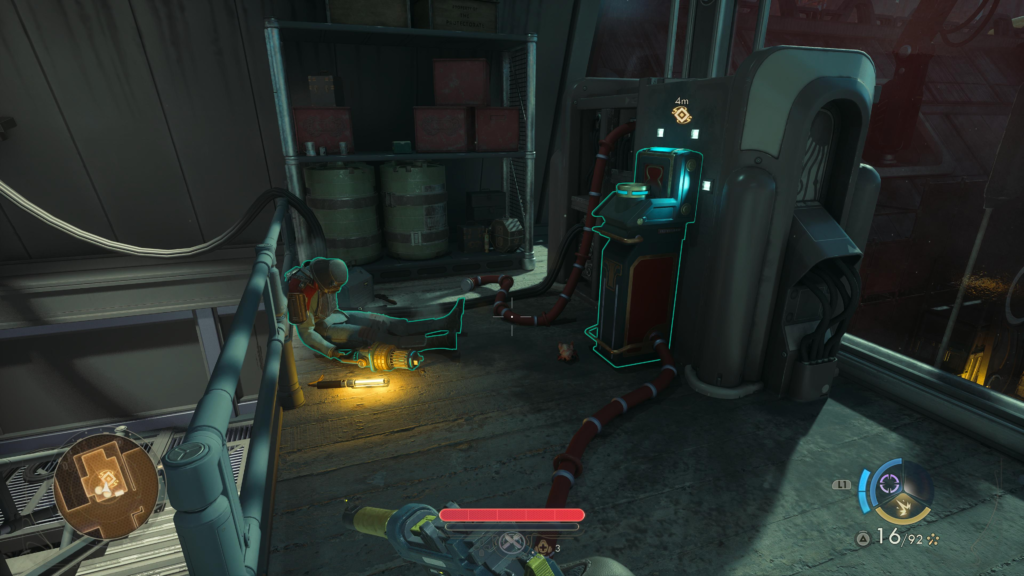
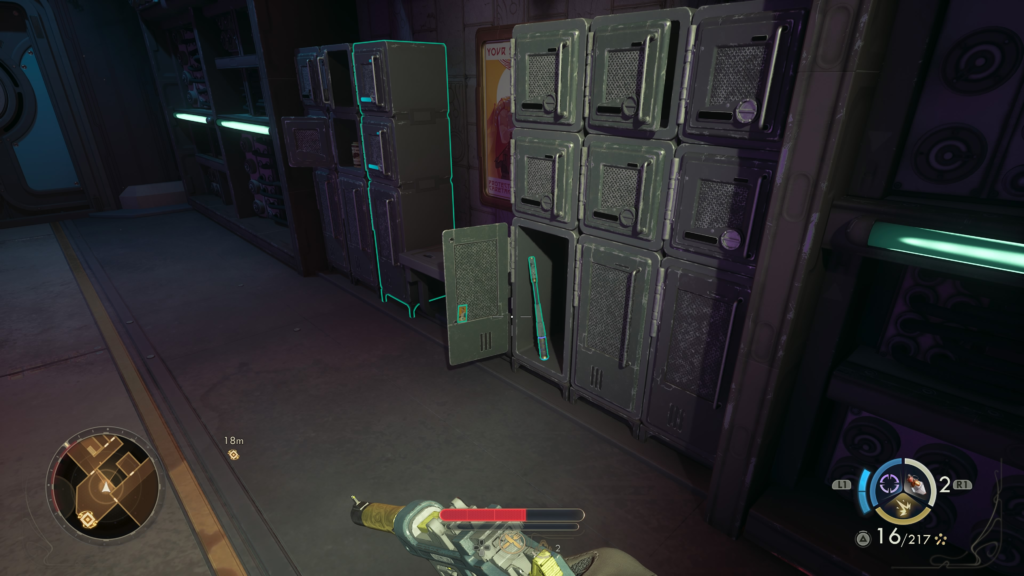
After eliminating all the enemies, explore the area to find ammo, then head through the doorway on the northern side of the hallway to receive some communication from De Vries. From the lockers, grab the Transformer Manual she left behind, a Stun Baton, and Nathan Lawter Pitchball Card.
Pitchball Card: Pick up the Nathan Lawter Pitchball Card from the door of an open locker with the Stun Baton in this room to get the A Journey of a Thousand Miles trophy.
You’ll then need to disable the transformer’s failsafe by interacting with the transformer on the wall in the same room.
Return to the northeastern side of the room and head through the newly unlocked door. Fight the two enemies, then proceed north. If you have the Lockpick skill and one mag-pick, you can open the door containing a bunch of supplies! If not, continue following the linear path, eliminating enemies as you come across them.
In the office next to the Communication Tower Controls on the second level, you can use the Hack 1 skill and a Bypass Shunt 1 to get some bits from the terminal.
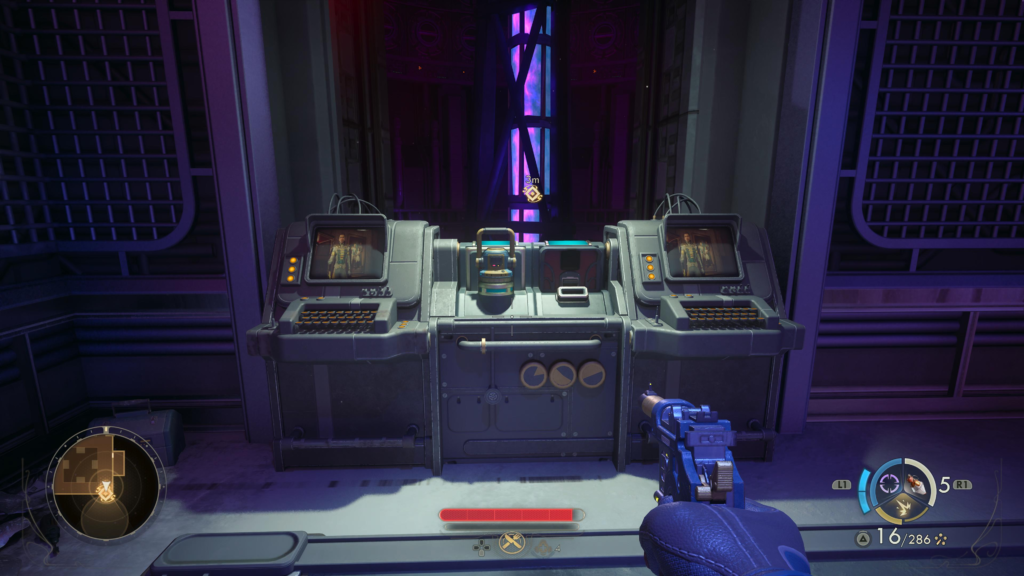
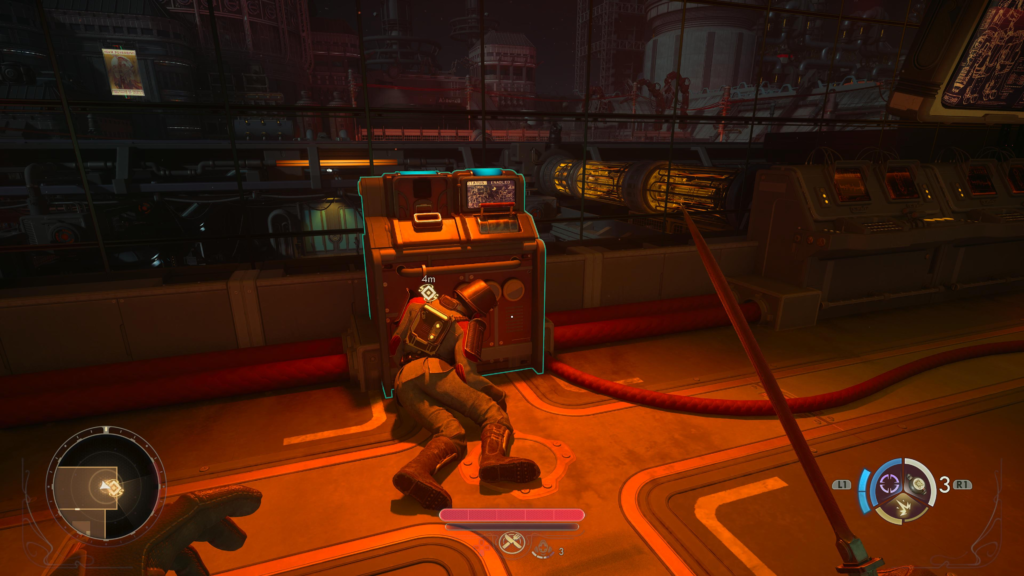
When you are ready, remove the power core from the Communication Tower Controls.
Alternatively, if you have one of the following skills, you can unlock the media port:
- Hack 1
- Innovative
If you choose to unlock the media port and insert propaganda, de Vries will not be happy, saying that is not how you keep a low profile!
After disabling the comms, take out the enemy that will come through the doorway, then head through it to reach an elevator that will take you to the ground level.
Cadet 4th Class Corbin’s Journal: At the bottom of the elevator, head straight ahead and loot the journal, as this information will be helpful later.
Exit to the west side to reach an outdoor area where you’ll see an explosion.
Rendezvous with de Vries at the Skip Labs
After the explosion, head through the burning building and you’ll encounter VALERIE, a robot. After speaking with her, you’ll receive a Repeating Rifle.
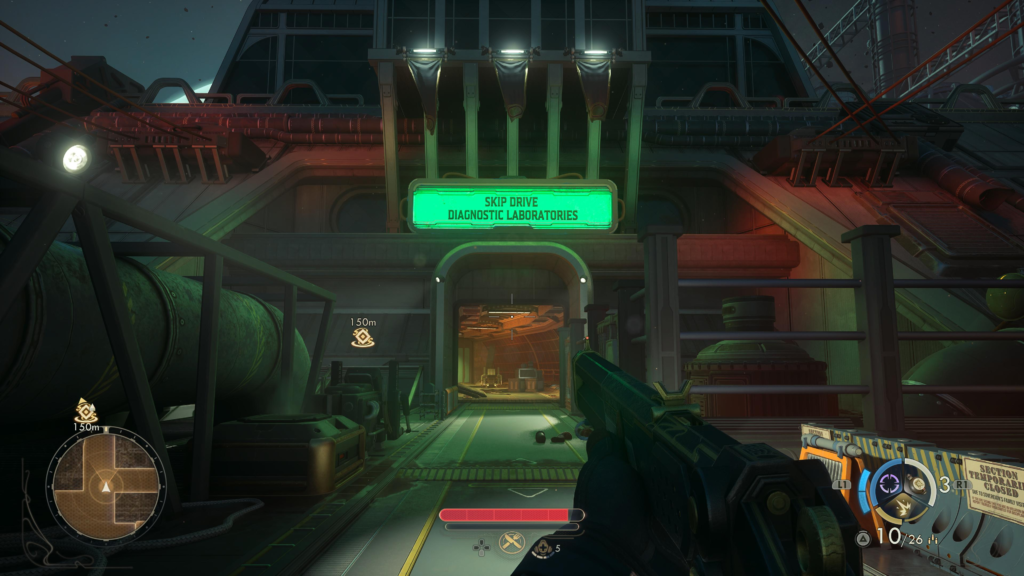
Next, proceed through the doorway labeled “Skip Drive Diagnostic Laboratories” and follow the linear path, eliminating enemies as you come across them.
Reach Skip Labs
You’ll find Cadet 4th Class Corbin in a glass room just before the bridge. Speaking with him will go one of two ways.
If you had him disable the automechanicals when you first landed, then he will recognize your voice and refuse to help. If you have the Rustabout background, didn’t call him, and found his journal in the communications tower, you can use the Rustabout background option to persuade him to lower the gate without any enemies. If you cannot persuade him, he will lower the bridge and enemies will attack you! If you previously went the Security Ops route, the enemies will be humans. If you went the Central Dispatch route, they will be mechanicals!
Alternatively, you can enter the Pumping Station using the Pumping Station Keycard or Lockpick 1 and a Mag-Pick. Additionally, you can enter Cadet 4th Class Corbin’s room, kill him, and lower the bridge yourself or loot the Pumping Station Keycard from him. We do not recommend this option, as Corbin plays a role later on in the game if he is still alive.
If you choose to head through the Pumping Station, you can use the vents to sneak past enemies and enable the turrets via the panels inside the vents to take them out!
Follow the path through the Pumping Station or bridge to reach Augustine de Vries in Skip Labs. After you speak with her through the glass, use the nearby lift.
Get to de Vries
After you exit the lift, you’ll enter the Skip Drive Theoretical Center. Follow the path through the area until you reach the doorway where three enemies will come out. Take them out then head through the doorway.
If you were able to persuade Corbin to lower the bridge without enemies, you’ll be able to complete an optional quest here! From the above door, take a left and enter the small room with a terminal in the back. Interact with this terminal and delete all of Cadet Corbin’s demerits for The Cadet’s Degrading Dilemma quest.
When you are ready to proceed, follow the hallway to reach a large room with enemies inside.
Eliminate them then enter the small room on the southeastern side of the large room and pull the lever to open the door, which will allow you to reach de Vries, who will not be happy to see you.
After the turn of events, the A Cause Worth Killing For main mission will complete and Recalling the Score will begin!
Related The Outer Worlds 2 Content
Looking for more The Outer Worlds 2 content? Use the links below to keep exploring our guides:
- Next Guide: Continue with Recalling the Score for the next main quest walkthrough!
- Main Page: Visit our The Outer Worlds 2 Guides and Walkthroughs hub for all our latest content!
- Official Website: Check out the official The Outer Worlds 2 website for news and updates!