In Borderlands 4, the A Call for Help side mission begins when you meet Restless Arwa near the vending machines at Belton’s Bore in The Low Leys during the His Vile Sanctum main mission. She needs your assistance with tracking down a missing person. This guide covers how to start the quest, where to track the missing person, and tips to complete it efficiently.
Quick Links
A Call for Help Walkthrough
How to Start the A Call for Help Quest
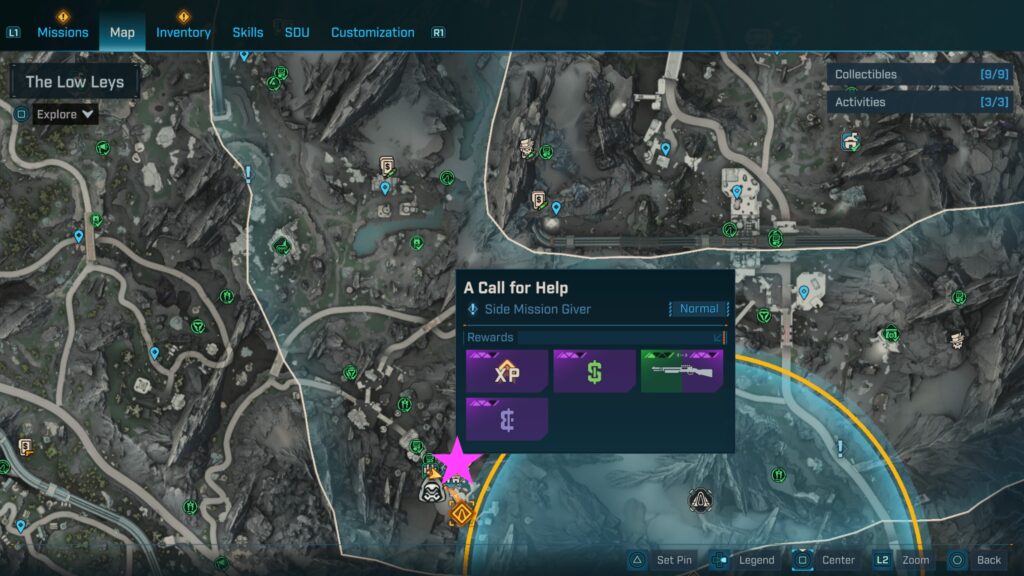
To begin the A Call for Help side mission in Borderlands 4, speak with Restless Arwa near the vending machines at Belton’s Bore in The Low Leys during the His Vile Sanctum main mission. She’ll need your help tracking down someone who didn’t return from a late-night supply run. You might have to first complete the Meat is Murder side mission first, as the Grin Reaper makes another appearance in this quest!
How to Complete the A Call for Help Quest
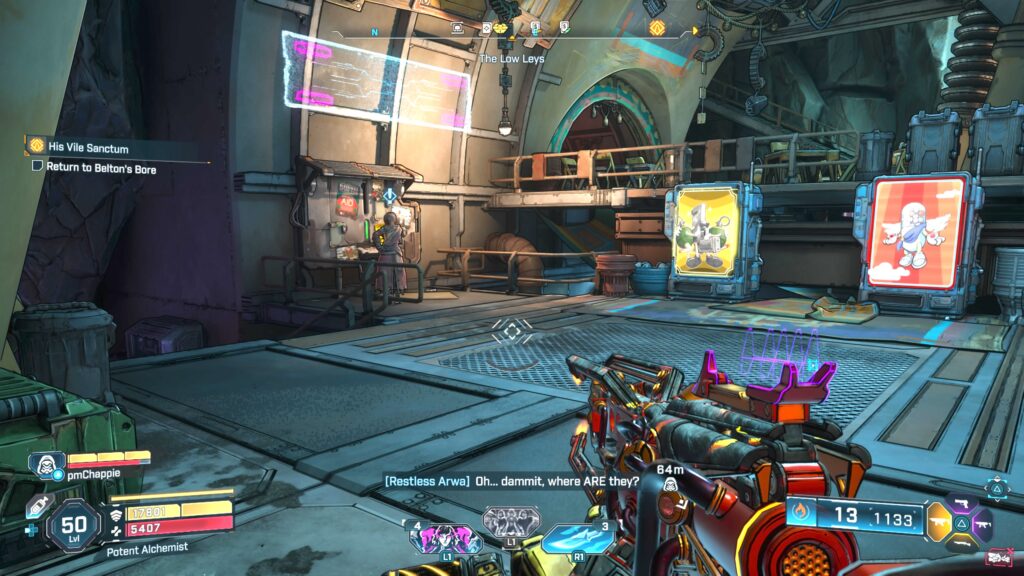
Scan Arwa’s transponder
Follow Arwa across the walkway then interact with the transponder on the counter.
Find Quiet Limos
Next, exit Belton’s Bore and take an immediate right to find a grapple point.
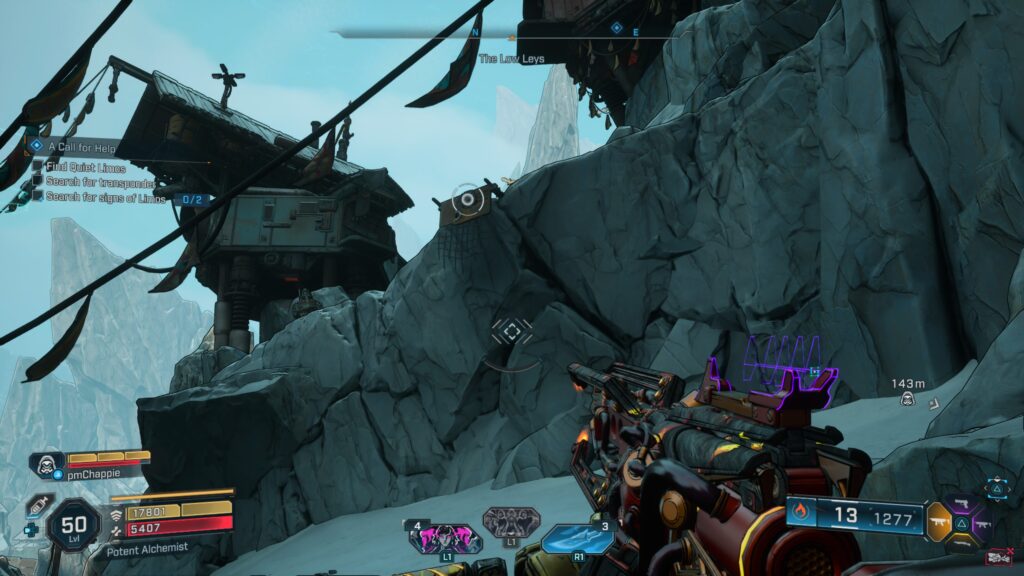
At the top, head past the auger shrine and enter the cave.
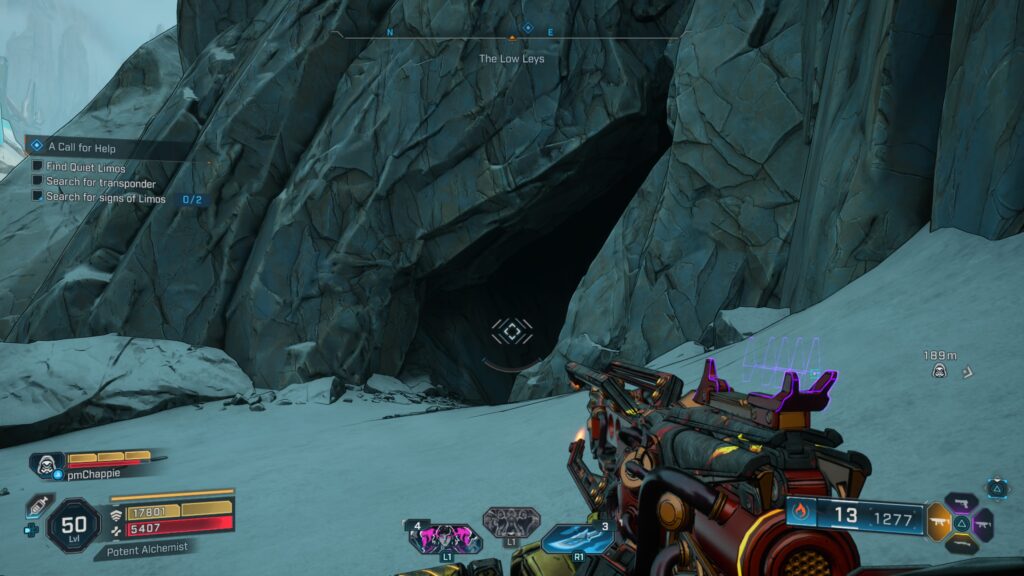
Once in the cave, eliminate the manglers and inspect the corpses. Next, examine the bloody footprints and an empty ammo box.
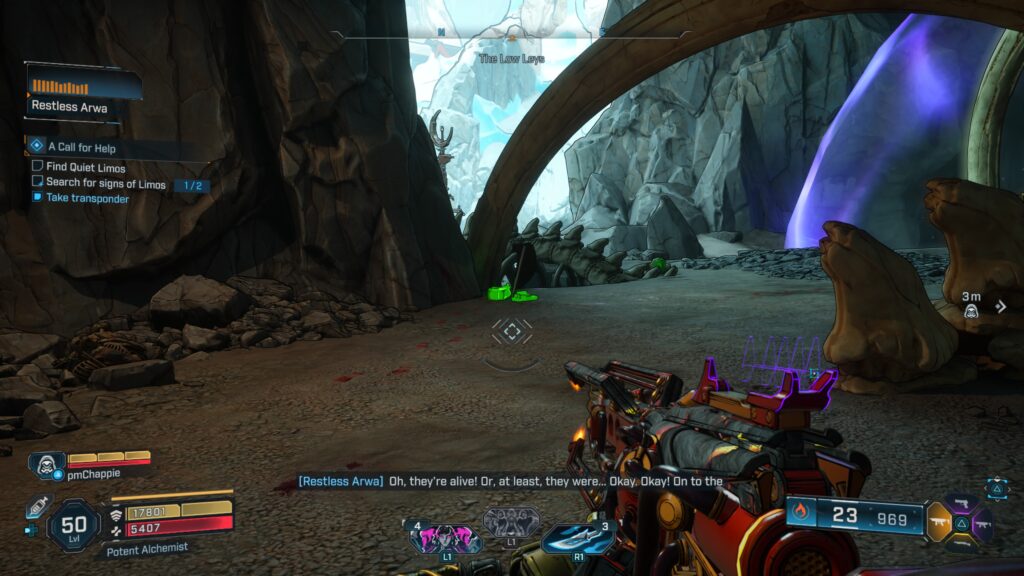
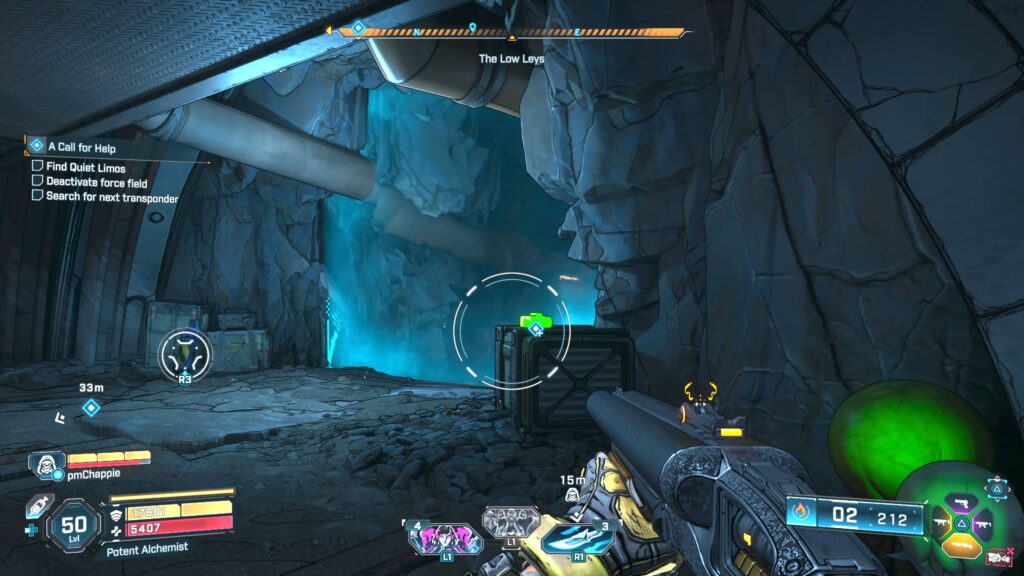
Afterward, head a bit deeper into the cave to find a Badass Mangler. Take it out then loot the transponder that drops.
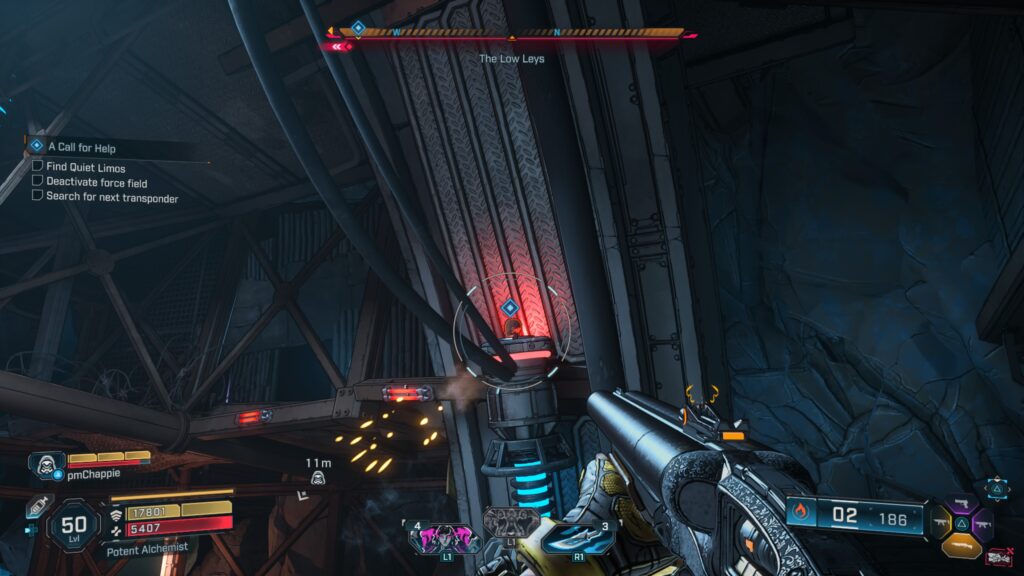
To search for the next transponder, head to Checkpoint Taupe, which is to the northwest. When you arrive, take out the enemies outside then head to the right side of the building to find a gapple point.
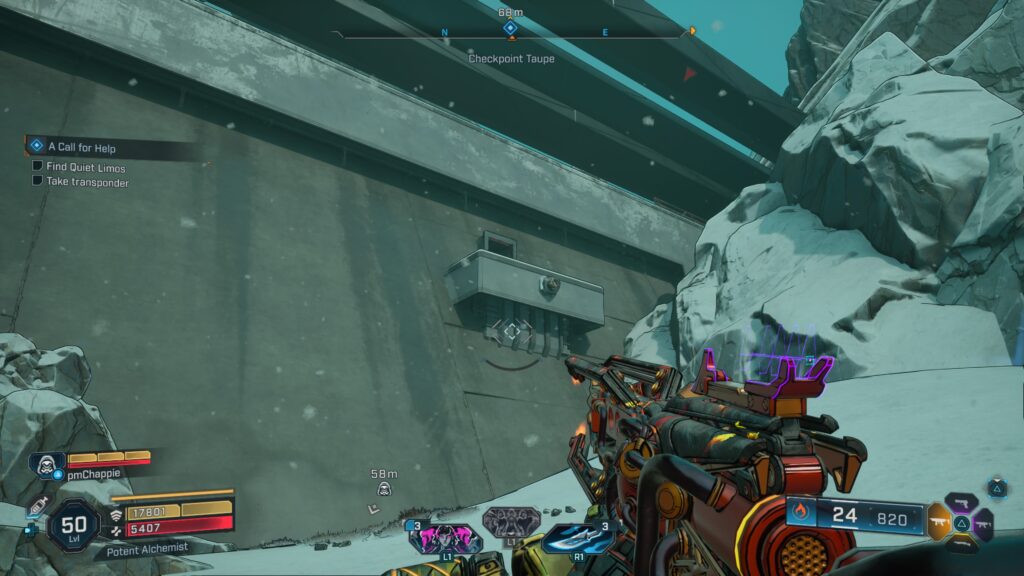
Use it to reach a vent then hug the right side of the vent to find the transponder.
For the next transponder, you’ll need to head northwest to the Shadowed Reverie. Once you arrive, take out the enemies then hack the door.
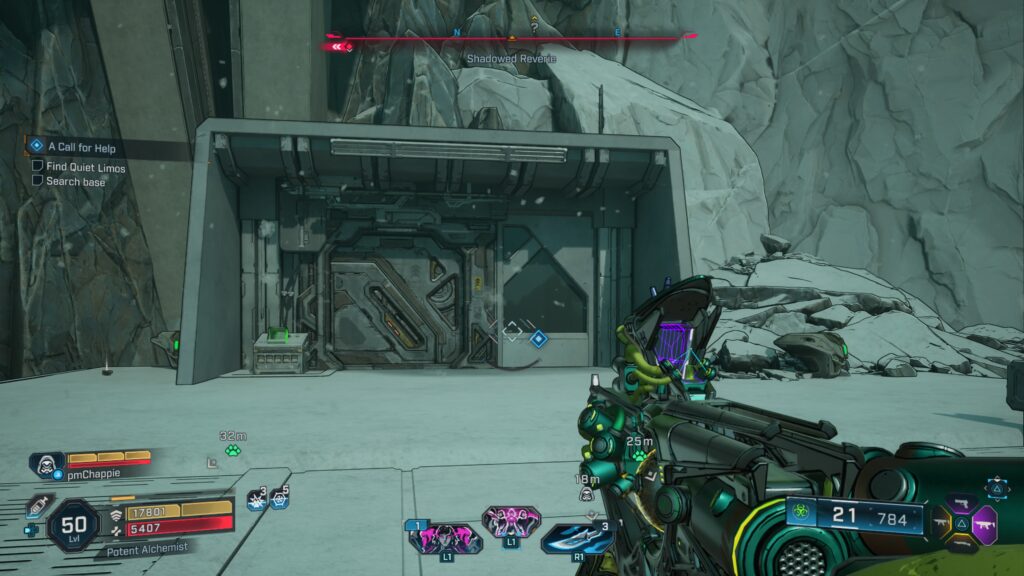
While hacking, you’ll need to defend ECHO from all the enemies that will spawn. When the door finally opens, head inside and retrieve the transponder.
Afterward, travel just southwest to find an ice cave.
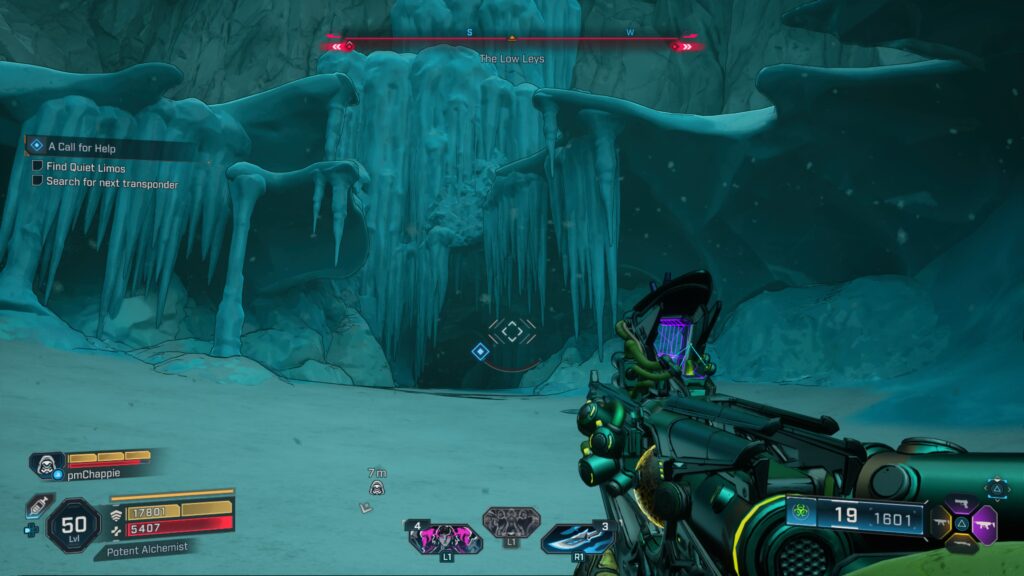
When you arrive, head inside and make your to the blue barrier.
Press the button next to the barrier then slam down onto the two pressure points. Afterward, shoot the two heads.
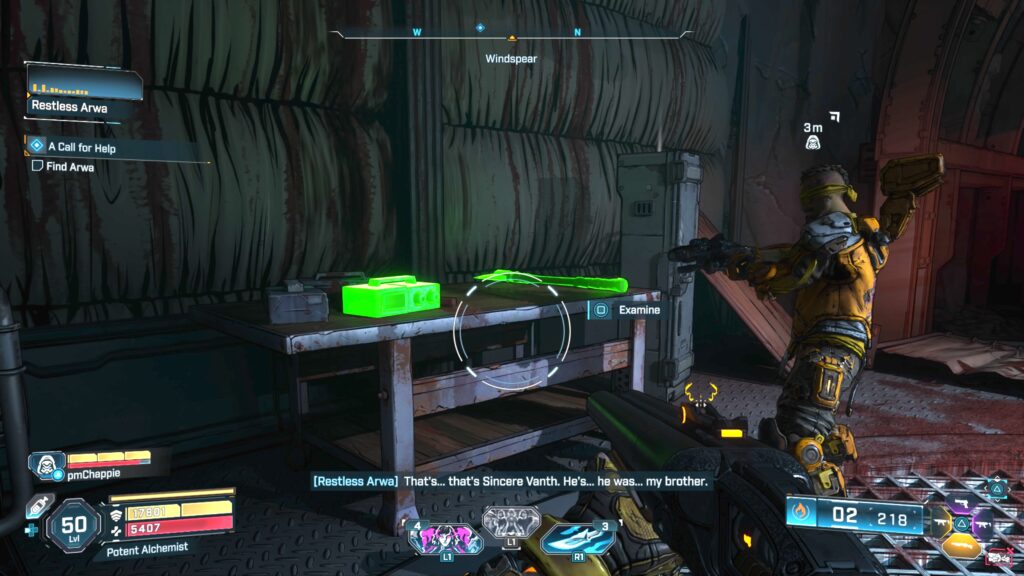
With the barrier down, progress through the cave. At the end, grab the transponder next to the gurney. Afterward, examine the two items on the table, then the effigy.
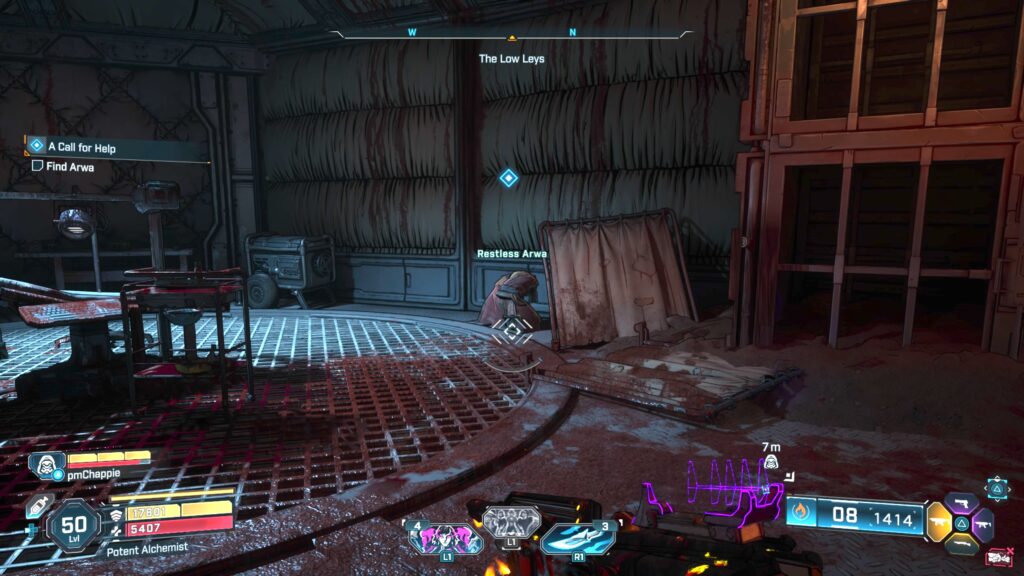
Find Arwa
To find Arwa, exit the cave and head northwest to the objective. When you arrive, enter the cave and head to the room with all the cages. Once there, slam down onto the platform then shoot a head. Next, slam down on the second platform and shoot the second head to disable the force field. With the barrier disabled, head inside and approach Arwa.
Identify killer
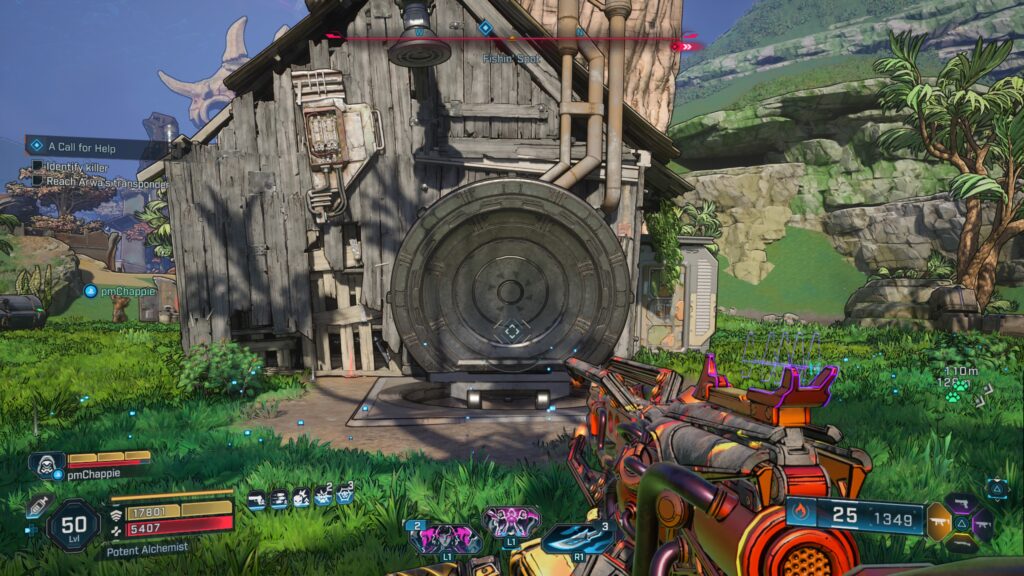
To reach Arwa’s transponder, you’ll need to travel all the way to the Fishin’ Spot in the Coastal Bonescape. When you arrive, jump into the hole against the building.
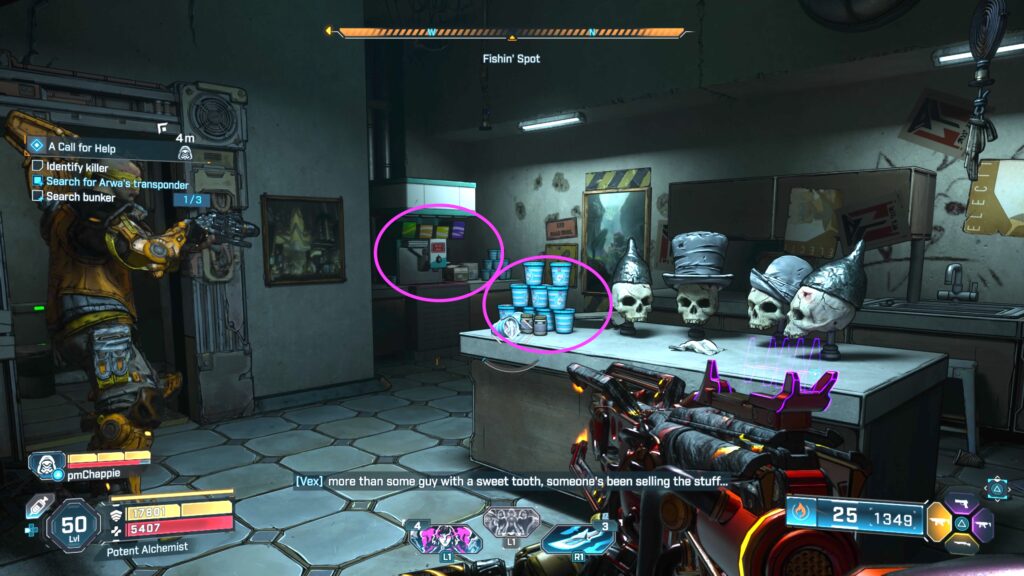
Once in the bunker, grab the transponder then interact with the cups, machine, and projector.
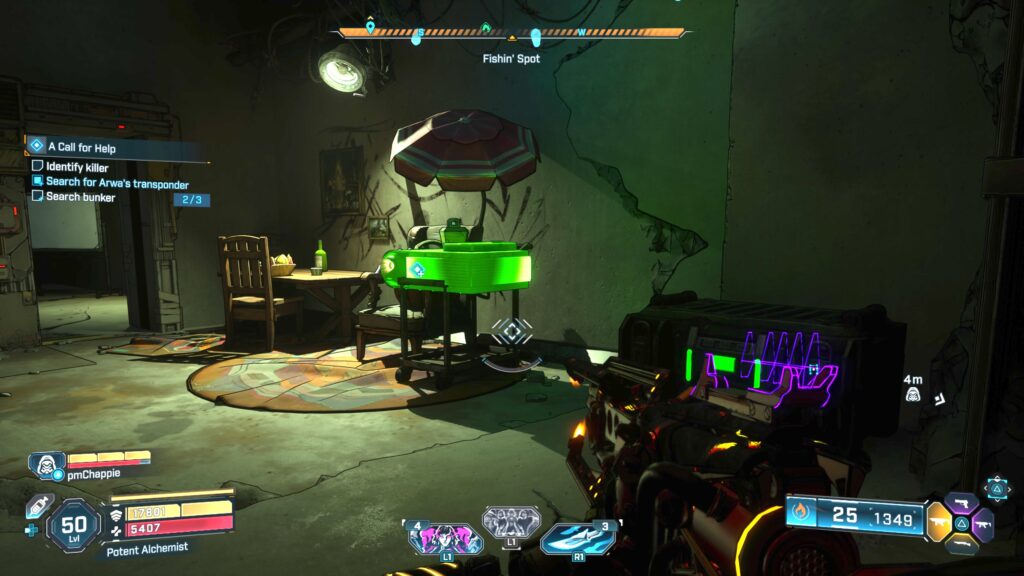
Afterward, interact with the murderer’s bulletin board.
Reach Launchpad
Next, you’ll need to travel to The Launchpad. When you arrive, approach the frogurt stand.
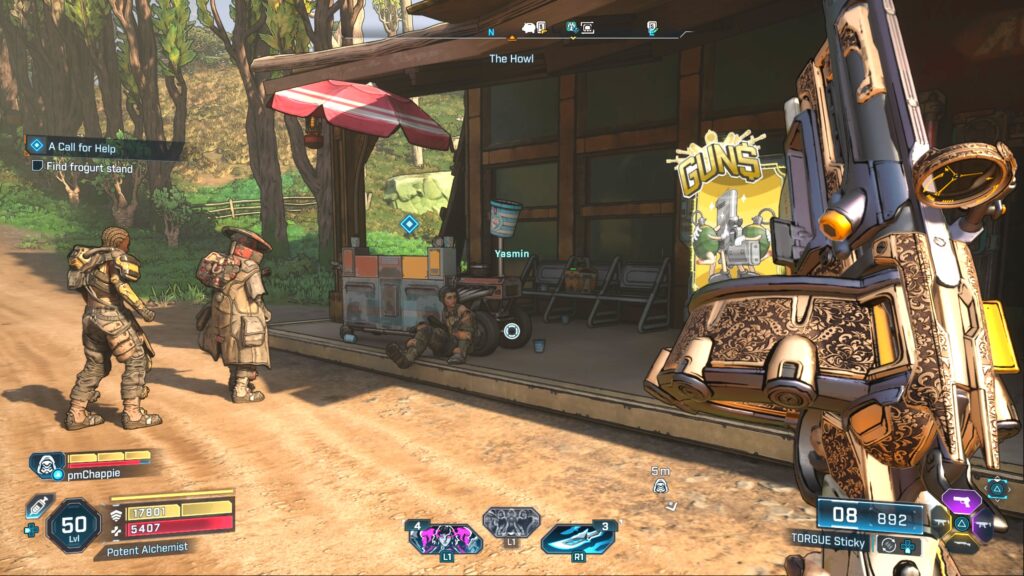
Yasmin will tell you that the frogurt man’s run off toward a barn.
Reach barn
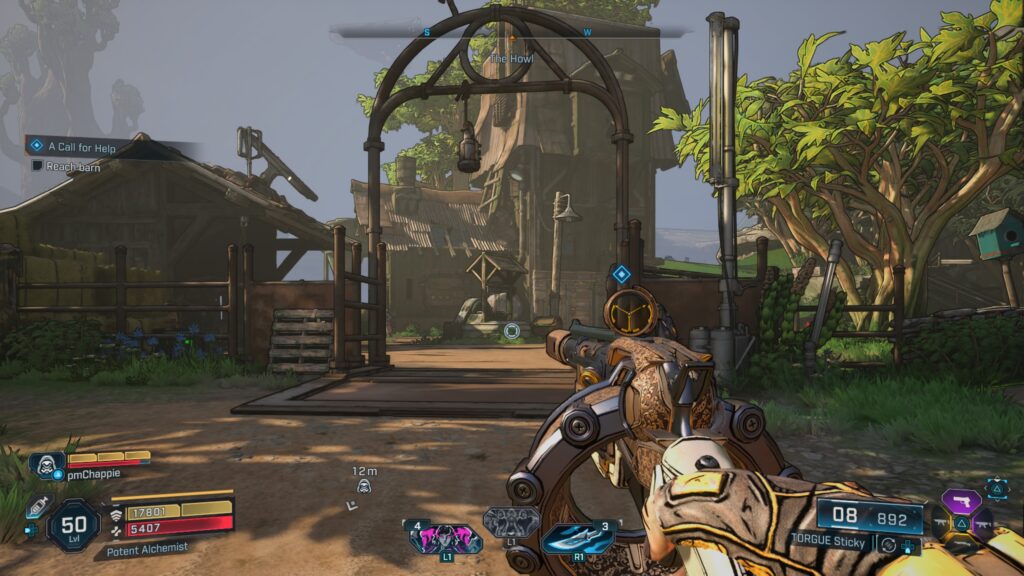
Follow after him to the northwest. When you reach the building, use the radio next to the entrance. Next, defeat all the Augers and Frogurt Man! The mission will then complete.
Related Borderlands 4 Content
Looking for more Borderlands 4 content? Use the links below to keep exploring our guides:
- Next Guide: Continue with Borderlands 4 Side Missions Guide for complete walkthroughs on every quest!
- Main Page: Visit our Borderlands 4 Guides and Walkthroughs hub for all our latest content!
- Official Website: Check out the official Borderlands 4 website for news and updates!