Welcome to NGB and our walkthrough for the An Equitable Arrangement quest in The Outer Worlds 2. For this quest, you’ll need to convince the heads of Auntie’s Choice and the Order of the Ascendant to end hostilities and work together. Our guide will walk you through all the objectives, highlight the best strategies, and make sure you don’t miss any rewards.
Quick Links
An Equitable Arrangement Faction Quest Guide
How to Start the An Equitable Arrangement Faction Quest
To gain access to the An Equitable Arrangement faction quest in the Outer Worlds 2, you’ll need to convince de Vries to stand down during the Fiend in High Places main mission, sparing the lives of the delegates. Once you’ve done that, travel to the ACS Undisputed Claim and head to the Head Office Tower in the Value-Added Esplanade area.
Speak with Vice President Gertie Hewett, who will tell the commander that she wants their help in bringing the Order and Auntie’s Choice together. She’ll then say that for the two to come together, you’ll need to speak with Ruth of the Order and Auntie Cleo, persuading them to work together.
An Equitable Arrangement Walkthrough
Speak to Ruth
We highly recommend having Marisol in your party for some unique dialogue! Aza will be prohibited from entering unless your Speech is high enough to convince them to let her in! Inside, her presence will also be commented on!
Travel to Laplace’s Garden Outskirts on Cloister. Once you arrive, approach and speak with Obviator Cosgrove. Head inside then speak with Junior Seer Amaryllis straight ahead.

After receiving the rundown, you’ll need to complete the A Study in Disruption and Crash Course in Telemetry faction quests. Upon doing so, you’ll be granted an audience with Ruth.
To convince Ruth to discuss an alliance with Auntie’s Choice, you’ll need to have one of the following:
- Speech 7
- Negotiator perk
- Science! 7
Speak to Aunite
First, you must complete the Mysteries of the Mental Modulators faction quest. You’ll then have a one-minute call with Auntie, during which you can convince her to speak with Ruth.
Handle the Negotiations
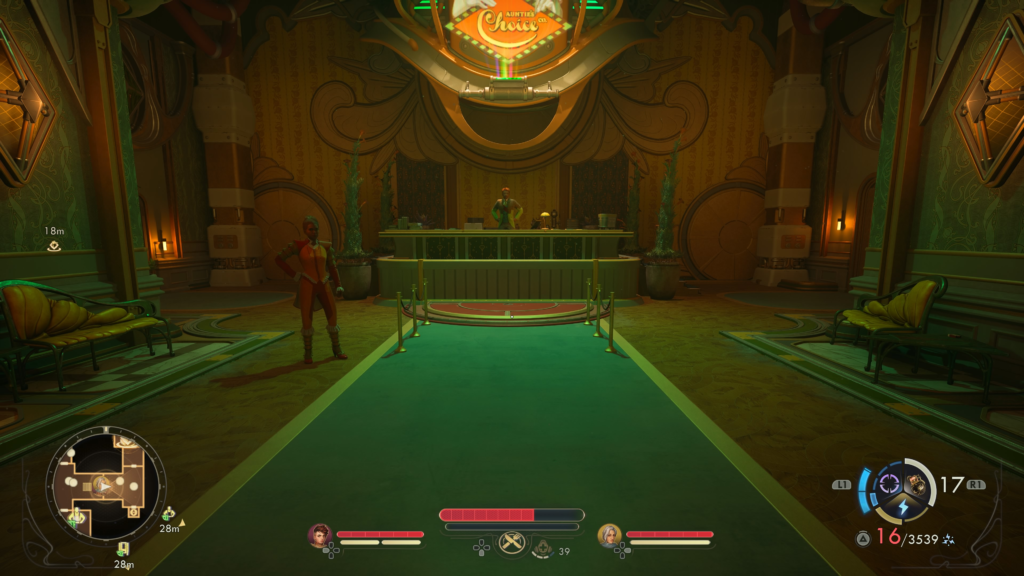
Once Ruth and Auntie agree to meet, you’ll need to travel to the ACS Undisputed Claim. After you arrive, travel to the Head Office Tower’s fast travel point and then enter the Head Office Tower. Use the elevator there to travel to the Secure Telecommunications level. Enter the room when you’re ready to commence the negotiations.
Right out of the gate, Auntie will bring up three points that need to be addressed to form a partnership:
- Point 1 – Control of the Archive
- Point 2 – Oversight of production and distribution of skip cores
- Point 3 – Management of rift technology
If you don’t have Speech leveled up to 20, then the following is a list of middle path choices you can select to get both Auntie and Ruth to come together and form a partnership:
- Ruth is right. The Order built the Archive. It belongs to them.
- It needn’t be forever. What’s a small sacrifice now for greater gains later?
- Maybe Rutgh will allow you to use the Archive in the future? No need to discuss it now.
- I disagree. Nothing in life comes for free. Auntie’s Choice should oversee production.
- Crazy idea, but maybe the Order and Auntie’s Choice can share the technology?
- Better than a poke in the eye!
- That doesn’t sound too difficult. Auntie, can you help with that?
- But it is Auntie’s business now, Ruth. You two are working together.
- An exchange of a few chemicals seems reasonable enough. Right, Auntie?
Secure the Archive for your Allies
Once the two have agreed to a partnership, return to Cloister to get things kicked off!
Clear the Spire
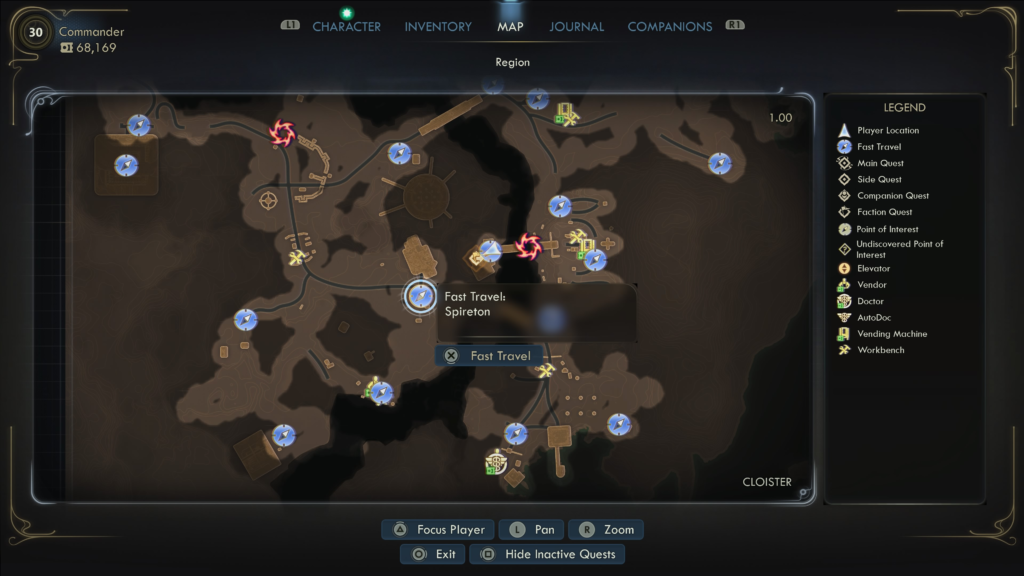
Begin by traveling to Spireton, located in the center of the map. Once you load in, speak with Exemplar Levesque nearby. You can either attack all together or tell him to wait until you’ve disabled the turrets. Afterwards, enter Spireton and clear out all the enemies!
Reach the Archive
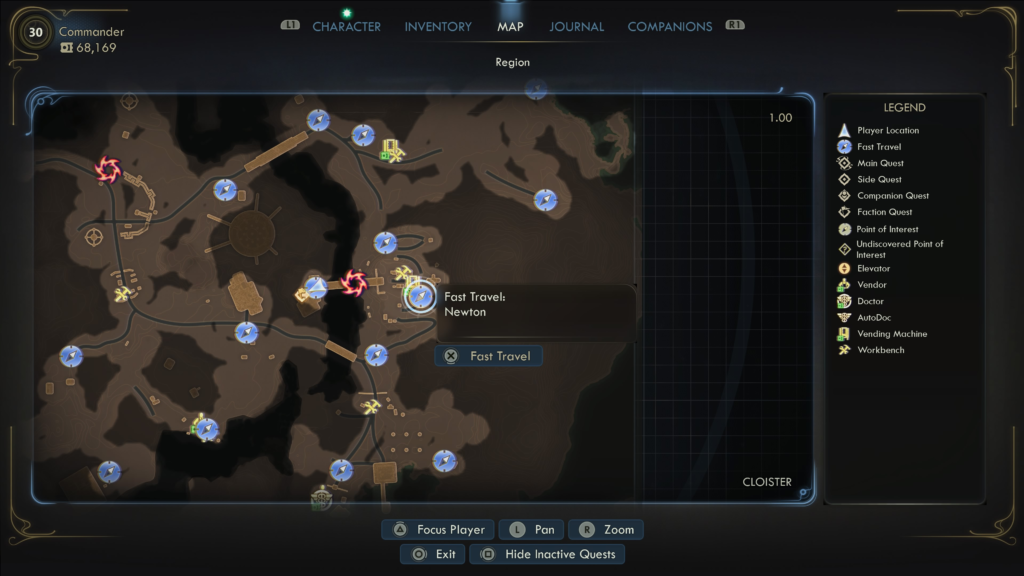
Next, fast travel to Newton, heading for the giant rift over the bridge. Use the Rift Anomaly Modulator on it to create some platforms, then use them to cross the gap. This will bring you to the entrance of the Archive. Head through the door and use the lift inside to transfer to the Archive.
Secure the Archive for your Allies
In this area, make sure to kill any Sprats you see as you’ll need five of their tongues later on!
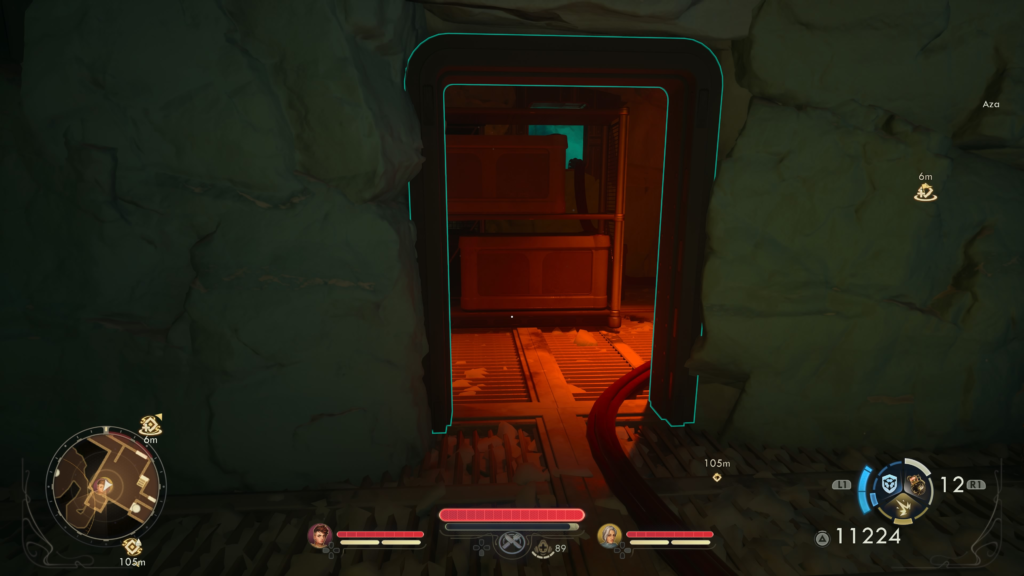
After arriving at the Archive, take left and use the long yellow cords to reach a vent.
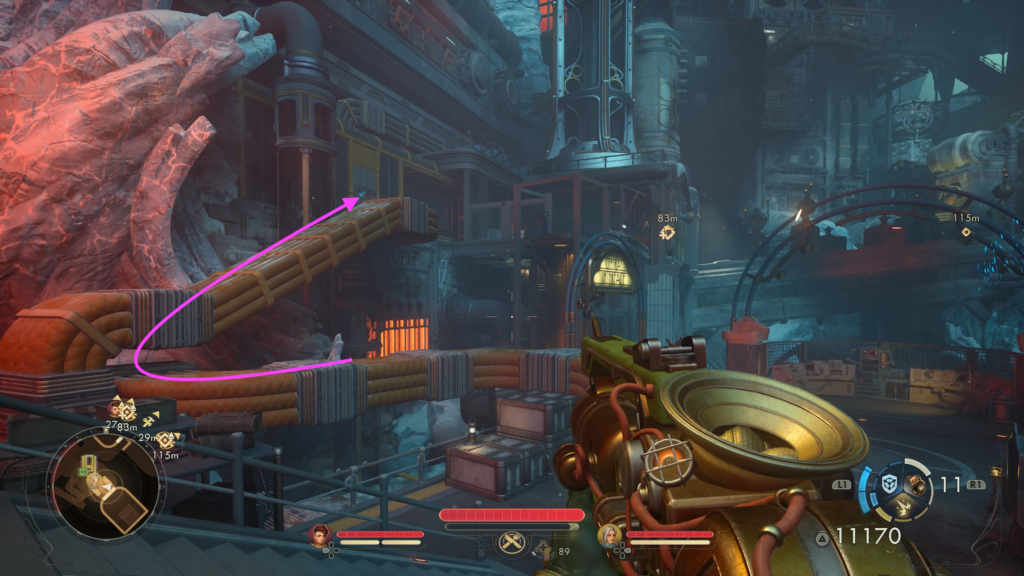
Follow it to emerge in a bathroom. Take a right then follow the path, entering the first door on the right. Here you’ll find the Protectorate Declaratory Address System, where you can play the Mystery Rations Audio Cartridge from the Confessions of a Sub-Finagler task.
Afterwards, one of the Proctorate will accidentally touch the turret, causing them all to die.
Exit the room then follow the path right.
Advanced Decryption Key – This key can be found behind a jammed door on the southern side of the Archive – Floor 2. To unjam it, you’ll need either the Brawny trait or Engineering 5.
In the room with the enemies, head straight ahead to find a ramp heading up.
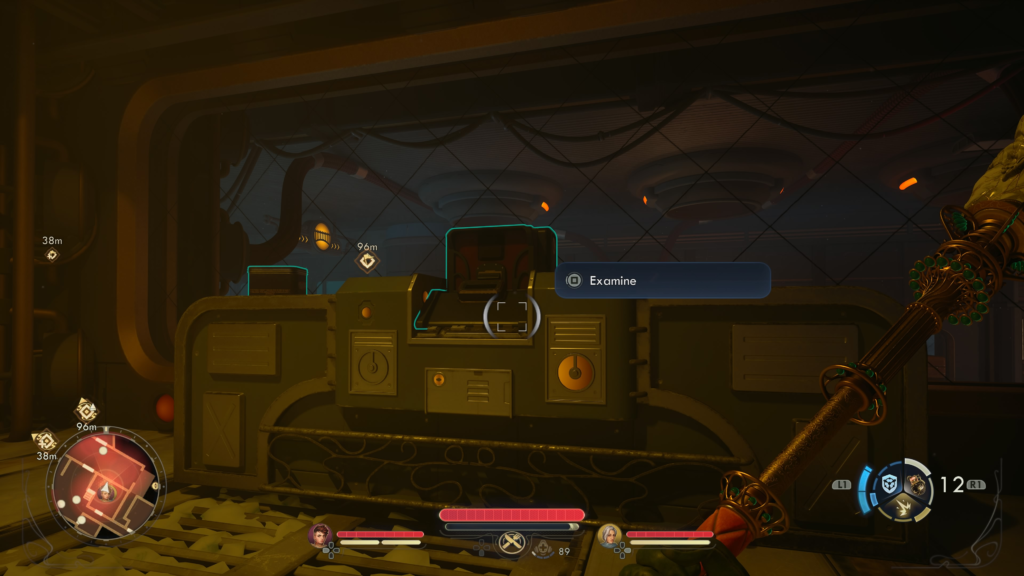
Take it to reach a door. Enter through the door. Flip the switch on the right to enable power to the room on the right. Next, head to the left side and examine the Spireton Lift Control Console Innards on the device next to the console. Select “Investigate the Removed Component Further”.
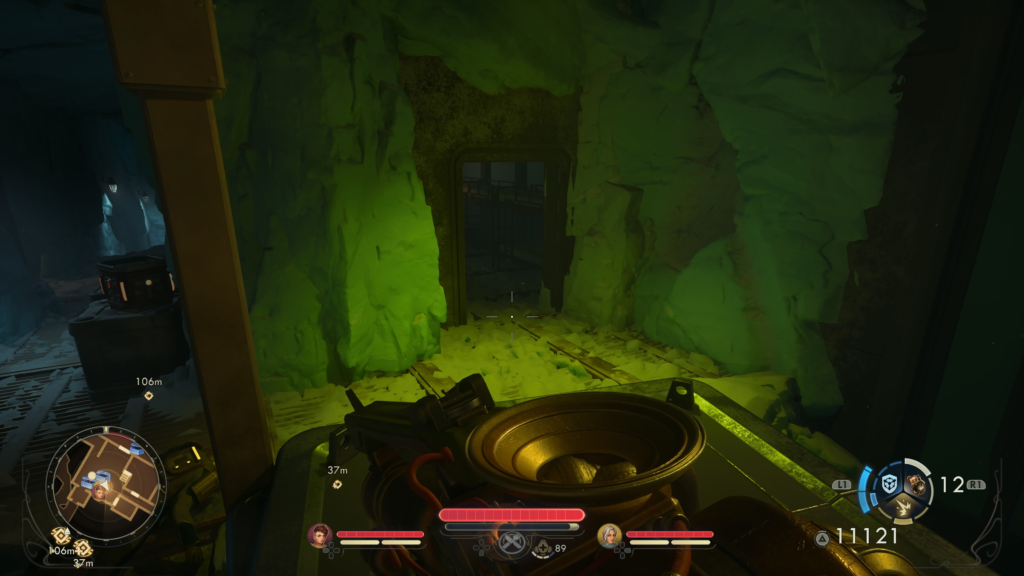
Next, you’ll need to backtrack the way you came, following the red cords into a red-lit room.
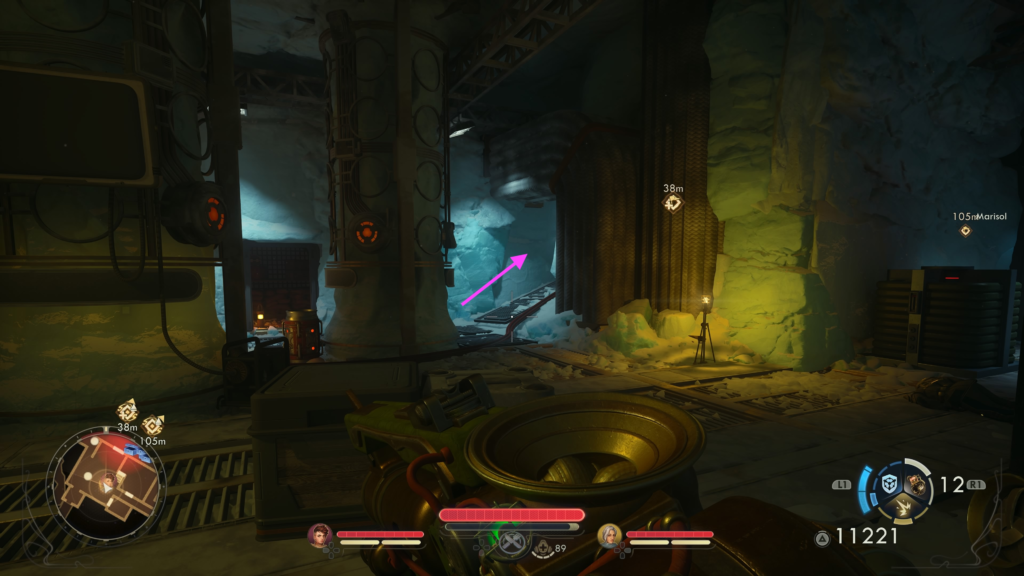
Inside, follow the cords through a vent to reach a small snowy path. At the end of this path, you’ll find Auxiliary Dabbler Hoyt Schermerhorn.
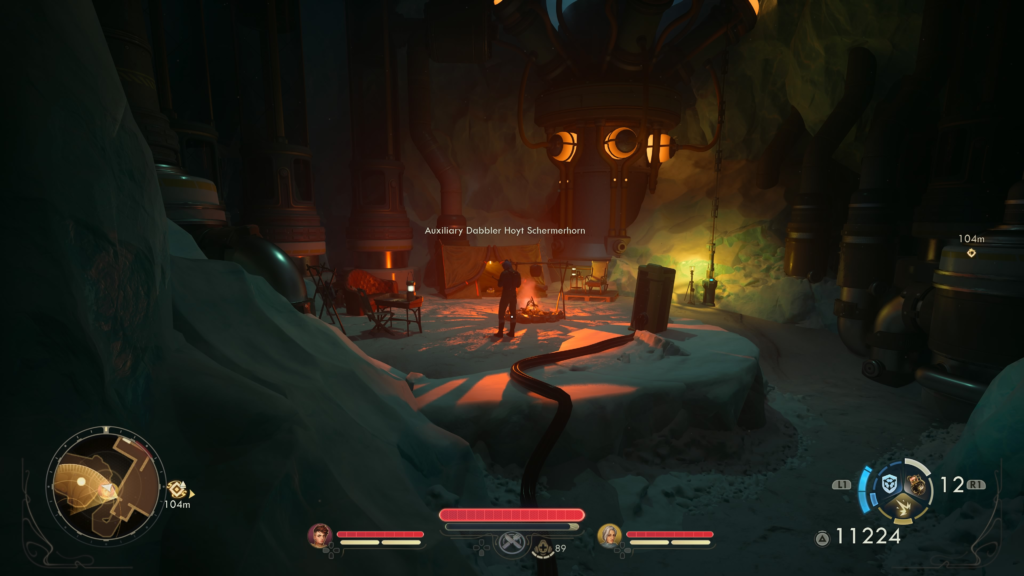
Speak with him to learn that he has the parts you need and that he is willing to trade them for five Cloister Shivering Sprat Tongues. You can acquire these by killing and looting the Sprats around the area.
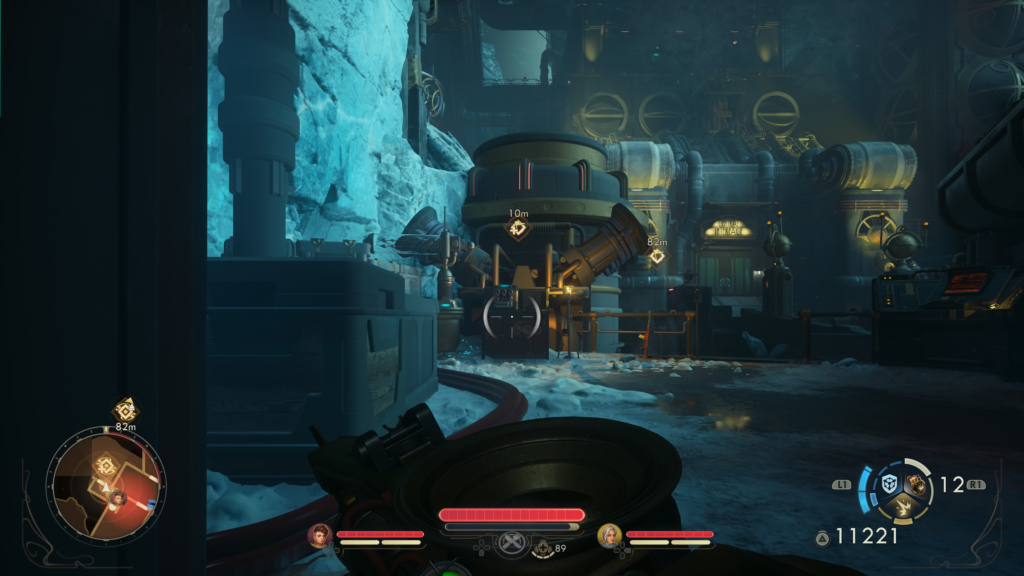
With the parts in hand, return to the console and interact with the innards of the machine. Once you’ve installed the parts, summon the Spireton lift.
Auntie’s Choice will then help kill all the enemies on the bridge. Once cleared, head across and enter the main doors. Head up the stairs towards the door marked “Central Interface” and look at the device to the left of the door. You’ll see that it needs a Calcaduceus.
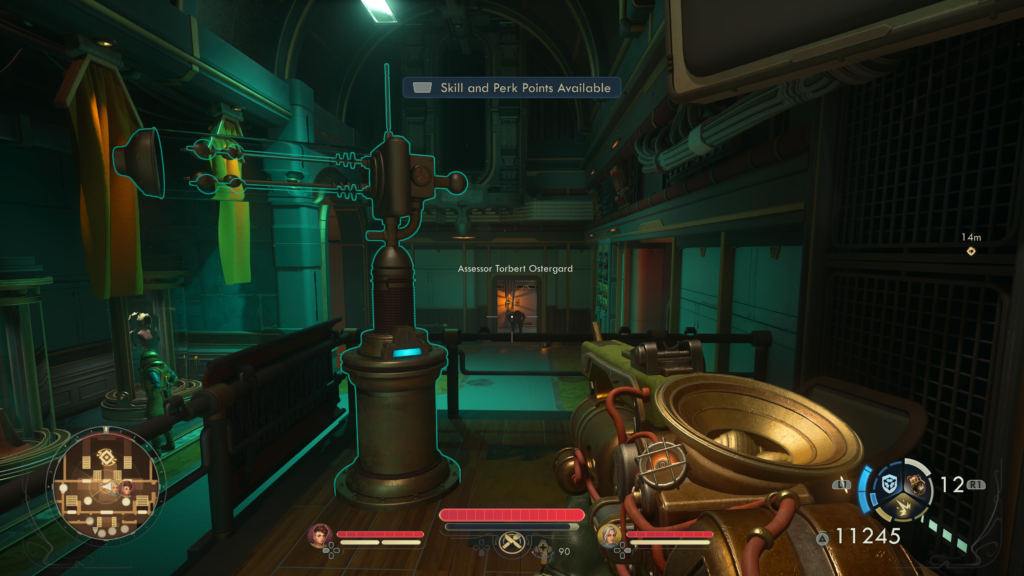
It just so happens that Assessor Torbert Ostergard will stumble out of the bathroom. Speak with him to learn that he has the Calcaduceus on him. You can either let him go and he’ll give it to you or you can take it from his corpse.
Once you have the Calcaduceus, use it on the machine. Afterwards, head inside and approach U.E.N.I.A.C. Exhaust all the dialog options to learn that the Archive is badly damaged. You won’t be able to hand over the Calcaduceus until you’ve made the necessary repairs to generate the rift data.
You will then need to progress the main quest, A Complication with the Computronic Cerebrum. See our walkthrough for A Complication with the Computronic Cerebrum main quest on how to make these repairs.
Return to Ruth
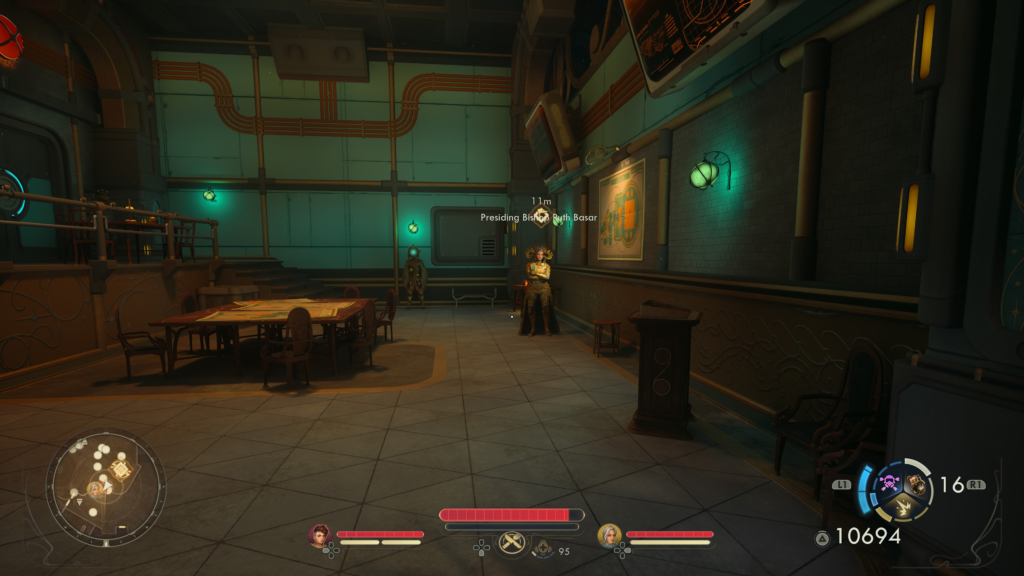
After you’ve processed the Rift Data, return to Ruth to complete the quest. As a reward, you will receive 2,000 bits.
Related The Outer Worlds 2 Content
Looking for more The Outer Worlds 2 content? Use the links below to keep exploring our guides:
- Main Page: Visit our The Outer Worlds 2 Guides and Walkthroughs hub for all our latest content!
- Official Website: Check out the official The Outer Worlds 2 website for news and updates!