Welcome to NGB and our walkthrough for the A Complication with the Computronic Cerebrum main quest in The Outer Worlds 2. For this quest, you’ll need to acquire rift data. Our guide will walk you through all the objectives, highlight the best strategies, and make sure you don’t miss any rewards.
Quick Links
- A Complication with the Computronic Cerebrum Main Quest Guide
- Related The Outer Worlds 2 Content
A Complication with the Computronic Cerebrum Main Quest Guide
How to Start the A Complication with the Computronic Cerebrum Main Quest
The A Complication with the Computronic Cerebrum will be automatically applied after completing the Fiends in High Places main quest.
A Complication with the Computronic Cerebrum Walkthrough
Talk Auntie’s Choice or the Order into Helping Take the Archive
To accomplish this task, you must progress the An Equitable Arrangement faction quest.
Utilize the Archive to Process the Rift Data
After arriving at the Archive and using the Calcaduceus to enter the Archive, you’ll speak with U.E.N.I.A.C., who will make it clear that if you want your rift data processed, you’ll need to make repairs.
Repair Thermal Transfer
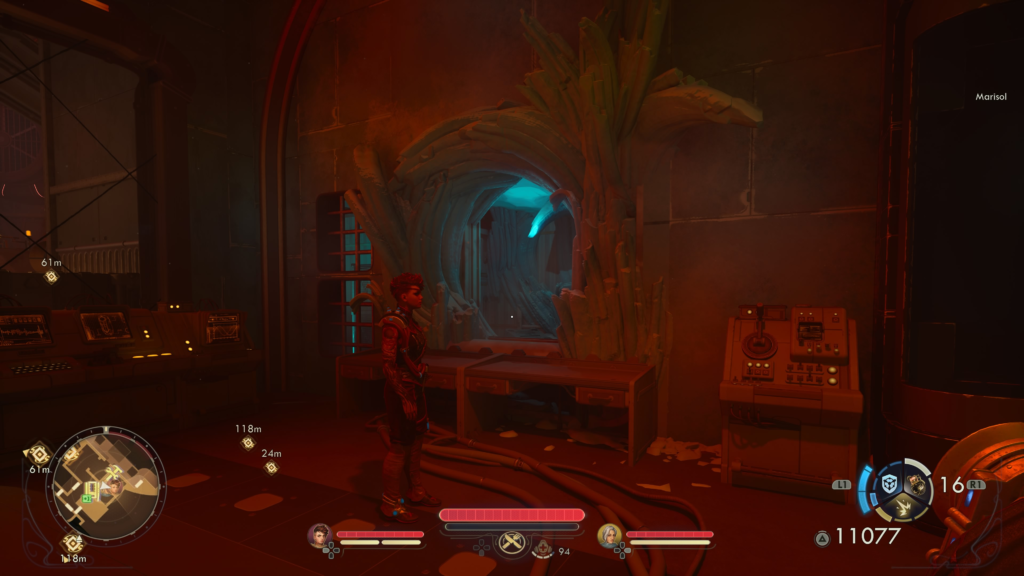
First, you’ll need to exit the Archive building with U.E.N.I.A.C. and head straight across the bridge to the other side and continue straight to find a door marked “Underlands”. Enter through this door to reach the Cloister Underlands.
Once there, take a left and use the lift to head down. At the bottom, speak with Initiate Vance, exhausting all the dialog options.
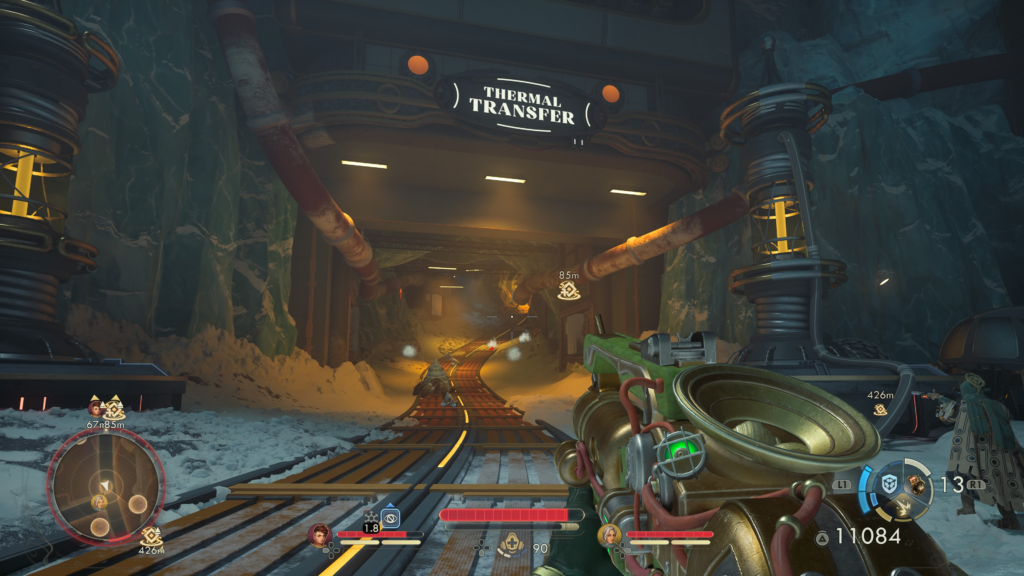
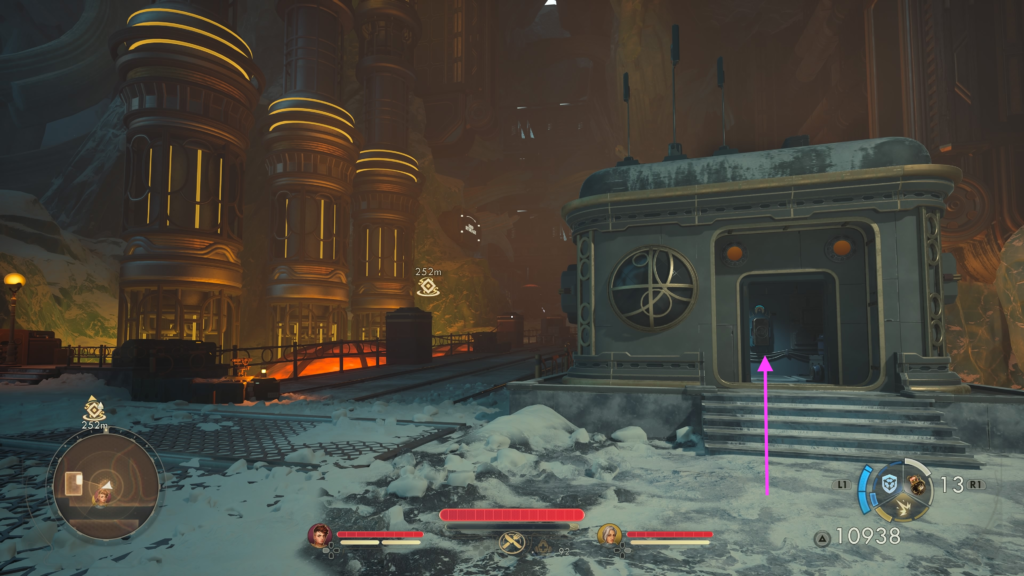
After your conversation, head south following the main road to reach the Thermal Transfer. When you arrive, interact with the device to the right of the door to unseal the Thermal Transfer Facility.
Inside, interact with the device on the crate to the right to find the Thermal Transfer Operation Manual.
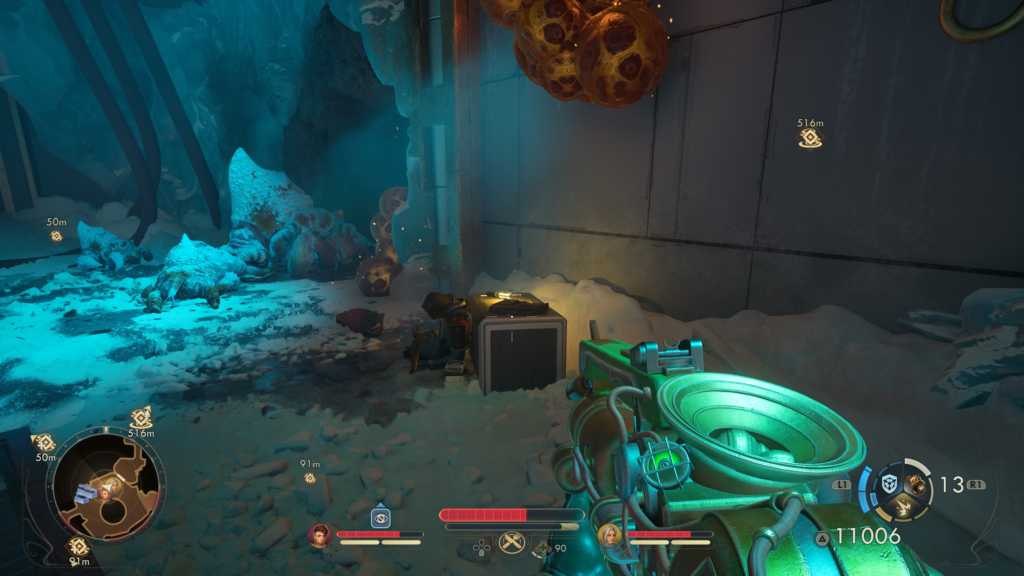
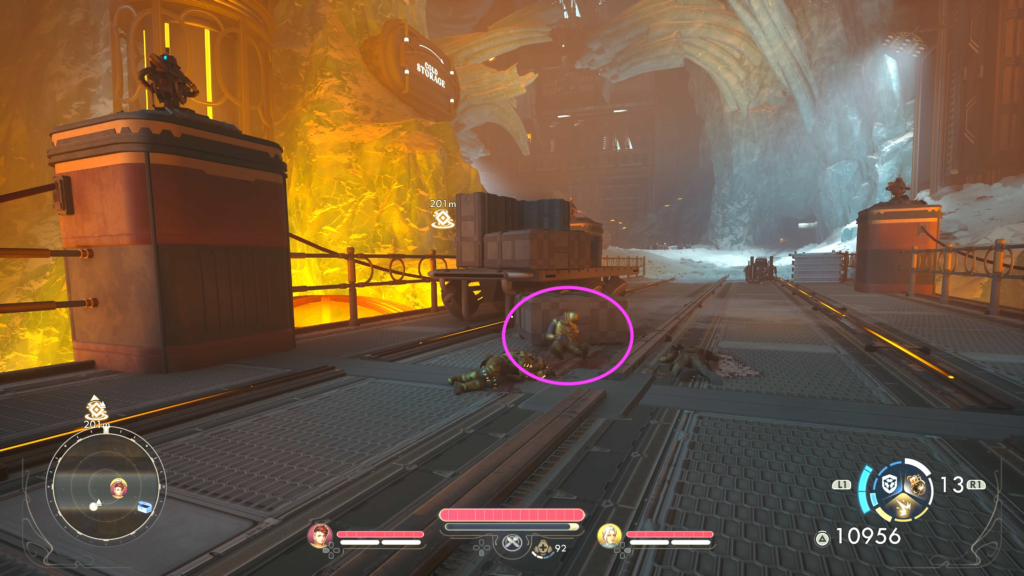
Next, head straight and go through a doorway filled with eggs.
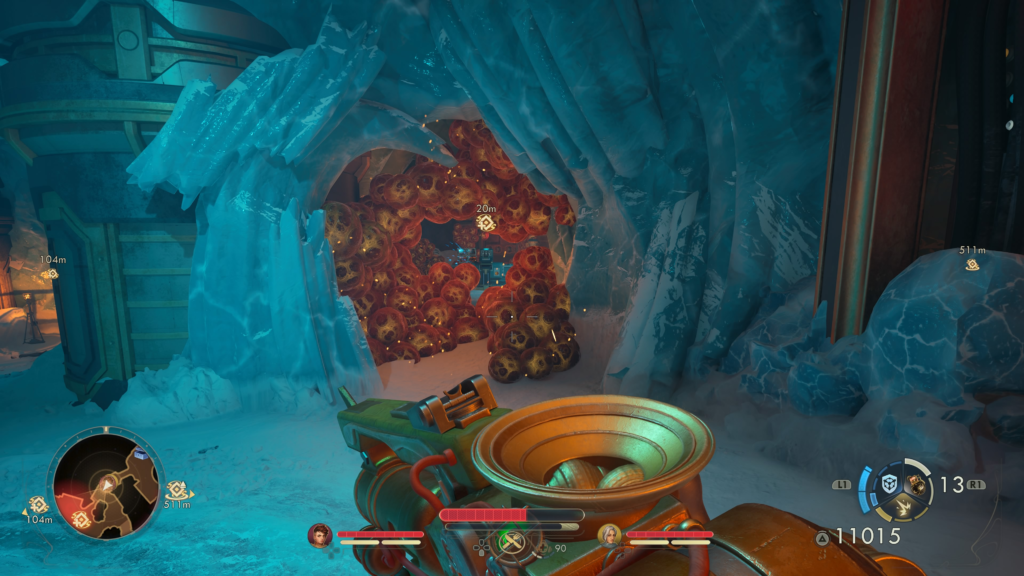
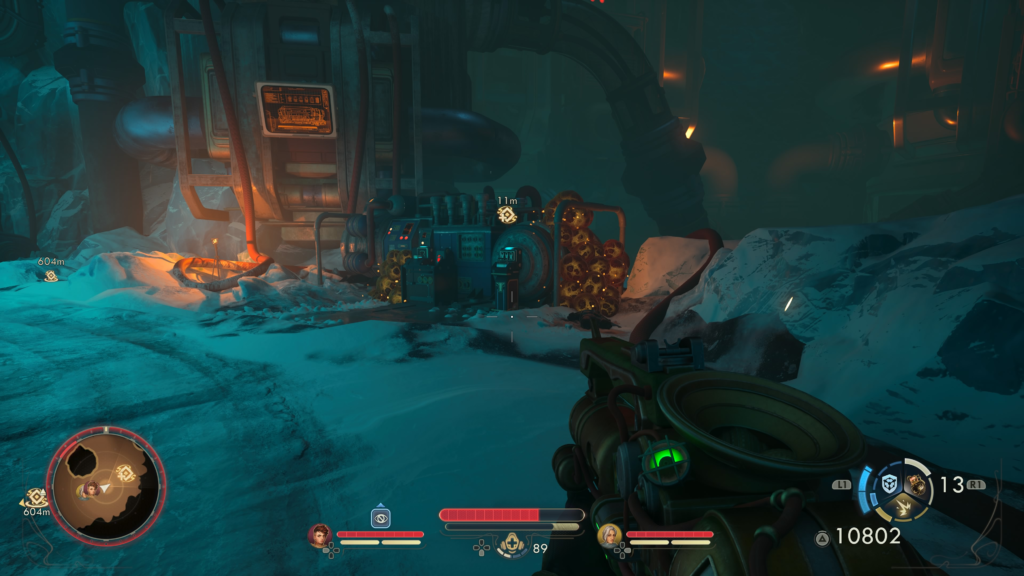
Shoot them to get through then you’ll need to repair the device. Follow the cord to reach a machine. If you have Engineering 9, you can repair it automatically. Otherwise, you’ll need to find the Auxiliary Pump Readjustment Kit. Exit the room on the southern side then head straight across through a doorway filled with eggs.

Inside this room, you’ll find the Auxiliary Pump Readjustment Kit next to a corpse.
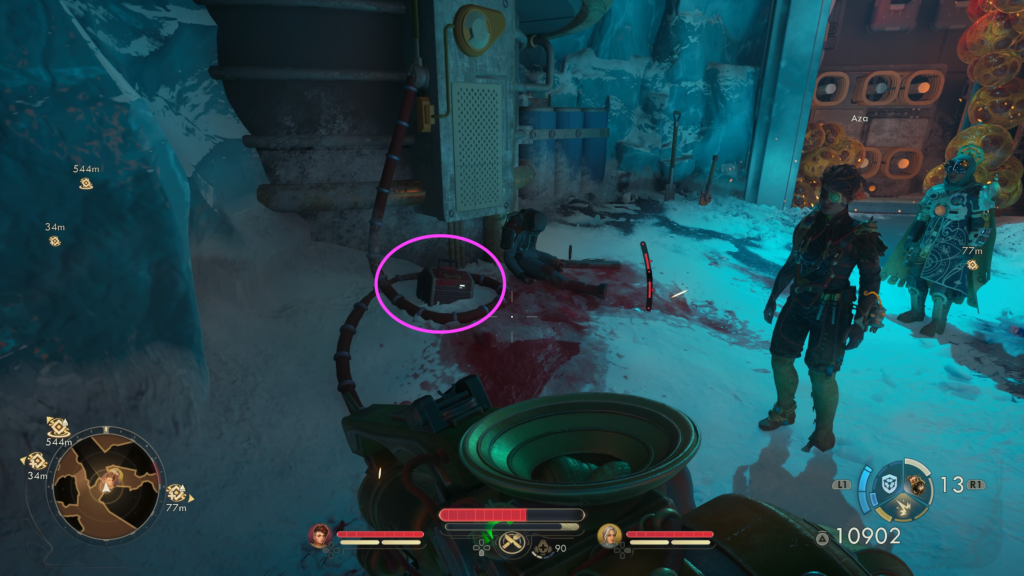
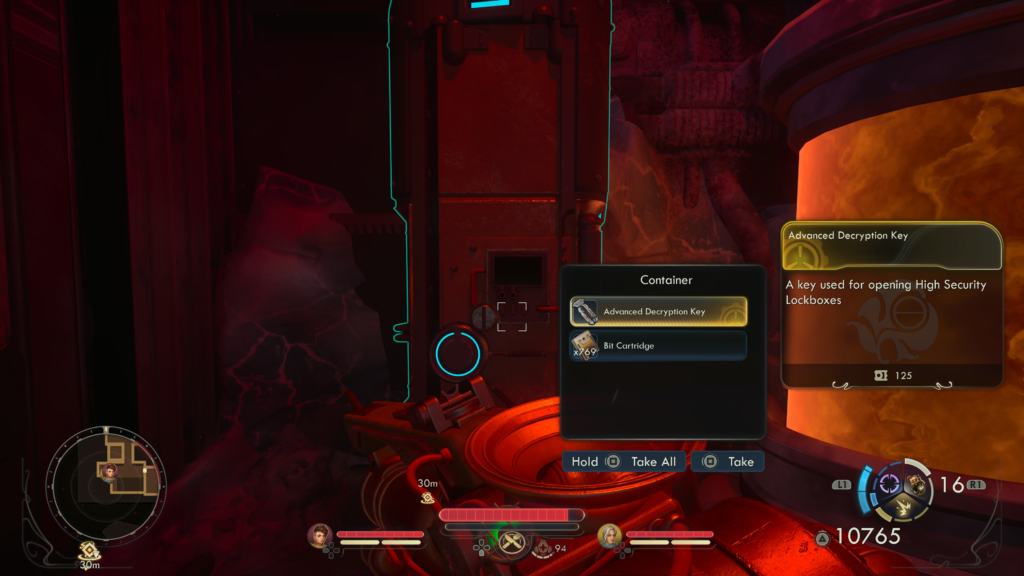
Advanced Decryption Key – Make sure to loot this key from the corpse!
Once the machine has been fixed, activate the Auxiliary Pump. You’ll then need to head to the next objective. This time, you’ll need to find a Water Release Valve System Fuse.
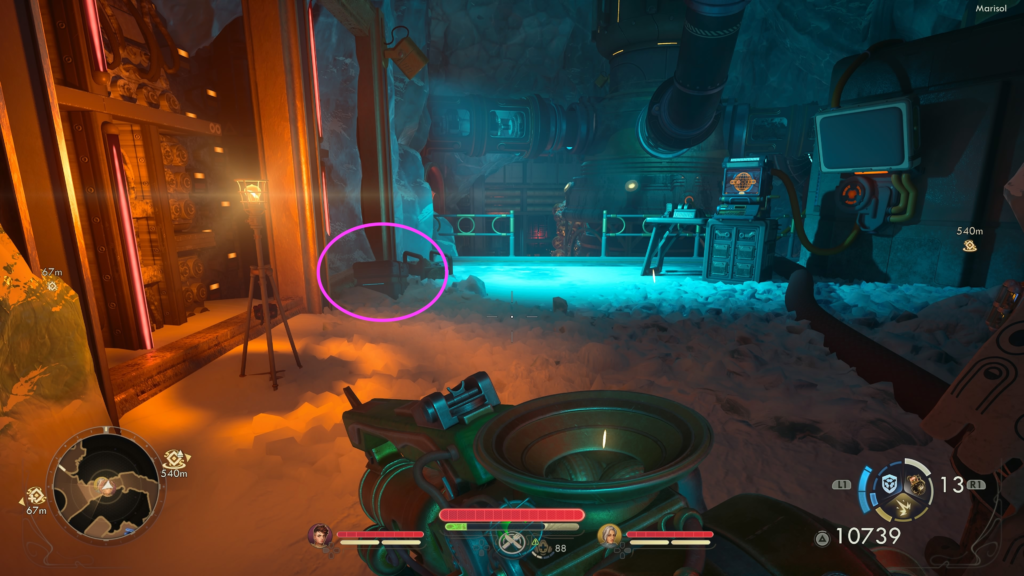
Across from the device, enter the room to find the fuse on a bed. Return to the machine and open the water release valve. Facing the machine, head left to find the Thermal Transfer Control Terminal.
Advanced Decryption Key – Make sure to loot this key from the container to the left of the terminal!
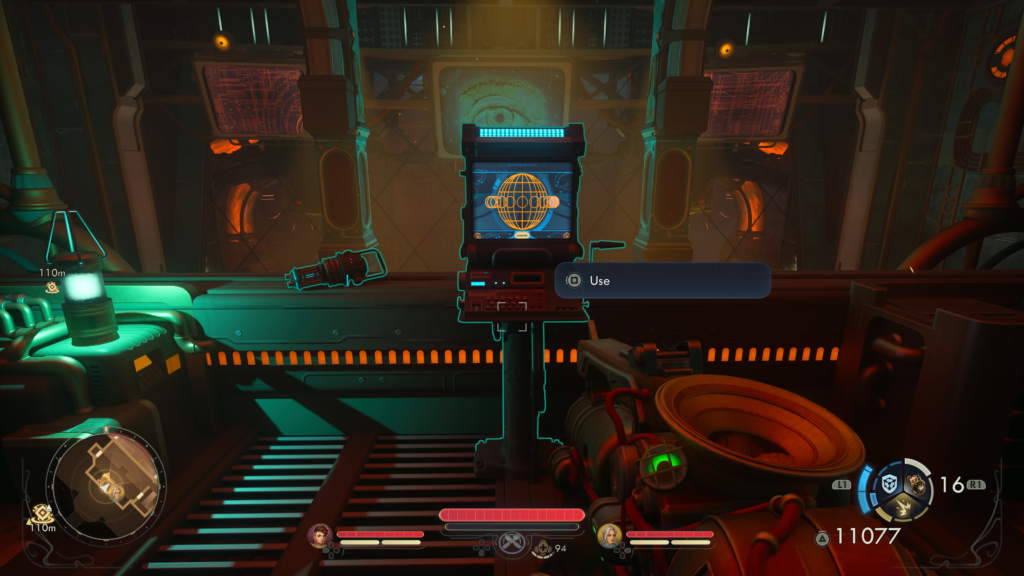
Using the terminal, you’ll want to restore power.
Send the Rift Program Data Brick from Cold Storage to the Archive
Next, you’ll need to travel to the northwestern side of the Cloister Underlands.
If you have Hack 14 or the Innovative Trait, you can approach the building from the bridge on the northeast side of it. Just before this bridge, enter the small building just before the long bridge to find the Bridge Defense Controls.
If you have Hack 14 or the Innovative Trait you can modify the connection, causing them to target each other, clearing the way for you!
Advanced Decryption Key – Loot a corpse on this bridge to find a key.
If not, you can fight your way across or approach the building from the south.

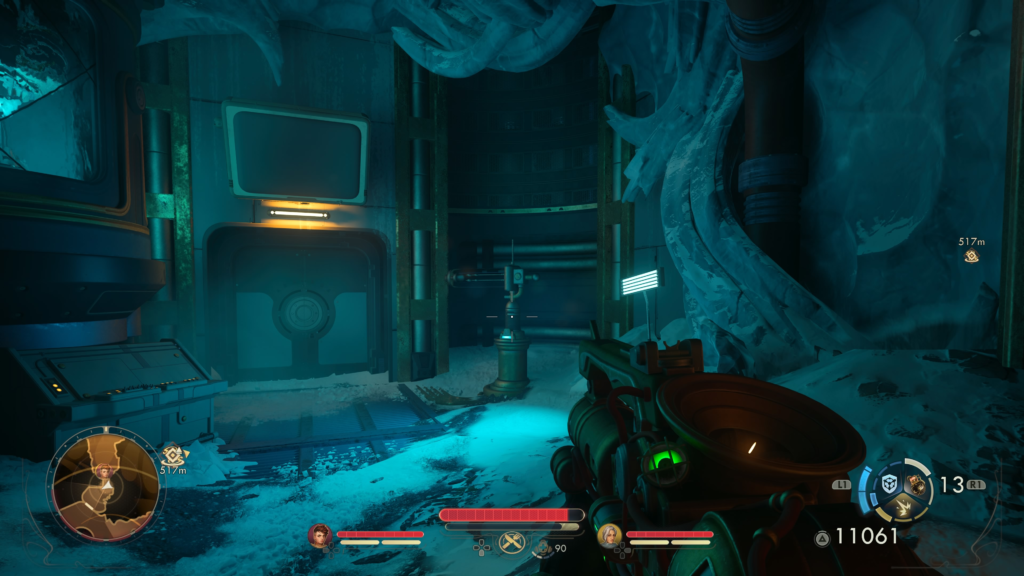
After heading through the icy tunnel, swing left to reach the Cold Storage. Deal with the enemies at the entrance then head inside and use the Calcaduceus on the device. Afterwards, speak with Curativist Holder through the intercom nearby.
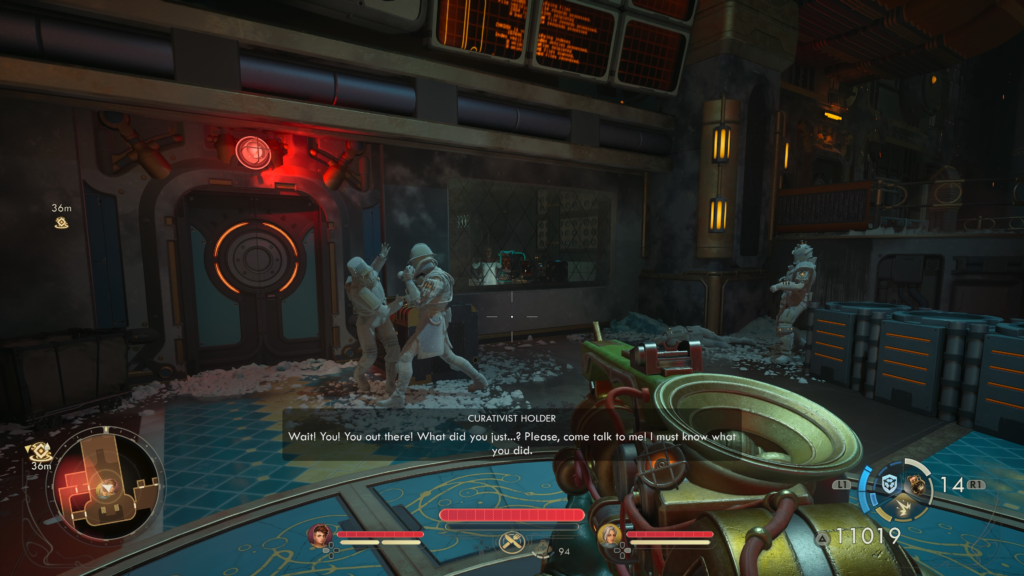
If you have Engineering 2, you can tell her exactly how the device operates. If you have Speech 2 or Medical 5, you can help her out.
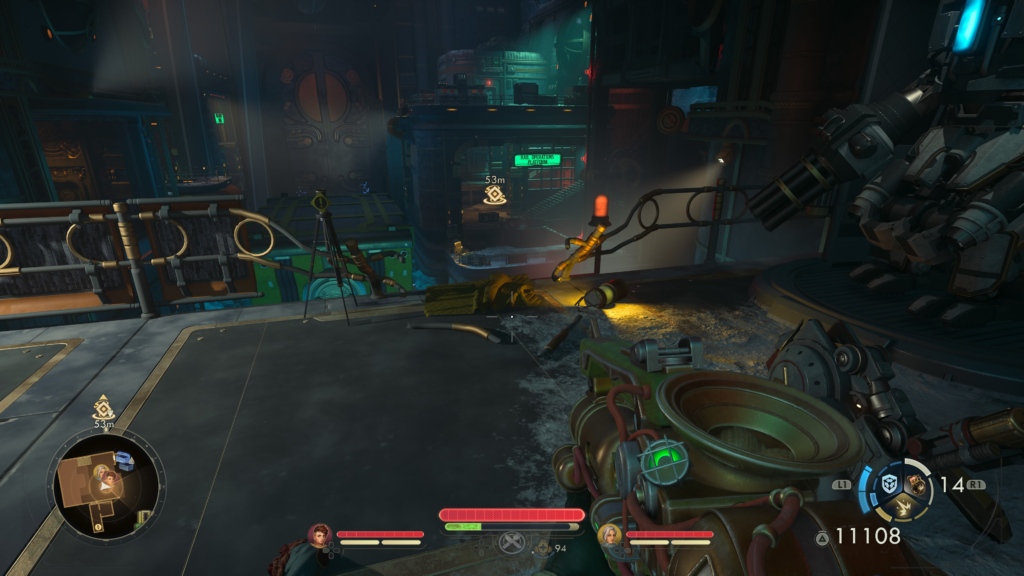
Next, head through her area and use the elevator. You’ll then need to cross the bridge and enter the room. On the lower level, interact with the terminal, exhausting all the dialog options. Afterwards, head upstairs and continue on to the Cartridge Extractor Controls.
After exiting the elevator, head into the room on the right and use the lever to activate the fire suppression system. This will freeze all the enemies in the next room!
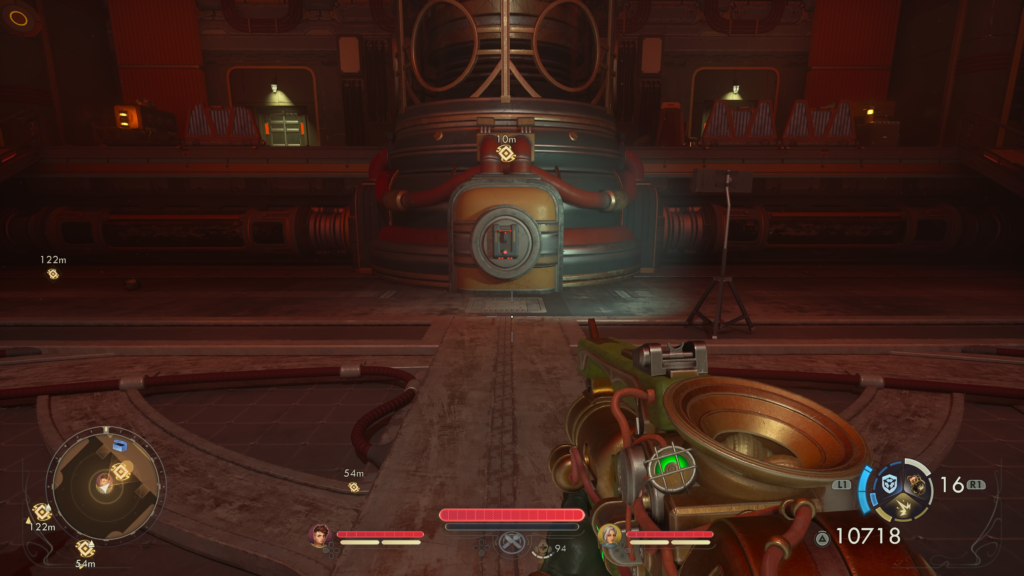
With the way clear, flip the switch in this room to start the Data Brick Extraction. Afterwards, deal with the enemies that spawn in! When clear, jump down through the broken section of railing and make your way to the Rail Operations Platform.
As you near, more enemies will spawn in. Take them out then jump up to the higher ledge next to the inoperable lift. Take a right then flip the switch to enable power.
Next, start the conveyor by flipping the switch across from the lift. Afterward, take the lift up and jump across to the other side, where you’ll need to fight the enemies.
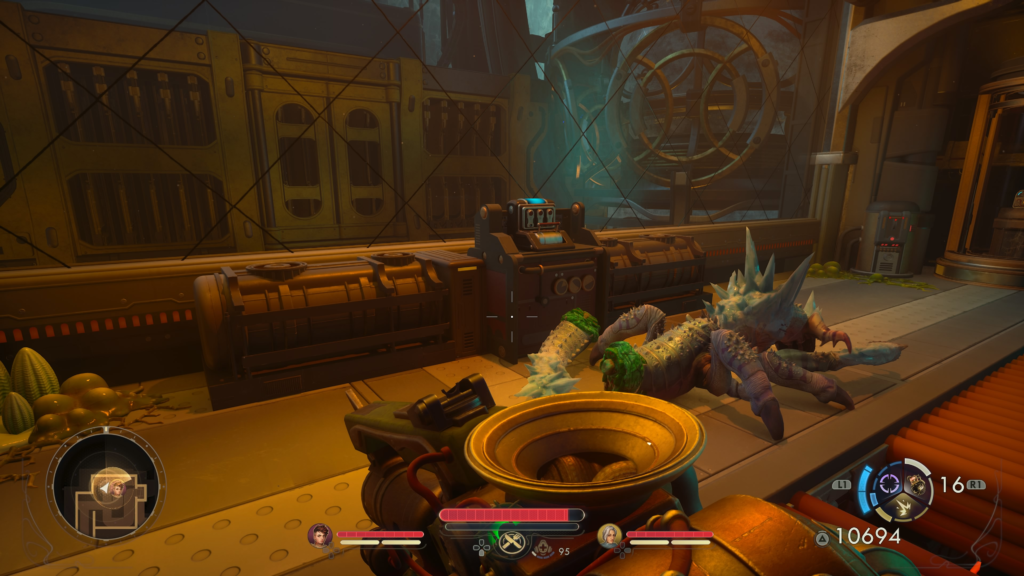
High Security Lockbox – In this room with all the enemies, you’ll find a high security lockbox!
Once clear, flip the switch to open the conveyor doors. You’ll then be free to leave the facility!
Return to the Archive for Further Instructions
Now it’s time to return to U.E.N.I.A.C. for the next steps for fixing the remaining internal systems.
Reenable Punch Processing and Disseminate the Rift Program
After speaking with U.E.N.I.A.C., head down the stairs and use the lift on either the left or right side. When you emerge, interact with the terminal then head through the right side. Follow the pathway to reach a lift. Instead of riding the lift, take a left and follow the walkway all the way around. You’ll go up a ramp then flip the switch to restart the punch processing rail system.
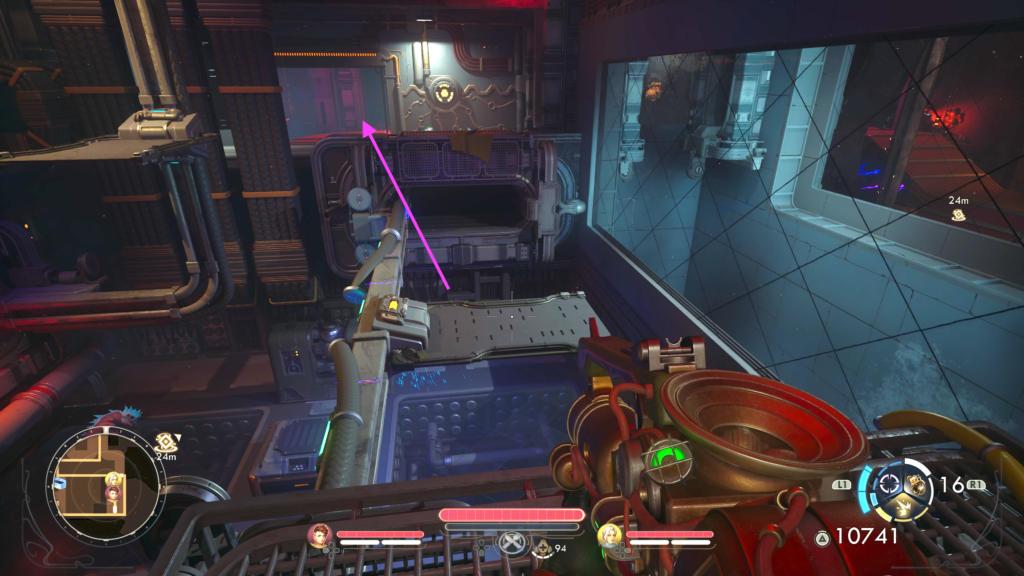
Next, backtrack and take the first opening on the right to see some moving panels. Quickly jump through them or use the Time Dilation Gadget. Once on the other side, you’ll need to enter the door on the left and enable the vertical platform. Next, cross the room to the other side and unjam the door by flipping the switch. This will reveal a container with an Advanced Decryption Key!
Use the lifts in the middle room to work your way down to a door about halfway down. Through this door, you’ll need to flip the Reverse Horizontal Rail Direction switch.
Next, exit the room via the door you came and head to the other side of the room where you’ll find another Reverse Horizontal Rail Direction switch.
Press it! To pass through the laser, you’ll need to run with one of the panels that passes through. Straight ahead, press the next switch to Reverse Horizontal Rail Direction. On the north side of the room, interact with the main console to disperse the Rift Punch Card Program into the Archive Central Interface.
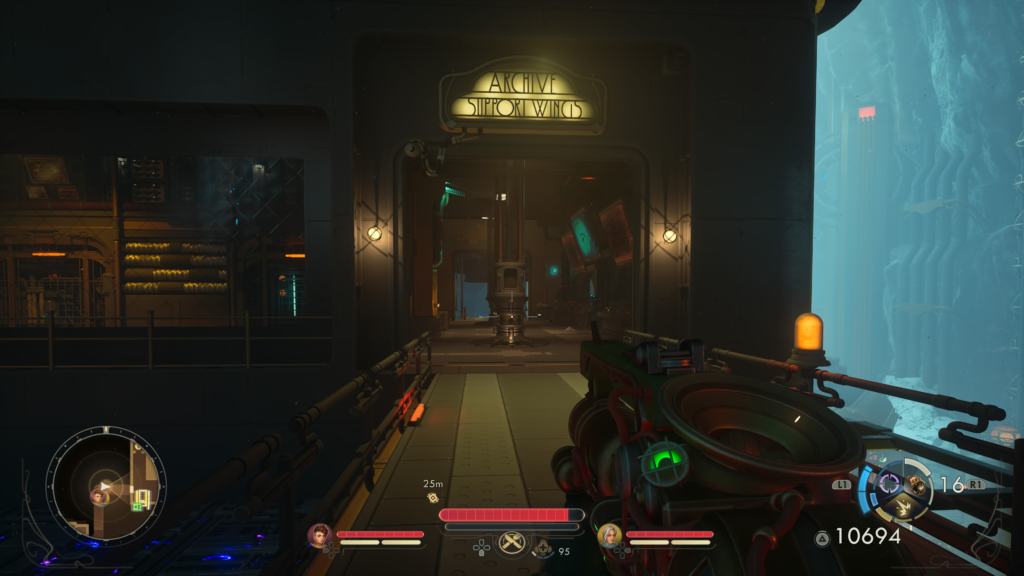
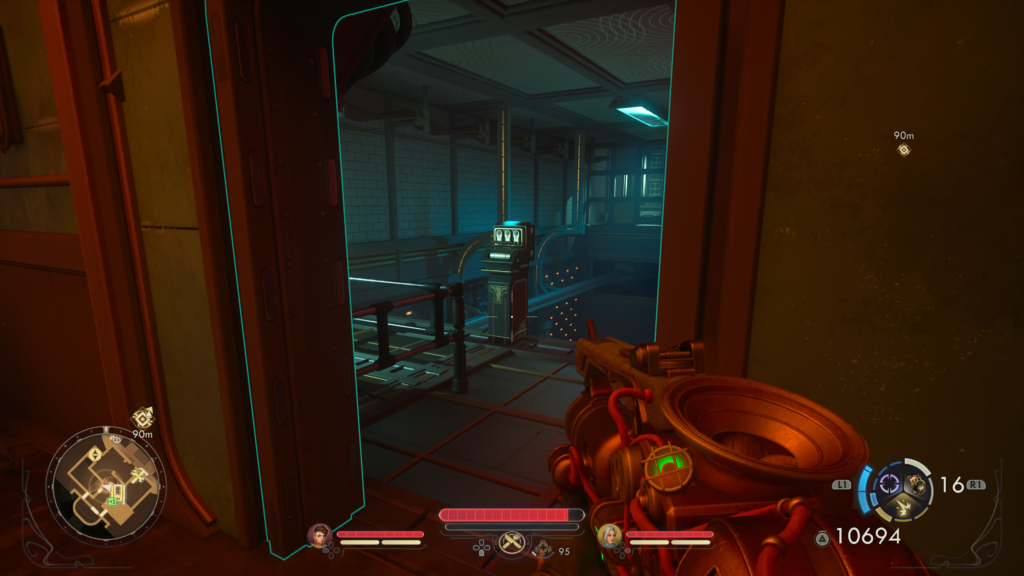
On the eastern side of the room, use the elevator to return to the walkway leading to the Archive Support Wings.
Repair the Archive Reactor
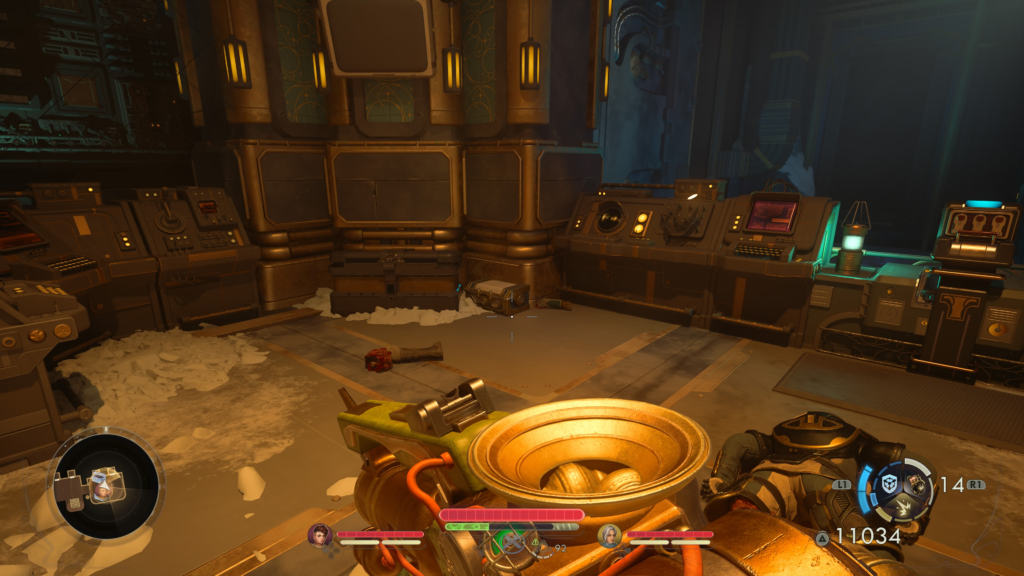
Head through this room and exit out the door to the door straight ahead. Go down the stairs and proceed through the building until you reach the room with all the fuses.
Here, interact with the terminal on the upper level, exhausting all the options. You’ll then need to collect all the Archive Reactor Fuses. You can find one next to the terminal.
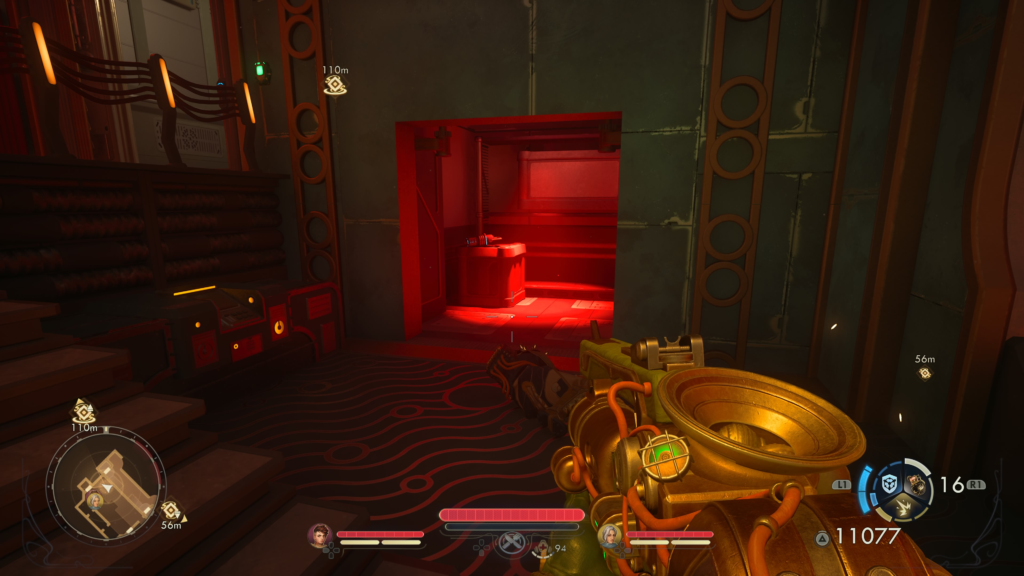
Another will be in a small red-lit room on the western side of the lower level.
The last will be in the device to disable the turrets. If you have Science 9 or the Lucky trait, you can make more fuses using the workbench on the middle level.
Next, you’ll need to decide which machines to put the fuses in:
- Unlock Emergency First Aid
- Disable Security Turrets
- Disable Reinforcement Access
- Unlock Emergency Ammunition
- Enable Fire Suppression
With your decision made, enter the elevator and head through the door on the left to reach the large open room. Clear the enemies then pull the lever to enable power.
Next, head back to the room on the southwestern side and in the small room to the right use the switch to get the panels moving.
Advanced Decryption Key – Make sure to climb through the icy hole in this area to loot a container containing this key!
Return to the Archive
With your tasks done, return to U.E.N.I.A.C. and have it process the rift data.
Resolve the Personality Crisis
You’ll then need to head through the newly opened door to resolve its personality crisis! You must now decide which personality it will maintain: Protectorate, Auntie’s Choice, or The Order. For whichever one you wish to set, you will need to follow the wires, detaching all that are not your chosen color!
- Red = Protectorate
- Yellow = Auntie’s Choice
- Blue = The Order
After you’ve detached all but one color, pull the fuse on the right side out.
Before leaving this room, you can use Lockpick 14 or solve the switch puzzle to unlock the safe containing 754 bits.

The solution to the puzzle is to pull the switches in the following order:
- 3, 5
Return to U.E.N.I.A.C.
With the crisis resolved, return to U.E.N.I.A.C. and process the Rift Data. The quest will then complete!
Related The Outer Worlds 2 Content
Looking for more The Outer Worlds 2 content? Use the links below to keep exploring our guides:
- Main Page: Visit our The Outer Worlds 2 Guides and Walkthroughs hub for all our latest content!
- Official Website: Check out the official The Outer Worlds 2 website for news and updates!