Welcome to NGB and our walkthrough for the Discrete Mathematics main quest in The Outer Worlds 2. During this quest, you will acquire the N-Ray Scanner and neutralize Victor. Our guide will walk you through all the objectives, highlight the best strategies, and make sure you don’t miss any rewards.
Quick Links
Discrete Mathematics Main Quest Guide
How to Start the Discrete Mathematics Main Quest
You’ll automatically start the Discrete Mathematics main quest in The Outer Worlds 2 while progressing through the On the Trail of the Traitor main quest. It will trigger when you reach the N-Ray Range and speak with Exemplar Foxworth.
Discrete Mathematics Walkthrough
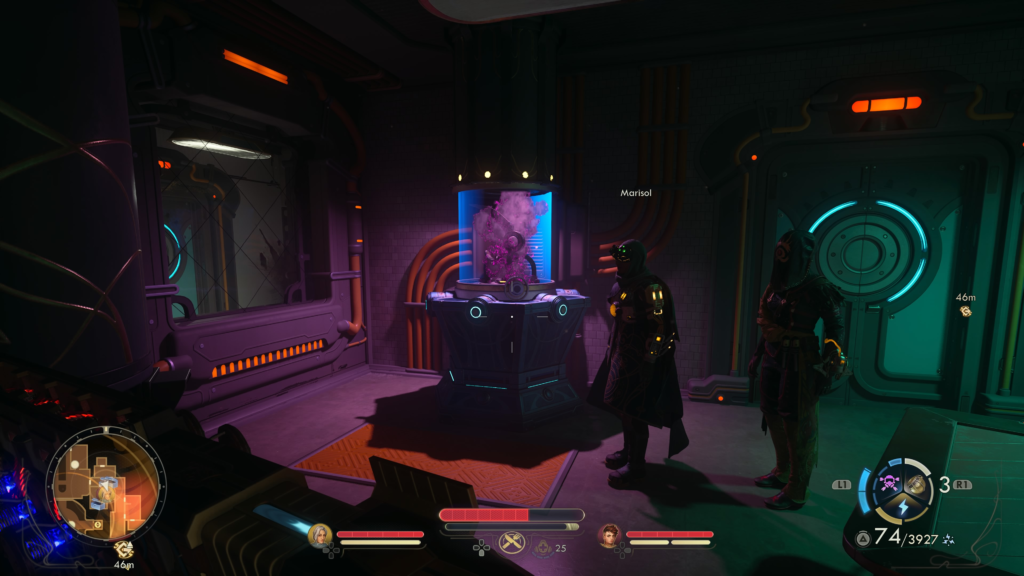
If you want to talk Victor down instead of killing him, make sure you bring Marisol with you to confront him! You can get her from the Beginning at the Endpoint side quest! Also, make sure to bring Aza with you as her companion quest, The Dawn of a Glorious Betrayal, is also here.
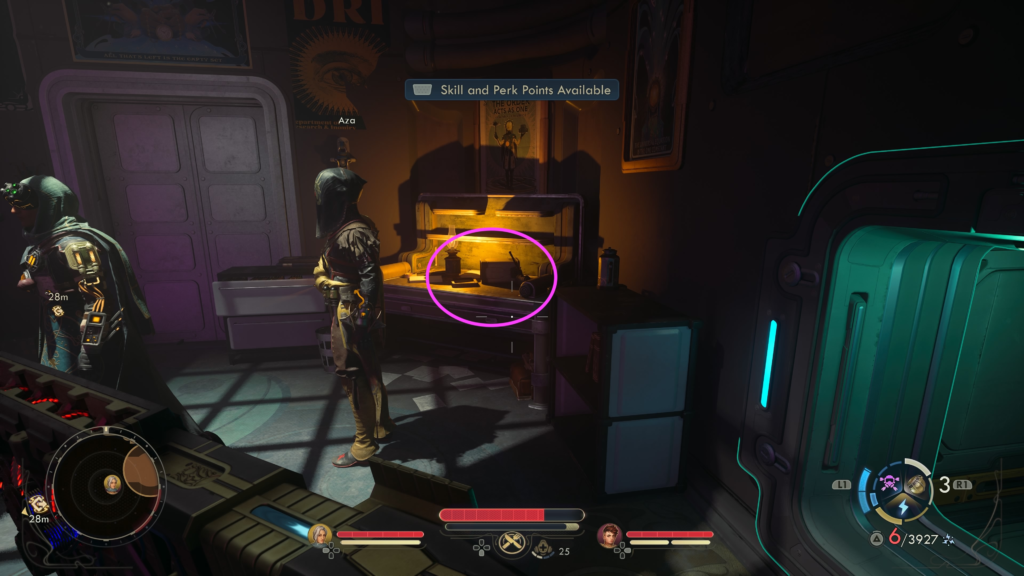
Acquire the N-Ray Scanner
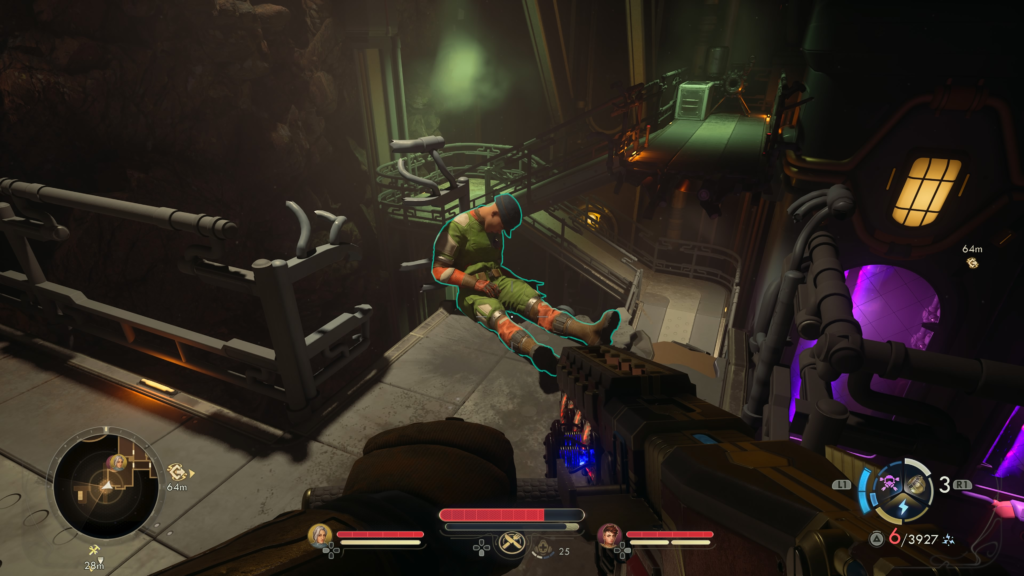
To reach the N-Ray Scanner, use the vent on the wall behind Foxworth. Follow along the shaft until you emerge from the other side. Along the way, you’ll encounter an electric current in the vent shaft that you’ll want to be aware of. Time it right and you can pass through unscathed.

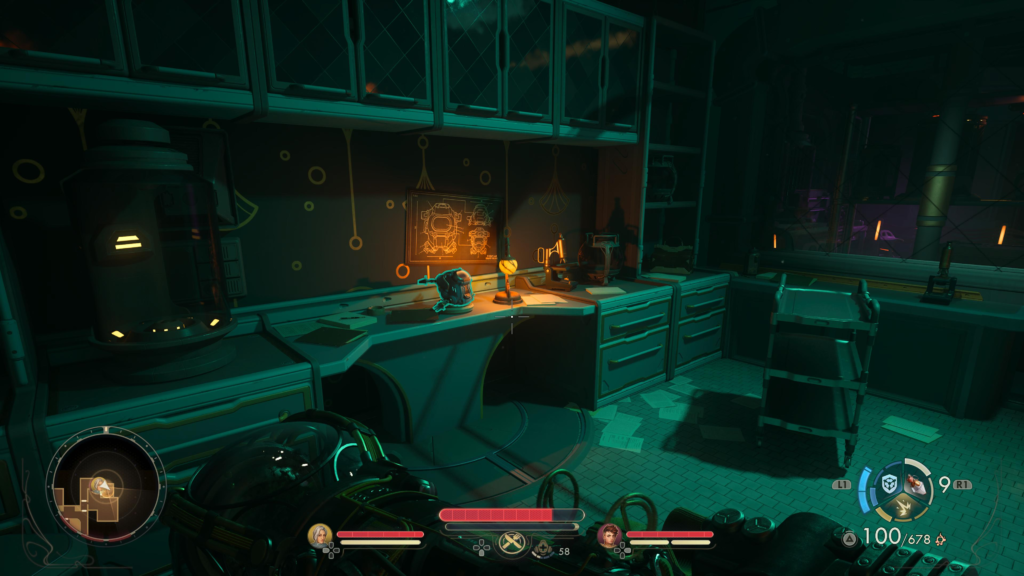
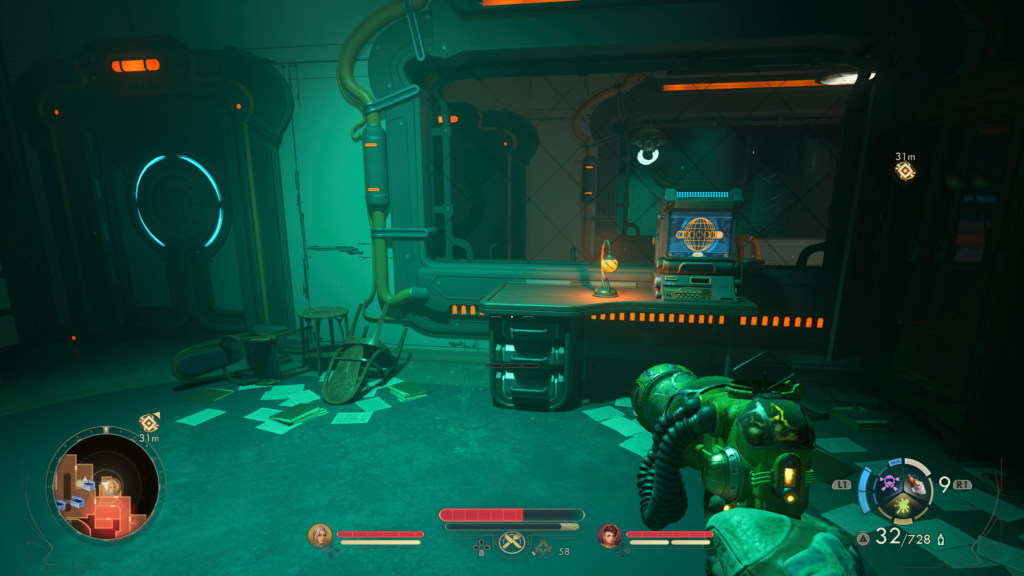
When you reach the room on the other side, drop down and crouch walk under the shelf on the left. Follow the hallway north and enter the room at the end to find the N-Ray Scanner on a desk.
Interact with it, then exit the room and use your new scanner to deal with the two enemies there.
Locate Victor
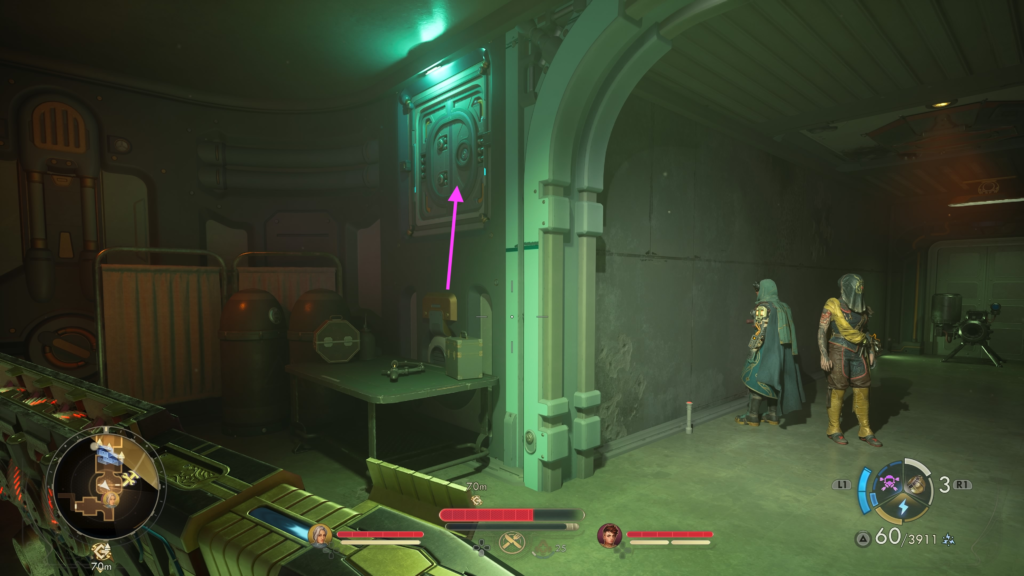
Return to the room with Exemplar Foxworth, then use the scanner to follow the wire from the door to a security closet.
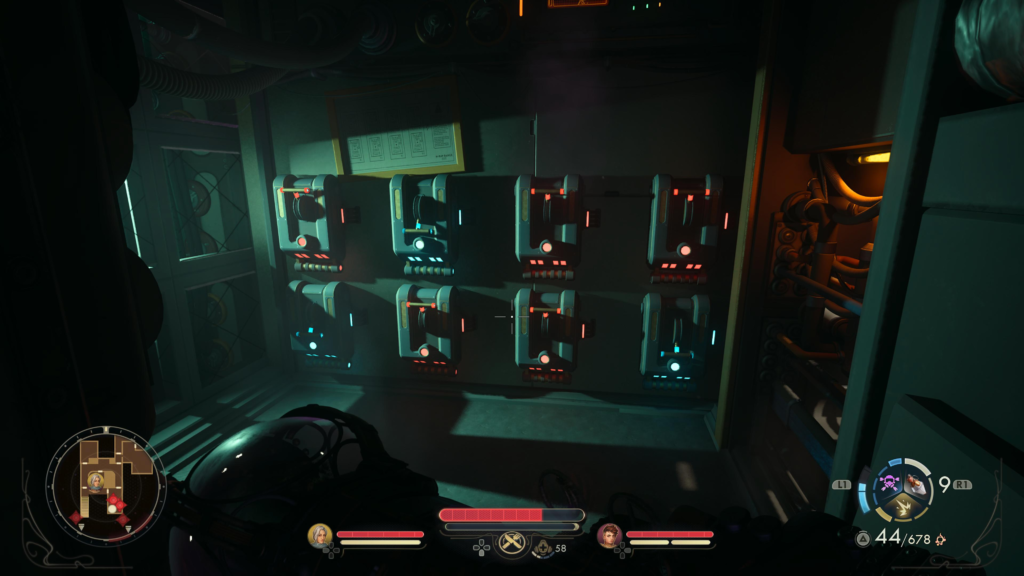
Flip switches 8, 2, and then 5 to open the door leading into the range. Return to Foxworth and head through the door.
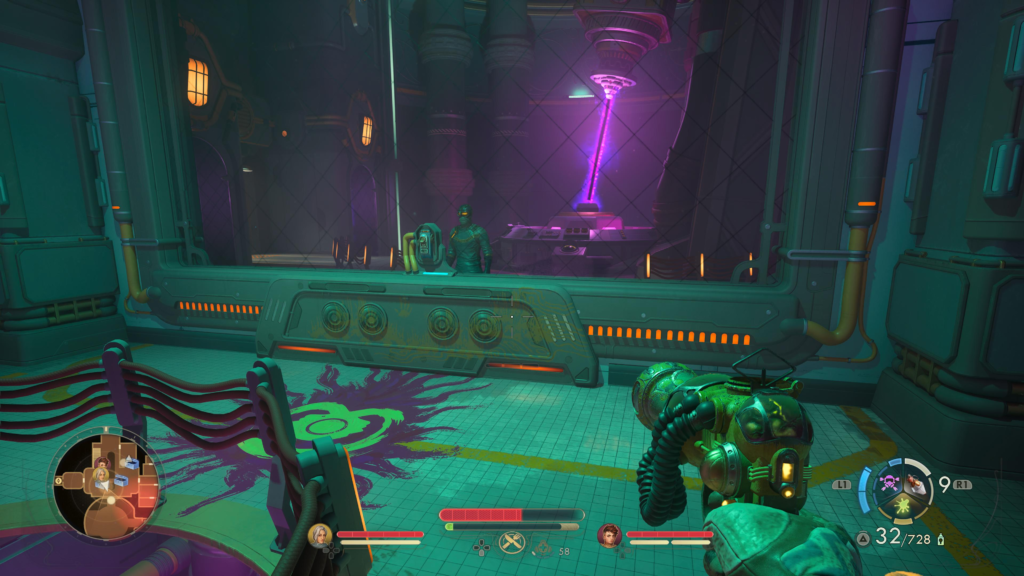
In the range, there will be several enemies you’ll need to deal with. Once they have been dealt with, speak with Victory using the intercom on the south side of the room. He’ll tell you not to interrupt his work before walking off.
Neutralize Victor
Head to the northeastern part of the room where you’ll find another vent. Go inside and follow it!
Tossball Card: Marco Miranda – This card can be found in the small room between the vents.
On the other side of the vent, you’ll reach another room.
Be sure to interact with the terminal in this room and review all the messages. You’ll need them for the Learn the Abbot’s Secret objective for the On the Trail of the Traitor main quest. It will also contain some messages you can use against Victor later.
In this room, if you have Lockpick 3 and one Mag-Pick, you can open the locked door and loot the chest inside to get some goodies!
Additionally, the room across from this room will have an experimental melee weapon you can acquire if you have Science 5 or Melee 5. If you have Observation 3, use this option to reduce both requirements for Science and Melee down to 3.
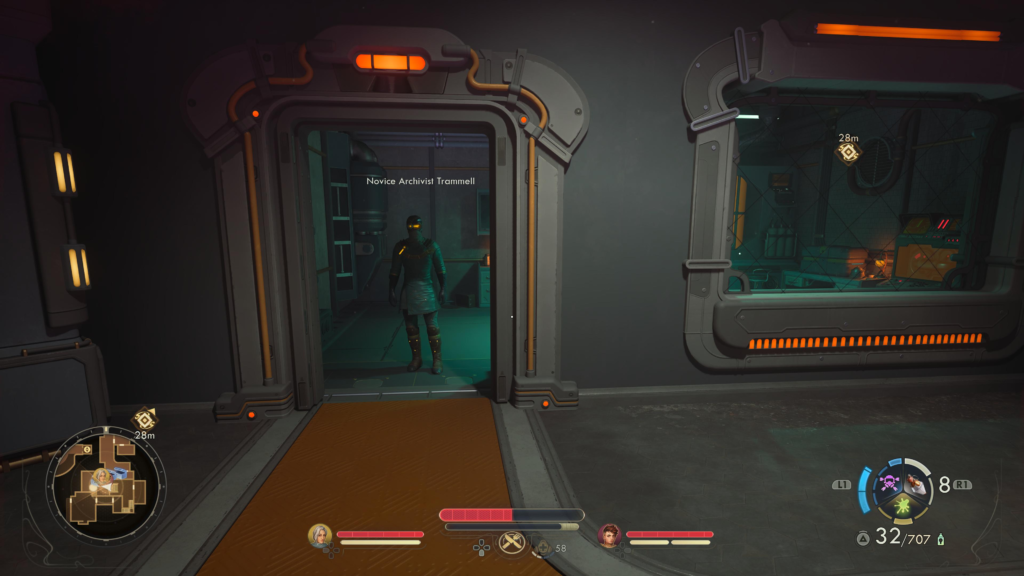
Exit the room and follow the hallway to the left, dealing with the enemies you come across. You’ll eventually end up in a larger room with three enemies. Defeat them, then speak with Novice Archivist Trammell, who will emerge from a locked room. Exhaust his dialogue options to learn a little bit more about what Victor is up to.
Head up the stairs and enter the next room to get a message from Victor. Once he’s done talking, go over to the south side of the room to find a power lever behind a fallen section of the wall. Interact with it to power the door, allowing you to pass through.
For this next section, proceed forward using your scanner to dodge all of the tripwires and mines that Victor set up.
Pitchball Card: Sound Martilik – Make sure to loot this card from the corpse before jumping across the gap in the walkway.
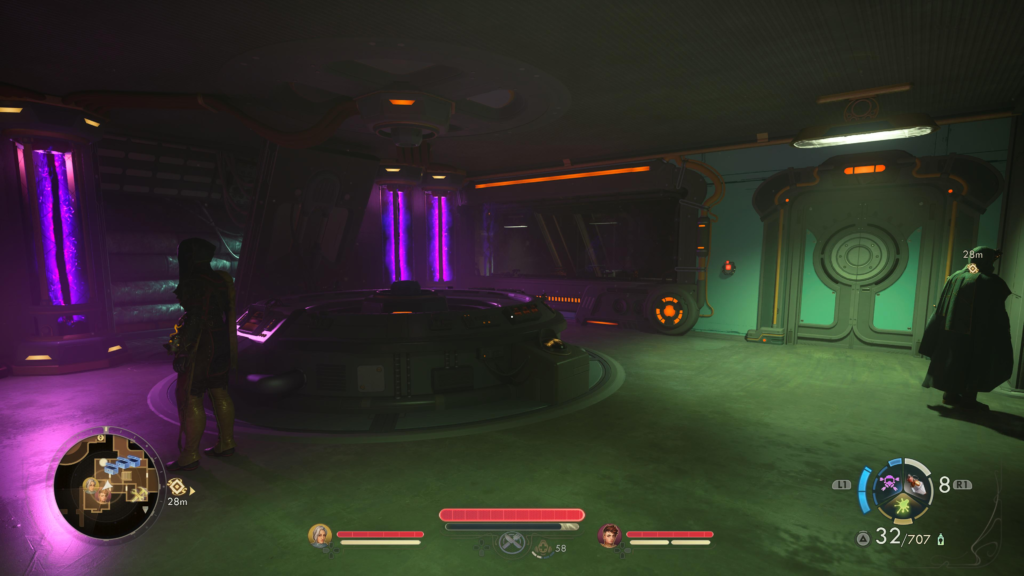
When you reach the room with the two sealed doors, take the vent above the table and pull the lever to enable power.
Return through the vent and enter right door to reach a laser wall. If you have Hack 3, drop down on the left side.
Watch out for the booby traps and interact with the box to unseal the maintenance hatch. With the hatch unsealed, enter the vent and take a left. Again, be mindful of the traps. Head straight to reach and interact with the box to disable the power and shut down the lasers.
Alternatively, if you do not have Hack 3, follow the lasers down to the point just before they turn around and come back. Hop down on either side, avoiding the mine in the center when you land.
Enter the vent and pull the nearby lever on the wall to disable the power, shutting down the lasers.
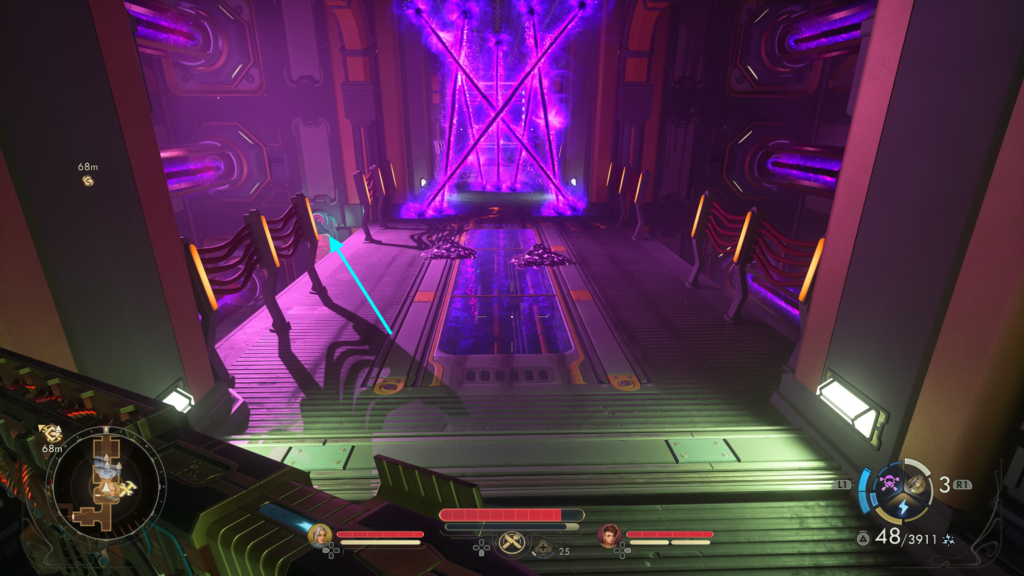
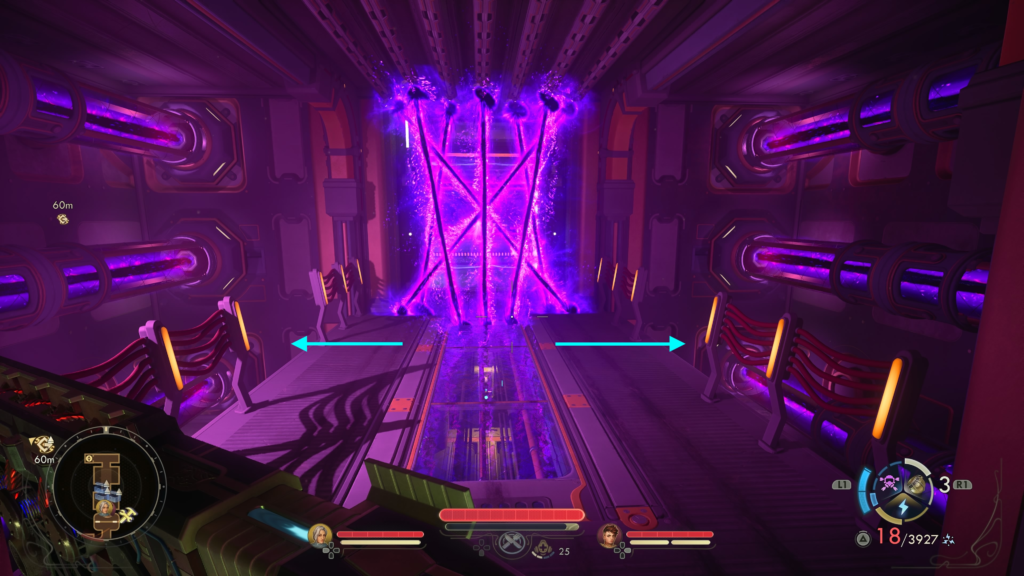
When you get past the laser wall, use the elevator to reach Victor finally. He’ll save the only way to save Arcadia and ensure the future is if you both die. You’ll then either be able to persuade him to stand down or take him out. Either way, the quest will complete once Victor has been stopped.
To exit the N-Ray Range, jump down to the side of the platform to find a vent, then follow it out. When you reach the next room, a video will play revealing who has been working against you!
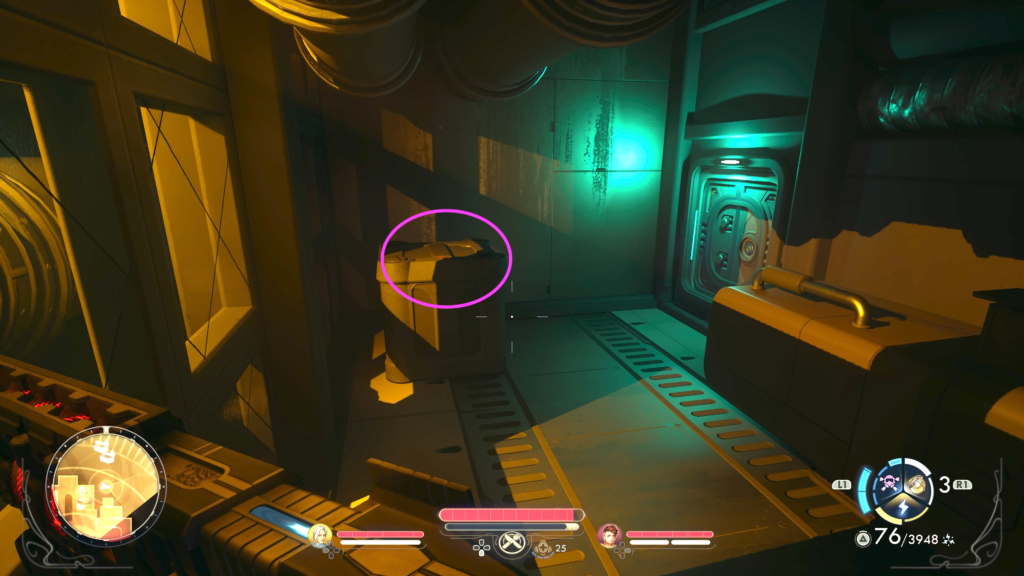
Make sure to grab the Advanced Decryption Key from the table with the lantern across from the monitor.
Related The Outer Worlds 2 Content
Looking for more The Outer Worlds 2 content? Use the links below to keep exploring our guides:
- Main Page: Visit our The Outer Worlds 2 Guides and Walkthroughs hub for all our latest content!
- Official Website: Check out the official The Outer Worlds 2 website for news and updates!