The Meat is Murder side mission in Borderlands 4 plunges you into a grisly scene on a quiet farm where violence of the most heinous kind has erupted. Armed with sharp wits, courage, and firepower, it’s up to you to investigate the carnage and deliver swift, merciless justice. Our walkthrough will guide you through every step of this intense and darkly thrilling mission.
Quick Links
Meat is Murder Walkthrough
How to Start the Meat is Murder Quest
Location: The Fadefields – Coastal Bonescape
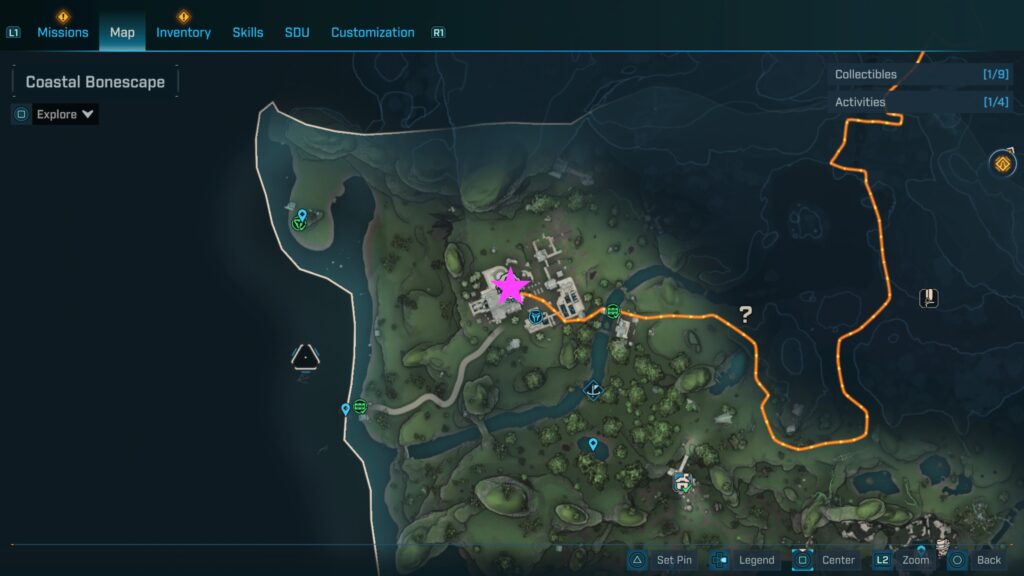
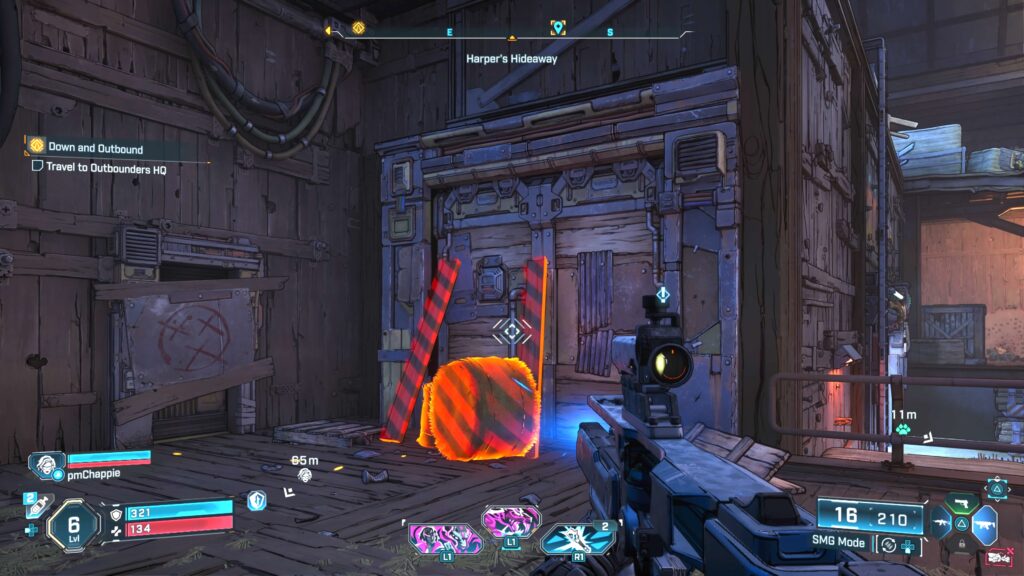
To begin the Meat is Murder side mission in Borderlands 4, you must first clear out all the enemies in Harper’s Hideaway. Once the enemies have been dealt with, head inside the large barn and shoot the debris blocking the door to gain access to Byron. Talk to him to accept the quest!
How to Complete the Meat is Murder Quest
Violence, of the monst heinous sort, has transpired in the quaint confines of a humble farm. Such depravity must be met with a penetrating intellect, an unflinching heart, and of course, swift and merciless vengeance.
Search the Barn
After accepting the quest, follow Byron out of the room and into the barn where you’ll need to search for clues. Start by examining the Wildhorn on the northeastern side of the barn.

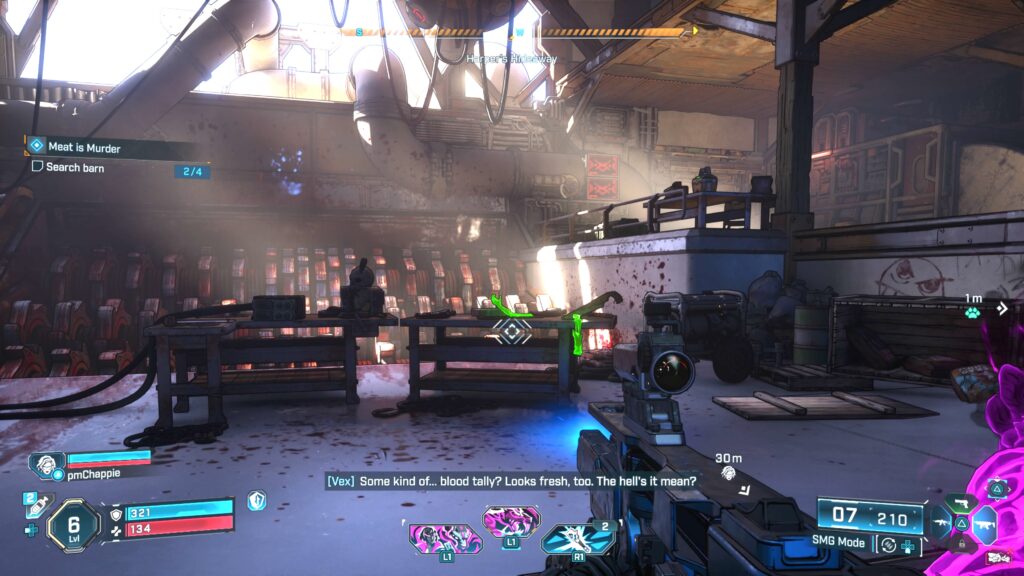
Next, examine the corpses in the center of the barn. On the southeastern side of the barn, examine the bloody tally on the wall.
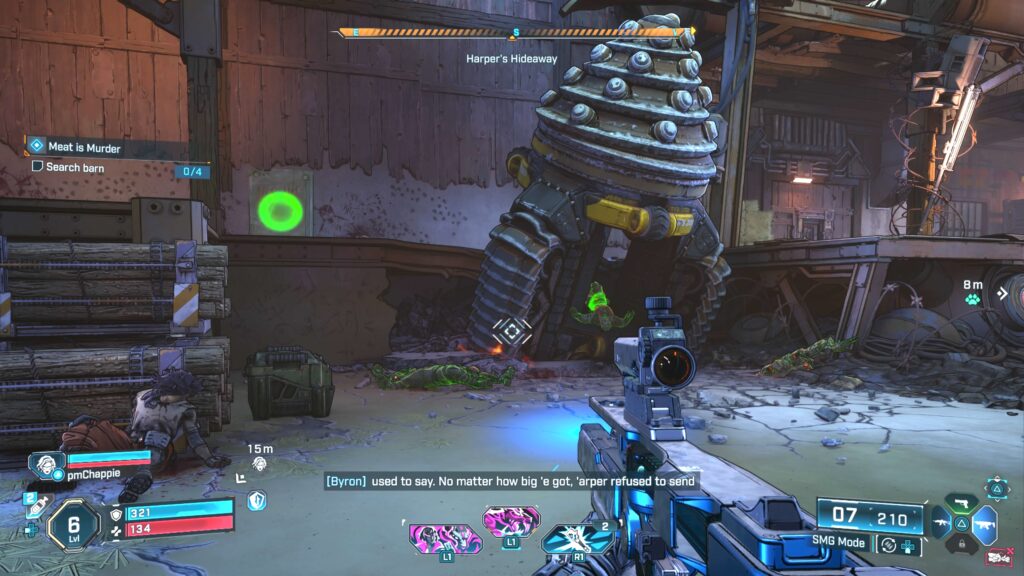
Lastly, interact with the body parts on the table near the meat grinder.
Find Harper
On the table next to the body parts, use the radio to hear the Grin Reaper’s riddle. You’ll find Harper suspended from the ceiling above the grinder by a rope.
Shut Down the Grinder
To the left of the grinder, interact with the kill switch. When that does not power down the grinder, Byron will suggest using coolant to freeze the fuel. Head outside to the west side of the barn. Watch out for the new enemies that spawn!
On the west side, you’ll find a circular panel in a wall that you can use your grapple to pull open, revealing a coolant regulator.
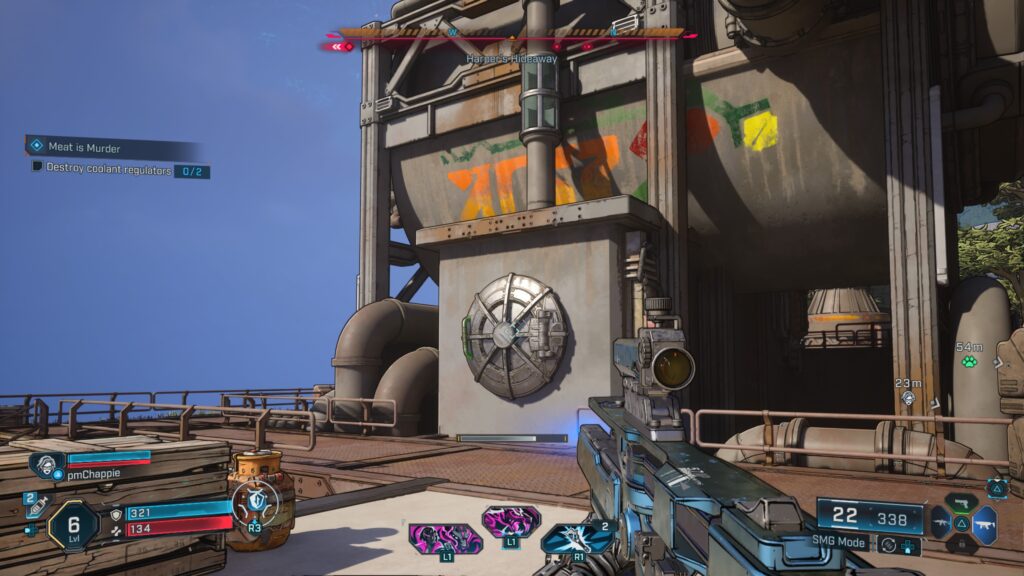
Destroy it! On the opposite side of the fuel tank, you’ll discover the second circular panel. Again, open the panel and destroy the coolant regulator.
Examine Harper
Once both coolant regulators have been destroyed, shoot the hook holding Harper’s feet to release him. After he falls, examine the axe on his body. You will then need to use the radio on his body to once again hear from the Grin Reaper. Unfortunately, he’ll spawn more enemies, so take them all out!
Reach Tool Shop
After clearing out all the enemies, Byron will decide to stay behind and requests that you make the journey east to find the tool shop, Steel n Deal, which is located near an Active Checkpoint.
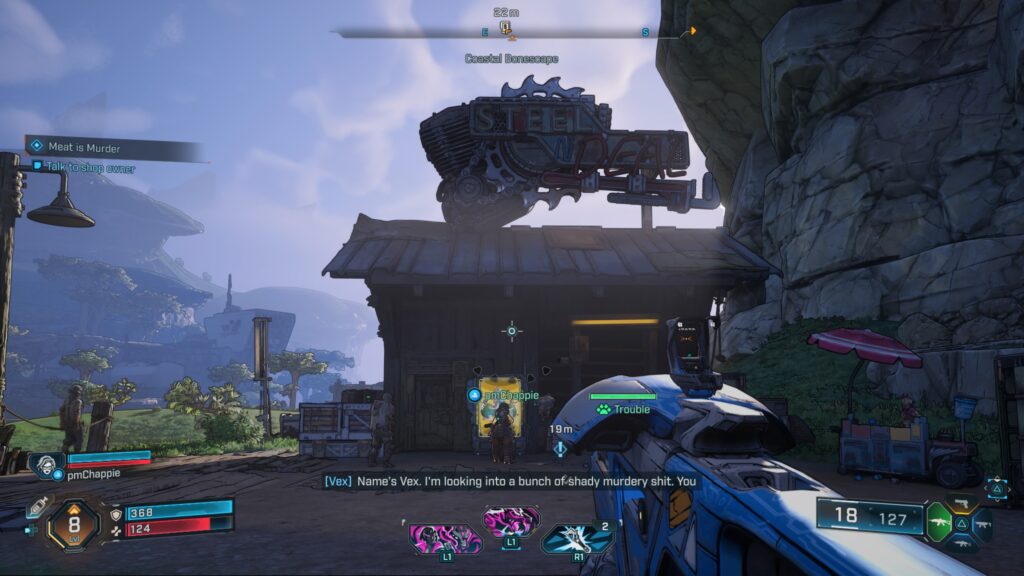
Once you arrive, speak with the person standing next to the vending machine named Otis to hear your next clue.
Find the Cave Beyond Waterfall
In search of the waterfall, head north, passing by the Fishin’ Spot Point of Interest to reach the Plungeford Point of Interest. Once there, head to the northwestern side of this area and look for a cave in the cliff near the waterfall.
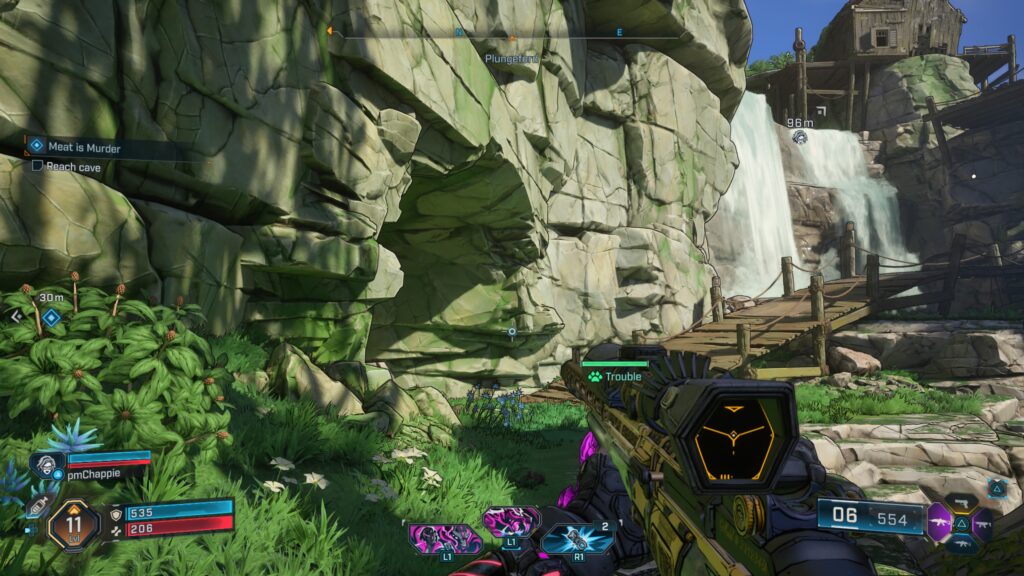
You’ll know you’re at the right spot when you see the entrance boarded with a bed inside near the entrance. Shoot the boards, then head inside and listen to Zeke’s rant.
When he’s finished, he will attack. Defeat him then listen to the radio on the table in the cave. You’ll learn that Zeke was not the Grin Reaper, and the trail will go cold. Thus ends the quest.
Related Borderlands 4 Content
Looking for more Borderlands 4 content? Use the links below to keep exploring our guides:
- Next Guide: Continue with our Borderlands 4 Side Missions Guide for complete walkthroughs on every quest!
- Previous Guide: Go back to our Borderlands 4: The Fadefields – Coastal Bonescape Area Guide to discover every collectible and activity needed for 100% completion in this region.
- Main Page: Visit our Borderlands 4 Guides and Walkthroughs hub for all our latest content!
- Official Website: Check out the official Borderlands 4 website for news and updates!