Welcome to NGB and our Bravely Default Flying Fairy Conjurer Asterisk guide! The Conjurer is a powerful late-game support job that excels in boosting the party’s stats with potent buffs while also offering a variety of utility spells. This guide will walk you through how to unlock the Conjurer Asterisk, provide tips for defeating the boss guarding it, and explain the best strategies and job combinations to maximize its effectiveness in battle.
Quick Links
Conjurer Asterisk Guide
How to Start the Conjurer Asterisk Sub-Scenario
For the Conjurer sub-scenario to become available, you’ll need to play through the game until you reach Chapter 6. There, you’ll want to awaken three of the four crystals without destroying any of them. After awakening the third one, Tiz and Ringabel suggest that the party visit the Sage.
Doing so will trigger an event where Agnes is tasked with entering the Vestment Cave with one ally and working her way down to the depths to meet the sage. After that conversation, exit the cave to regroup with the party. You’ll then be able to head back to the sage’s house. Go inside and head towards the back to trigger an event where the party will read a letter from him.
Obtaining the Conjurer Asterisk
Head to the Eternia Region
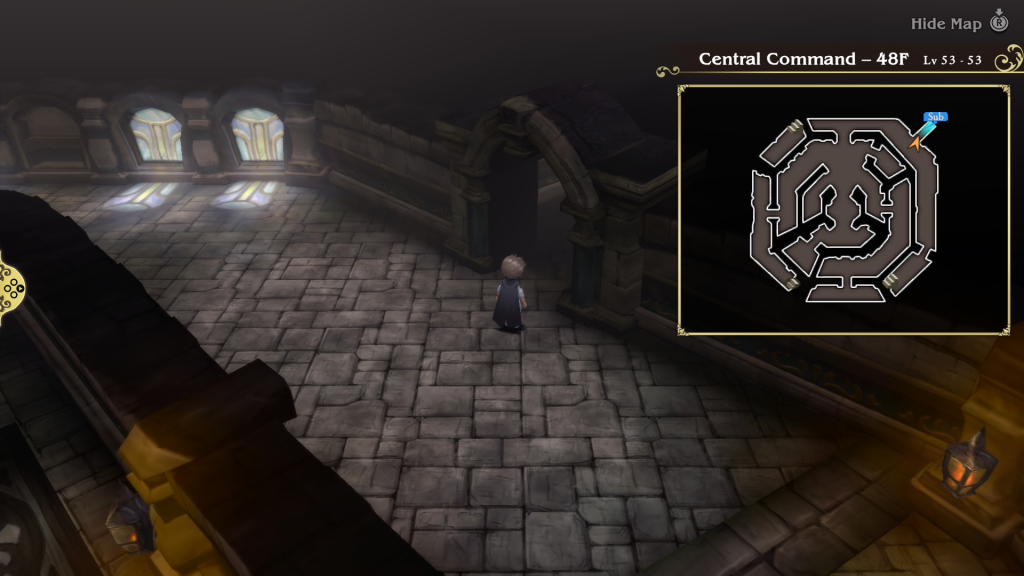
After reading the sage’s note, leave his house and board the airship. Fly it to Eternia and then work your way to the Eternia Central Command building, located north of the city. Once inside, take the elevator on the northeastern side of Central Command 1F and follow the main path leading up to 49F. From there, head to the center of the room and take the elevator up to reach the sage.

This will trigger an event where the sage will then send the party to Edea’s room. Head back down to 48F, making your way to the northeastern corner of the floor to reach the entrance to Edea’s room. Go inside to trigger a cutscene, resulting in a boss fight!
Boss Fight: Alternis
For this fight, we’ll be facing this world’s Alternis. He’ll have 100,000 HP and no notable weaknesses. He’ll mainly attack the party using Black Bane, Dark Bane, and his sword. Make sure to keep your party’s HP topped off, and skills like the Templar’s Ramparts can help minimize damage. Once the fight ends, an event will trigger.
- Black Bane – Sacrifice 30% of your max HP to deal 1.5 times damage with a dark physical attack to all enemies
- Dark Bane – Sacrifice 20% of your max HP to deal 1.25 times damage with a dark physical attack to a single target
Travel to the Central Healing Tower
Exit Central Command and head back to Eternia. Go to the Central Healing Tower and head up to Eleanor’s room on the 2nd floor for another event. This will immediately kick off a boss fight against Braev the Templar.

Boss Fight: Braev the Templar
In this fight, we’ll be facing a grieving Grand Marshal who has 120,000 HP and is weak to dark attacks. Just like every other time you’ve fought him, Braev will build up 2-3 BP before unleashing some strong attacks at the party. Those attacks consist of Radiant Blast, Heart Strike, and Giant Slayer.
If you have a character that can steal, you can steal a Rebuff Locket and Excalibur from the Templar. Once you defeat Braev, another event will trigger involving Edea and her family. The sage will then appear to send the party to their next destination.
- Radiant Blast – Light-based physical attack that ignores Default’s damage reduction, dealing 1.5 times the damage
- Heart Strike – Guaranteed critical hit that deals 2 times damage to the target
- Giant Slayer – Deals 1.5 damage when attacking an opponent with more HP than the user
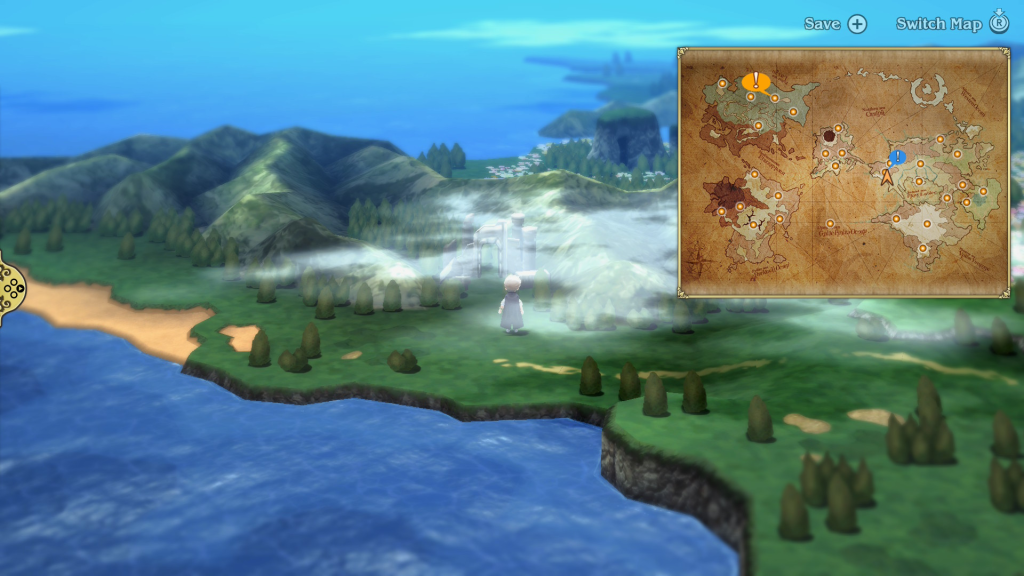
Travel to the Twilight Ruins
Next, the sage will send us to rescue the Water Vestal, hiding out in Twilight Ruins, located west of Florem. Head there and navigate to the depths of the ruins. Upon reaching the city, an event will trigger, where Einheria, Mephilia, and Artemia appear to take out the Water Vestal. This will then lead to a confrontation with the three!
Boss Fight: Artemia, Mephilia, and Einheria
This time around, you’ll have to face Einheria, Artemia, and Mephilia all at the same time. Einheria has 85,000 HP with no notable weaknesses, while Mephila has 60,000 HP with no notable weaknesses, and Artemia has 60,000 HP, being weak to fire.
Artemia will use two Ranger skills, Targeting and Multiburst, while Mephilia will spend most of the time attacking a party member using her weapon. She will occasionally cast the summon Girtablulu, damaging the whole party with earth-based damage. Einheria will spam Crescent Moon for most of the fight with a couple of jumps thrown in to keep you on your toes.
Make sure to bring a White Mage or some form of healing to keep the party’s health topped off. We also recommend targeting one enemy at a time. Artemia was the first one we went after, then Mephilia, and finally Einheria.
Following the fight, an event will occur between the Water Vestal and Agnes. Afterward, Sage Yuluana will appear with more words of wisdom. He’ll then send the party to find a young lad in a ruined village.
- Artemia
- Targeting – Deal 1.25 times damage
- Multiburst – Four physical attacks that attack random enemies, dealing 0.6 times the damage
- Mephilia
- Girtablulu – Deal earth damage to all enemies
- Einheria
- Crescent Moon – Physical attack that hits all enemies
- Jump – Jump off the screen at the end of the turn, then come hurling down the next, dealing 2 times the damage (3 with a spear)
Travel to Norende Village
Exit the ruins and hop back in your airship. You’ll then want to fly it to Caldisla and head northeast of the town to reach Norende Ravine. Pass through it to arrive at the village, where Tiz finally gets to reunite with Til. This will be cut short as a group of six Kobolds attacks. Defeat them all to trigger another event with Sage Yulyana.

Travel to Yulyana Woods
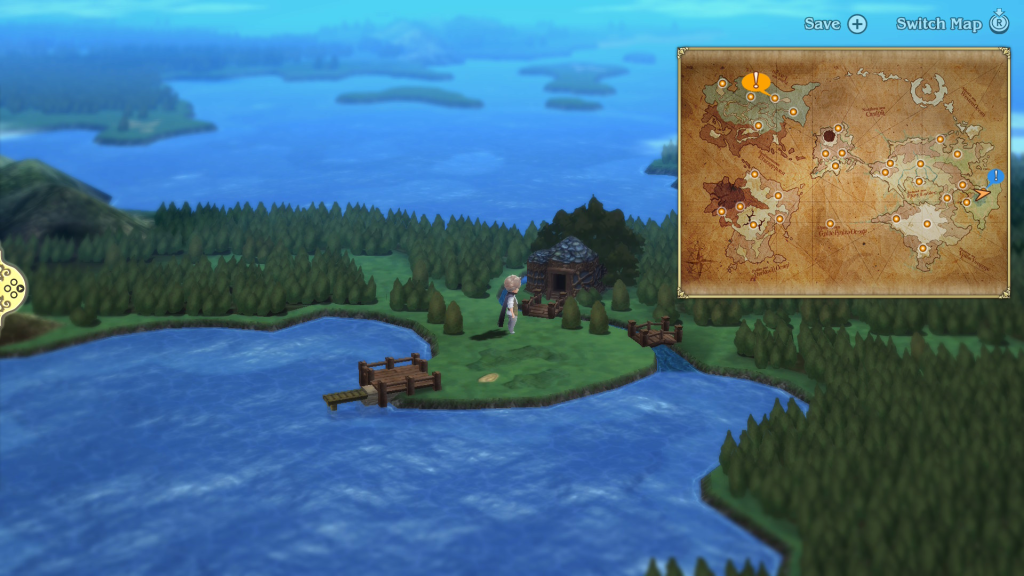
Return to the Sage’s house in the Yuluana Woods to give him the party’s answer. Be sure to save first, as speaking with him will trigger a boss fight.
Boss Battle: Conjurer Yulyana
It’s finally time to fight Sage Yulyana for the final asterisk. He will have 150,000 HP with no notable weaknesses. He also has a high magical defense, so for this fight, you might want to focus on physical attacks. Now, facing the sage might be one of the most brutal fights in the game up to this point due to his high HP and strong magic attacks. Meteor will hit the party for a couple of thousand points of damage, while his Amped Strike deals 9,999 and will KO whoever he targets. Yulyana will also use Promethean Fire to buff his attacks.
- Meteor – Attacks the whole party with flaming meteors
- Amped Strike – A single-target attack that deals 9,999 damage
- Promethean Fire – Buffs the caster’s physical attack
To survive this fight, you’ll want to make sure to bring a white mage with the Epic Group-Cast ability so that you can heal the whole party at once for the full effect. Additionally, ensure they have the Holy One ability to enhance the effectiveness of the healing further. As for the other jobs, you’ll want something to boost the party’s magical defense. A Spiritmaster or Performer could help here. Also, make sure to bring a solid DPS or two to focus on the sage’s health.
Once the sage falls, you’ll receive the Conjurer Asterisk, unlocking the Conjurer job. One last event will trigger, where the sage leaves the saving of the world to the party before leaving them for a meeting he has been putting off. This will complete the sub-scenario.
More Bravely Default Flying Fairy Guides and Walkthroughs
For additional guides and walkthroughs on Bravely Default Flying Fairy, be sure to check out our Bravely Default Flying Fairy HD Remaster main page!