Welcome to NGB and our Bravely Default Flying Fairy Chapter 6 walkthrough! In this chapter, Tiz and his companions face the harsh consequences of awakening the crystals, as distortions in reality begin to emerge. Prepare for mind-bending revelations, increasingly difficult boss battles, and the unraveling of truths that will shake the party to its core. We’ll guide you through each major location, quest objective, and enemy encounter to help you stay one step ahead in this pivotal chapter of your journey.
Quick Links
Bravely Default Flying Fairy Chapter 6 Walkthrough
Things Aren’t Quite What They Seem in Bravely Default Flying Fairy Chapter 6
Grab the Chest Key
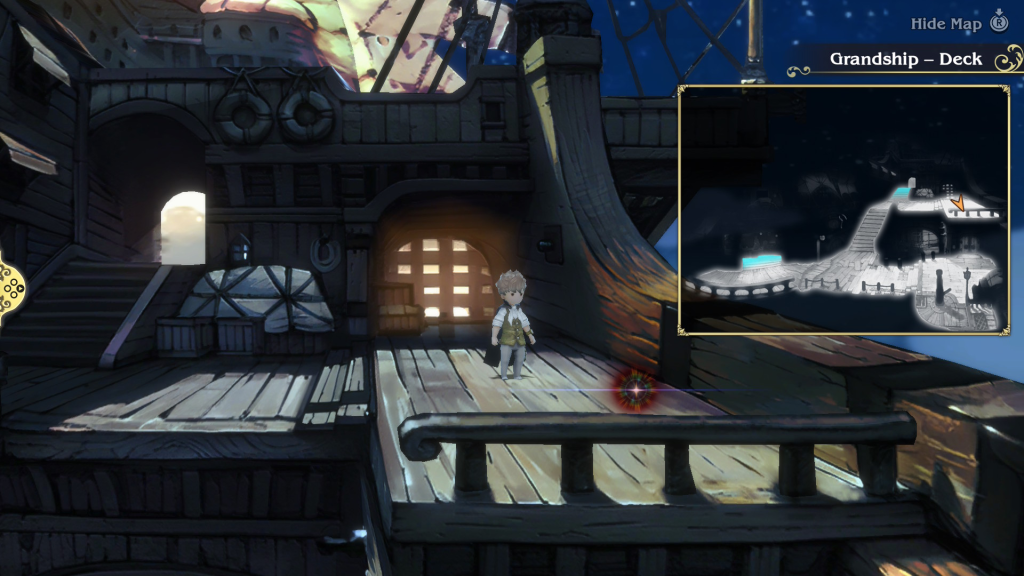
Once you regain control of the party in Chapter 6, you will find yourself back on Grandship. The first thing to catch your eye is a shiny object on the ground to the right. Pick it up to receive the chest key, which will finally allow you to open the blue chests you’ve encountered in dungeons.
Bravely Default Flying Fairy Chapter 6 Optional Side Content
Starting in Chapter 5, the side content in Bravely Default Flying Fairy HD Remaster becomes mechanically repetitive. The same optional bosses reappear in each chapter with little to no changes in their attack patterns or difficulty. However, the story surrounding each encounter evolves, revealing new narrative details with every loop. To avoid repeating the same information across multiple chapters, we’ve created a dedicated Bravely Default Flying Fairy Chapters 5 and 6 Side Content guide. It covers every sub-scenario and includes tips for handling each boss. Be sure to check it out if you need help navigating the optional content!
Additionally, you now have the chest key in Chapter 6, which will gain you access to some powerful gear that can make the upcoming fights easier. Be sure to check out our Blue Chests Guide to find out where they are located and what items the blue chests contain.
Awaken the Crystals – Three Times is the Charm
To progress the main story, you’ll need to travel to each temple and awaken all four crystals again. You can do this in any order you wish, but for the purposes of this guide, we’ll follow the order from the main story: Wind, Water, Fire, and then Earth.
Awakening the Wind Crystal
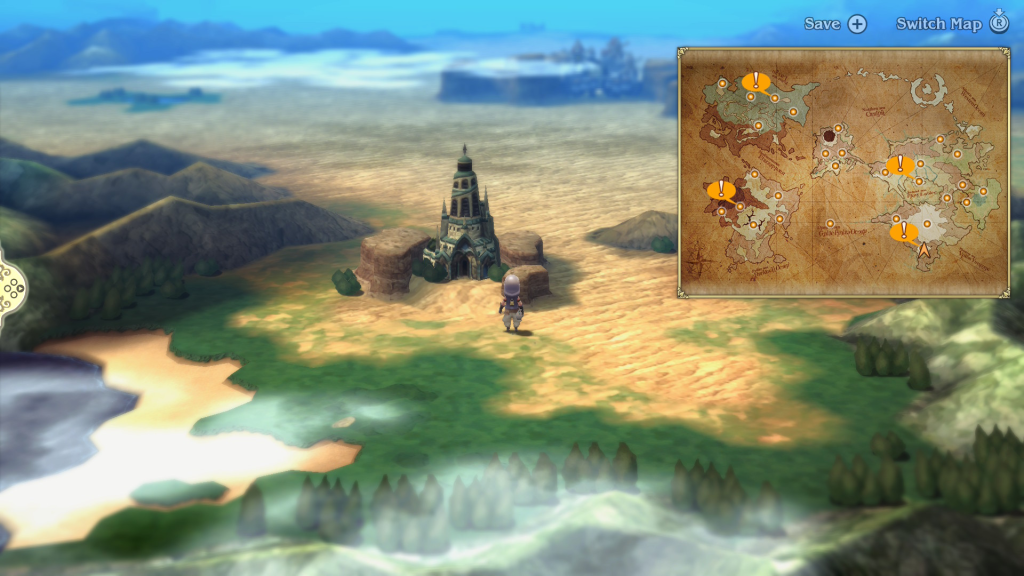
Travel to the Temple of Wind south of Ancheim in the Harena Region of the continent. When you arrive, head inside and make your way to the altar. The shortcut from the last time should still be available, allowing you to reach it quickly. Make sure to stop by the man in red to save and heal up if needed.
Boss Fight: Orthros
Upon entering the altar of wind, an event will trigger, leading to another fight against the beast, Orthros. As before, you’ll be facing its two heads made of fire and ice. They both have 65,000 HP each, while the fire head is weak to ice and the ice head is weak to fire. The pair will mostly attack using their Hellfire and Deep Freeze attacks, which will hit the entire party.
Together, they will use the Blazzard attack, dealing both ice and fire damage to the whole party. You can prolong this by attacking one of the heads with its weakness. That will prevent the Orthros from unleashing its attack.
To make the fight easier, you can equip the Iceflame shield to nullify fire attacks. You can also bring a Spiritmaster to use its Greater Spirit Ward skill, which will reduce all elemental damage. Upon defeating Orthros, an event will trigger, allowing Ringabel to regain more of his memory.
During the cutscene, Ringabel will bring up overpowering the crystal, which would cause it to shatter. You can do this by continuing to press the awaken button after Airy tells you to stop. The game will focus on the crystal, and the prompt will disappear. We recommend not doing that yet. It’s best to wait until you’ve awakened three of the four crystals and spoken with the Sage first.
- Fire Head
- Hellfire – Fire attack that hits the whole party
- Flaming Fang – Fire attack that targets a single party member
- Ice Head
- Deep Freeze – An Ice attack that hits the entire party
- Icy Fang – An Ice attack that targets a single party member
Awakening the Water Crystal
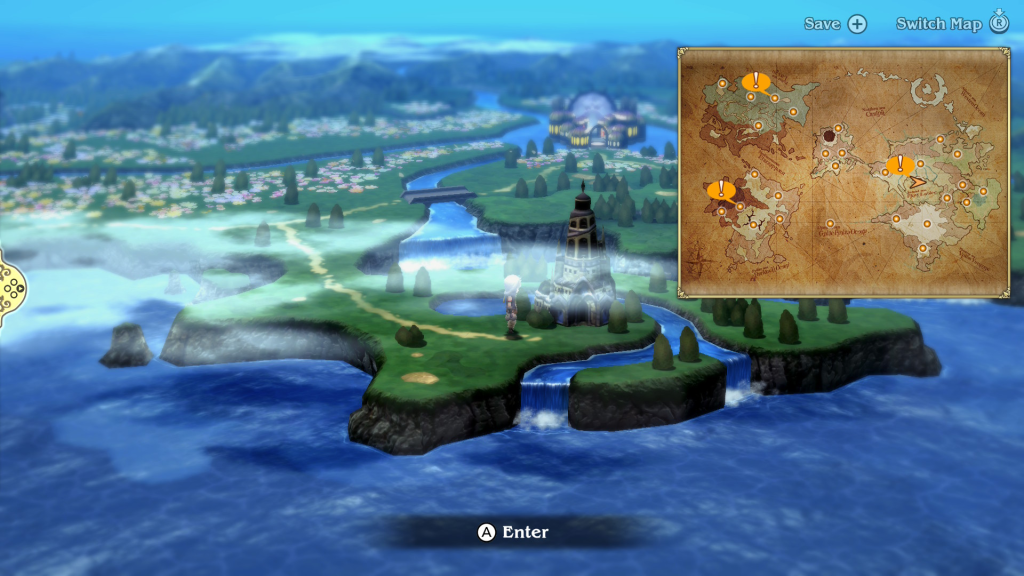
Next up is the Water Crystal at the Temple of Water in the Florem region. Travel to the temple, south of Florem, then head inside. Again, use the man in red near the doorway leading to the altar to save up and heal. Head inside when you’re ready to face the boss.
Boss Fight: Rusalka
Upon entering the Altar of Water, an event will trigger, leading to a fight with Rusalka. This time around, it will have 65,000 HP and is weak to electric-based skills and spells. It has three main attacks that it uses: Bewitching Voice, Aqua Regi, and Seep/Dark Flow.
Bewitching Voice has a chance to inflict charm on the target. You can mitigate this by having a Spritmaster to negate ailments, a White Mage to head the ailment, or an item to prevent it from happening. It will also use its Aqua Regi attack to lower the target’s defense. The final attack it uses is a combo of Seep and Dark Flow. When it uses Seep, Rusalka will leave the battlefield for the turn, only to appear on the next turn, damaging the whole party for massive dark-type damage. Make sure to Default when this happens to minimize the damage.
- Rusalka
- Bewitching Voice – inflicts charm on the target
- Aqua Regi – Lowers the target’s defense by 25%
- Seep / Dark Flow -Rusalka will leave that battlefield for one turn, returning the next to deal dark damage to the whole party
Awaken the Fire Crystal
Now that the Vestal Garb has been repaired, it’s time to get back to awakening the remaining crystals. Next one up on the list is the Fire Crystal. Travel to the Eisen Region and head to the Mythril Mine, northeast of Eisen Bridge. Head through the mines to reach the Underflow, then pass through that area to get the Temple of Fire. The shortcut that opened up after the initial visit will be open, so you’ll need to follow the path west from the Underflow entrance to reach it.
When you reach the Temple of Fire, use the man in red there to save and heal up if needed. You’ll then be free to enter the Altar of Fire to face the next boss.
Boss Fight: Chaugmar
An event will trigger once you enter the Altar of Fire, leading to a fight against Chaugmar. It will have 75,000 HP and is weak to electric-based skills and spells. When the battle begins, the float eye will have an active barrier reducing all damage it takes to zero. You’ll need to wait until it uses its Transform ability before you can start attacking.
The demon will use the skills listed below, with Energy Burst being its primary damage dealer. You can block this attack using the Rampart skill of the Templar job. The Ranger’s skills can also hit the demon for weak point damage.
Once the boss goes down, an event will trigger. As Agnes goes to awaken the crystal, Ringabel will ask Agnes for a history lesson on crystal lore. After a brief conversation, Agnes will awaken the crystal, returning some more of Ringabel’s memory.
- Chaugmar
- Soul Suck – Steals MP from the target
- Blood Suck – Steals HP from the target
- Heart Suck – Steals BP from the target
- Energy Burst – Physical attack that damages the whole party
Visit the Sage
Before heading to the final crystal, be sure to stop by the sage’s house in Yulyana Woods. When you enter, an event will trigger in which the sage will ask Anges to choose a companion and meet him in the depths of Vestment Cave. Proceed to the cave and make your way down to Vestment Cave B3. There, speak with the sage to activate another event where you’ll learn some important details.
After finishing, exit the cave and return to the party. Before heading to the next crystal, go back to the sage’s house. The sub-scenario for the final job, the Conjurer, is now available. If you need any help with it, please check out our Conjurer Asterisk Guide.
Awaken the Earth Crystal
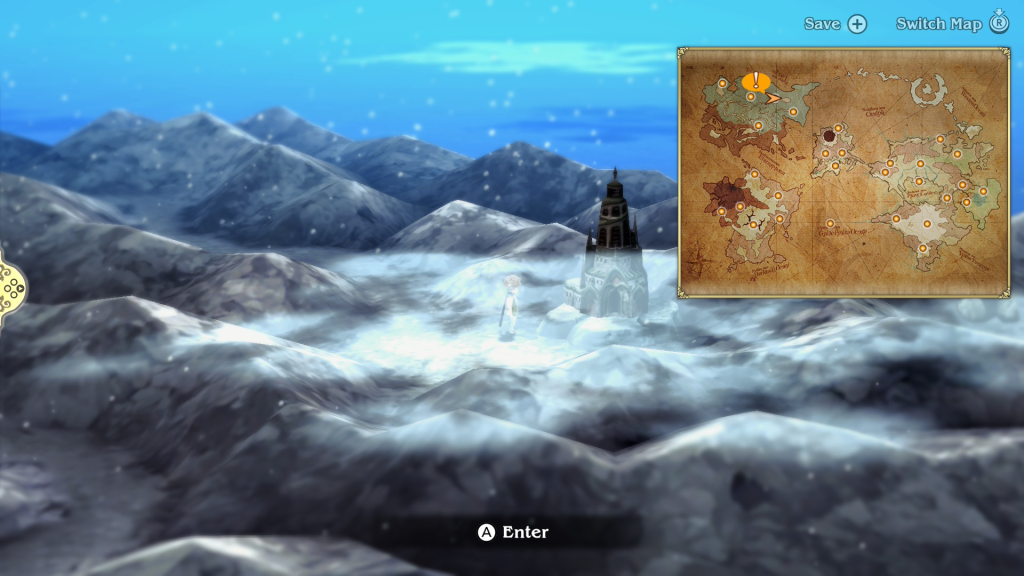
Three crystals down, one more to go. Travel to Everlast Tower in the Eternia Region. You’ll then want to work your way up to the Temple of Earth. Once you arrive, stop by the man in red to heal up and save. When you’re ready, enter the Altar of Earth to face the final crystal boss.
Boss Fight: Gigas Lich
Upon entering the Altar of Earth, an event will trigger, which leads to a fight with the Gigas Lich. The undead monstrosity will have 110,000 HP and is weak to light damage. The lich will use Negative Power to buff itself and then use its Slam and Quada abilities to attack the party. It can also use Quada on itself to heal.
To face the lich, you may want to bring a Templar to attack it using light-based skills. You can also use the White Mage’s cure skills to damage it as well, or the Hunter and its Undead skill to hit the Lich’s weak point.
Once the lich goes down and Agnes goes to awaken the crystal, now would be a good time to keep going after Airy says to stop. This will trigger an event leading to one of the game’s two endings, Finale Lying Airy. Once you complete that ending, the game will reload before you awaken this crystal. This will allow you to continue the game to get the true ending.
- Gigas Lich
- Quaga – Deals earth damage to a single target
- Negative Power – Buffs the caster’s physical and magic attack by 10%
- Slam – Physical attack that hits the whole party
- Fear – Inflicts dread on the target
Attempt to Seal the Great Chasm
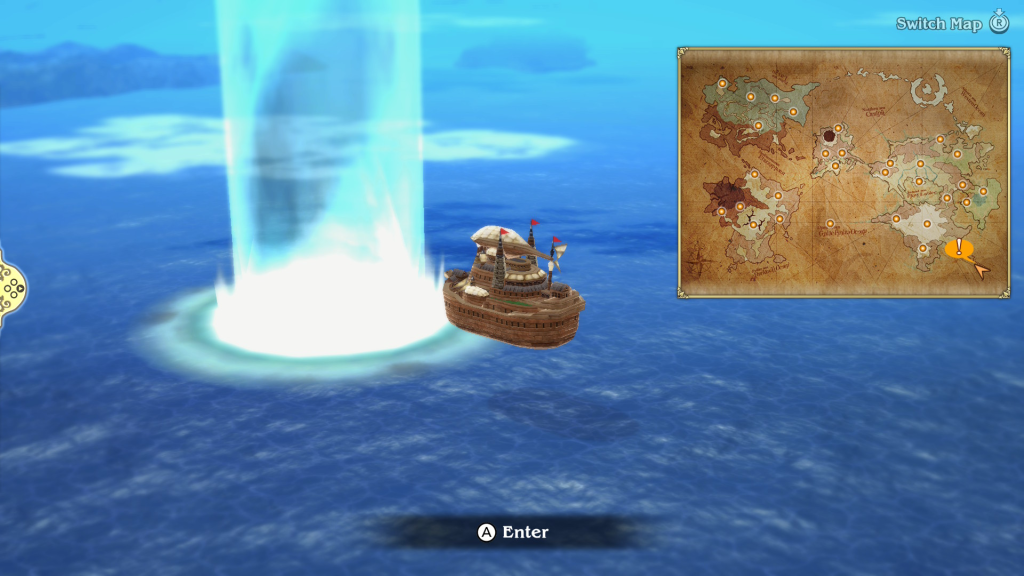
Now that all four crystals have been awakened, it’s time to travel to the Pillar of Light in the southeastern corner of the map. You can head straight there and enter the Pillar of Light. This will trigger an event, leading to the completion of Bravely Default Flying Fairy Chapter 6.
More Bravely Default Flying Fairy Guides and Walkthroughs
For additional guides and walkthroughs on Bravely Default Flying Fairy, be sure to check out our Bravely Default Flying Fairy HD Remaster main page!