Welcome to NGB and our Bravely Default Flying Fairy Chapter 3 Jobs & Asterisks guide. In Chapter 3, several powerful new Jobs become available through the Asterisk system. As the war in Eisenberg unfolds, you’ll face off against formidable foes guarding these valuable Asterisks. This guide breaks down how to unlock each Job in Chapter 3 and offers strategies to get the most out of your expanding roster.
Quick Links
Bravely Default Flying Fairy Chapter 3 Jobs & Asterisks Guide
Pirate Sub-Scenario
How to Start the Pirate Sub-Scenario
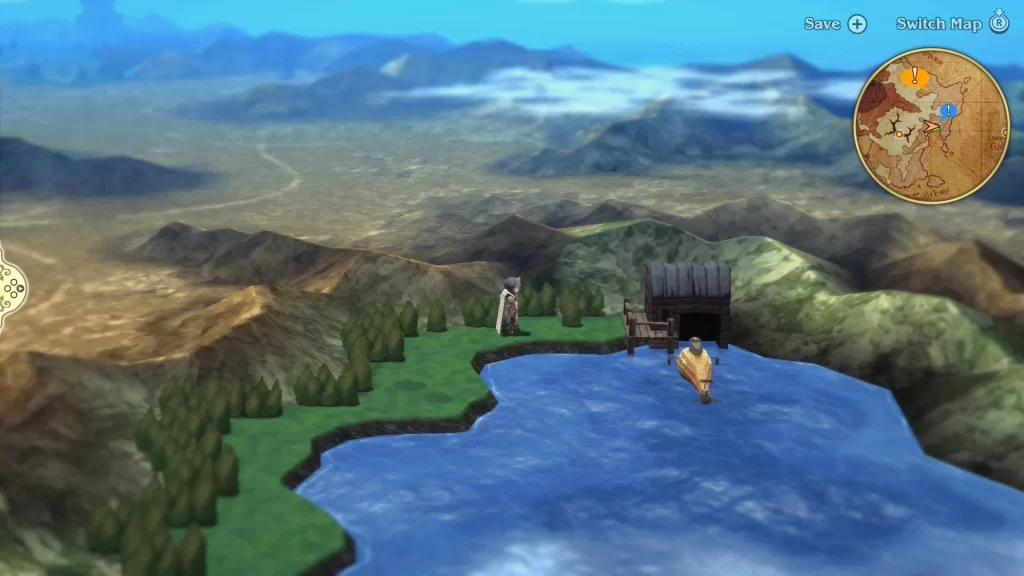
To start this sub-scenario, you’ll need to progress through Chapter 3 until the party agrees to help out the Shieldbearers. Captain Goodman will then task the party with scouting out Grapp Keep. After you’ve reached that point, head to the house where you docked the airship for an event to trigger with Datz and Zatz.
Pirate Sub-Scenario Guide
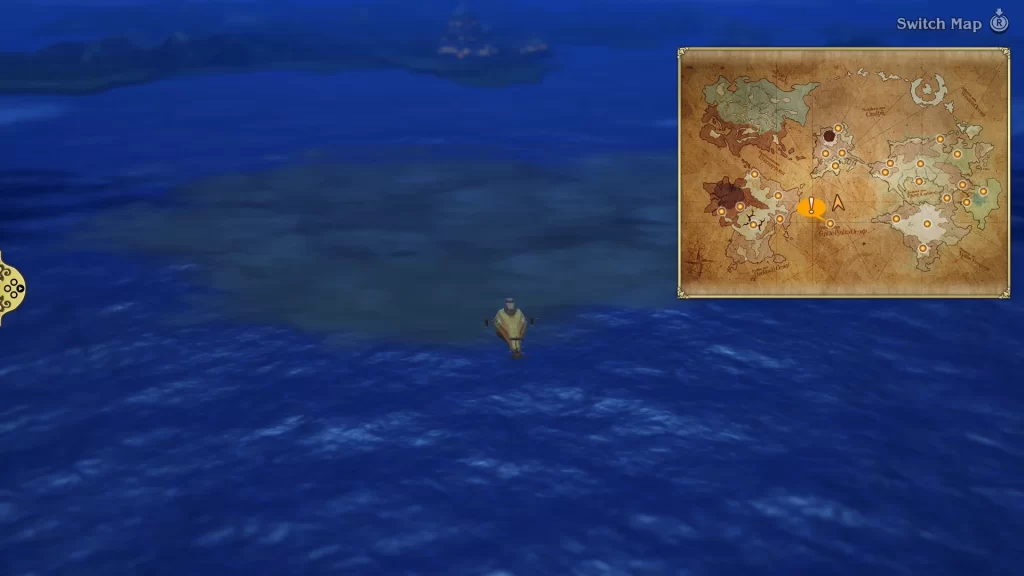
Board your ariship and set sail for Grandship. We don’t actually want to board it, but instead sail the area around it, looking for a large patch of fog as pictured below. When you spot it, sail through it to trigger an event. You’ll want to choose the “Board” option when prompted.
SS Funky Francisca
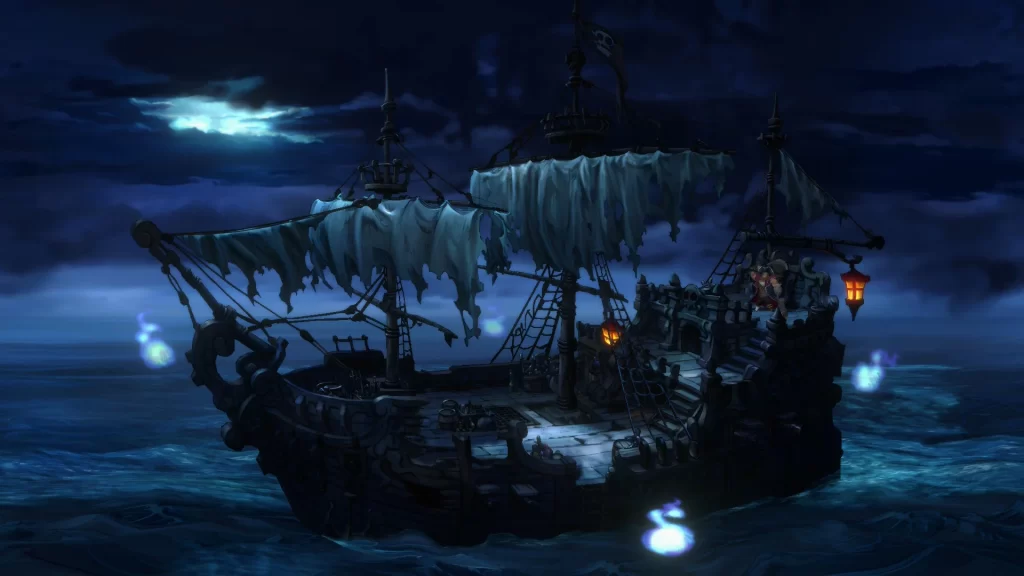
The party will board the SS Funky Francisca to find that it is deserted until its captain makes an appearance. Before speaking with him, head to the bow (front of the ship) to find an interaction point near the ship’s figurehead to find 2,000 pg. You can also find a Viking Axe in a stack of barrels and crates, behind the mast. After collecting both things, head up to the shits wheel and speak with the captain. This will trigger an event, leading to the boss fight.
Boss Fight: Acting Captain Barbarossa
This fight will have you facing the acting captain of the SS Funky Francisca, Barbarossa. He’ll have 45,000 HP and is weak to electric attacks. As far as boss fights go, this one is on the easier side. Barbarossa mainly uses two skills. The first being Shell Split, which deals the same damage as a basic attack while also lowering the target’s defense for four turns. Double Damage is the other skill, which deals twice the damage of a basic attack.
You can make quick work of him by attacking him with electric skills/spells. The Spell Fencer, Red Mage, and Black Mage will come in handy here. Once the acting captain falls, you’ll receive the Pirate Asterisk, unlocking the Pirate job.
Preformer Sub-Scenario
How to Start the Performer Sub-Scenario
In order to start this sub-scenario, you’ll need to speak with Command Goodman on Eisen Bridge after rescuing the canary kids from the Mythril Mine during the chapter 3 main story. Speak with him and choose the “What is that?” option at the bottom of the list. This will trigger an event where the party meets Praline and is forced to retreat.
Performer Sub-Scenario Guide
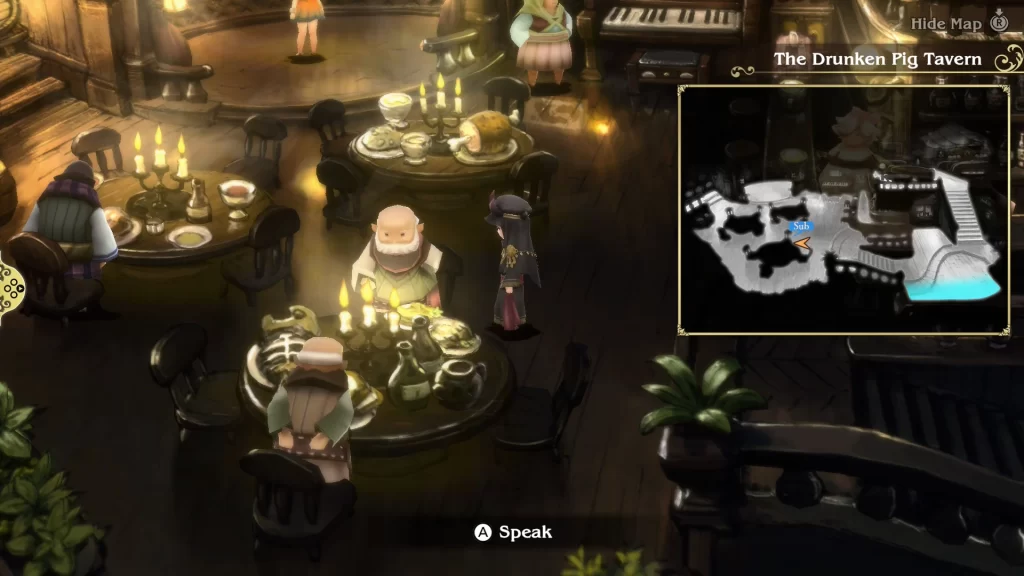
Following the first battle with Praline, return to the airship and sail it back to Grandship. There, you’ll want to enter the Drunken Pig Tavern to trigger an event with the Proprietress. She’ll tell the party about the siren’s song and how a bard was able to overcome it. You’ll then want to speak with the two old guys sitting at the nearby table. He’ll tell you that the Bard might still have a pupil in Ancheim.
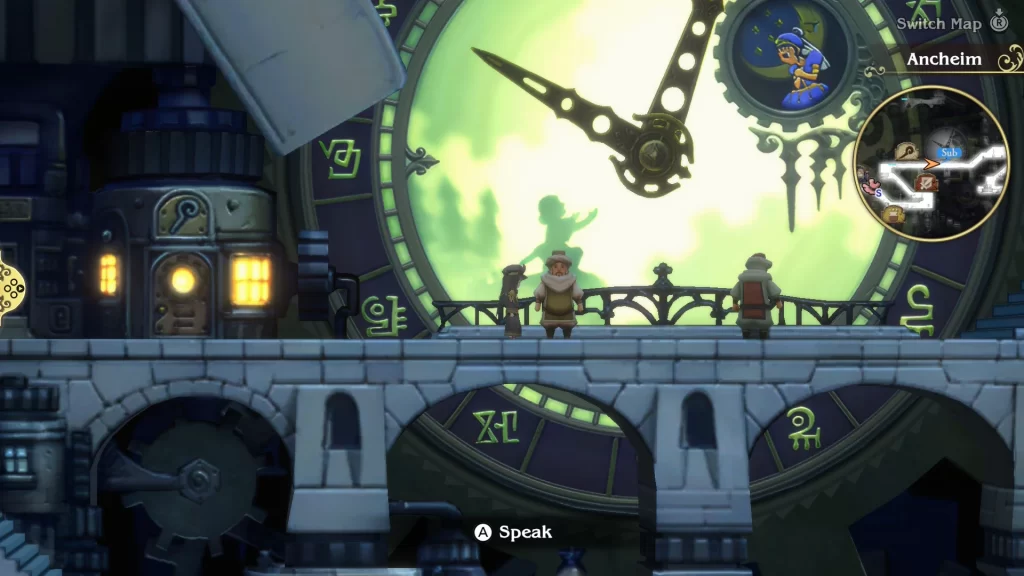
Return to the airship and sail back to Ancheim. When you arrive in the city, make your way to the giant clock in the center of town. You’ll want to speak with the man there to learn that he’s the first of the three pupils. He’ll tell you that the bard’s final words to him were to “Always sing with your mouth wide open.”.
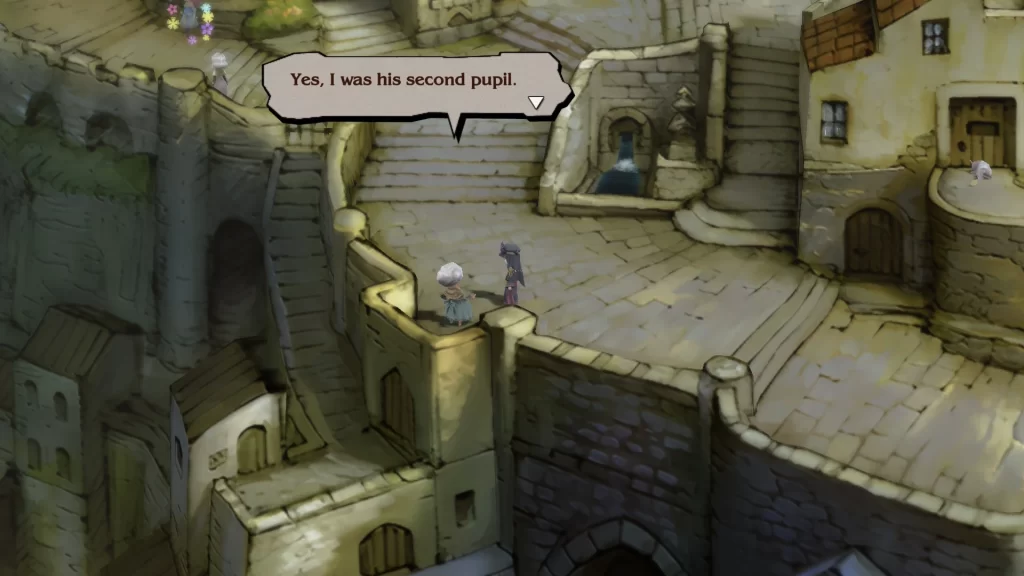
To find the next pupil, we’ll need to travel to Caldisla. Head back to the airship and make your way there. You can reach it by sailing north of Grandship. Enter the town and head up the stairs on the left. You can find the second pupil along the stairs, just before it starts to curve. She’ll be standing on the left side with the white, puffy hair. The last words she received from her master were “Sing from your belly.”.
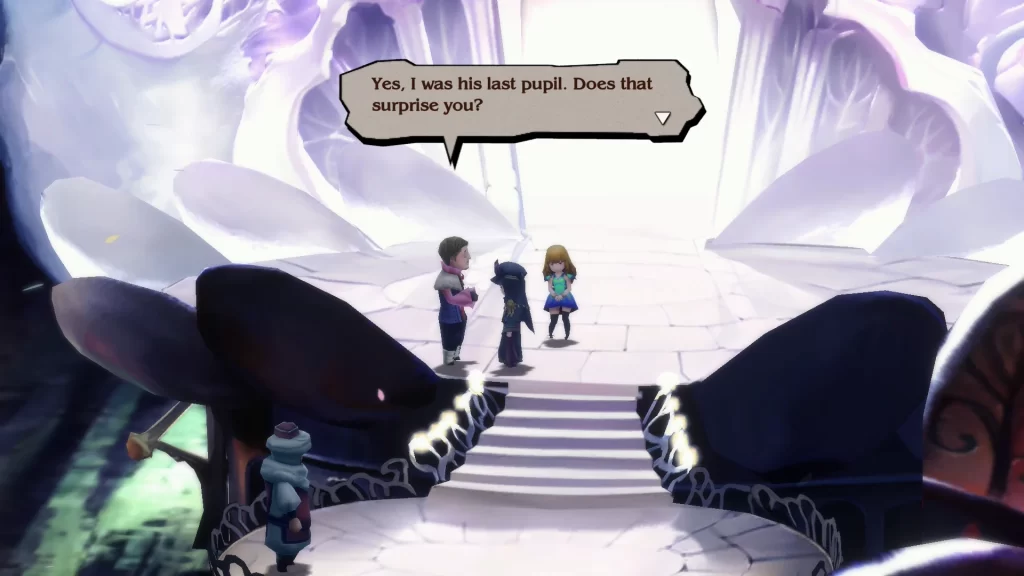
The last of the three pupils can be found in Florem, the Land of Radiant Flowers. To reach it, you’ll need to dock by Ancheim and head east through the Misama Woods. When you reach the town, go to the Plaza and make your way up to the stage. You will find the last pupil there at the top of the stairs on the left. Speak with him to learn that the last words from his master were “Do not be shy when it comes to song,” and “A singer has no need of finesse,” before heading off to Hartschild.
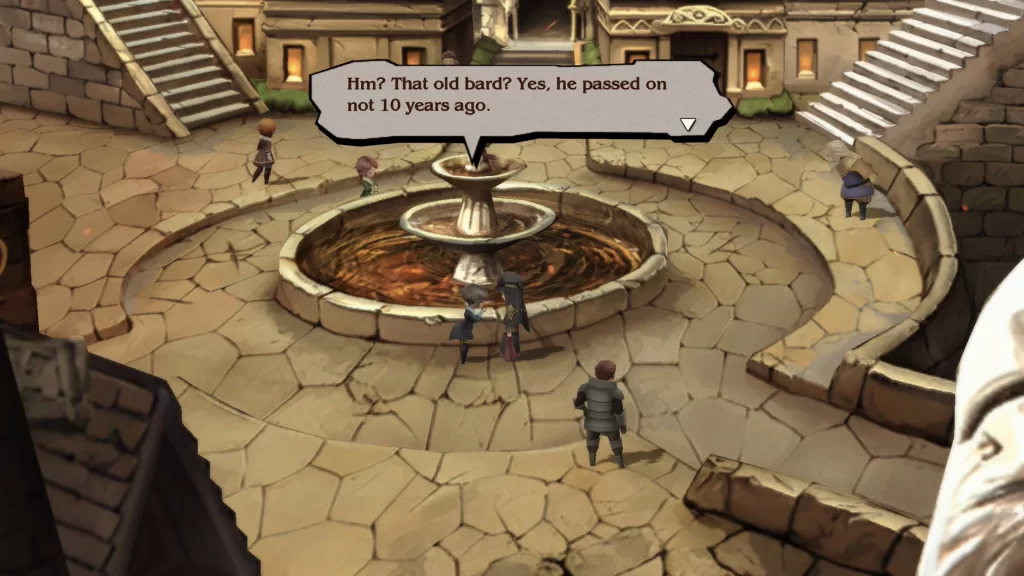
Travel back to Hartschild and go to the fountain in the center of town. Speak with the lady wearing black in front of it to learn that the bard passed away just shy of 10 years ago. Before doing so, he gathered all the kids up and taught them about music. He told them “Your hearts are as one” and “The most important thing is to have fun.”. She’ll then say that everyone in town was one of his students, and they might break out in song if requested. That last thing the girl mentions is that he had his belongings sent back to Grandship after he died.
Return to Grandship and head back to the tavern. This will trigger another event with the Proprietress, who happened to find Bard’s baton. With that, it’s finally time to face Praline. Return to Eisen Bridge and use the man in red to save. Speak with Commander Goodman and select the “Do battle again” option to fight Praline.
Boss Fight: Praline
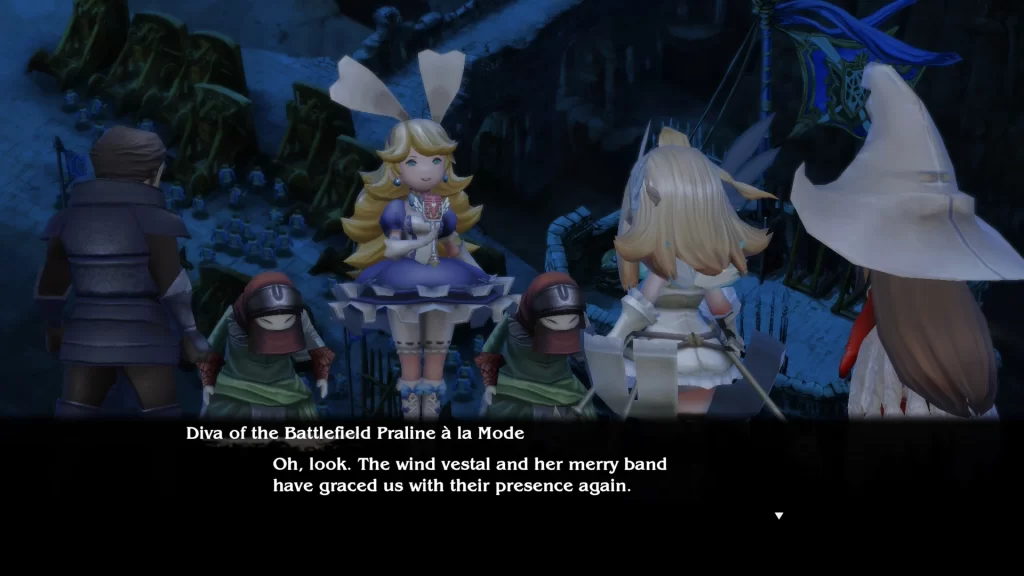
When the battle begins, you’ll be facing Praline along with a Black Blade and Black Axefighter. Praline has 40,000 HP while the Blade has 2,800, and the Axefighter has 3,000. She doesn’t have any notable weaknesses, while the other two are weak to electric attacks. The way this fight plays out is that Praline will buff herself and her allies while they will focus on attacking.
The Black Blade and Axefighter will focus on the party, and one of them will use the Edge of Madness skill, which can inflict confusion on the target. Praline will use her Lover Power skill to increase the attack of her and her allies. When they are defeated, she will use the Body Guards skill to summon two more of them into battle. The Performer will also attack the party using her microphone as a basic attack.
Our strategy for this fight was to focus on the Black Blade and Axefighter while also damaging Praline. With them both being weak to electric, we used a Valkyrie with the Spell Fencer job command to imbue their weapon with Thundara. They then used the Crescent Mood skill to hit all enemies, dealing enough damage to take out both of them.
We also had a White Mage for healing and support. If you bring a Thief or someone with the Thief job command, you can steal a Star Pendant off of Praline. Once she is defeated, you’ll receive the Performer Asterisk, unlocking the Performer job. A quick event will then trigger the completion of the sub-scenario.
Salve-Maker Sub-Scenario
How to Start the Slave-Maker Sub-Scenario
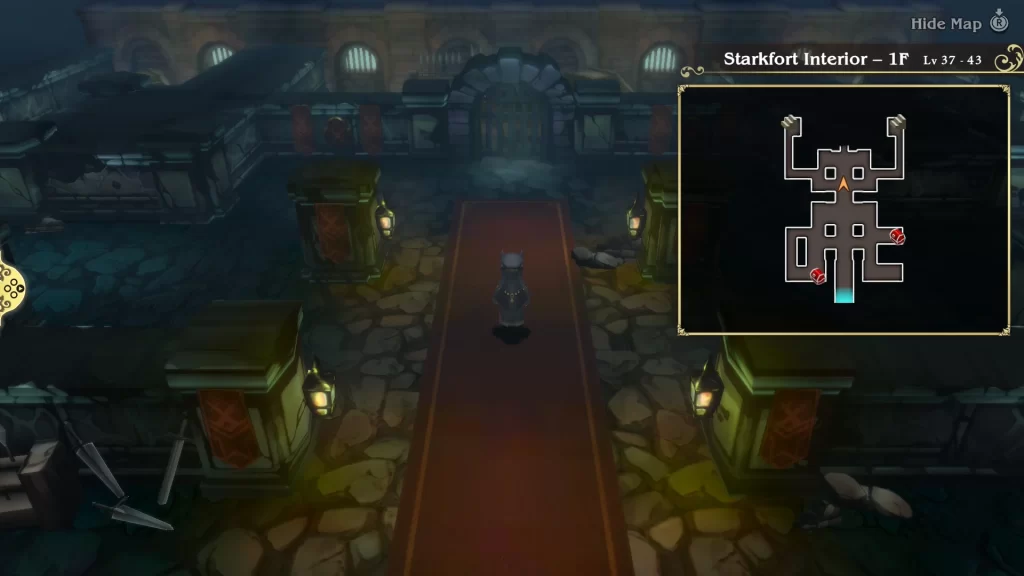
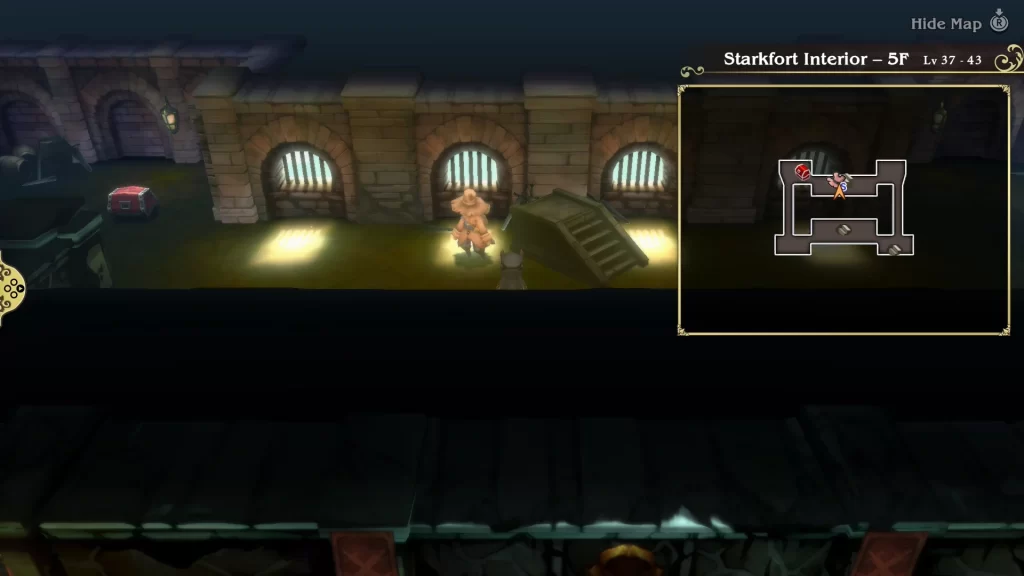
Progress through Chapter 3 until you reach Starkhold in pursuit of the missing canary boy. When you get inside, you’ll want to take the set of stairs on the northwest side of Starkfort Interior – 1F. From there, you can follow a hallway south, bringing you to a man in red next to another set of stairs. Go up those stairs and you’ll find yourself face to face with Qada. Approach him to trigger an event leading to a boss fight.
Boss Fight: Salve-Maker Qada
For this fight, we’ll be facing Salve-Maker Qada. He’ll have 40,000 HP and has no notable weaknesses. He has three main skills he uses, and he is a little bit of a pain. The first one is Poison Hi-Potion, which deals 1,000 HP of damage to the targeted party member and has a chance to inflict poison. After a couple of turns, he’ll start to default.
When Qada starts doing this, he’s getting ready to use Dark Breath, which deals 9,999 damage, which will 1-shot whoever he targets. The third skill he’ll break out happens when his health starts to get low. He’ll use Water of Life on himself, which applies a regen healing him for 1,200 HP per turn.
To combat Qada, you might want to have a White Mage and another character with the White Mage job command so they can support your healer or take over in the event that your healer gets KO’d. This fight is more a battle of attrition, so you’ll want to keep your party healed up while dishing damage to the Salve-Maker.
If you have the Spell Fencer job at level 7, you can set that as a job command and use the Drain ability to heal your character for the damage they deal. We had this on two of our four party members. When Qada finally falls, you’ll receive the Salve-Maker Asterisk, unlocking the Slave-Maker job.
SwordMAster Sub-Scenario
How to Start the Swordmaster Sub-Scenario
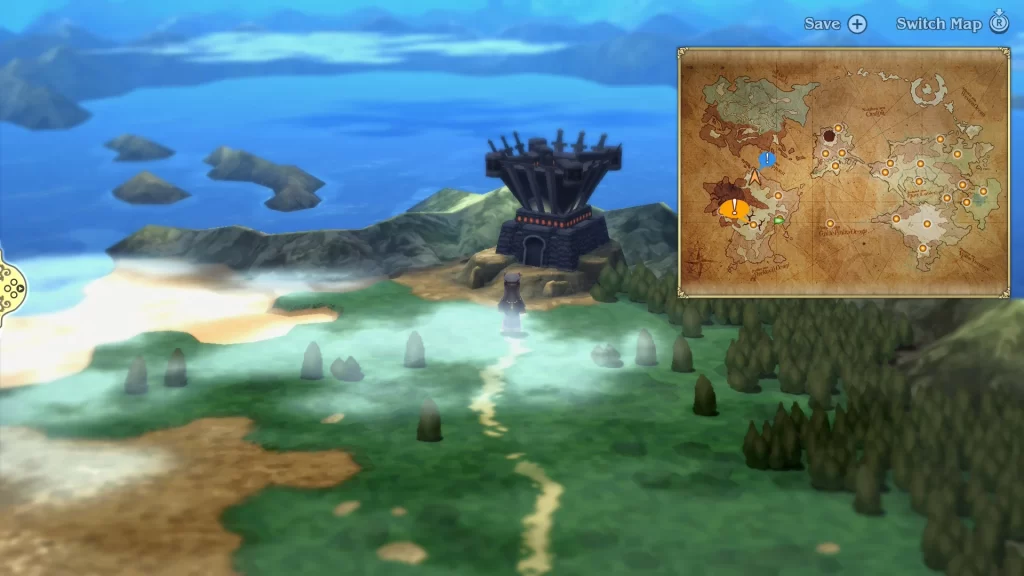
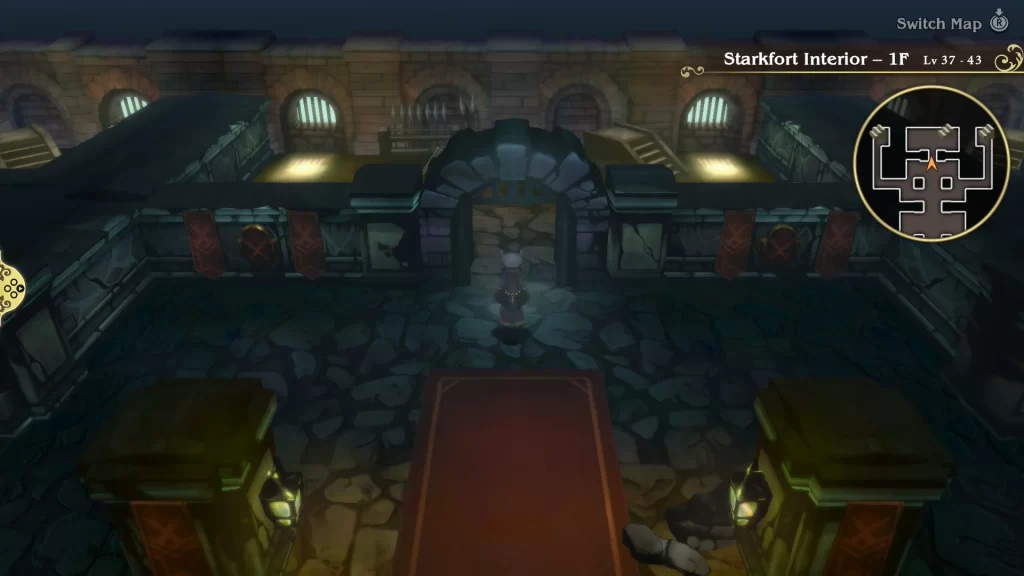
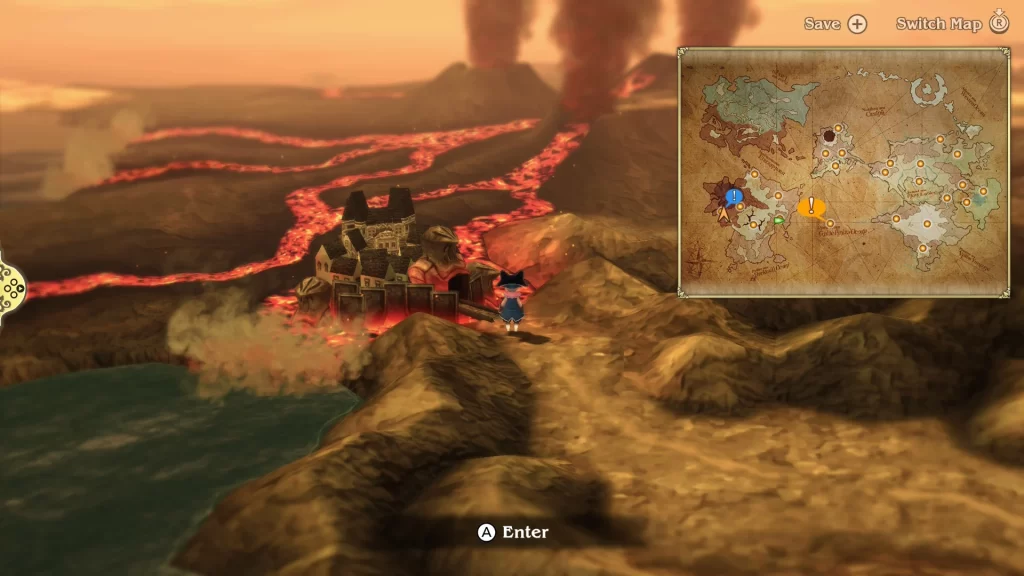
To begin this sub-scenario, you’ll need to progress through the game until you awaken the Fire Crystal. After doing that, travel back to Starkfort in the north and head inside. When you reach Stakrfort Interior – 1F, head straight to the back and through the gate there.
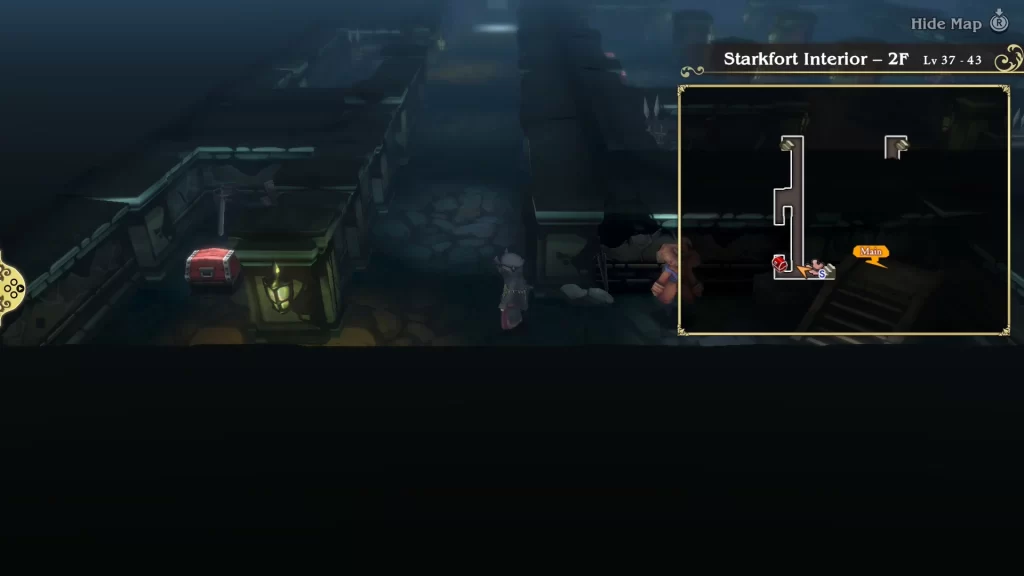
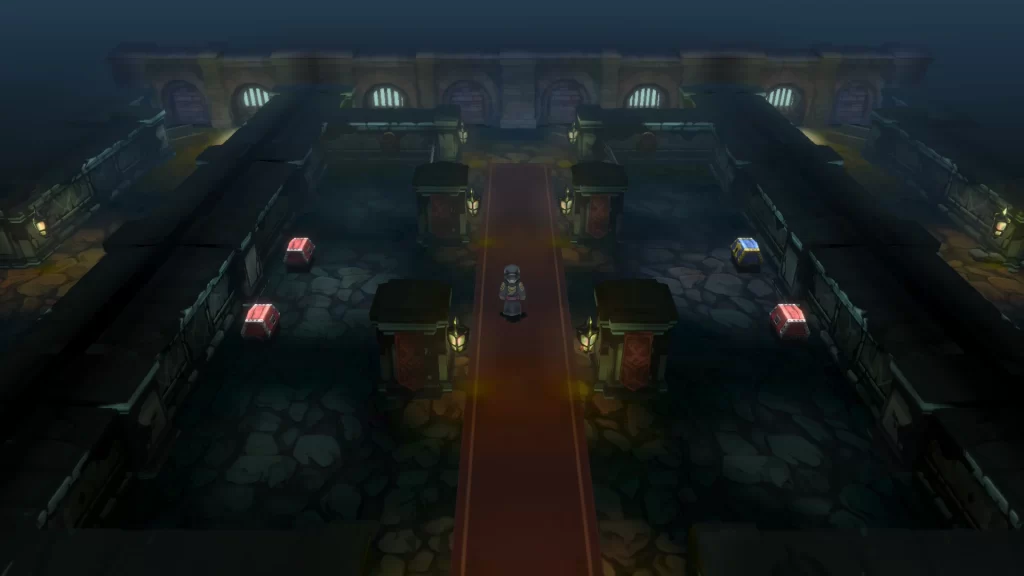
Take the stairs up to reach 2F and go south through the floor. There will be three chests there that you can loot, containing a Dragon Fang, Bacchus’s Wine, and an Ice Charm. After collecting the chests, use the stairs on the south side of the floor to head up to the next level.
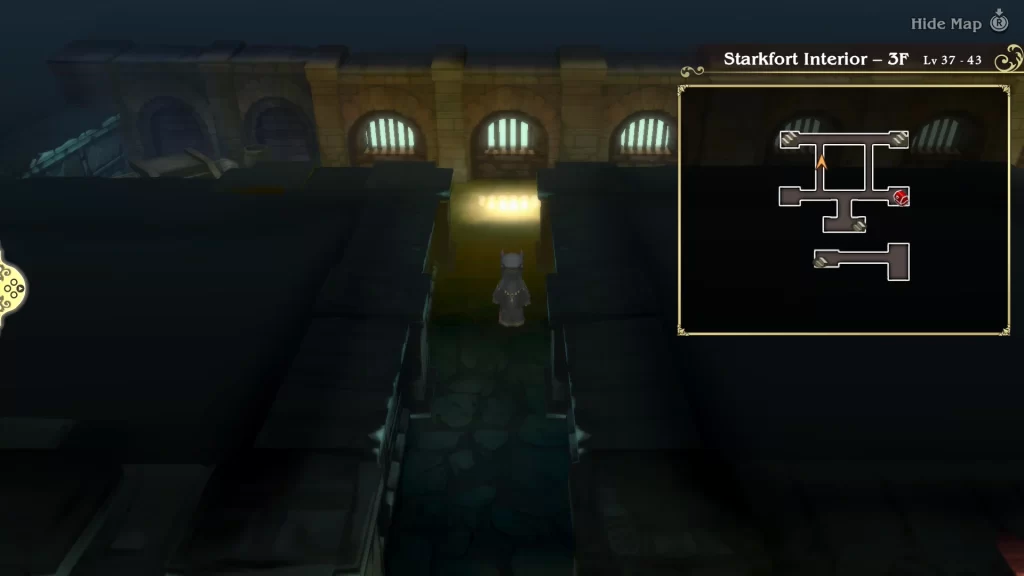
Now you’ll be on Starkfort Interior – 3F. There is one chest on the east side of the floor and two sets of stairs on the northwestern and northeastern sides of the floor. The chest contains an X-Potion. You’ll then want to use the stairs at the northwest corner of the room. This will take you on a path leading back down to 1F, where you’ll find a chest with the Courage Ring. Grab that, then head back up to 3F and use the stairs on the northeastern side of the floor.
Once you reach 4F, follow the path west and head south down the first side path you come across. This will lead you to a chest containing a Kunai. Keep following the path west to reach the next set of stairs. Interact with them to trigger an event.

5F is the last floor before you reach the boss. Head east from the stairs to find another set of stairs going back down. Take them down to reach a room with a chest containing a Turbo Ether. Head back up to 5F and go to the northwestern corner to find another chest with some Power Bracers inside. Just to the east of the chest, you’ll find a man in red next to a set of stairs. Speak with him to save and heal up, and then use the stairs to reach the boss!
Boss Fight: Kamiizumi
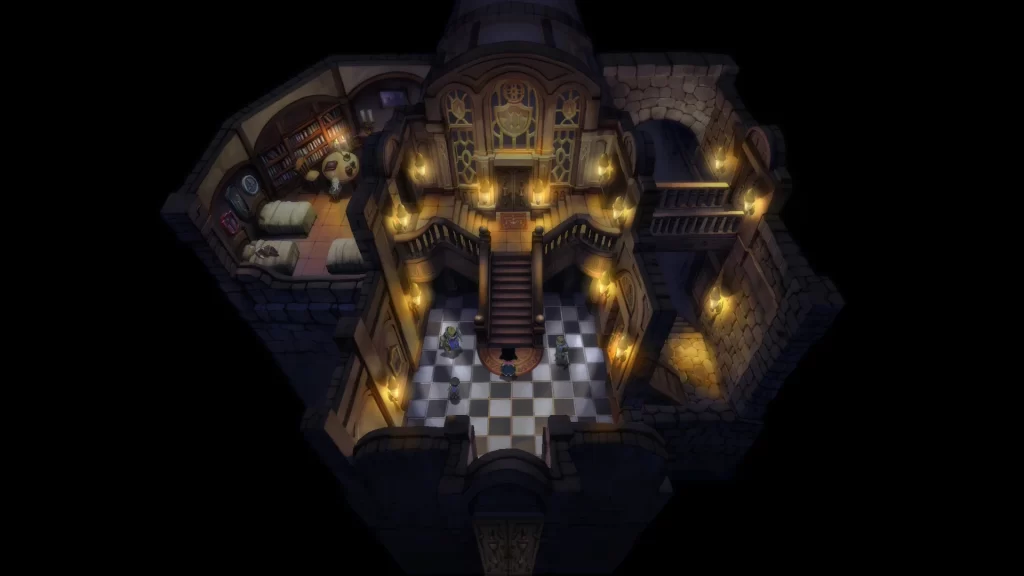
In the Starkfort War Room, you’ll find Edea’s old master. Approach him to trigger an event, leading to a boss fight. Kamiizumi has 60,000 HP and no notable weaknesses. This is probably one of the hardest fights up to this point in the game, as Kamiizumi has a number of skills that can be very punishing. The worst of them is the Nothing Ventured skill, which performs a counter-attack on whoever attacked him, dealing massive damage.
Depending on your character’s HP, this can either one-shot them or bring their HP dangerously low. He can also use Before Swine, which halves the damage taken from magic attacks and follows up with a counter-attack, hitting three times. The other skill, Kamiizum ha, is called Know Thine Enemy, which performs a counter-attack that hits four times if a single-target attack from the selected enemy hits him. He’ll also throw in some basic attacks using his sword to hit a single party member at a time.
For this fight, it’s mainly about timing. You’ll want to try to attack when he doesn’t use ‘Nothing Ventured.’ The job that helped us in this fight was the Valkyrie. We utilized its High Jump ability, which unlocks at level 9. This deal 9,999 damage per hit and got that character out of the line of fire. We also used a White Mage who solely focused on healing and buffing the party through the fight. Once you manage to defeat Kamiisumi, you’ll receive the Swordmaster Asterisk, which unlocks the Swordmaster job.
Ninja Sub-Scenario
How to Start the Ninja Sub-Scenario
In order to start the Ninja sub-scenario, you’ll need to progress through Chapter 3 towards the end, where you’ll escort Egil to stay at the inn in Caldisla. After doing that, return to the Goodman Residence in Hartschild.
Ninja Sub-Scenario Guide
Upon entering the residence, an event will occur between Command Goodman and a very confused Agnes. As things progress, this sub-scenario evolves into a classic murder mystery. When you gain control of the part, speak with the four other guests in attendance. After doing that, head back to the front door and examine it. Once done with that, head down to the cellar and speak with Eleanor. This will trigger one final event, culminating in a boss fight.
Boss Fight: Kikyo
The last fight of this chapter is against Kikyo. She’ll have 60,000 HP and has no notable weaknesses. Our foe will have three main skills that she uses. The first is called Shippujinrai and will cause her to attack first, dealing the same damage as a basic attack. The other two are called Utsusemi Technique and Transience.
When she uses the technique, the next attack targeting her will be dodged, and she will follow up with Transience, which is a counterattack that deals the same damage as a basic attack. She will also throw in some basic attacks using her Kunai.
This fight will be a little bit easier if you have a class like the Knight or Pirate to tank her hits by making her attack them. This will allow the healer only to have to focus on healing one party member while the other two deal out the damage. Once she falls, you’ll receive the Ninja Asterisk, unlocking the Ninja job.
Additional Bravely Default Flying Fairy Guides and Walkthroughs
For additional guides and walkthroughs on Bravely Default Flying Fairy, be sure to check out our Bravely Default Flying Fairy HD Remaster main page!