Welcome to NGB and our Bravely Default Flying Fairy Chapter 2 Walkthrough! In this chapter, the journey continues as Tiz and his companions head to Florem, a city changed by strange forces and shifting values. Our guide will help you navigate the story, uncover hidden treasures, tackle difficult bosses, and complete key side quests to get the most out of your adventure.
Bravely Default Flying Fairy Chapter 2 Quick Links
- Bravely Default Flying Fairy Chapter 2 Walkthrough
- Additional Bravely Default Flying Fairy Guides and Walkthroughs
Bravely Default Flying Fairy Chapter 2 Walkthrough
Check on the Water Vestal
Pass Through the Miasma Woods
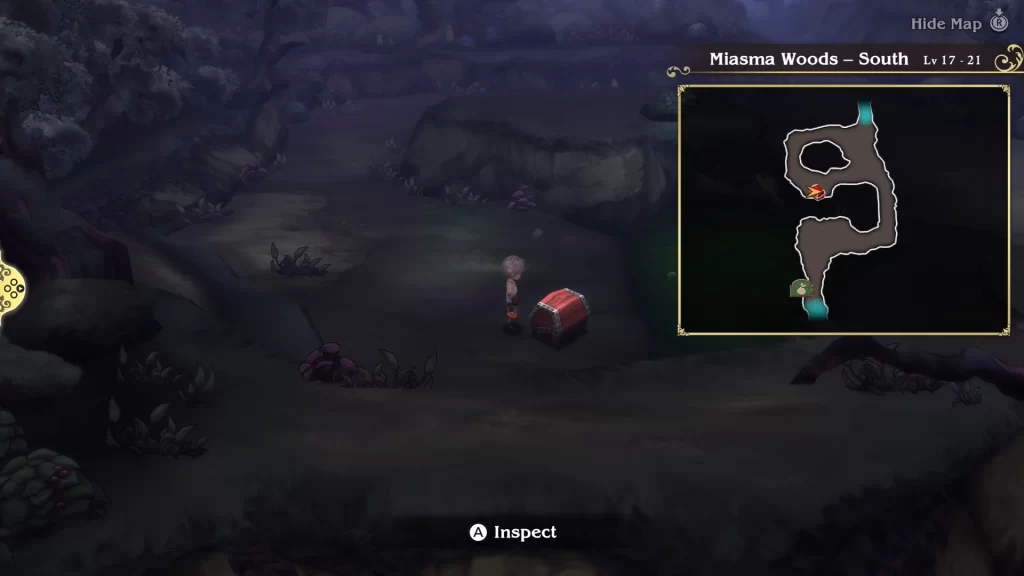
When you enter the Miasma Woods, you’ll be in the Miasma Woods – South. The first thing you’ll see is a fox that you can speak with to upgrade your equipment if you want. You can also purchase items and magic from it.
Once you’re ready, head through the area, making sure to grab the only chest containing a Remedy. Also, you’ll want to avoid walking through the green liquid. This is poison and will inflict poison on the whole party.
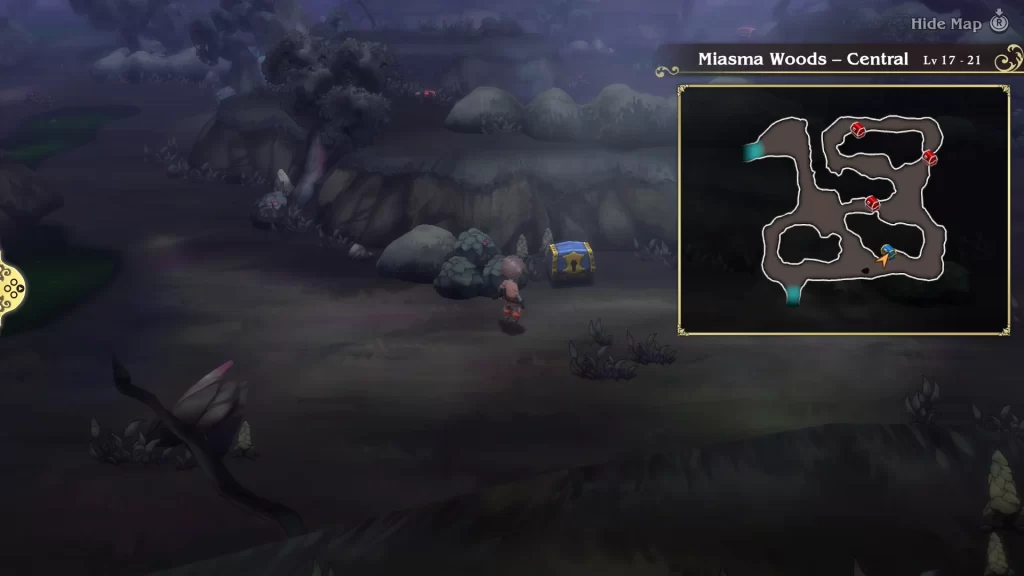
The next section of the woods is the Miasma Woods – Central. There are three chests here that you’ll want to grab that contain the following: a Phoenix Down, 2,000 pg, and a Scimitar. You can ignore the blue chest, as we currently don’t have the means to open it.
After grabbing all of the chests, head to the northwestern part of the Central area to reach Miasma Woods – North.
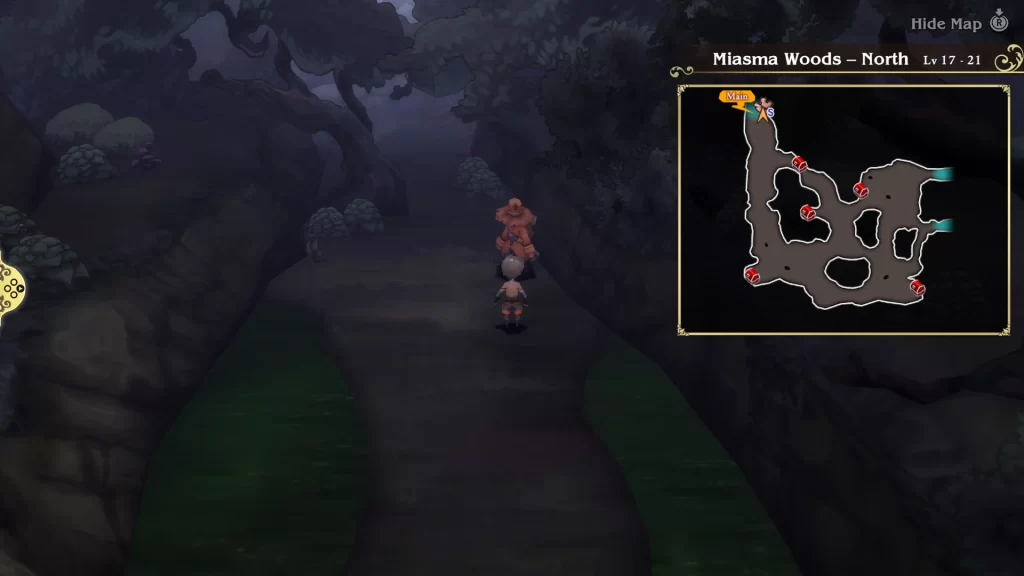
Once you reach the North area of the Miasma Woods, if you head south from where you came in, you’ll find a path leading back to the Central area, giving you access to a chest with an X-Potion. Head back to the North area and work your way to the northwestern section.
Along the way, there are five chests containing the following that you’ll want to loot: a Hi-Potion, an Ether, an Earthing Rod, a Turbo Ether, and a Remedy.
When you reach the transition to the next area, you’ll spot a man in red. Speak with him to save, stock up on items, and heal up if needed (for the low, low price of 1,000 pg). When you’re ready, head to the next area to trigger an event.
Stop by the Town of Florem
When the mentioned cutscene concludes, you’ll be on the world map at the other side of the Miasma Woods. Travel northwest to reach the town of Florem.
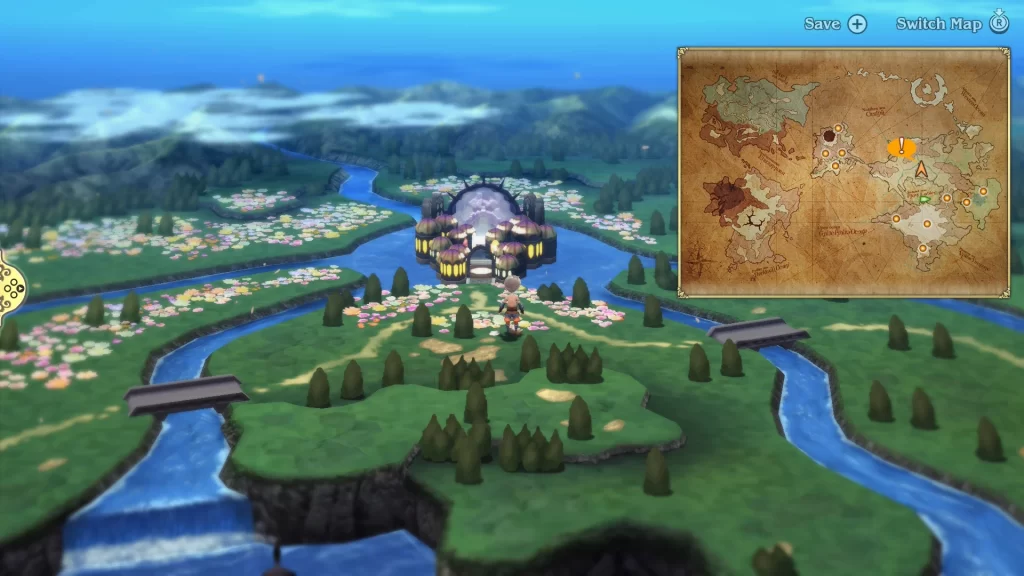
Upon entering the city, an event will trigger involving Tiz getting teased a bit. After it ends, you’ll be at the Florem – City Entrance, which contains an Armory, Inn, Trader, and Magic shops you can visit to upgrade equipment or stock up on items. There is also a man standing near the Trader you can speak with to unlock some mini-games using the mouse controls of the Joy-Con 2s. They will reward tokens that you can exchange for times and gear.
If you’re up to it, try to unlock 20 Tokens so that you can buy the Silver Sword. It’s a significant upgrade to have this early in the game!
Once you are ready to proceed, head up the stairs on the north side to reach the Plaza. There, you’ll want to continue north and enter the building on the dock to the right.

After speaking with the Matriarch, head to the right side of her room to find a point you can interact with. This will give you a Star Pendant.
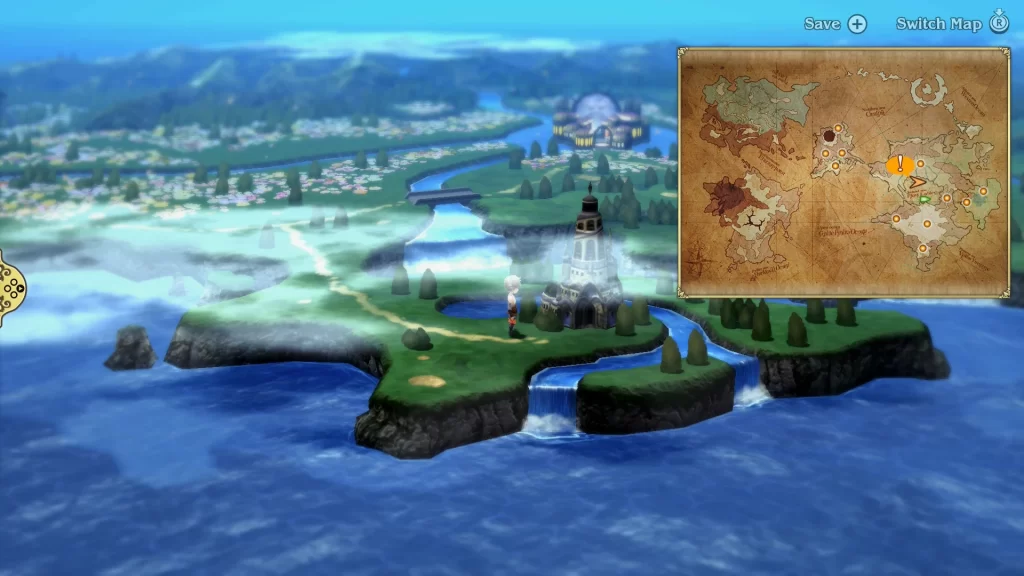
This will trigger an event when the party decides to travel to the Temple of Water. To reach it, exit the city and head west on the world map. Once you cross the bridge, follow the path south, right to the temple. Make a save on the world map, then head inside.
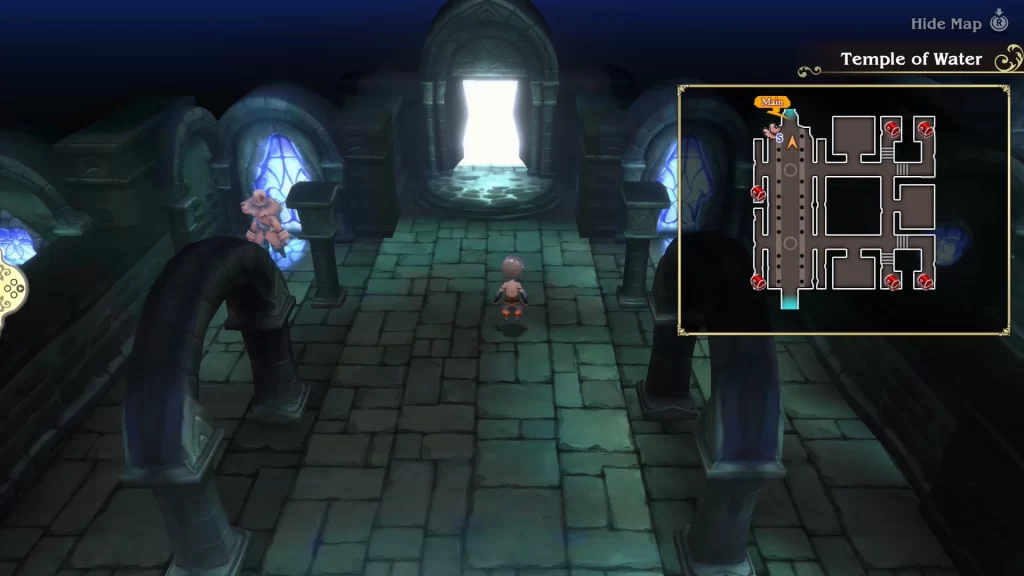
Visit the Temple of Water
The Temple of Water consists of one room with six chests for you to collect and three rooms you can examine. From the chests, you’ll receive the following: a Remedy, a Hi-Potion, a Phoenix Down, an Ice Charm, another X-Potion, and an Ether.
After you’ve finished exploring the temple, speak to the man in red in the northwestern corner to save, and then head to the altar, just past him. This will trigger an event where Agnes insists that the party seek out Olivia.
Search for the Vestal of Water
Look for Clues in Florem
Exit the Temple of Water to trigger another quick event. When you regain control of the party, make your way back to Florem and head to the Plaza to speak with the Matriarch again. During this conversation, the group devises a plan for Agnes to enter the contest, alerting the Water Vestal to her presence.
To do this, the party will need to speak with the people in town to learn about what’s trending. You can find a list of people you’ll need to talk to, along with where they can be found below:
- Lady wearing pink/purple dress near the Matriarch’s house at the Plaza
- Trader in City Entrance
- Girl wearing a purple dress with blue/teal hair near the center of the City Entrance
- Man in white and red at the southern part of the City Entrance
- Girl wearing a blue dress with blond hair nearby
- Matriarch in her house at the Plaza
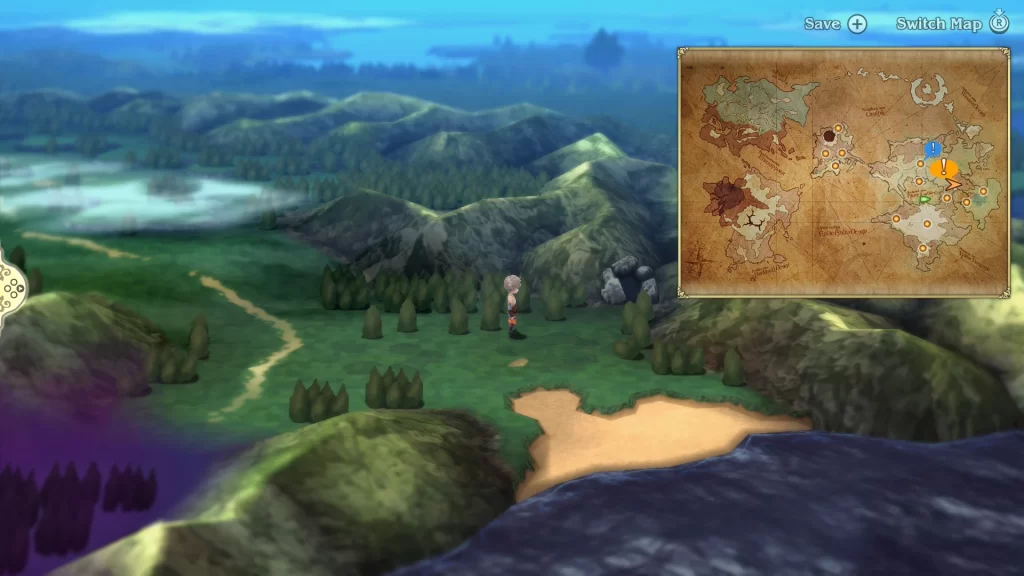
Head Through Mount Fragmentum
Looks like we need to visit the pervy sage once more! To reach him, you’ll need to exit Florem and head east towards the Miasma Woods. You’ll want to keep heading past them to arrive at a cave. Head inside to enter Mount Fragmentum.
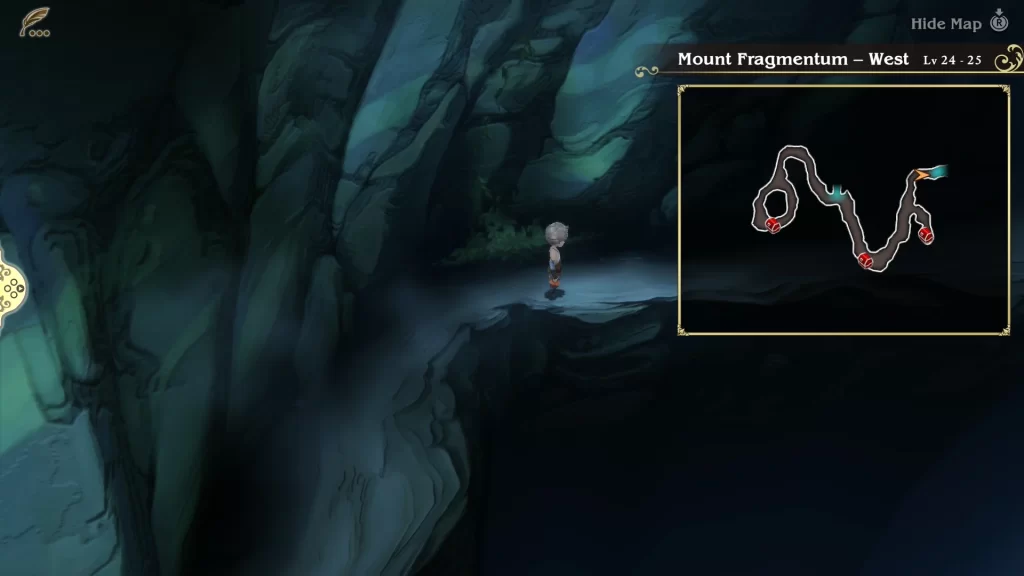
Inside Mount Fragmentum, you’ll start in the West area. Begin by heading west to get a chest containing a Ripper dagger. Next, follow the path heading east, making sure to grab the two chests along the way containing a Remedy and 1,000 pg. Keep heading east to reach the next area.
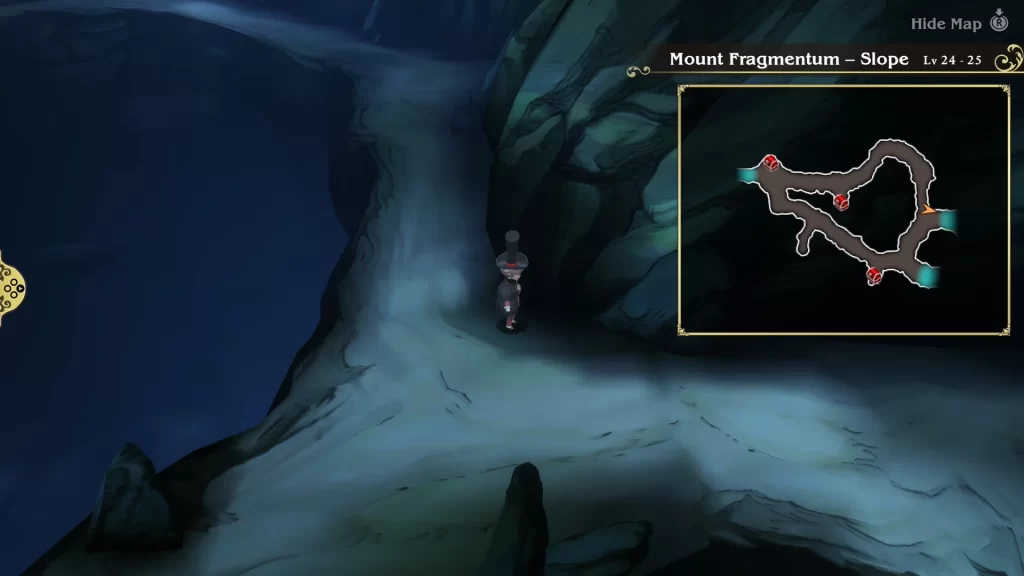
You’ll now be in the Slope area of Mount Fragmentum. Follow the northern path heading east, and you’ll come across two chests containing 500 pg and a Hi-Potion. If you head to the southeastern corner of the area, you’ll find a third chest with an Ether.
Something you might have noticed is that there are two sections to transition to the next area that you just passed. You’ll want to go to the northernmost first. This will bring you to a chest with the Nodachi katana in it. After you get that, you’ll want to take the southernmost transition to reach the East area.
Head east through the East area to reach a man in red. Speak with him to save, stock up on items, and head up (for 1,000 pg) if needed. Continue heading east when you’re ready to trigger an event leading to a boss fight!
Mount Fragmentum Boss Fight: Land Turtle
The Land Turtle will be a bit bulky and is weak to ice. It likes to use Default a lot and will cast Reflection Angle frequently, which will cause any magic attacks to be reflected back at the caster. You can get around this by using a Spell Fencer and imbuing their weapon with Ice.
The turtle will also use a bite attack, dealing some damage to the target, as well as use the Spin Attack skill, which deals massive damage (350-400) to a single party member. It can use this attack up to twice per turn.
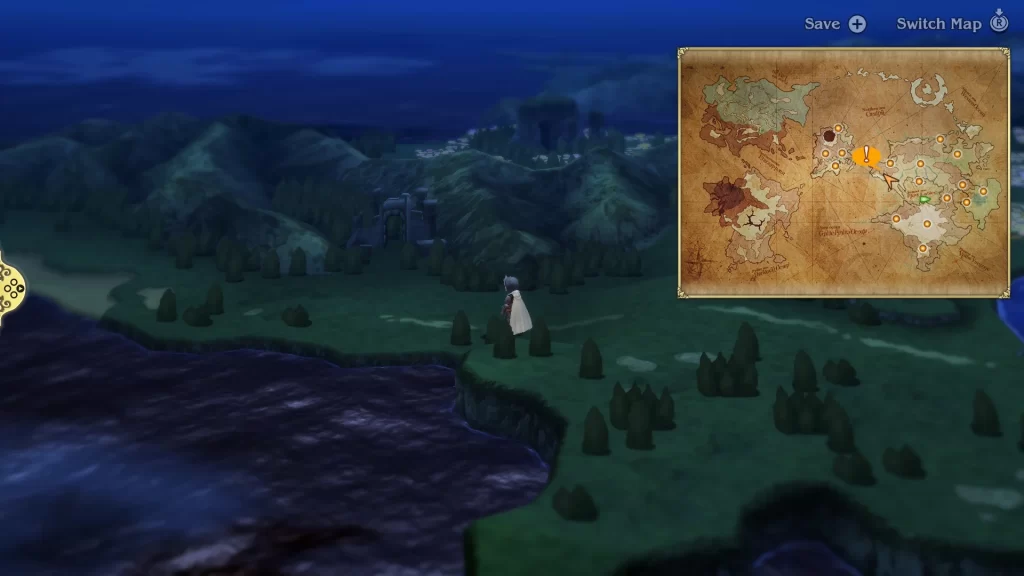
Once the Land Turtle has been defeated, head past it to reach the exit, bringing you to the world map. You’ll come out of the cave, west of the sage’s house. Make your way there and speak with the sage inside to trigger an event. When it finally concludes, return to Florem through Mount Fragmentum. You’ll be automatically sent to Florem after exiting Mount Fragmentum.
Return to Florem and Enter the Contest
Upon entering Florem, an event will trigger. When it concludes, travel to the Plaza for another event. After it ends, swing by the City Entrance to stock up on items, upgrade equipment, buy some new magic, or rest up at the Inn.
Chapter 2 Sub-Scenarios
There are also a few sub-scenarios available now that you can do to unlock the Summoner, Ranger, Valkyrie, and Red Mage Asterisks. You can find more information on them in our Bravely Default Flying Fairy Chapter 2 Jobs and Asterisks guide. Once you’re ready to continue with the main story, head to the world map.
During the Summoner sub-scenario, you’ll travel to the Florem Gardens. This area is a good spot to do some leveling and job grinding, specifically at the Florem Gardens – Interior. There is a man in red there you can use to save and heal up as needed.
To really reap the benefits of grinding, you’ll need to defeat all enemies in one turn and try to do so without getting hit. Defeating all enemies in one turn will reward you with a bonus multiplier to your EXP, reaching up to 50%. Ending a battle without taking a hit from enemies will do the same thing, but instead of EXP, it increases the JP that you earn.
Getting hit or failing to defeat all enemies in one turn will reset the multiplier. For this, we went in with a party member who was level 8 or so with the Thief job. We also had the Angel’s Bow equipped, which you can buy from the man in red after leveling up the Weapons Shop in Norende Village. Also, make sure to increase the encounter rate to 200%.
Investigate the Twilight Ruins
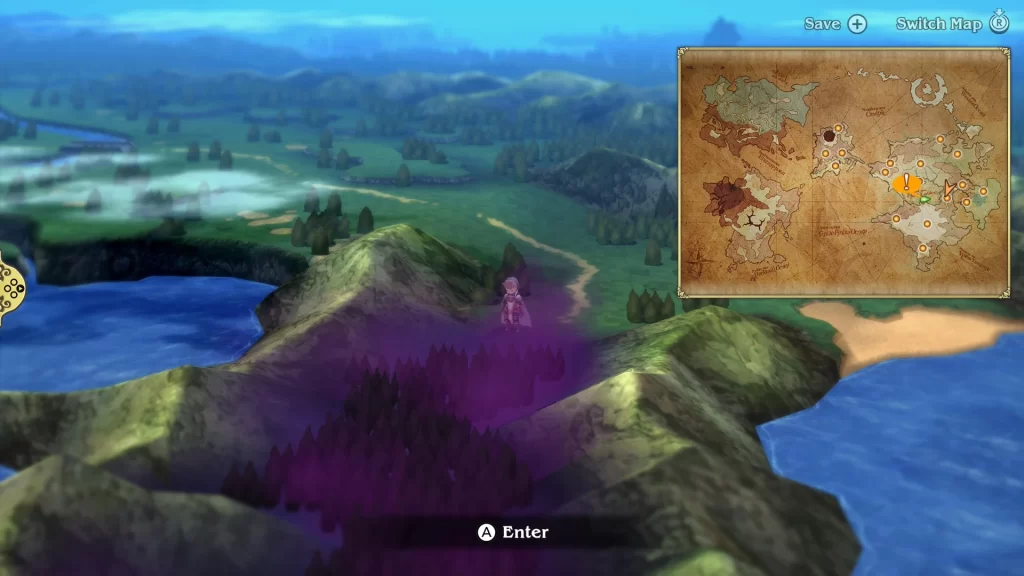
Back on the world map, start heading west from Florem. You’ll pass two bridges before arriving at some ruins. Interact with them to enter the Twilight ruins.
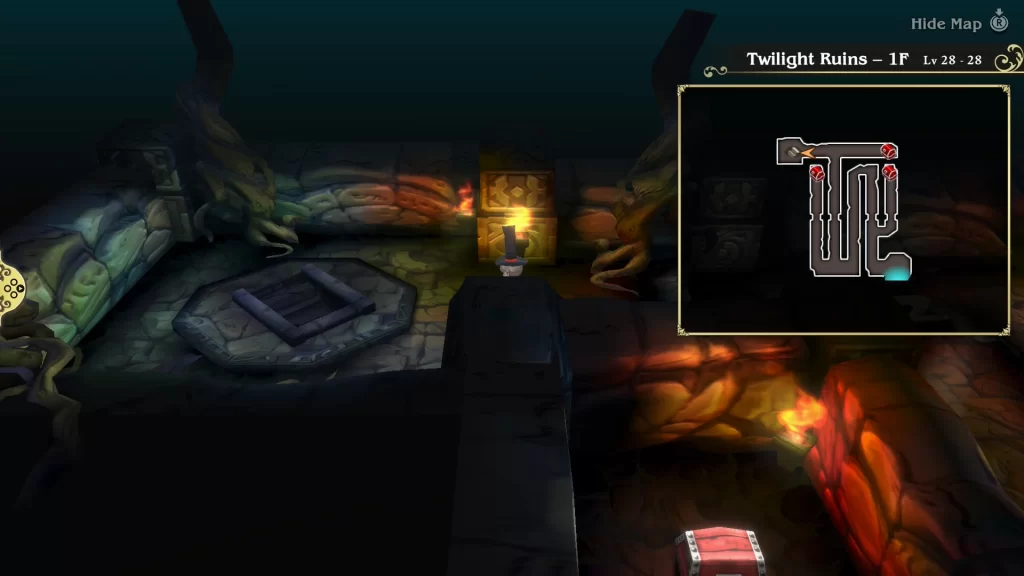
Once inside, you’ll start on Twilight Ruins 1F. To get through the ruins, you’ll need to interact with different color crystals, which will open one door and close another. Most of the time, one path will lead to a chest while the other is the way forward.
On this particular floor, there are three chests you can get. They will contain a Hi-Potion, an Ether, and a Remedy. You can find the stairs to reach the next area in the northwestern part of the floor.
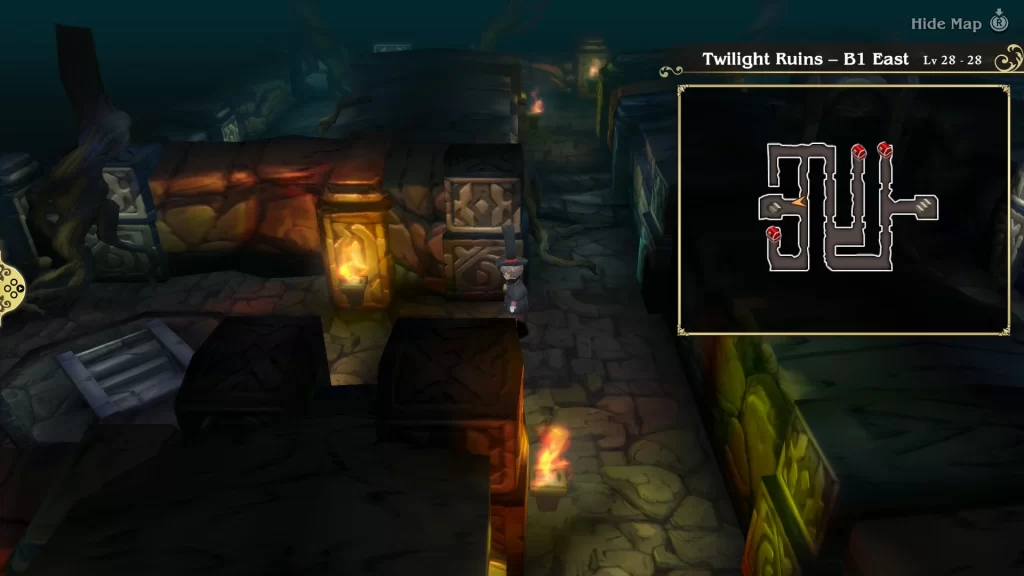
The next area you’ll reach is the Twilight Ruins B1 East. The stairs leading deeper into the ruins are on the west side of B1. Start working your way there, but make sure to get the three chests on this floor as well. They contain 500 pg, a Zeus’ Wrath, and 1,000 pg.
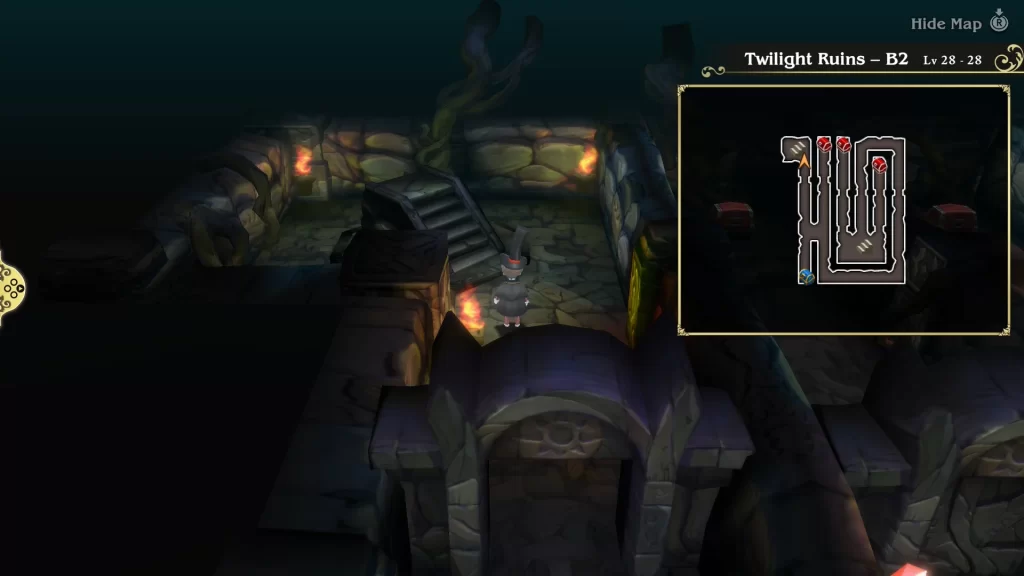
Our next floor is Twilight Ruins B2. There are four chests in this area, but only three are accessible. The other is a locked blue chest that you’ll be unable to open yet. As for the other three chests, they contain a Birch Bow, Hermes Sandals, and an Ether. To reach the next floor, you’ll need to head to the northwestern corner of the floor.
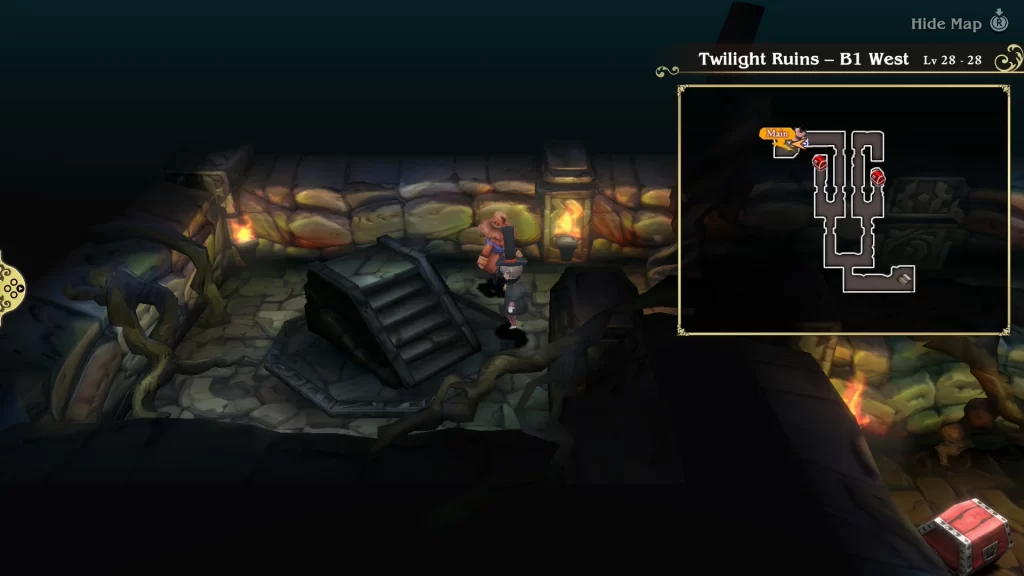
Now you’ll reach Twilight Ruins B1 West, where you’ll find two more chests, just past some doors you’ll need to use crystals to open. They contain a Turbo Ether and a Dark Charm. In the northwestern corner, you’ll find a man in red that you can use to heal up (for 1000 pg) and save. When you’re ready to face the boss, head up the stairs next to him.
Twilight Ruins Boss Fight: Victor and Victoria
This boss fight will be against both Victor and Victoria. Normally, we’d go into how much HP they have and what their skills are, but we aren’t going to do that here. Mainly because this is a scripted fight, you’ll need to survive for five turns or so before the fight ends abruptly, so make sure to bring a healer.
Both of the enemies can deal high single-target damage, and Victoria can poison the whole party at the same time. Once the fight draws to a close, an event will trigger.
Awaken the Crystal of Water
Stock and Gear Up For the Upcoming Battle
When you regain control of the part, head back to the world map. Now would be a good time to heal up and upgrade your equipment if you haven’t yet. Our next destination is the Temple of Water, where Anges will attempt to awaken the Water Crystal. You may want to stop by the Matriarch’s house in Florem to inform her of what transpired in the Twilight Ruins. You’ll get a minor event out of it.
Whenever you are ready, make your way to the Temple of Water.
Head to the Altar in the Temple of Water
Inside the Temple of Water, you’ll be able to stop by the man in red to stock up on supplies or heal if needed. Enter the altar room just past him to trigger an event which will lead to a boss fight.
Temple of Water Boss Fight: Rusalka
For this fight, you’ll be facing Rusalka. It has 30,000 HP and is weak to lightning. Both its physical and magical defenses are 31, so you feel free to use either physical or magical attacks. It’ll involve three key aspects that you’ll need to address. The first is its Bewitching Voice skill, which inflicts charm on the target.
You’ll want to use either a Remedy or cast Esuna from the White Mage to remove it. It will also use a skill called Aqua Regi, which targets a single party member and lowers their physical defense by 25%. The skill is Seep, during which it will disappear for one turn to hit the party with Dark Flow the next, dealing around 1000 damage or so. This will also create three copies of Rusalka, each with 2000 HP. It will also use basic attacks, swiping at a single party member with its arms.
Our strategy for this fight was to attack with either electric or aquatic damage. The party we used was Tiz as a Knight/Freelancer, Agnes as a White/Black Mage, Ringabel as a Ranger/Thief, and Edea as a Valkyrie/Spell Fencer. Tiz scouted out the enemies with Examine and then helped mitigate damage for the rest of the party while Agnes healed, removed afflictions, and dealt damage using Thundara.
With Ringabel, you used the Aquatic Slayer skill from a level 7 Ranger that deals extra damage to Aquatic monsters. As for Edea, we use the Thundara ability to add lightning to her spear and then attack the Rusalka with it. As always, we built up 3 BP using Default and then unloaded on the enemy with four attacks using Brave.
Once you’ve defeated the monster, you’ll need to follow the fairy’s commands to awaken the crystal. After doing so, you’ll gain a third Ability Slot. Exit the temple to be sent back to Florem, where Agnes will speak with the Matriarch.
Begin Heading Towards the Fire Crystal
Explore the Ocean
Now it’s time to return to the airship. From the world map outside of Florem, head east and pass through the Miasma Woods. From there, you’ll be able to return to the airship.
Once you’re aboard, sail west into the larger ocean. An event will trigger when you’re far enough out. After it concludes, continue sailing east and slightly south towards the objective marker on the world map.
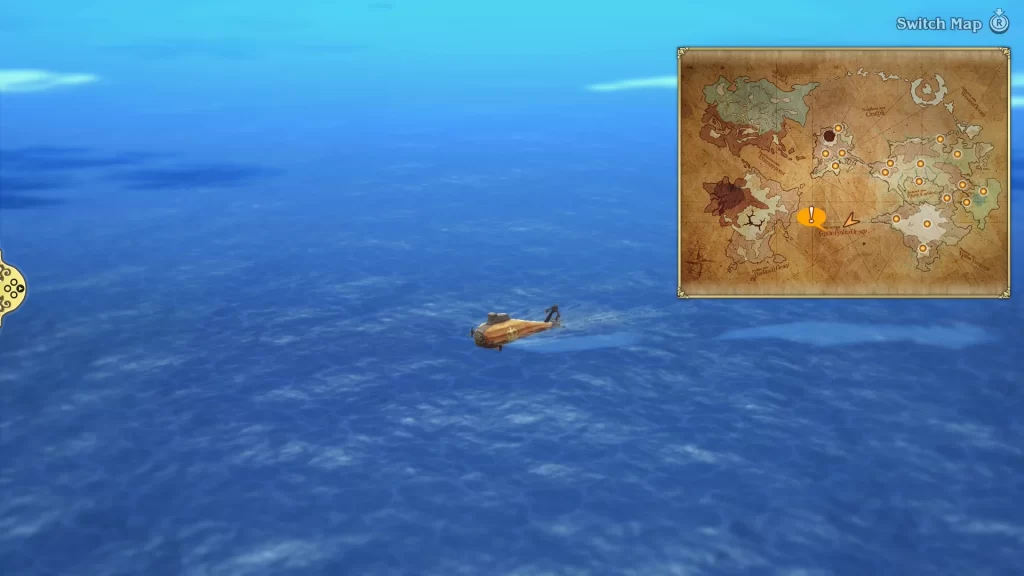
Arriving at it will lead to another event, which will close out Bravely Default Flying Fairy Chapter 2!
Additional Bravely Default Flying Fairy Guides and Walkthroughs
For additional guides and walkthroughs on Bravely Default Flying Fairy, be sure to check out our Bravely Default Flying Fairy HD Remaster main page!