Welcome to NGB and our Bravely Default Flying Fairy Chapter 1 Jobs & Asterisks guide. In Bravely Default Flying Fairy Chapter 1, you can unlock several key jobs by completing optional sub-scenarios that reward asterisks.
This guide will show you where to find and how to unlock the jobs early in the HD Remaster. We’ll also provide tips for defeating the bosses guarding each asterisk so you can build a powerful and versatile party from the start.
Quick Links
Bravely Default Flying Fairy Chapter 1 Jobs & Asterisks Guide
This guide is broken up into sections based on the sub-scenario. The HP of the bosses is based on playing the Normal difficulty. They will be a bit higher if you’re playing on hard.
Thief Sub-Scenario
How to Start the Sub-Scenario
You’ll be able to start the Thief sub-scenario after reaching the city of Anchiem in Chapter 1 and attending Agnes’ audience with the king. Following the meeting, you’ll need to travel to Khamer & Profiteur Merchantry on the east side of Ancheim and speak with Khamer inside.
Theif and Merchant Sub-Scenario Guide
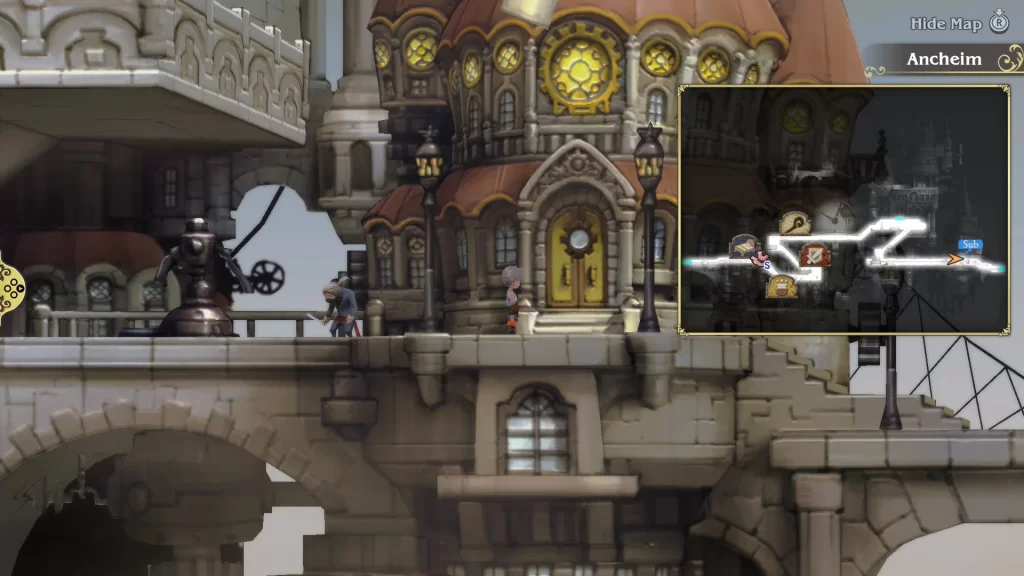
After being escorted from Khamer & Profiteur Merchantry, head west a short way and interact with the nearby water spicket. Doing so will trigger an event where Tiz tries to get a drink of water, but is stopped by a Merchantry Soldier who demands he pay for it or head to the Oasis with the rest of those too poor to pay.

After the confrontation, exit Anchiem and head west through the desert to reach the Oasis. This will trigger another event in which a group of thieves robs a traveler.

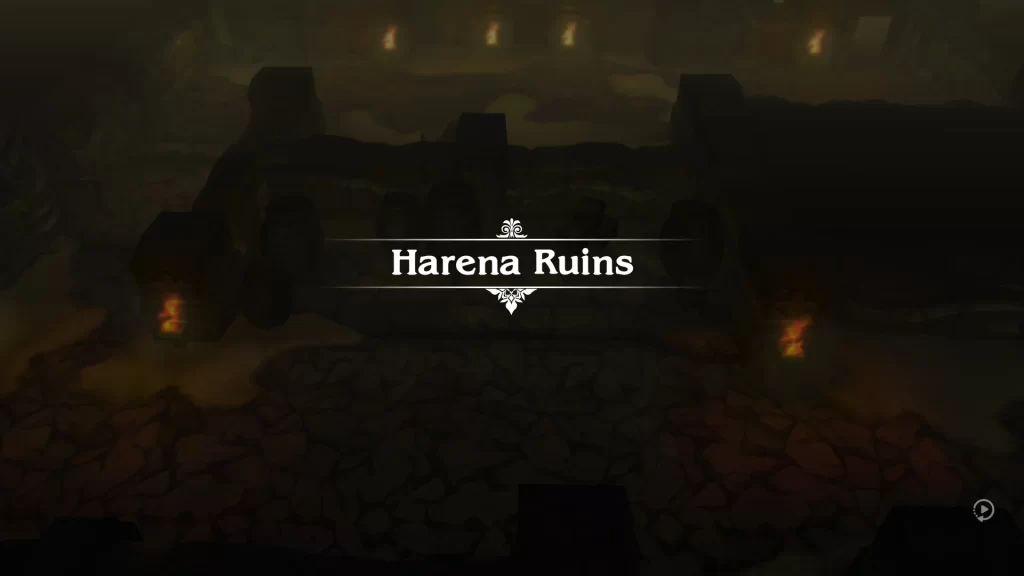
The thieves will run off back to their hideout after being confronted by Tiz. Chase after them, heading northwest through the desert from the Oasis to come across their cave. Go inside to reach the Harena Ruins.

Harena Ruins
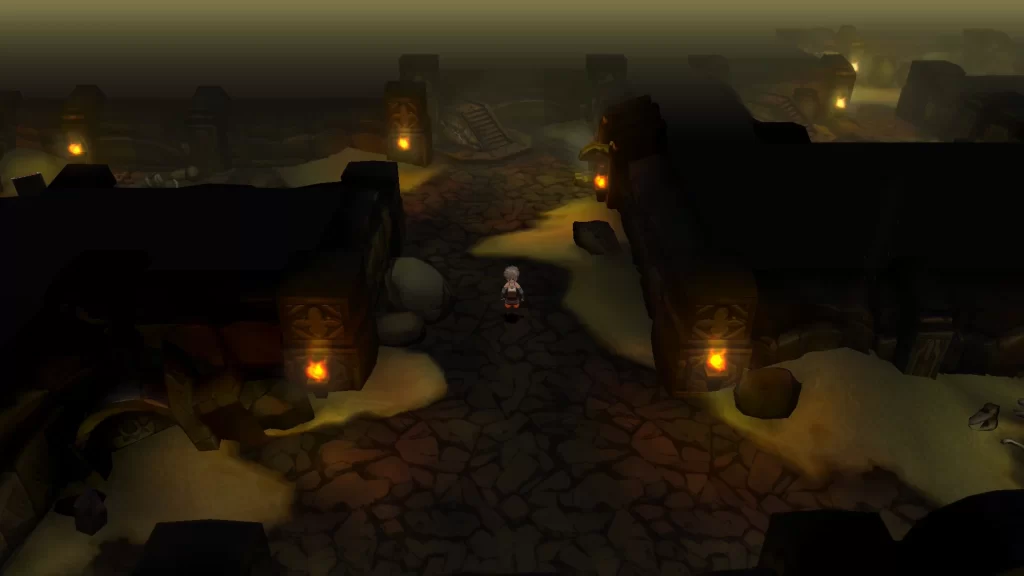
The enemies in the Harena Ruins range from levels 11 to 13 and like to inflict poison or Blindness. They are also weak to ice, so take that into account before you start exploring. Additionally, there are traps in the ruins that will inflict blind on the whole party if they get caught by them.
Once in the ruins, you’ll want to follow the path leading right and head through the doorway at the end. Use the stairs there to head down, and this will bring you to a closed-off room with a chest in the corner. You’ll need to be careful, as a trap that will inflict blind on the party guards the chest. Do this by stepping on the pressure plate before it and then running off to avoid the mist that sprays out. Once it’s finished, quickly run up to the chest before it resets to loot the Star Pendant.
Return to the entrance of the ruins, then follow the path heading left until you reach the treasure chest. This chest is again protected by a trap that will spray out a mist that inflicts blind on the party. Trigger the trap, then back away before you get sprayed. Once it’s done, quickly head over to the chest. You can loot it for 1 pg! Continue on past it to find another set of stairs leading down. Take them to reach Harena Ruins B1.
Another trap that inflicts blind awaits you south, just past the stairs. If you head down the hallway across from the trap, you’ll reach a chest containing some Echo Herbs. Press on by following the path south from the stairs. When the path splits, head east to find a chest with 1500 pg. It has a blind trap behind it that you will be unable to avoid.
Just down the hall from that chest will be a doorway you can head through on the south side. Do so, running south past another blind trap and to the right. This will lead you to another chest containing the Clothespin accessory. After you’ve collected all of the chests, make your way to the southwestern corner of the room to find the stairs heading down to B2.

When you reach Harena Ruins B2, head southeast through the floor. After passing the blind trap, take a right to find a side path with a chest containing an Ether inside. Continue heading south past the locked blue chest (you can’t open it yet). When the path splits again, head left, running past all of the blind traps to reach a chest with the Thief Gloves inside and another with the Iron Bow.

After you’ve gotten both chests, return to the split path, but this time head right. You’ll reach the man wearing red past all of the blind traps, which you can use to recover HP and MP, along with curing the party of status ailments for a mere 500pg (supply and demand at its finest!). Also, make sure to save before heading to face the boss!
Boss Fight: The Jackal and Khint
Going into this fight, our party was as follows: Tiz = Monk | Anges = White Mage | Ringabel = Black Mage | Edea = Knight
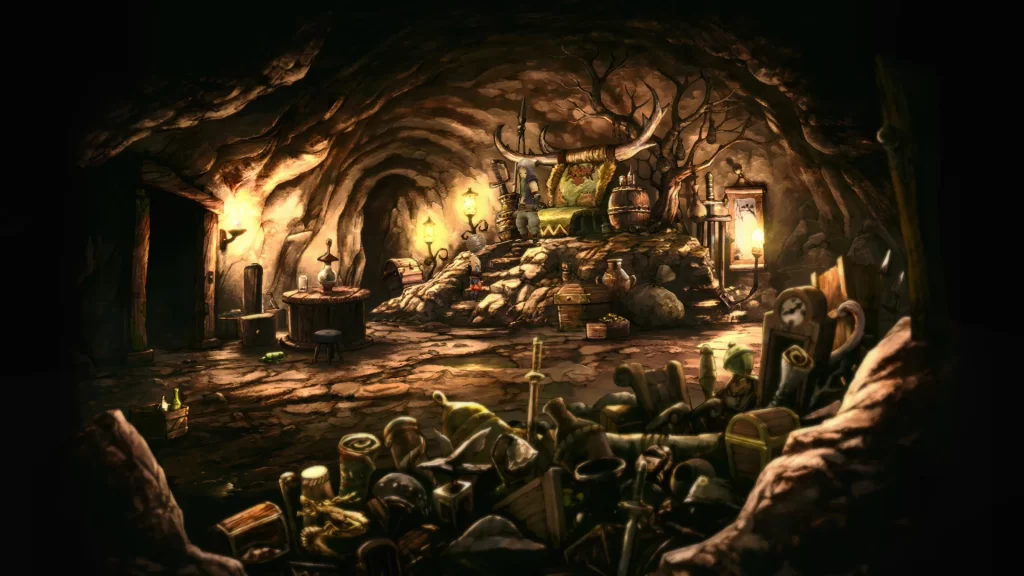
When you’re ready to take on the thief, enter the doorway past the man in red and speak with the thief on his makeshift throne. This will trigger an event where the Jackal will go into a soapbox about how terrible his life has been before calling in his paid help, Khint, to face you in battle.
Both Khint and The Jackat have 5,000 HP each. Khint will attack a single enemy using a sword once per turn. Occasionally, he will use the Sword Magic Silence skill that will inflict silence on the party member that he attacks. He might also ignite his sword in flames and use that to attack the party. The Jackal, on the other hand, will get to attack twice per turn and will also steal your items periodically. Once you start dealing some damage to Khint, Jackal will use a potion on him, restoring 500 HP. This only happened one time for us.
For this fight, we decided to focus on Khint first. Our strategy was to build up BP by using Default 3 times and then unloading on him with Brave. Tiz and Edea focused on attacking Khint while Ringabel was casting magic that hit both foes, and Agnes played supporting healing and using items as needed. We also have Agnes and Ringabel set up to use both White and Black magic, so either could attack or heal if required. Also, don’t forget to use your Special attacks as they charge up. Once Khint’s health drops to around half, he will exit the fight, saying this is a losing battle, leaving just the Jackal.
When by himself, the Jackal will use Brave 3 times to get four attacks on his turn. When his health starts to get low, he’ll also start using potions on himself to restore 500 MP. Now that there is only one target, the magic spells will deal more damage. Weaving that into our strategy, we continued to build BP up to 3 and then used Brave to execute four attacks. Make sure to heal the party every so often so that the chip damage doesn’t build up. Once the Jackal falls, you’ll receive the Thief Asterisk, gaining you access to the Thief job.
Merchant Sub-Scenario
How to Start the Merchant Sub-Scenario
To start the Merchant sub-scenario, you’ll first need to complete the Thief sub-scenario above and receive the Thief Asterisk. Following that fight, the party will find a note from Chairman Profiteur mentioning a deal between the Jackal and the shady merchant. After reading that note, it’s time to confront Charimain Profiteur, back at his office!
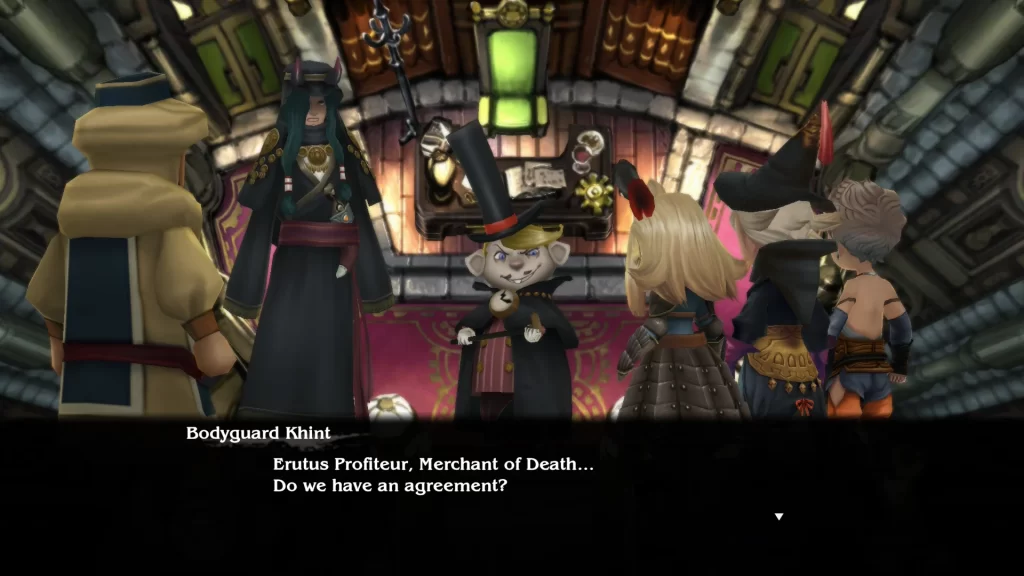
Boss Fight: Khint and Chairman Profiteur
Before going into this fight, you may want to change one of your party members to the Thief job. This will give you the ability to steal an item from both bosses. You’ll receive a Hi-Potion from Khint, while stealing from Chairman Profiteur will net you a Mythril Staff. You can equip the Thief Gloves (looted from a chest in the Harena Ruins) to increase the chances of successfully stealing the items.
Return to Ancheim and head to Khamer & Profiteur Merchantry on the east side of town. Go inside and approach Kahmer’s desk to trigger an event between him and the merchant from the Oasis. This will lead to Khamer paying Khint to assist him in eliminating the party, resulting in a boss fight against the pair.
Khint will retain 5,000 HP as before and will continue to use the same attacks. He’ll either use his Sword Magic Silence skill that will inflict silence on the next party member he attacks, or coat his blade in flames and attack using that.
Our other foe, Chairman Profiteur, will have 6,000 HP and has a couple of tricks up his sleeves. The first is his Take Over skill, which will deal 300 HP worth of damage to a single party member, and he’ll use it twice per turn that he attacks. You’ll need to be careful, as it has a chance to KO any of your party members who have under 600 HP if it hits them twice. Additionally, he will occasionally use the Angel Investment skill to apply Crit Up to either himself or Kint for a couple of turns.
Our strategy for this fight was to focus on Khint. Same as before, once his HP is reduced to about half (2,500), he will bow out of the battle, just leaving you to face Chairman Profiteur, which makes him much more manageable. From that point, you’ll want to have a White Mage keeping everyone’s HP topped off while using your other three party members to deal damage to the merchant. Once both bosses have been defeated, you’ll be rewarded with the Merchant Asterisk, unlocking the Merchant job along with a clue on how to begin the next sub-scenario.
Time Mage and Spell Fencer Sub-Scenario
How to Start the Sub-Scenario
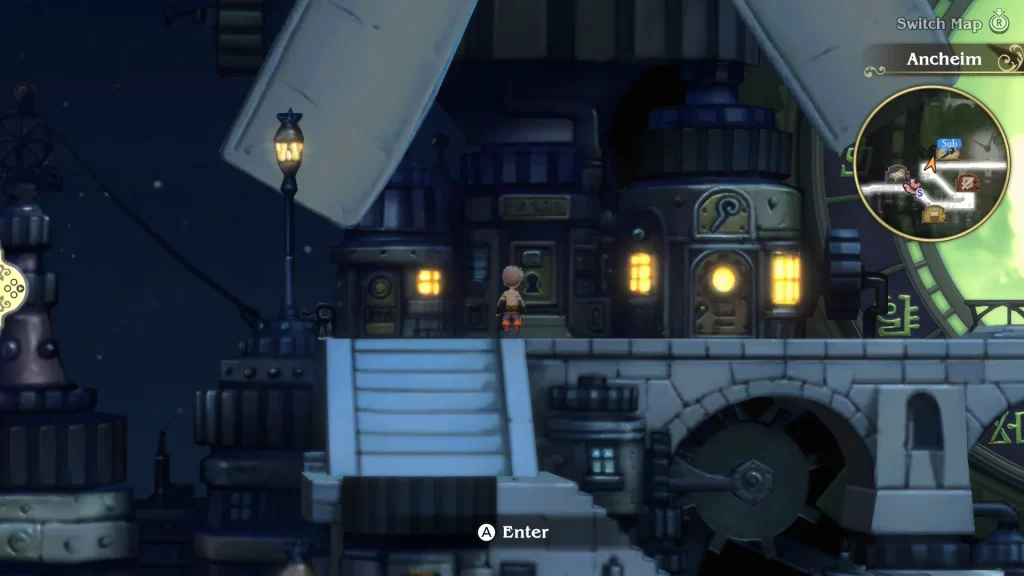
In order to begin this sub-scenario, you’ll need to complete both the Thief and Merchant sub-scenarios. Additionally, you’ll need to progress through the story in Chapter 1 until you awaken the Wind Crystal. Upon completing both of those things, travel to Ancheim at night, where you’ll be able to enter the Grand Mill Works. It will be the door to the left of the Magics store.
Before heading off to the Grand Mill Works, we’d recommend picking at least 10 or so Echo Herbs first. They will come in handy later when you face the boss.
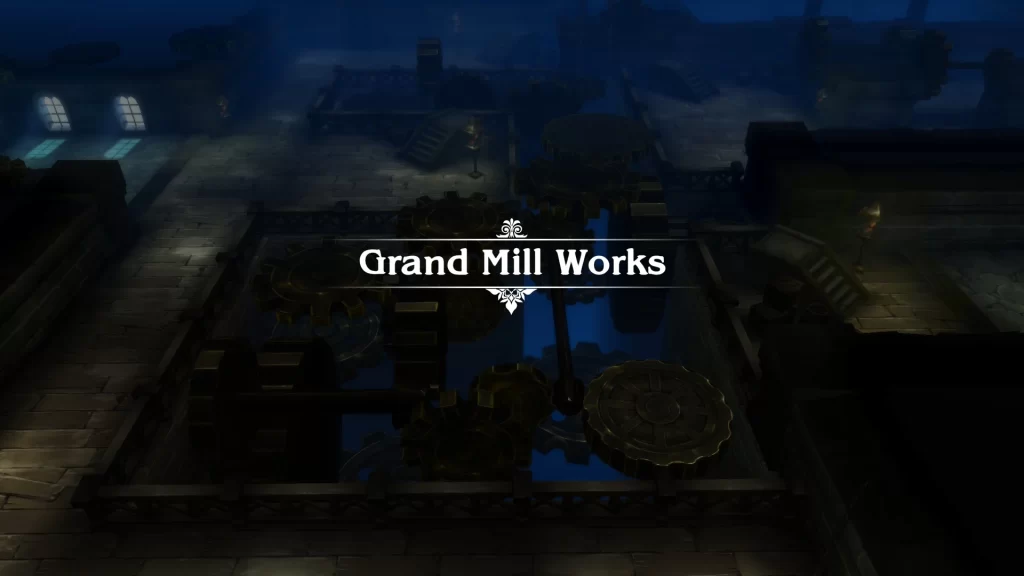
Grand Mill Works
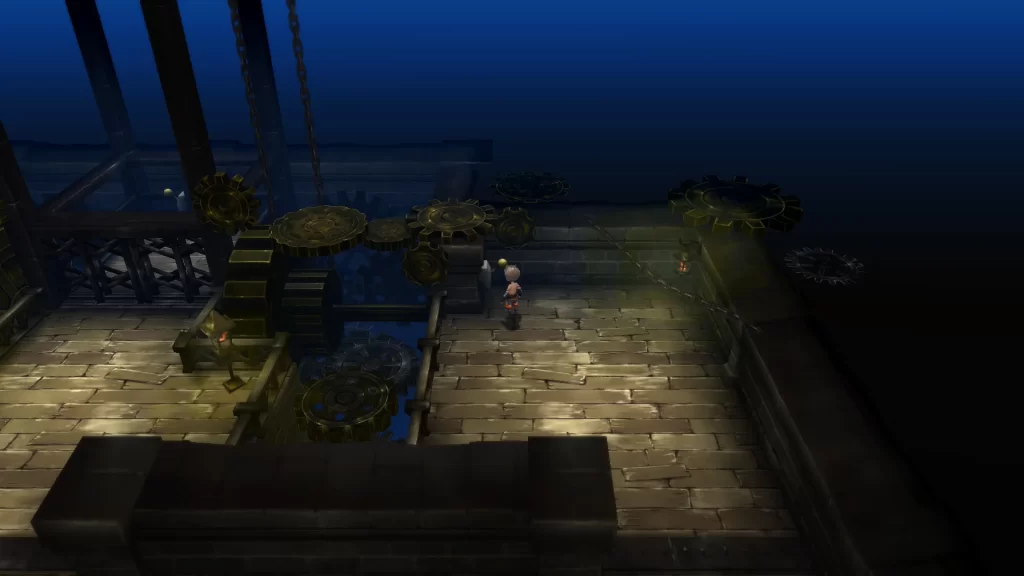
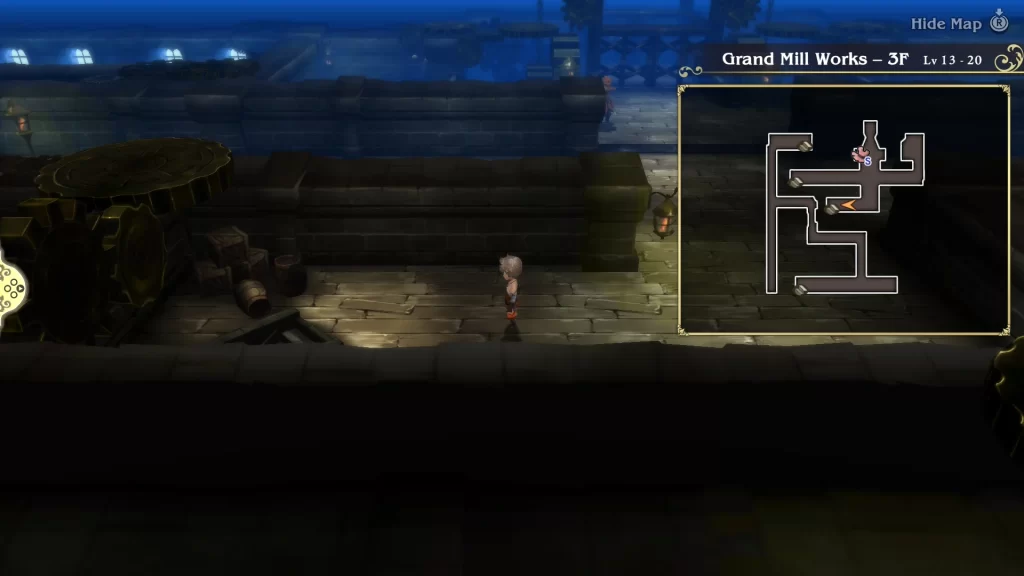
When you reach the mill works, head through the first floor and make your way up to the next level. There, you’ll want to follow the hallway south to reach a chest with a Remedy inside. Once you have that, head north through the hallway, taking the northernmost set of stairs up. This will bring you to 3F, where you’ll find chests containing the following items: Phoenix Down, Earthing Rod, and Thumbing Claws.
Return to 2F after collecting those items and use the stairs in the middle of the hallway. This will bring you back to 3F, but in a different section of the floor. You’ll want to head to the northwestern corner to find a lever there. Interact with it to open the gate to a nearby elevator. Approach the elevator to find a man in red. Speak with him to save and heal up if needed (for 500 pg).
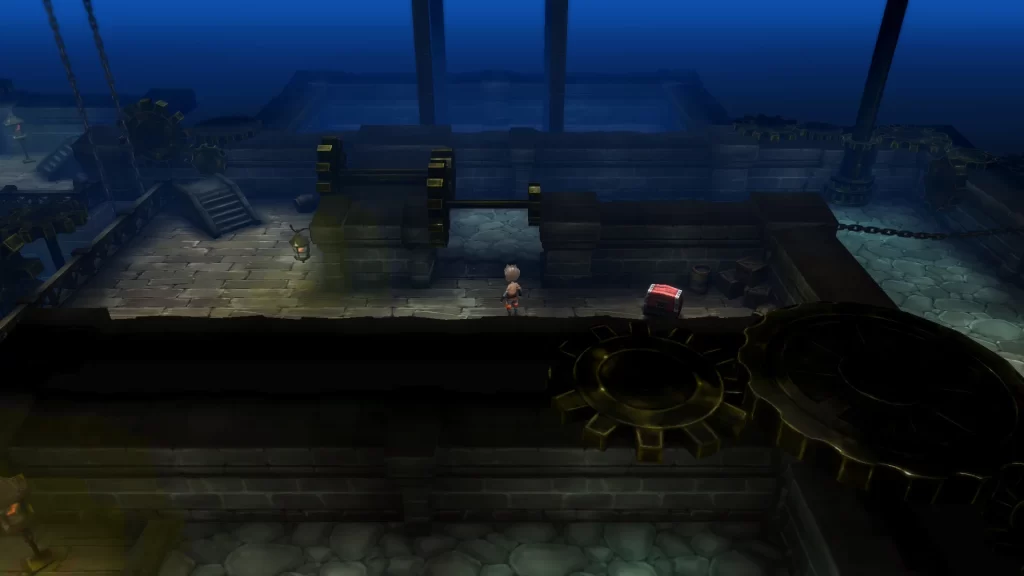
To get the elevator open, we’ll need to reach the second lever, off to the left of the elevator. To reach it, head south from the man in red as far as you can go and then head left. This will lead you to a set of stairs that will take you back down to the 2nd floor. Go east and follow the hallway, take the left at the split to reach a chest containing an X-Potion. Return to the split, following the path to the right, and take the stairs at the end to ascend back to the 3F, albeit in a different section.
Head north (stopping by the side path on the left to collect a Hi-Potion from a chest) and use the stairs to go back down.

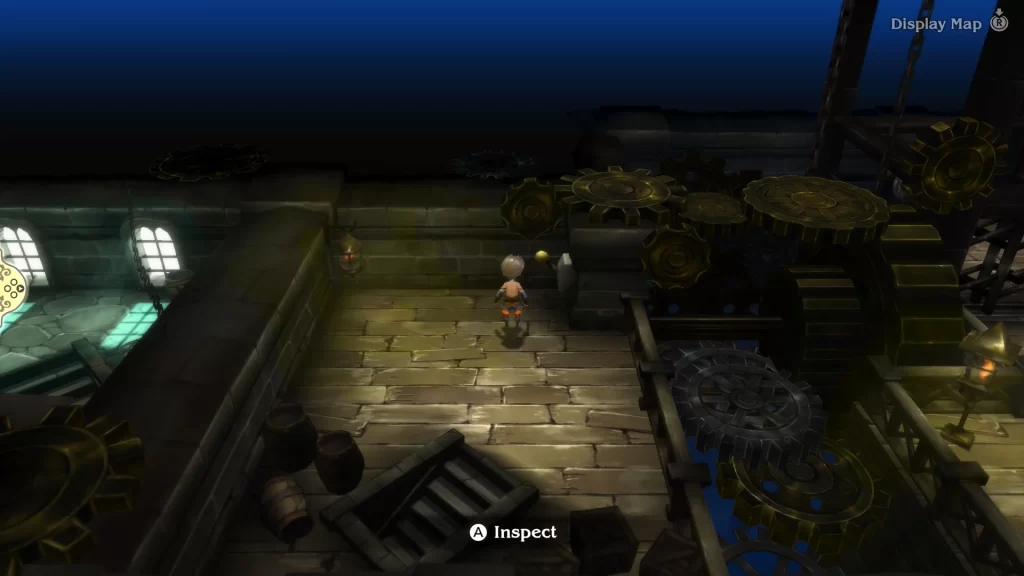
There, you’ll want to follow the hallway north and then east to reach the last set of stairs leading up to the lever. Make sure to grab the chest with an Ether inside along the way.
Once you flip the lever, make your way back to the elevator. Be sure to save and heal up at the man in red before making your way inside. When you’re ready, head inside and flip the lever, bringing you back outside. Head right, across the bridge, and enter the doors of the palace balcony. Follow the inner walkway to overlook the throne where an event will trigger.
Boss Fight: King Khamer and Khint
It’s finally time to teach that stuck-up king some manners with your fists! While you’re at it, might as well beat up Khint for the 3rd time. Both Khamer and Khint will have 6,000 HP each. Khint will be using the same attacks he’s used in the last two fights, but this time he will have the support of Khamer.
The king, being a Time Mage, has several spells at his disposal. Mainly, he’ll use Quara to deal earth-based damage to the whole party. He can also cast Veilga on himself and Khint, which will increase their evasion by 50%. The last spell in the king’s arsenal, Stop, which will prevent the targeted party member from attacking. Those with some basic spear attacks thrown in can be a bit annoying to deal with.
If you examine both Khint and Khamer, you’ll notice that they both have a higher physical defense than special defense. So for this fight, we decided to go the magic route and blast them with spells. We went in with Agnes and Ringabel being White and Black Mages, respectively. We then set the Black Mage as the Job Command for Tiz and Edea. You may also want to equip everyone with weapons that boost their magic attack.
As for the fight itself, we used Default to build up everyone’s BP and then used Brave to attack four consecutive times. Focus on Khamer first to stop him from buffing up Khint. You’ll want to use Agnes/White Mage to heal up the party and deal damage with their remaining attacks. Once the king goes down, turn your attention to Khint. After defeating both of them, you’ll receive the Spell Fencer and Time Mage Asterisks.
Additional Bravely Default Flying Fairy Guides and Walkthroughs
For additional guides and walkthroughs on Bravely Default Flying Fairy, be sure to check out our Bravely Default Flying Fairy HD Remaster main page!