Welcome to NGB and our Doom: The Dark Ages walkthrough for the Chapter 5 The Holy City of Aratum collectibles and secrets! In this guide, we’ll cover everything you need to know to easily find these collectibles and secrets. Whether you’re aiming for 100% completion or just want to make sure you don’t miss anything, we’ve got you covered!
If you need help with a specific collectible, please refer to our Quick Links section to quickly find the information you need!
Quick Links
- Chapter 5 The Holy City of Aratum Collectibles & Secrets
- Secret Landing Zone #1
- Resource – Demonic Essence – Health
- Resource – 55 Gold
- Secret #1
- Secret Landing Zone #2
- Resource – 4 Gold
- Cultist Circle #1
- Resource – 15 Gold
- Secret #2
- Collectible #1 – Nightmare Weapon Skin for Pulverizer
- Resource – 6 Gold
- Resource – Ruby
- Secret #3
- Resource – 3 Gold
- Secret #4
- Cultist Circle #2
- Resource – 11 Gold
- Resource – 50 Gold
- Blue Keycard
- Resource – 8 Gold
- Secret #5
- Resource – Demonic Essence – Ammo
- Resource – 12 Gold
- Secret #6
- Cultist Circle #3
- Resource – 8 Gold
- Collectible #2 – The Holy City of Aratum Codex
- Resource – Ruby
- Secret #7
- Resource – 5 Gold
- Collectible #3 – Serrat Toy
- Secret #8
- Resource – 50 GoLD
- Secret #9
- Resource – 8 Gold
- Resource – 5 Gold
- Collectible #4 – Deag Loric Codex
- Doom: The Dark Ages: Guides, Tips, and Walkthroughs
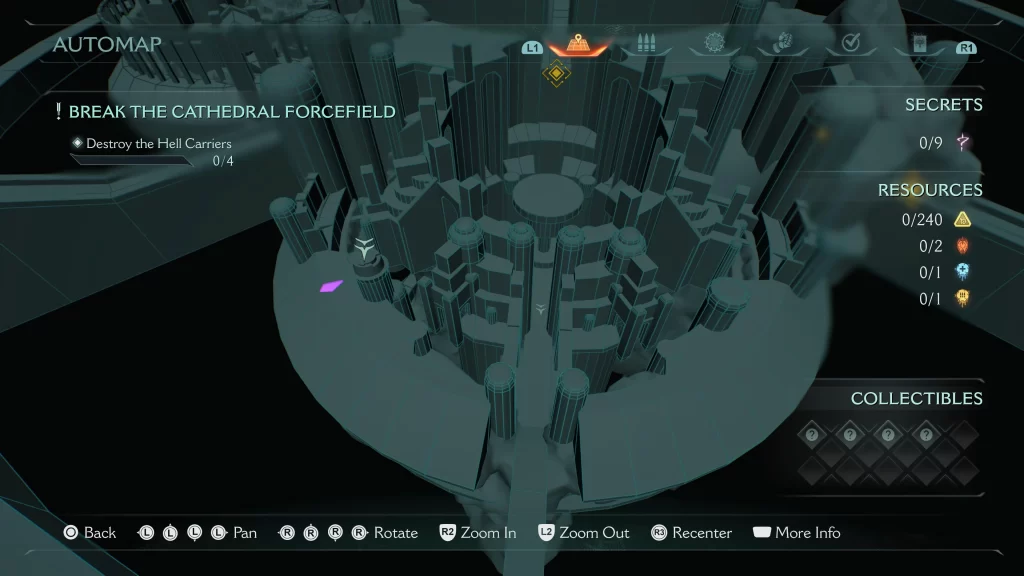
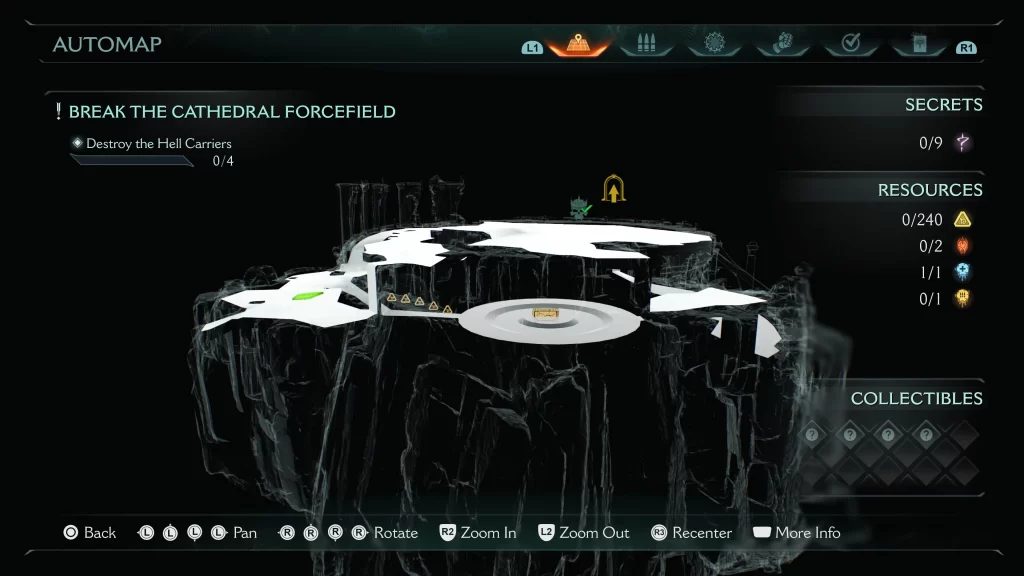
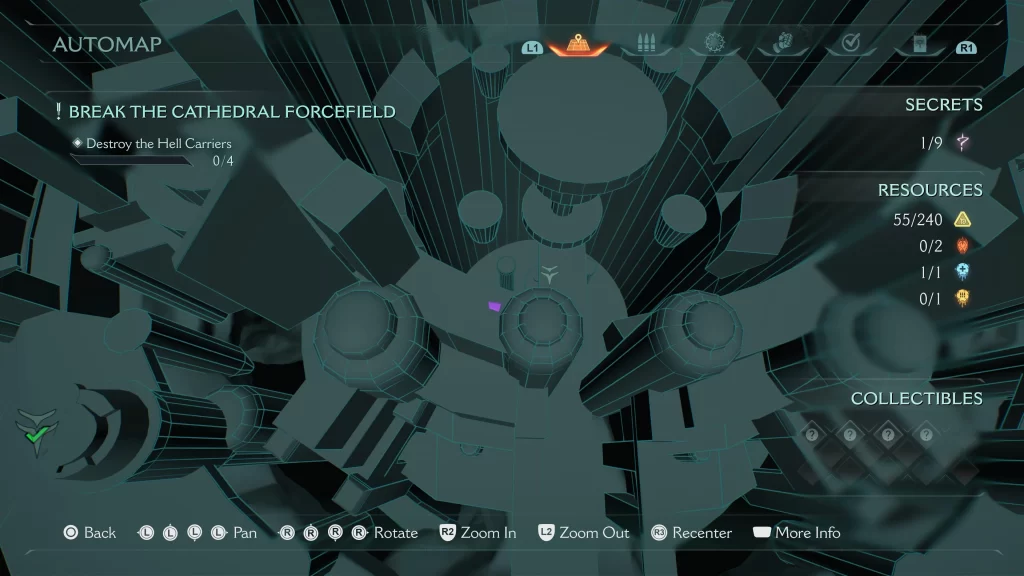
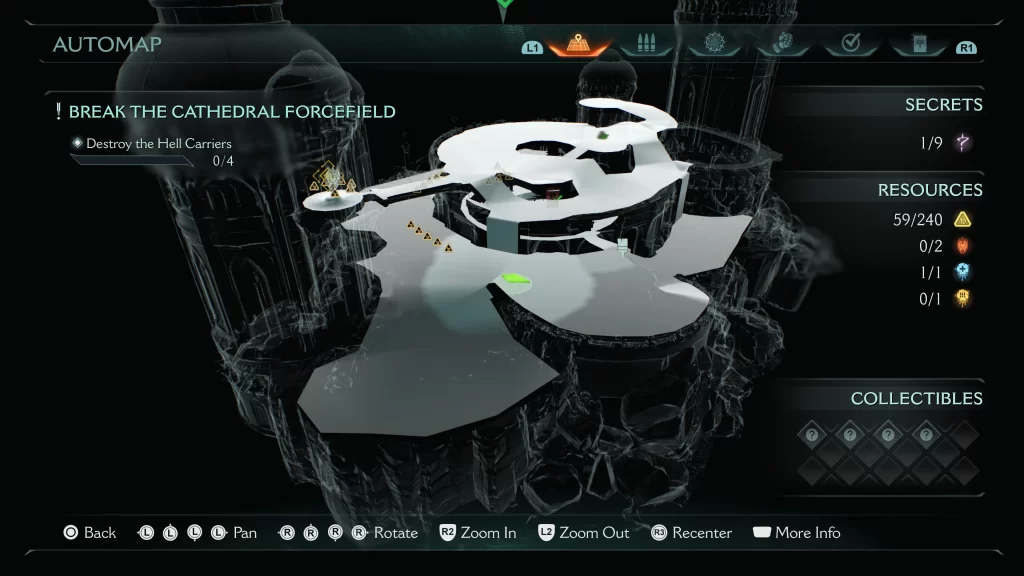
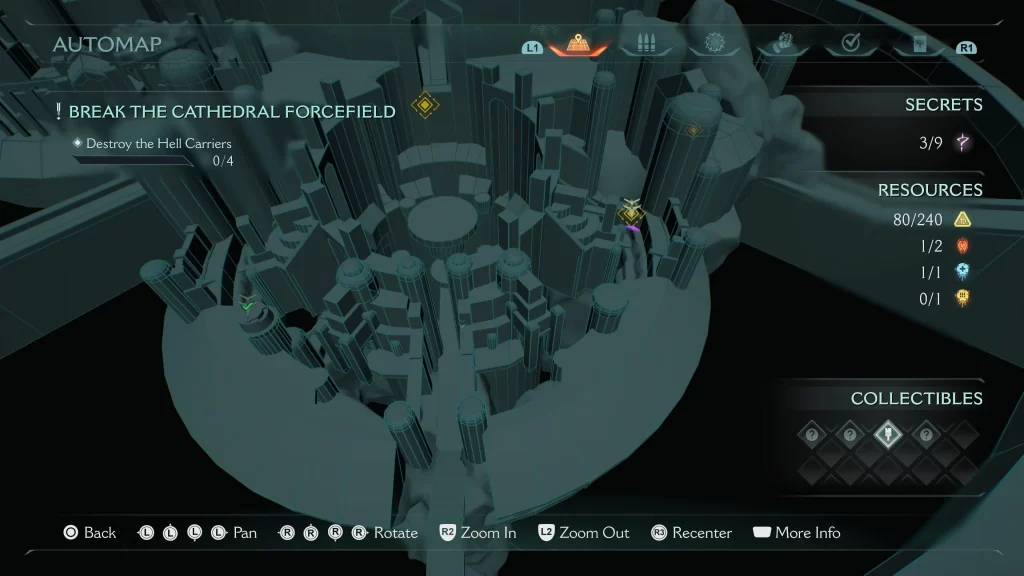
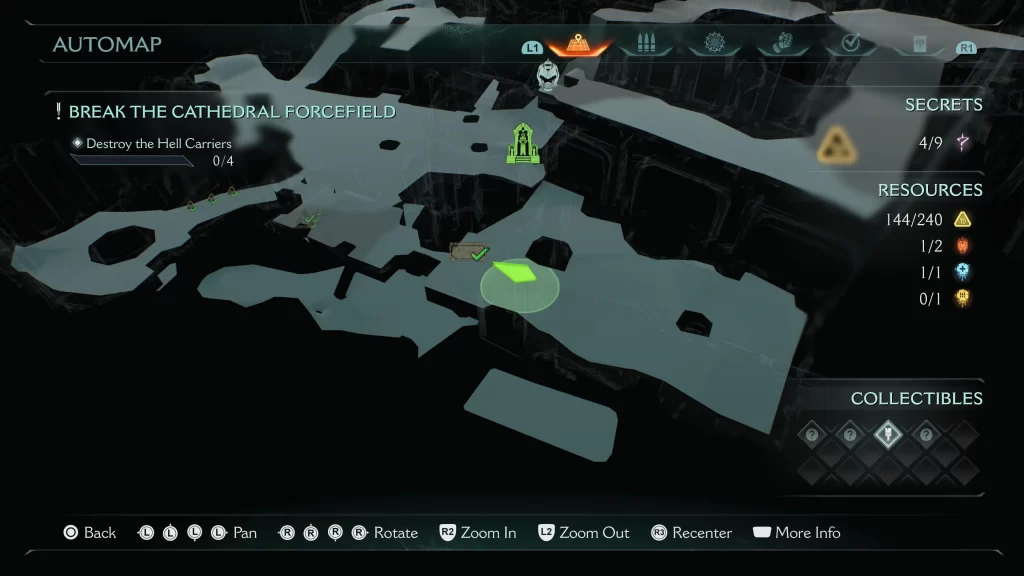
Chapter 5 The Holy City of Aratum Collectibles & Secrets
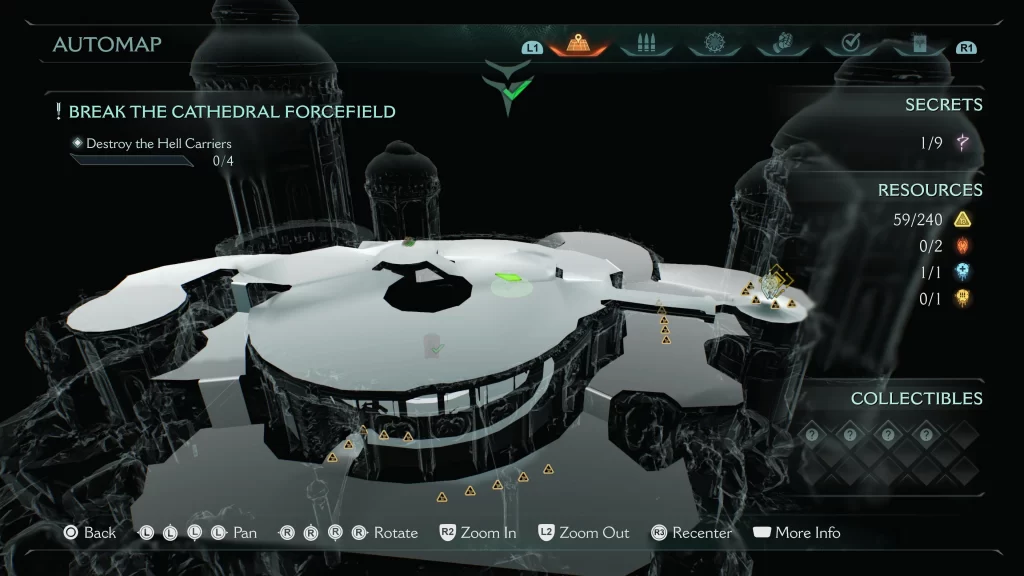
In The Holy City of Aratum, you’ll find the following secrets, resources, and collectibles:
- 9 Secrets
- 240 Gold
- 2 Rubies
- 2 Demonic Essences
- 4 Collectibles
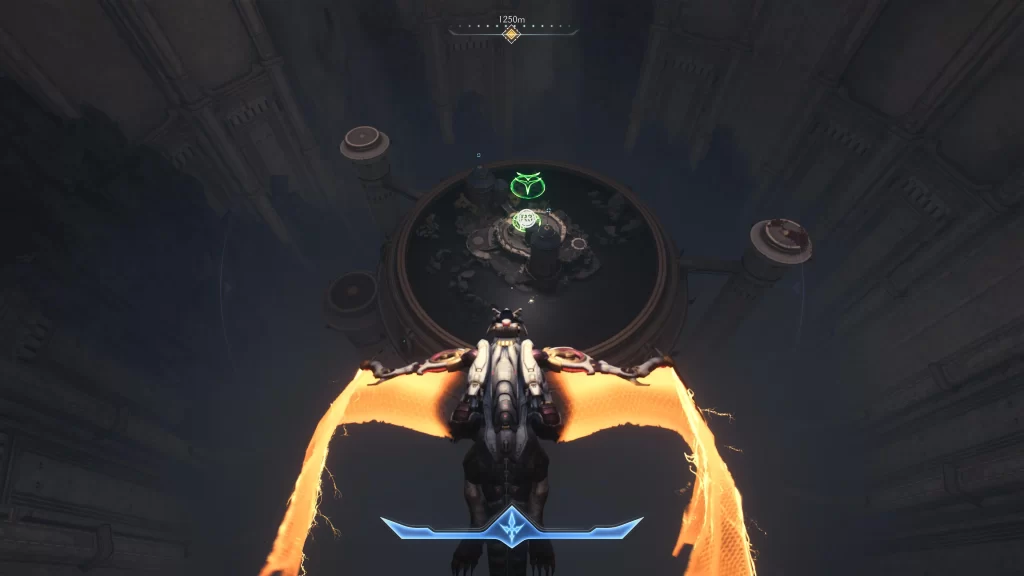
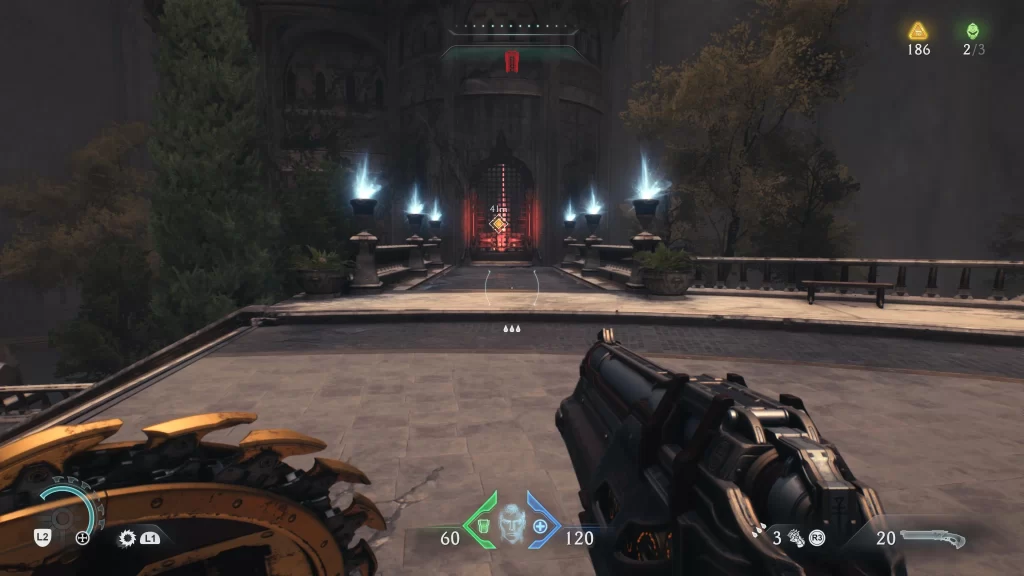
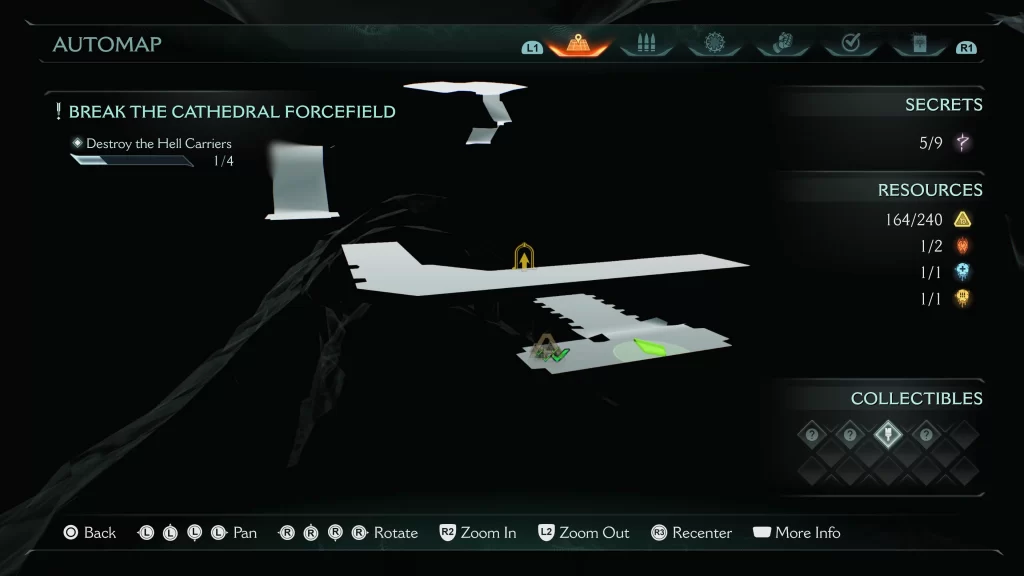
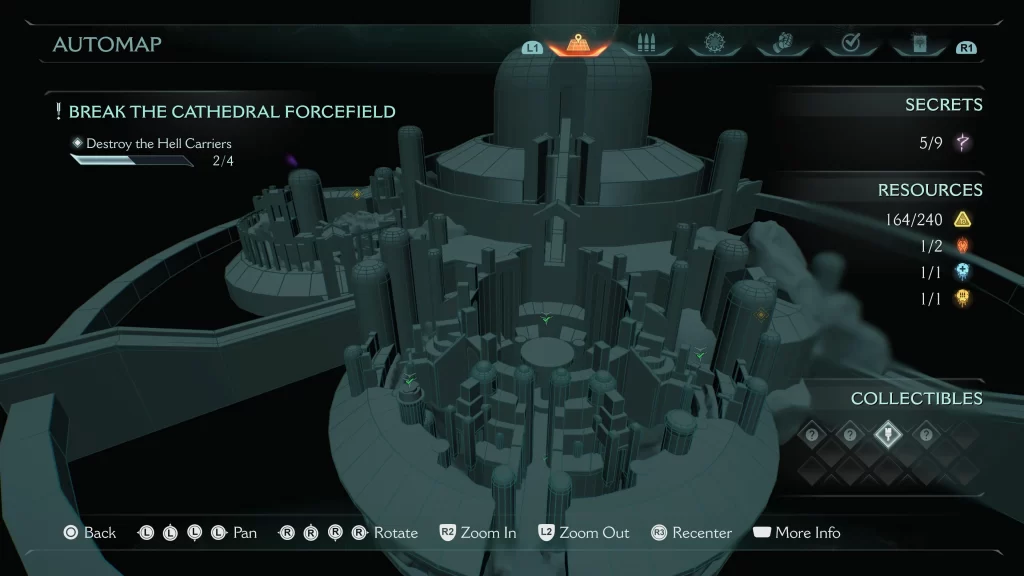
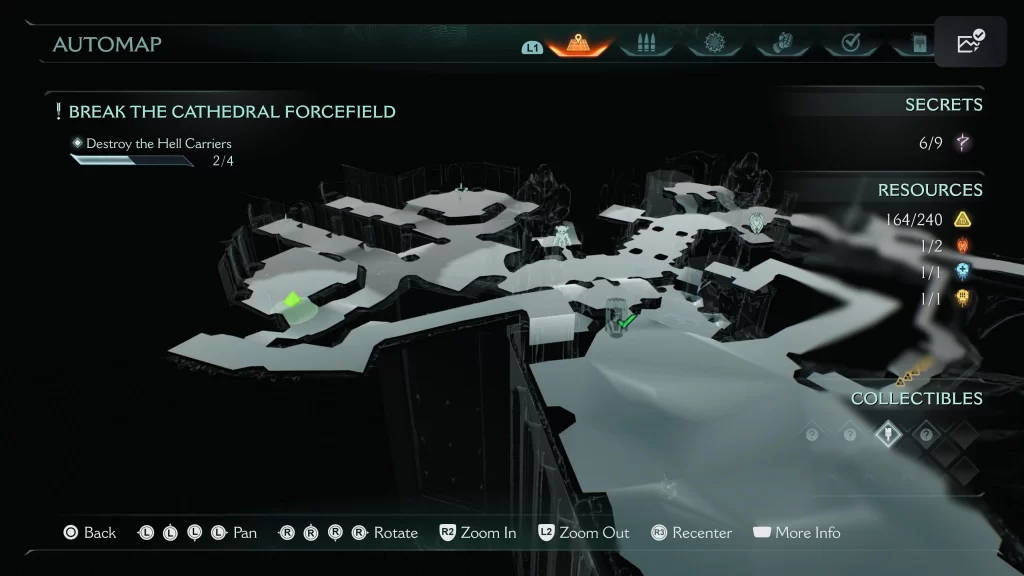
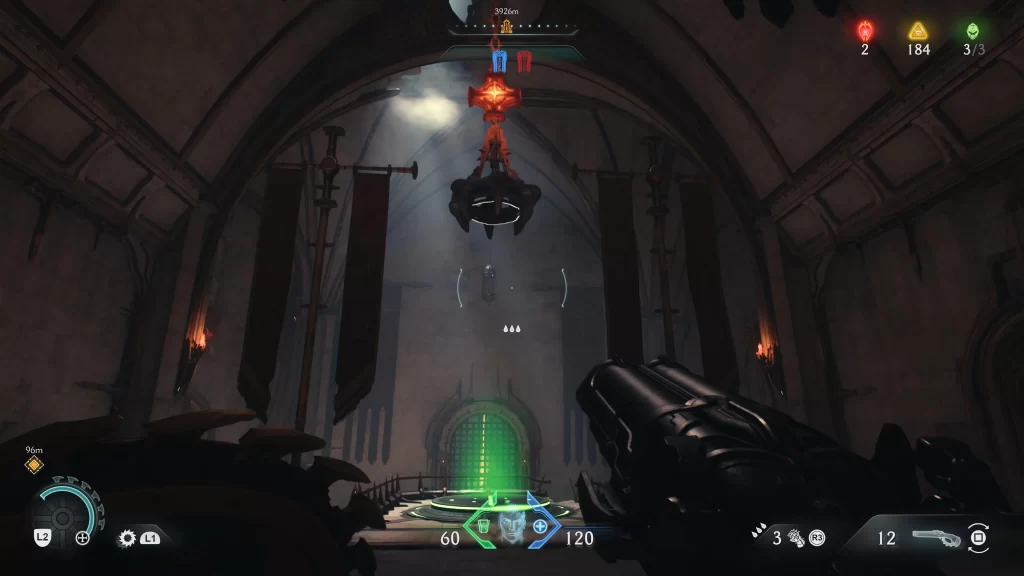
Secret Landing Zone #1
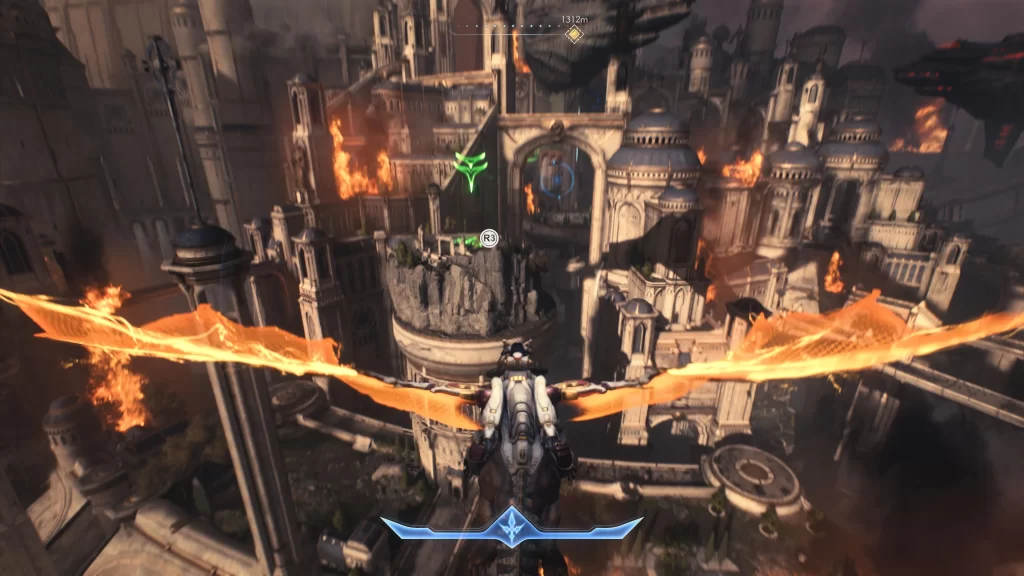
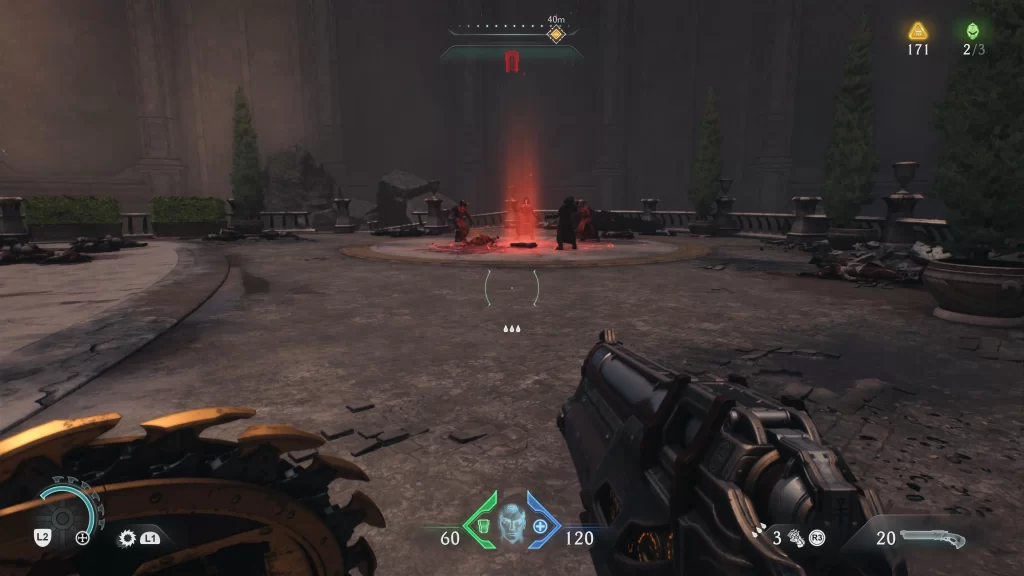
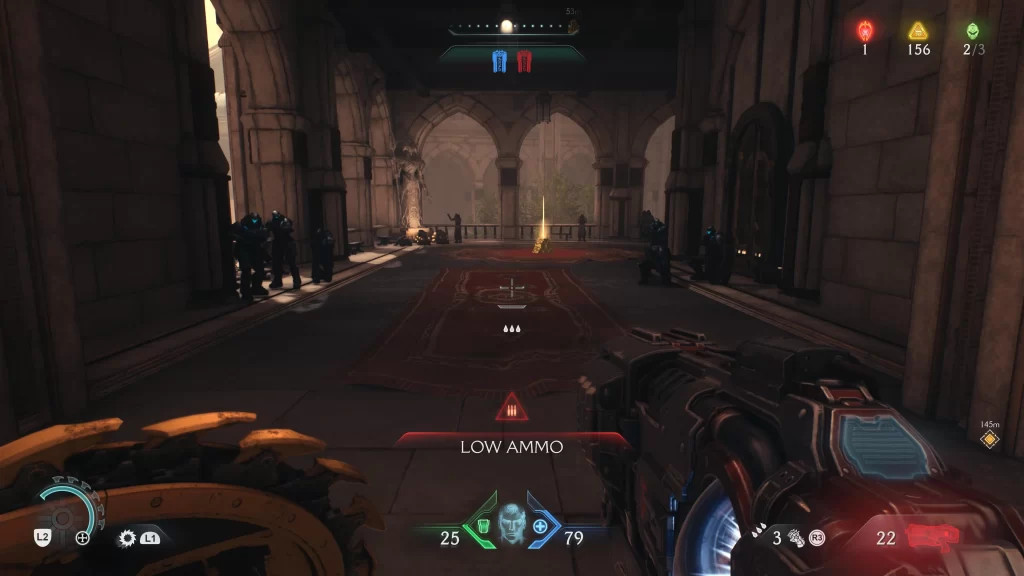
When you first get the objective to destroy four Hell Carriers, look to the left to spot a cylinder with a large demon in it. Defeat the demon then land.
Resource – Demonic Essence – Health
After landing at the above secret landing zone, interact with the tree in the center.
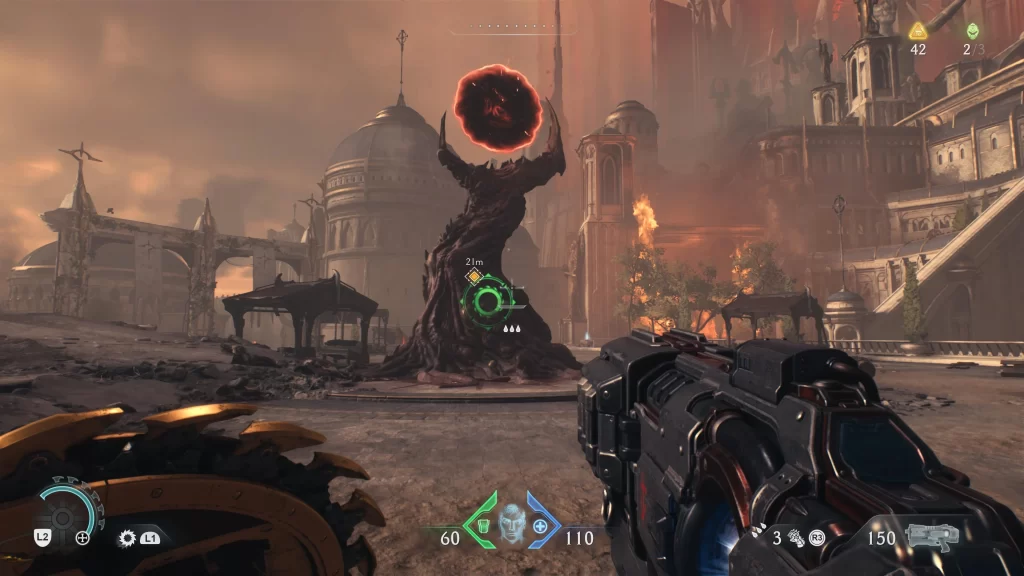
This will spawn waves of enemies. Keep defeating them until the Leader spawns. Once you take down the leader, you’ll acquire this essence.
Resource – 55 Gold
From the above, head down the path to collect this along the way. 5 Gold will be loose and 50 will be in a chest.
Secret #1
This secret area can be found in the treasure room with the chest.
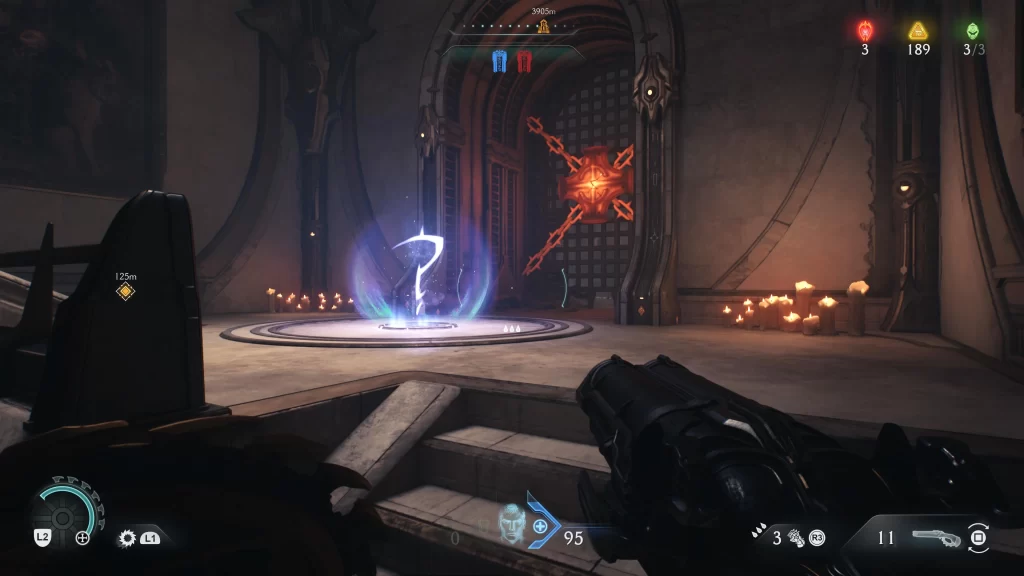
Secret Landing Zone #2
This secret landing zone can be found in the center of the area on a circular platform surrounded by four small circular columns.
Resource – 4 Gold
Get the Red Key by destroying the platform in the middle and as you grapple out of the pit, you’ll go into the room with the four gold.
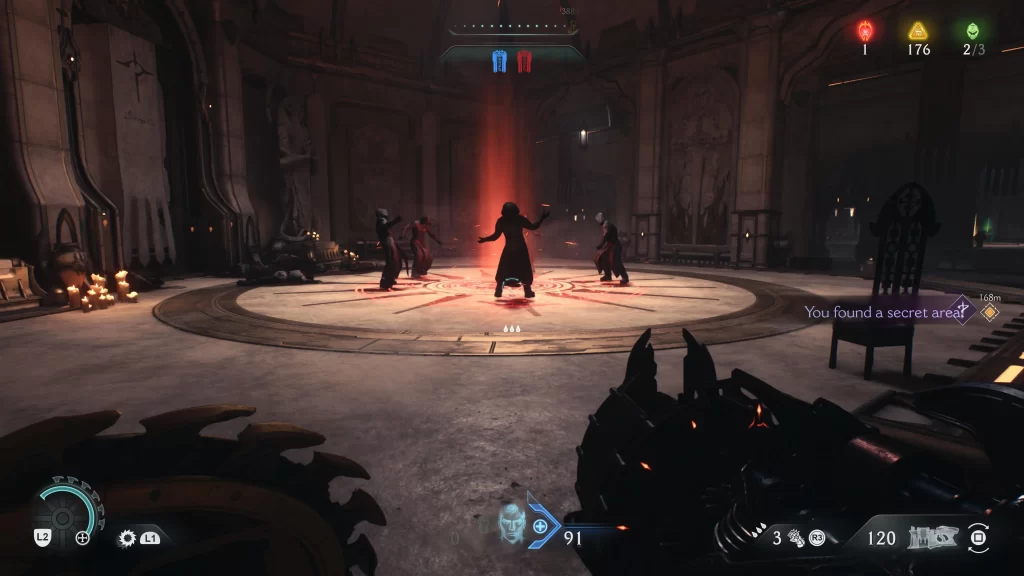
Cultist Circle #1
This cultist circle can be found near the above.
Resource – 15 Gold
From the above, face the door that requires the Red Key.
Go left then drop down to the lower level to reach the gold. Follow the path around to collect all 15 gold.
Secret #2
This secret can be found along the above path where you’ll collect the gold.
Collectible #1 – Nightmare Weapon Skin for Pulverizer
In the above secret area, you’ll find this weapon skin for the Pulverizer.
Resource – 6 Gold
Enter the red door using the Red Key to find the gold inside.
Resource – Ruby
You’ll find this ruby in the above room.

Secret #3
The above room is this secret area.
Resource – 3 Gold
Destroy the first Hell Carrier on the right by taking out its shields then land where it crashes. Face the shrine and head right to reach an alley between two building to find this gold.
Secret #4
From the above, drop down into the well to find this secret area.
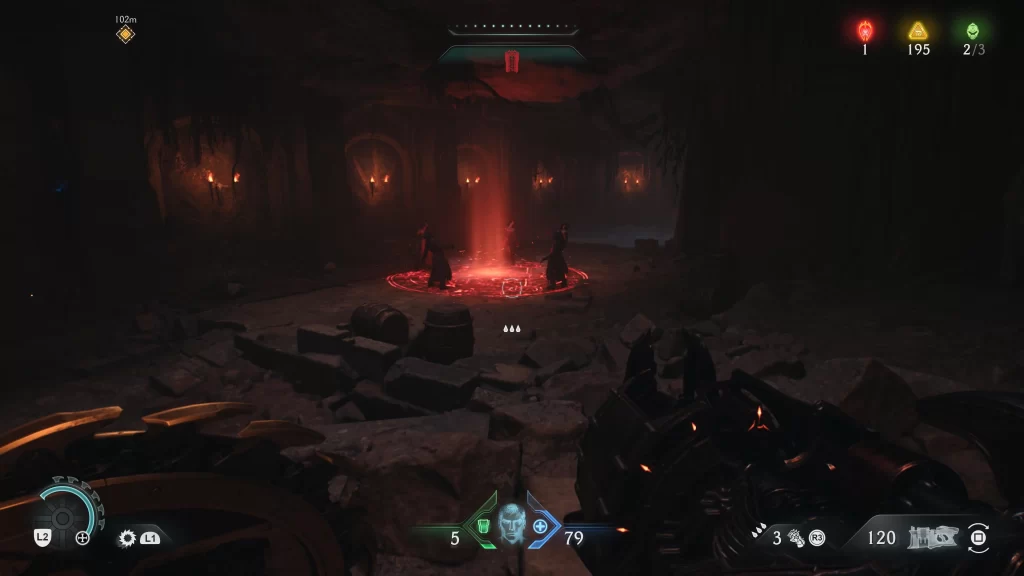
Cultist Circle #2
In the above area, you’ll find a cultist circle.
Resource – 11 Gold
From the above, head through the doorway to the left of the circle to find this gold.
Resource – 50 Gold
In the back part of the room where the cultists were, dive into the water and swim to the other side to find some survives and a gold chest.
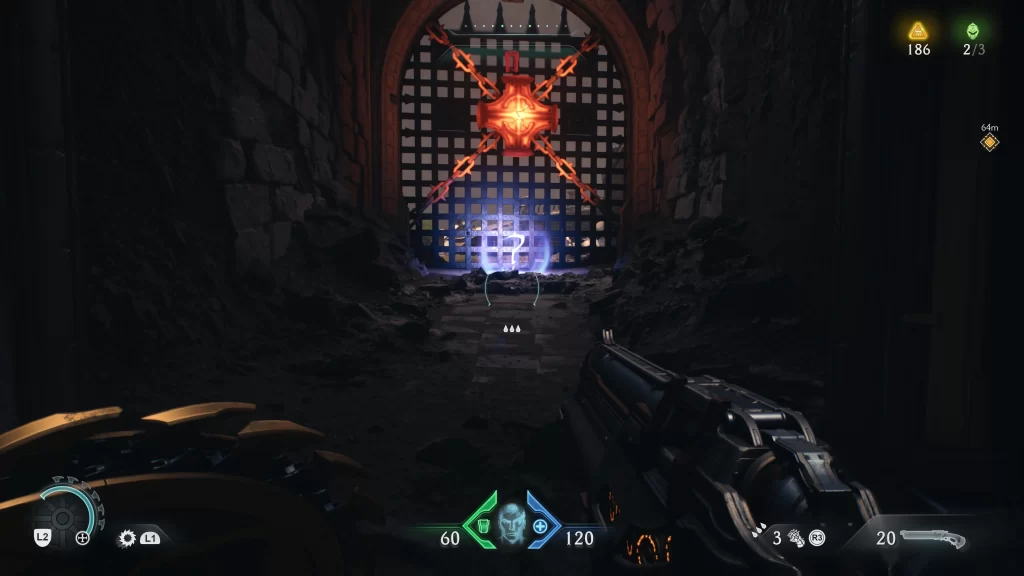
Blue Keycard
Facing the shrine, head left and climb up a wall. When the path splits, head left and enter a room.
Take a right then take another right just before the door to reach a cemetery.
Climb up the wall then follow the path to reach the Blue Keycard.
Resource – 8 Gold
Jump down over the ledge and use it to open the gate. Inside, you’ll find the money.
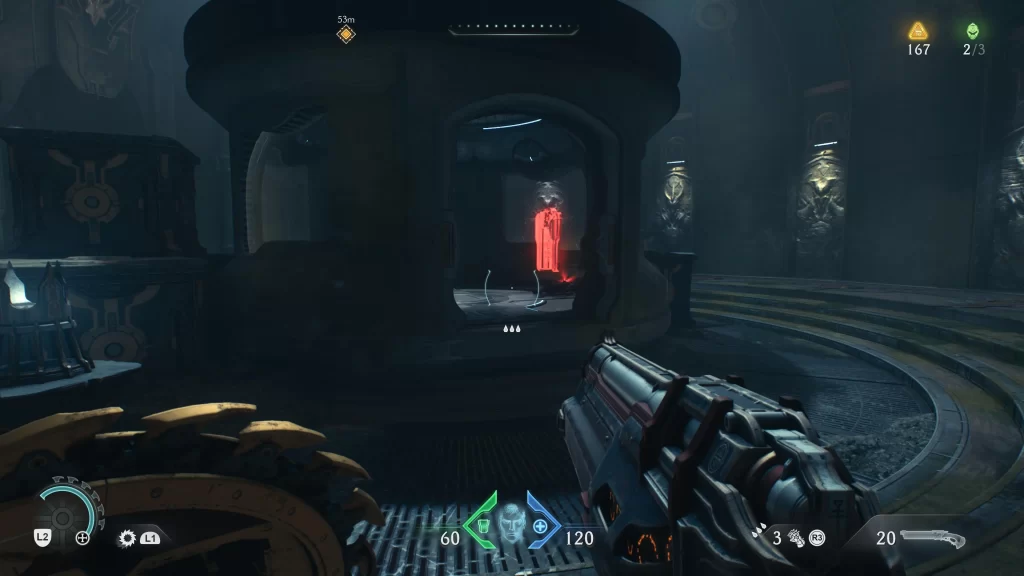
Secret #5
The room containing the above gold is a secret. At the end of the path, you’ll find a Life Sigil.
Resource – Demonic Essence – Ammo
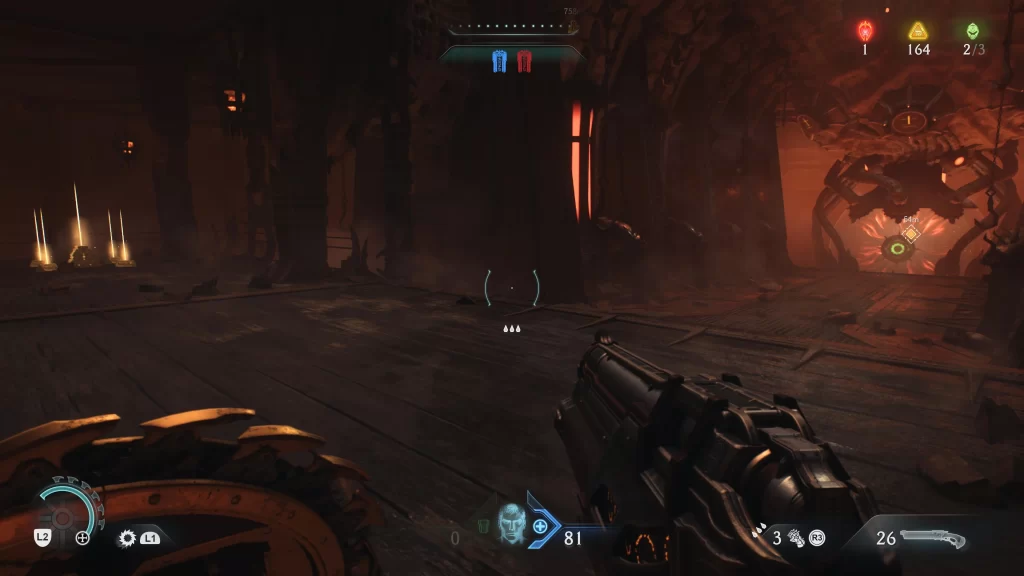
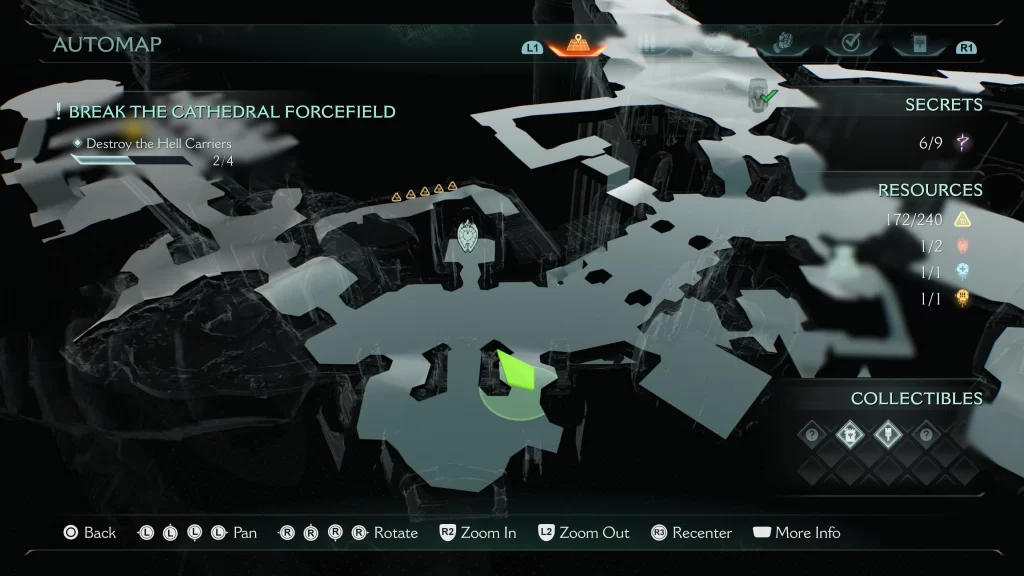
You’ll fight a large creature just before destroying a Hell Carrier as part of the main story. After you take out this axe-wielding enemy, you’ll collect this Demonic Essence.
Resource – 12 Gold
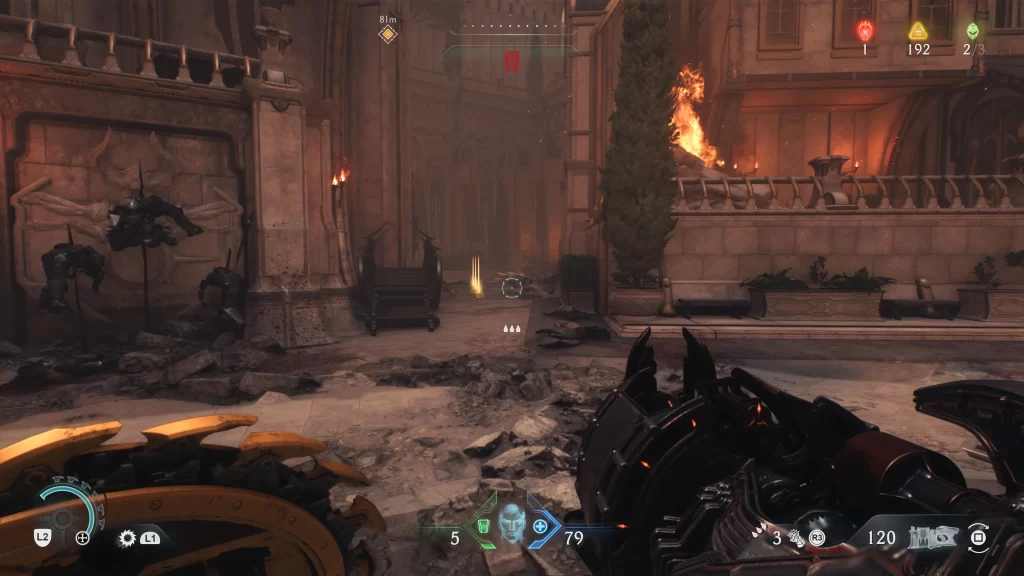
Just past the main gate, destroy the Hell Carrier then head inside where it crashes to find this gold near the bottom where you have to destroy the core.
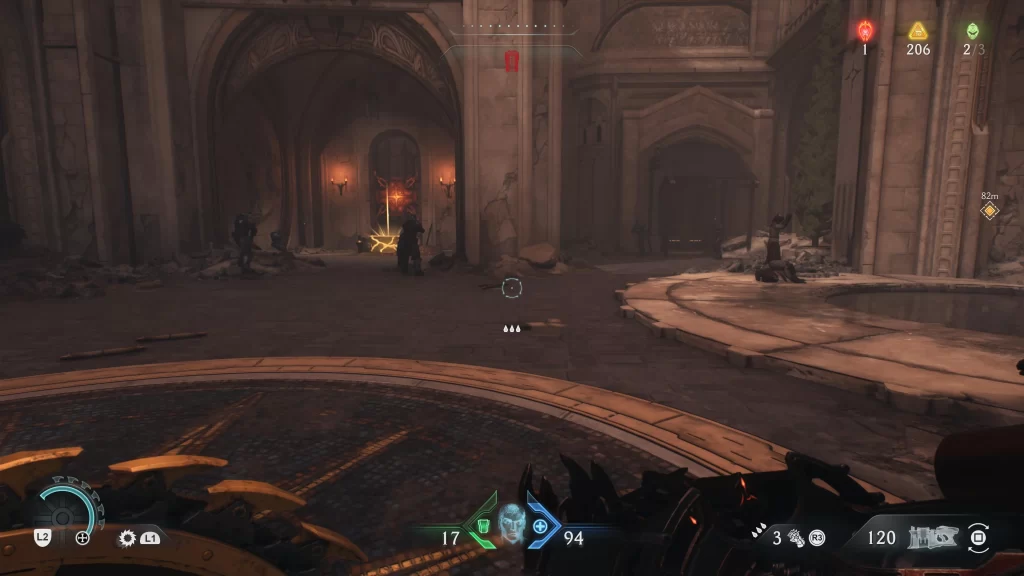
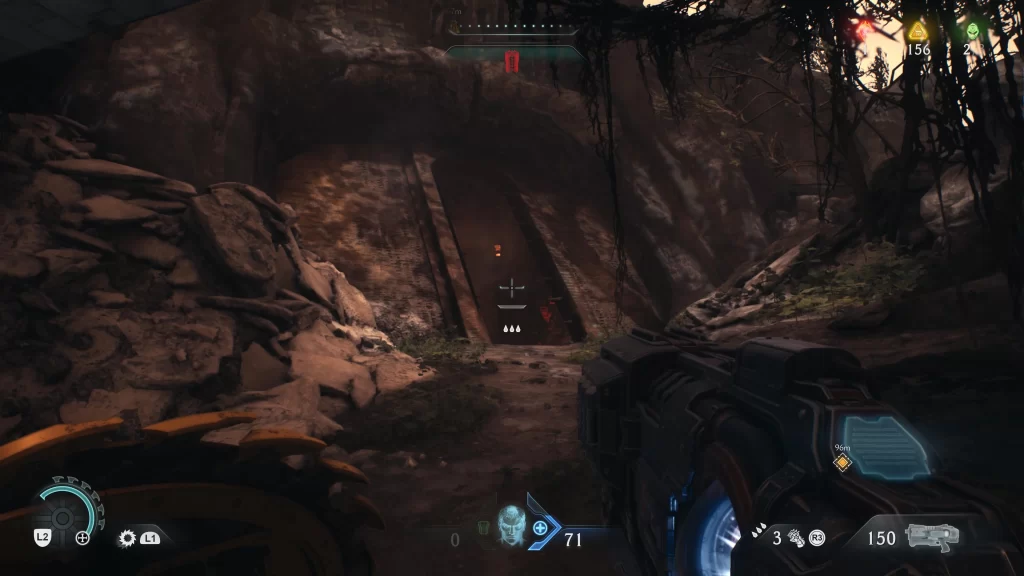
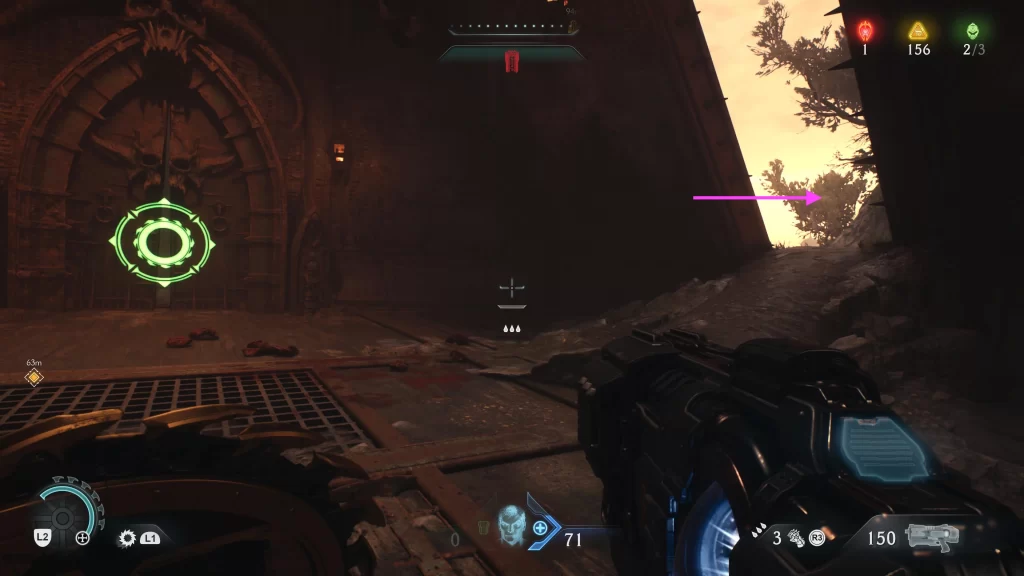
Secret #6
On the western side of the cathedral, you’ll find this Hell Carrier.
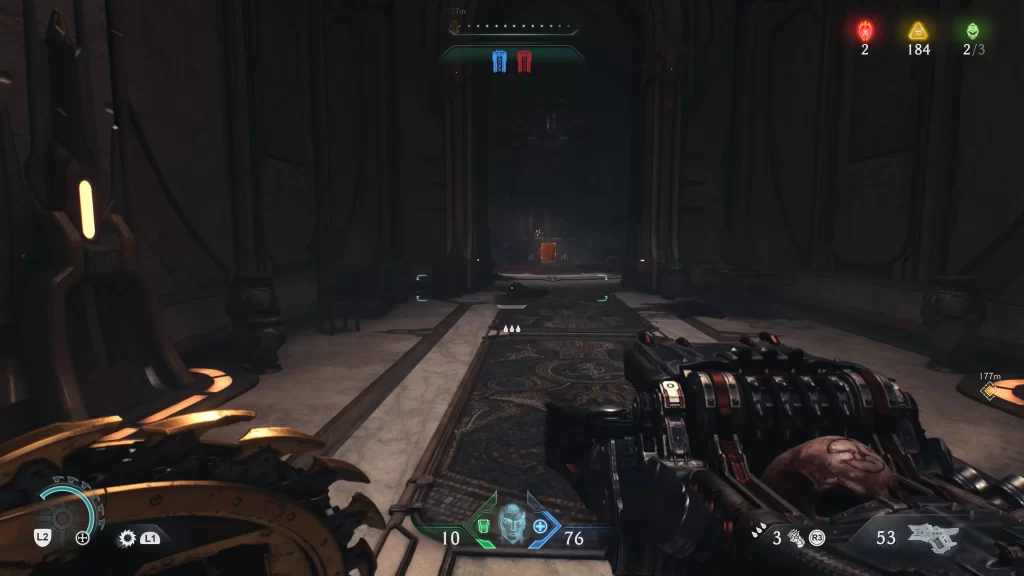
Take it out then land. Acquire the Super Shotgun then head inside the cathedral. Go down the stairs and take a right then another right to head into the first room which will take you to an outside. Shoot the chain to lower the bridge. Head across and climb the wall. Follow the path to reach this secret area.
Cultist Circle #3
This cultist circle will be at the above secret area.
Resource – 8 Gold
You’ll find this gold in the above secret area. When you approach it, you’ll be ambushed!
Collectible #2 – The Holy City of Aratum Codex
You’ll find this codex in the middle on the lower path.
Resource – Ruby
To open the gate, look up at the space in front of it and use your shield to cut the chain, causing the object to drop onto a weighted platform.
This will open the gate, allowing you to collect the ruby.
Secret #7
This secret is found in the area with the ruby.
Resource – 5 Gold
When you get to the bridge leading to the crashed Hell Carrier, head right and drop down to the ledge below to collect the gold.

Collectible #3 – Serrat Toy
Continue following the above path back into the building. Head through the hole in the wall and climb up to reach the toy.
Secret #8
This secret area is where the above toy is.
Resource – 50 GoLD
When you enter the Hell Carrier, take care of the enemies. On the left side, take the stairs then bust through the doorway. Head up the ramp to reach the gold chest.
Secret #9
This secret area will be where the above gold chest.
Resource – 8 Gold

After crashing the last Hell Carrier, head inside and take out the group of enemies then collect the gold from the area you fought everyone.
Resource – 5 Gold

After acquiring the Cycler, smash through the door then follow the path all the way down to where you smash the core to find the gold.
Collectible #4 – Deag Loric Codex
You’ll find this codex right next to the above gold.
Doom: The Dark Ages: Guides, Tips, and Walkthroughs
For more in-depth guides, tips, and walkthroughs, be sure to explore our Doom: The Dark Ages Guides and Walkthroughs main page for all the latest content and updates.