Welcome to NGB and our Clair Obscur: Expedition 33 area guide exploring the Stone Wave Cliffs! This guide will cover everything you need to know, from collectibles to side quests. Whether you’re aiming for 100% completion or want to make sure you don’t miss anything, we’ve got you covered!
If you need help with a specific objective, please refer to our Quick Links section for quick access to the information you need!
Quick Links
Stone Wave Cliffs Collectibles & Noteworthy Tasks
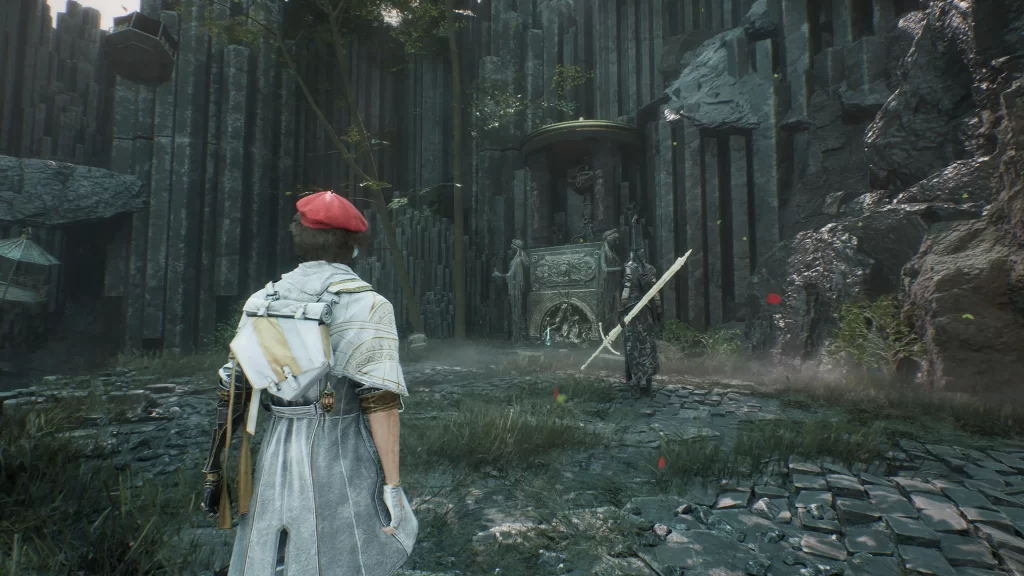
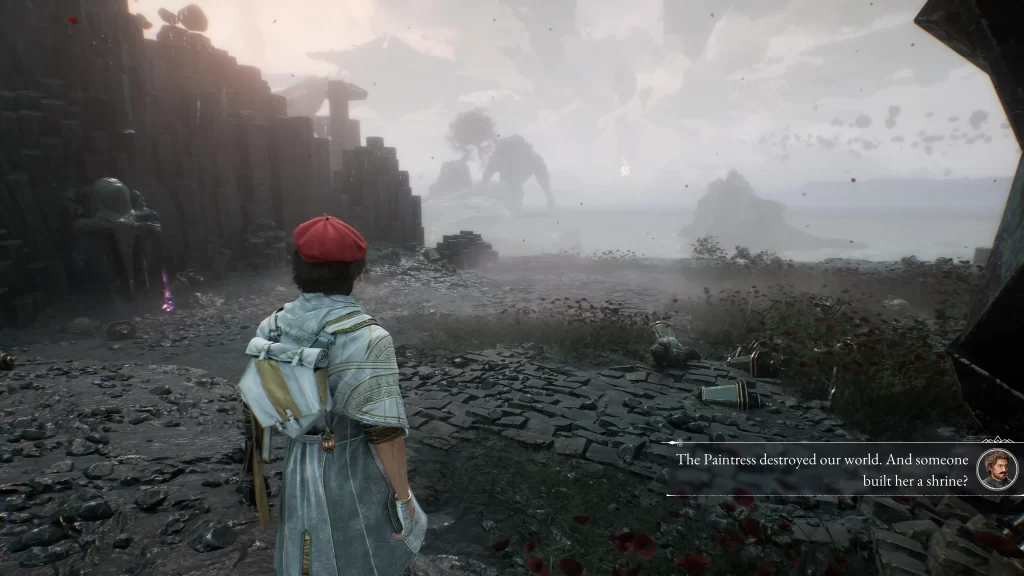
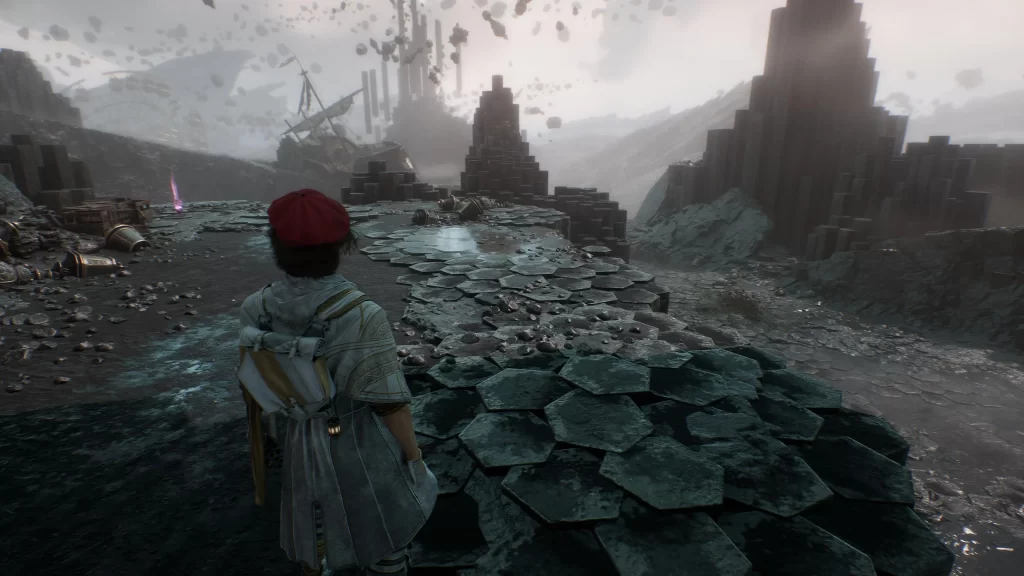
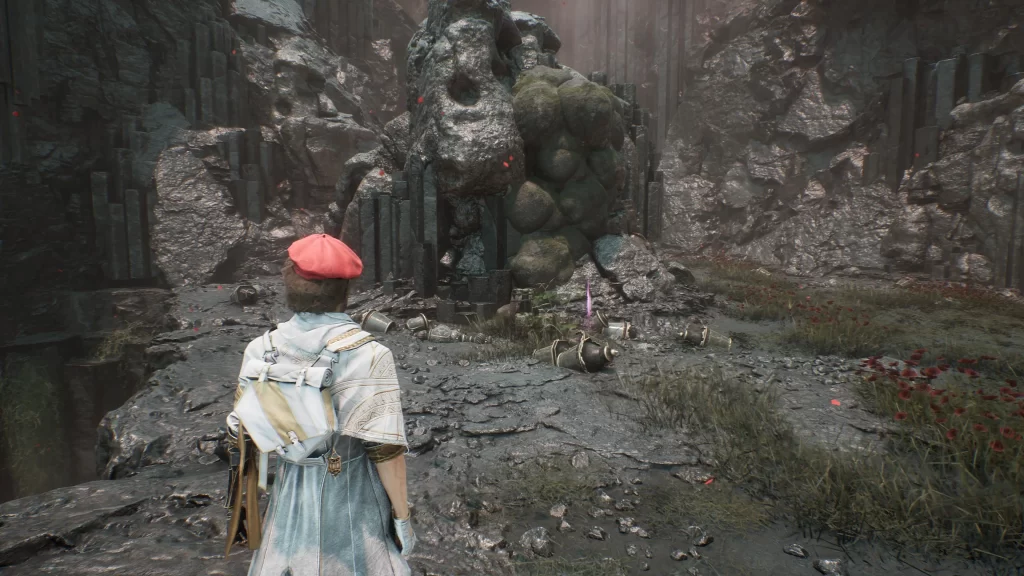
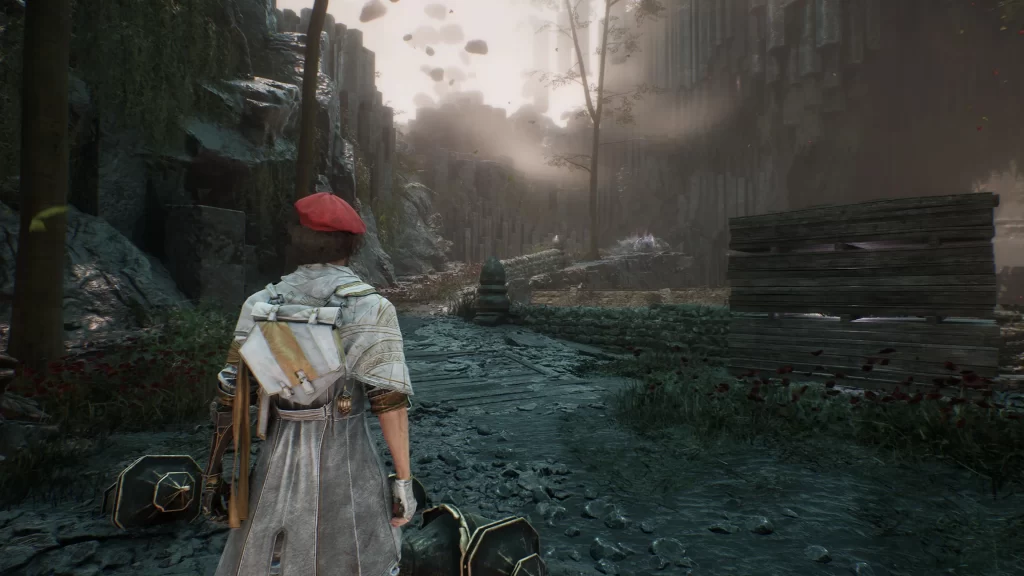
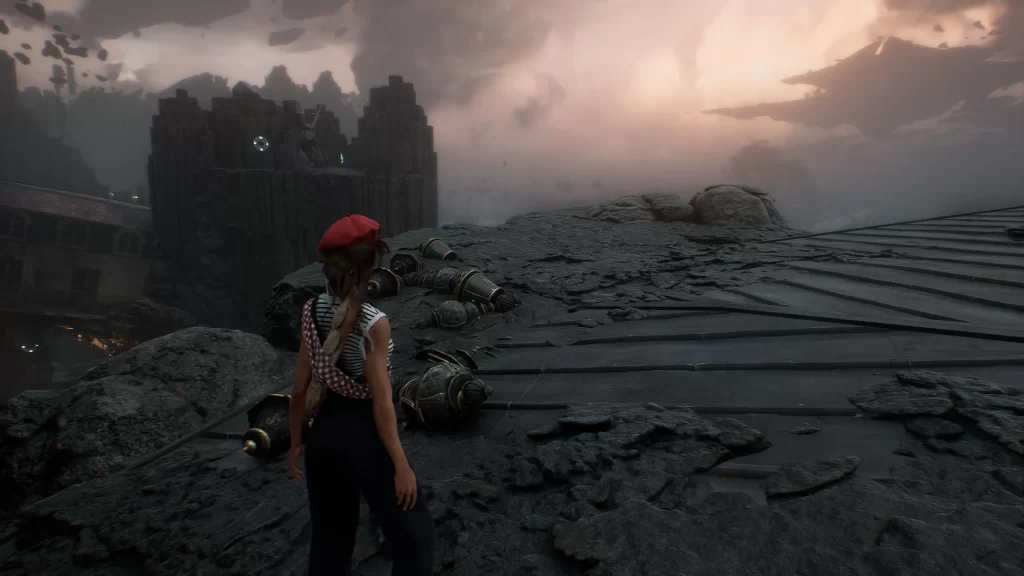
Stone Wave Cliffs – Entrance
790 Chroma
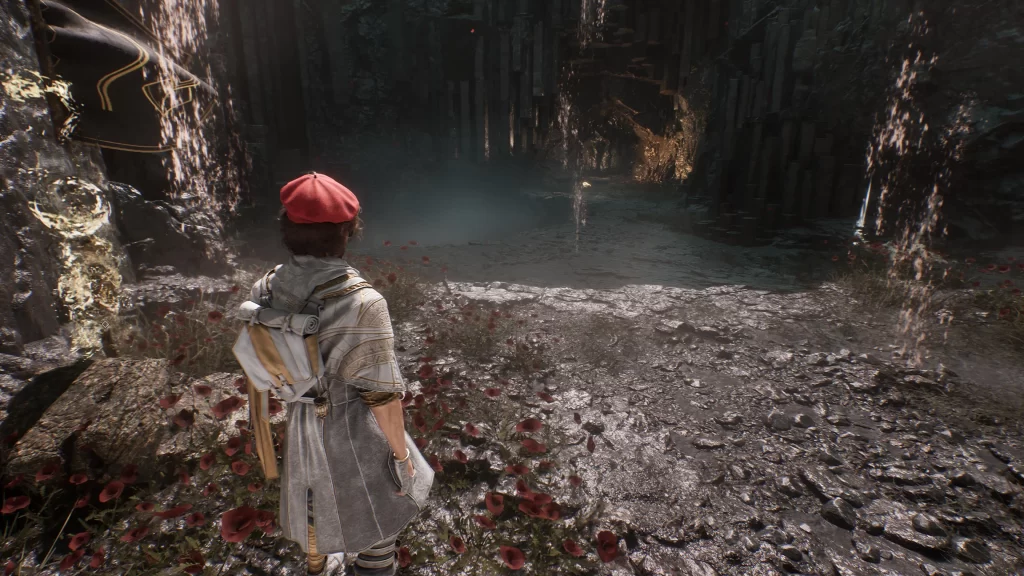
This Chroma can be found along the main path just before the rest point.
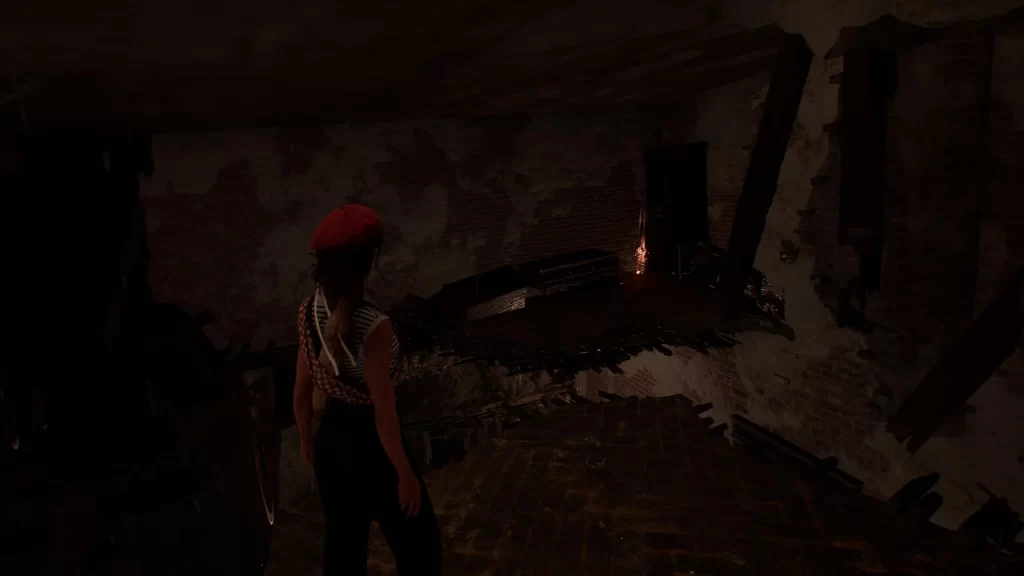
Journal – Expedition 78 – Stone Wave Cliffs
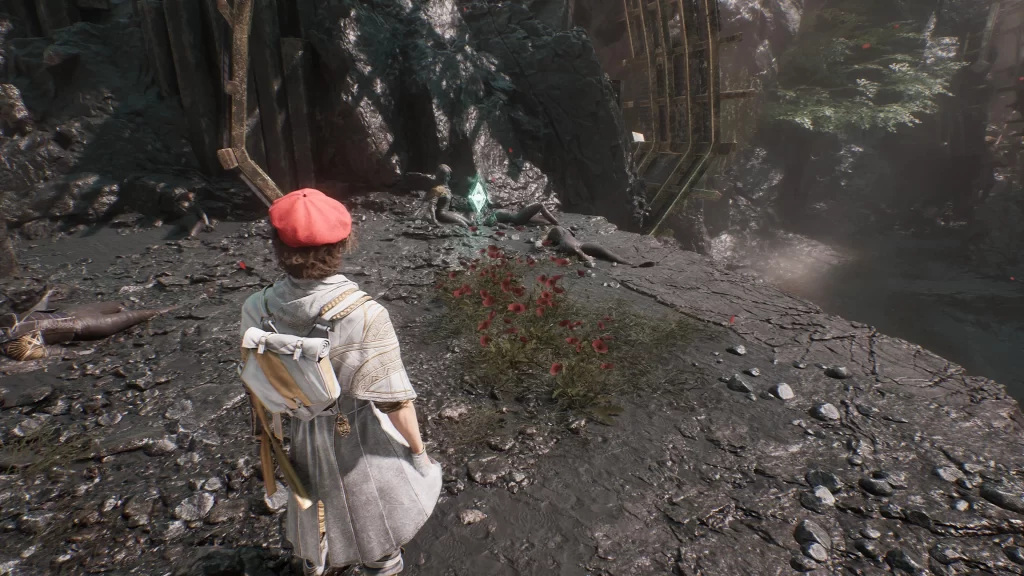
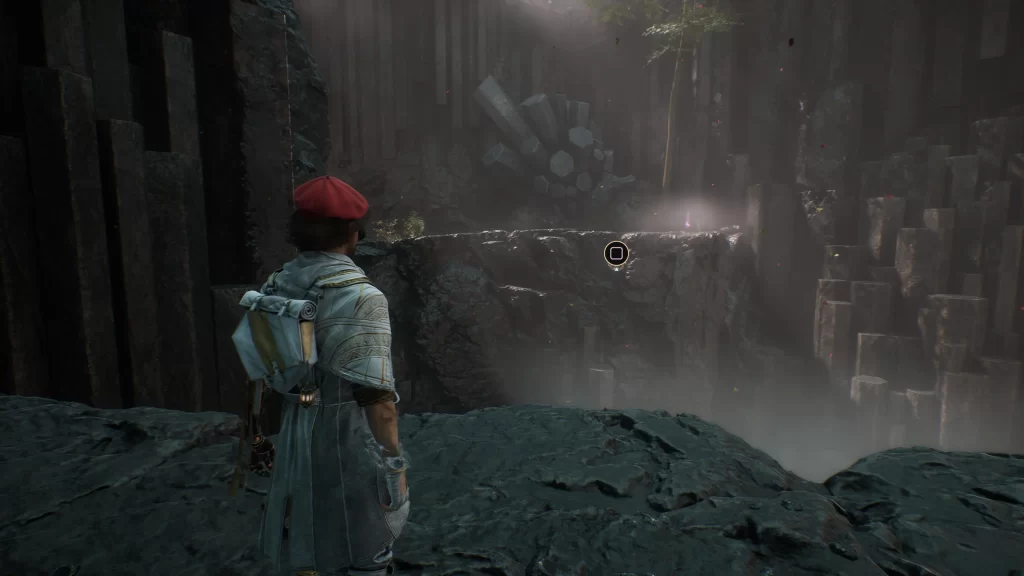
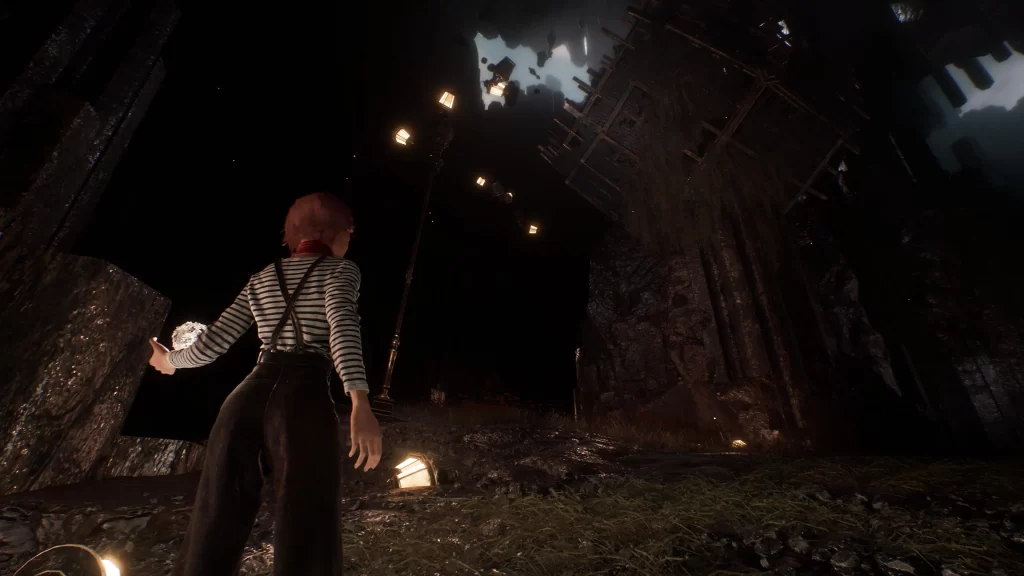
Just past the rest point, you’ll come to an open area with floating rocks and a broken structure. Hug the right wall to reach a rope. Climb up it to see the journal.
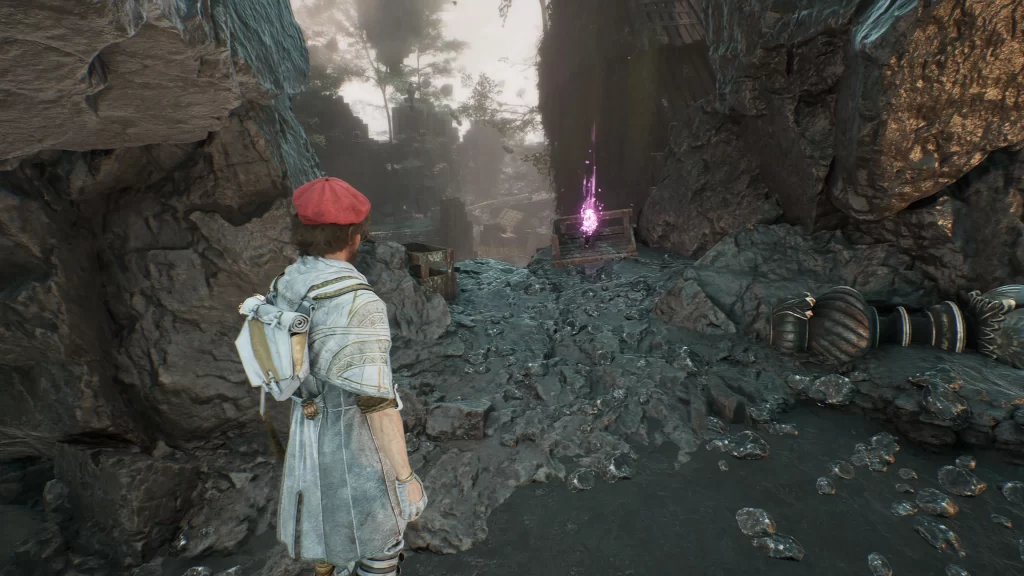
Colour of Lumina
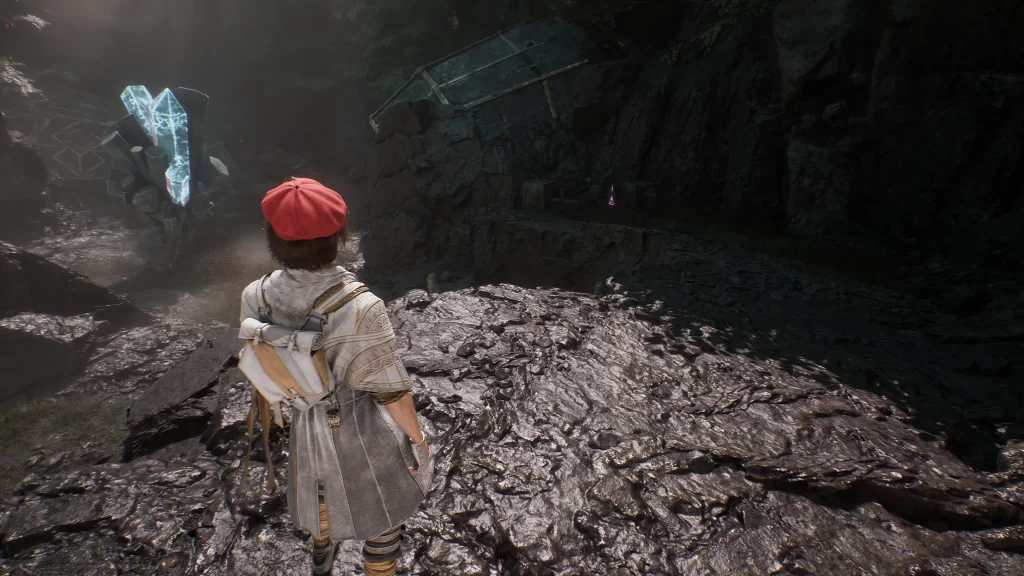
Climb back down the rope and keep hugging the right wall to reach a group of crates and barrels at the end. The Lumina can be found amongst them.
Pictos – Breaking Counter
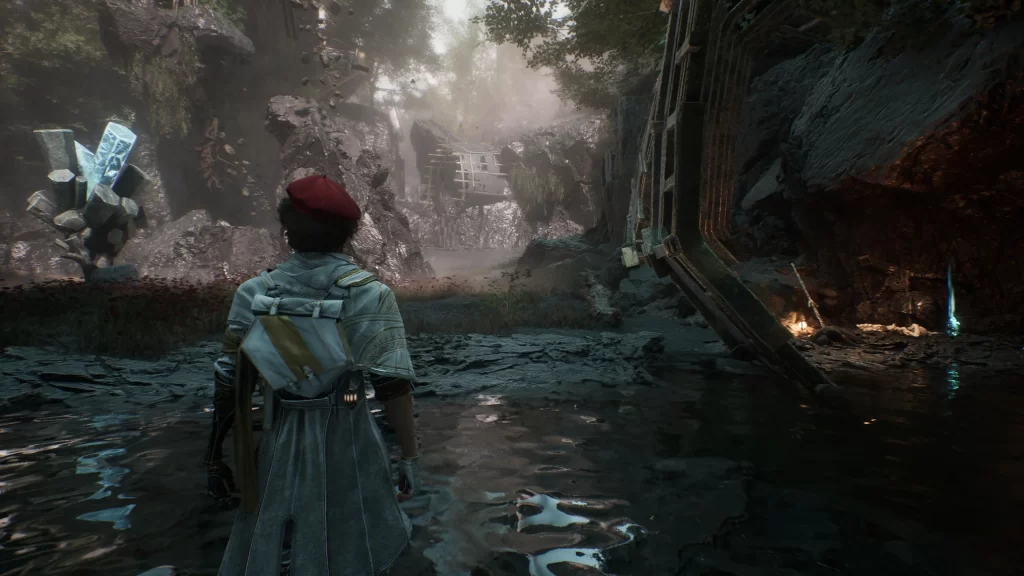
This pictos can be found inside a fallen structure on the opposite side of the previous three collectibles.
Pictos – Confident
You’ll receive this Pictos for defeating the rock enemy blocking your path.
Colour of Lumina
You’ll come across this in the second area, right after the rest point. You’ll have to grapple across a gap and it will be on the right next to some crates.
Journal – Expedition 56 – Stone Wave Cliffs
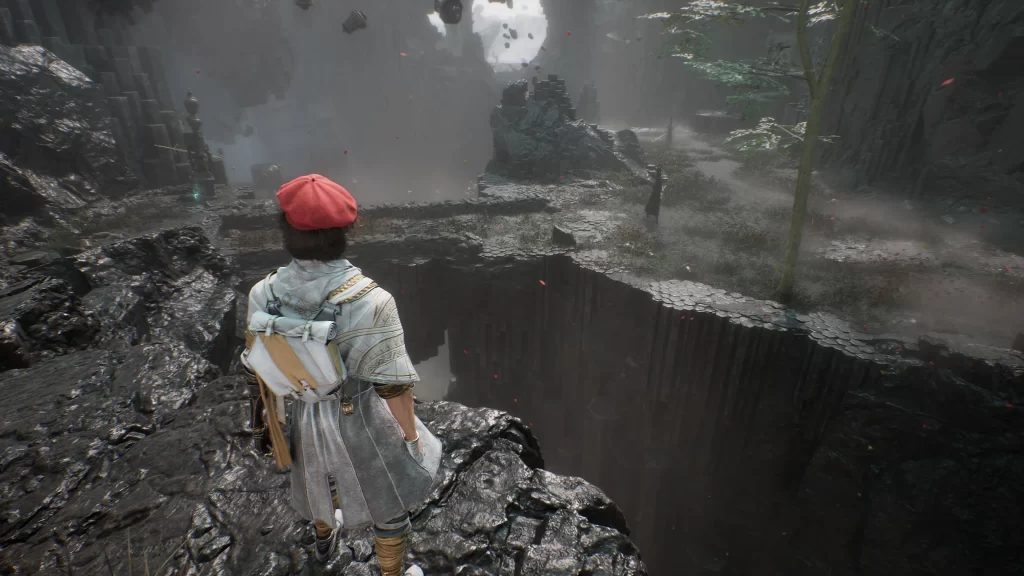
Just past the grapple point, you’ll enter an area with a mini canyon in the middle. Follow the left path to reach the journal.
Colour of Lumina
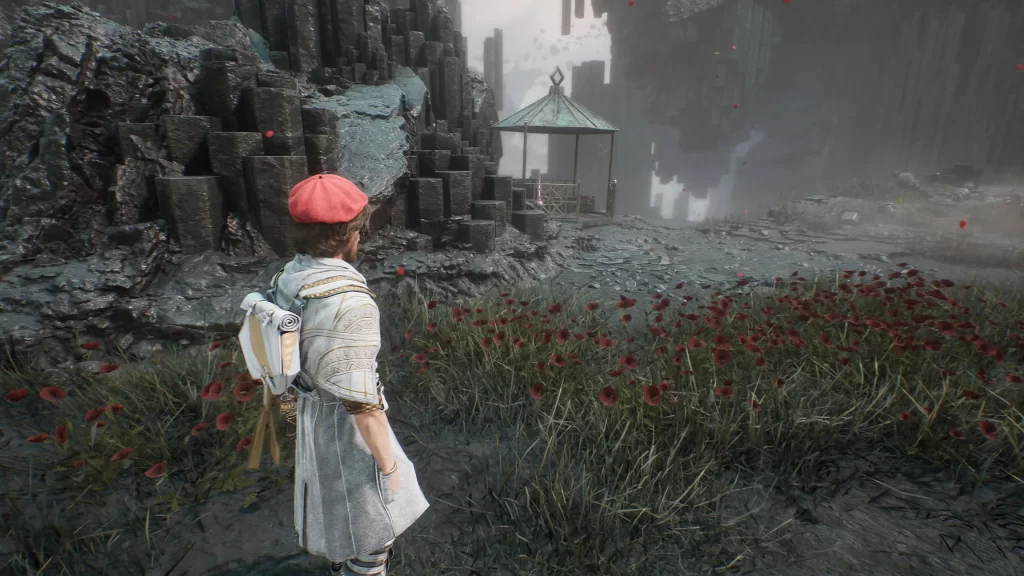
Along the main path just past the journal, there will be a small gazebo on the left. The Lumina can be found inside.
Pictos – First Strike
Diagonally across from the gazebo will be a ledge you can climb up. You’ll spot the Pictos there near a statue.
Young Boy
You’ll come across the Young Boy just before the next rest point along the main path.
790 Chroma
This chroma can be found to the right of the Young Boy along the ledge.
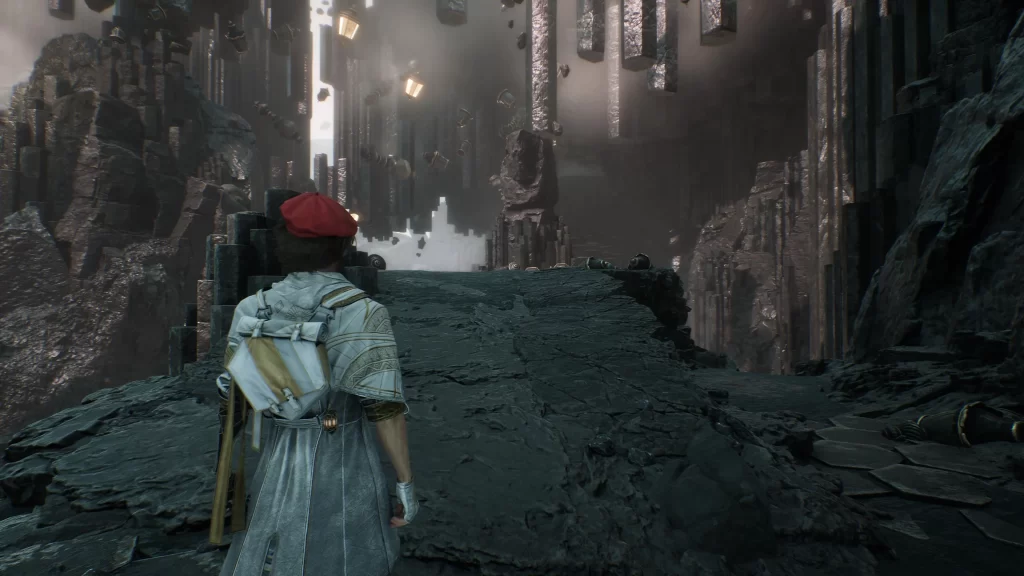
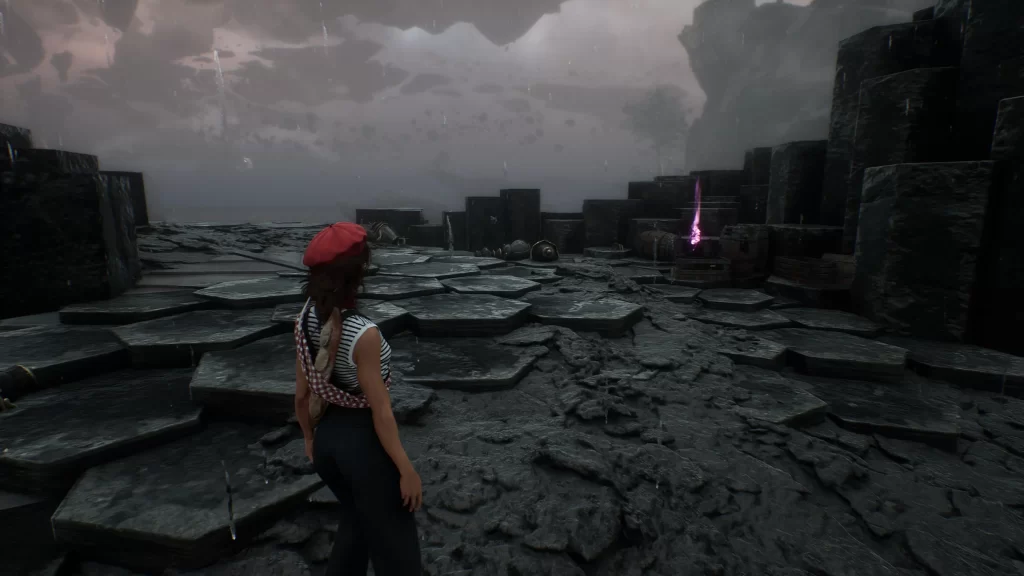
Stone Wave Cliffs – Paintress Shrine
Healing Tint Shard
When facing the rest point while looking down, follow the side path leading left. At the end, it will be guarded by a couple of enemies.
Energy Tint Shard
Head down the hill from the rest point to pass this shard along the main path, near the boat.
Journal – Expedition 50 – Stone Waves Cliffs
Just past the boat, you’ll reach a structure made of long hexagonal beams. Inside, the path splits. You want to take the left path, keeping left to find the journal near the ledge next to the remains of two expeditions.
3160 Chroma
To the right of the above journal, there is a broken set of stairs. Just past them is a platform you can grapple to. The chroma can be found on that platform.
1580 Chroma
You’ll see another grapple point from the platform with a dead Nevron under it. The chroma will be on the ground next to it.
Colour of Lumina
In the structure made up of long hexagonal beams, when the paths all converge again, a side path on the right side will lead back to a ledge overlooking the boat near the rest point. The Lumina will be on this ledge.
Pictos – SOS Power
On the same ledge as the above lumina, turn around and head back the way you came to spot a ramp going up. Take it, then look behind the rock pillar to find the Pictos.
790 Chroma
You’ll pass some old buildings along the main path and then grapple across a gap. This will bring you to a structure with a rope inside. The Chroma is outside that building on the right side. This will be just before the next rest point.
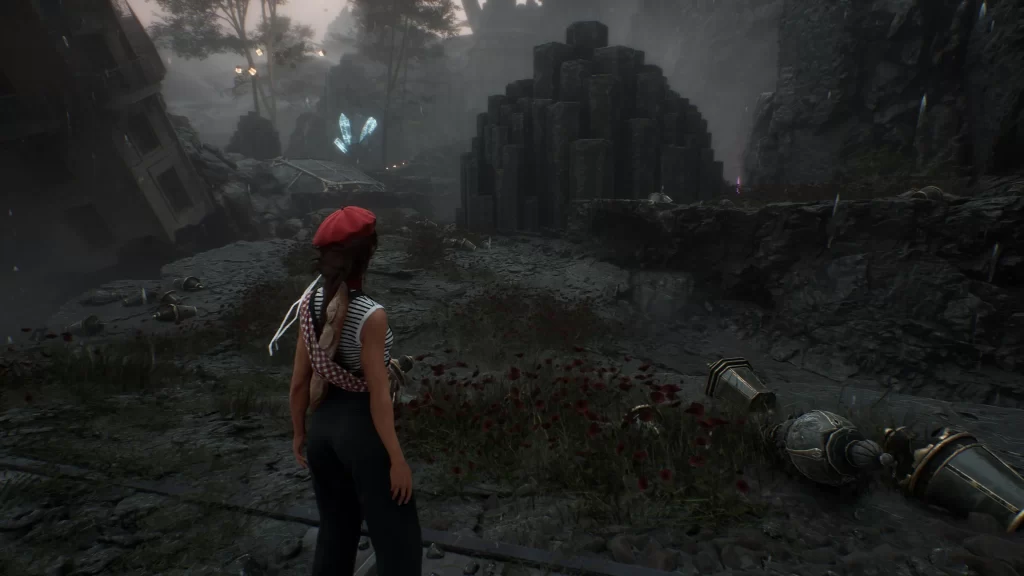
Stone Wave Cliffs – Old Farm
790 Chroma
This chroma can be found just past the rest point in a fenced-in area by a hovel.
Polished Chroma Catalyst
Behind the hovel, you’ll find a path heading back towards the way you came. You should see this item behind a giant rock on the right side, overlooking the building with the rope before the fast travel point.
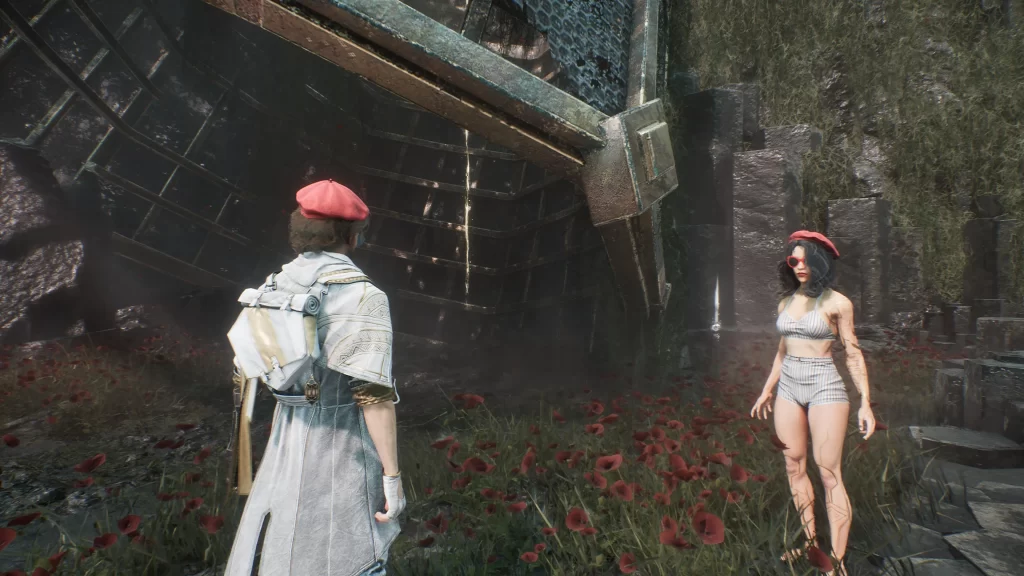
Jerijeri the Merchant
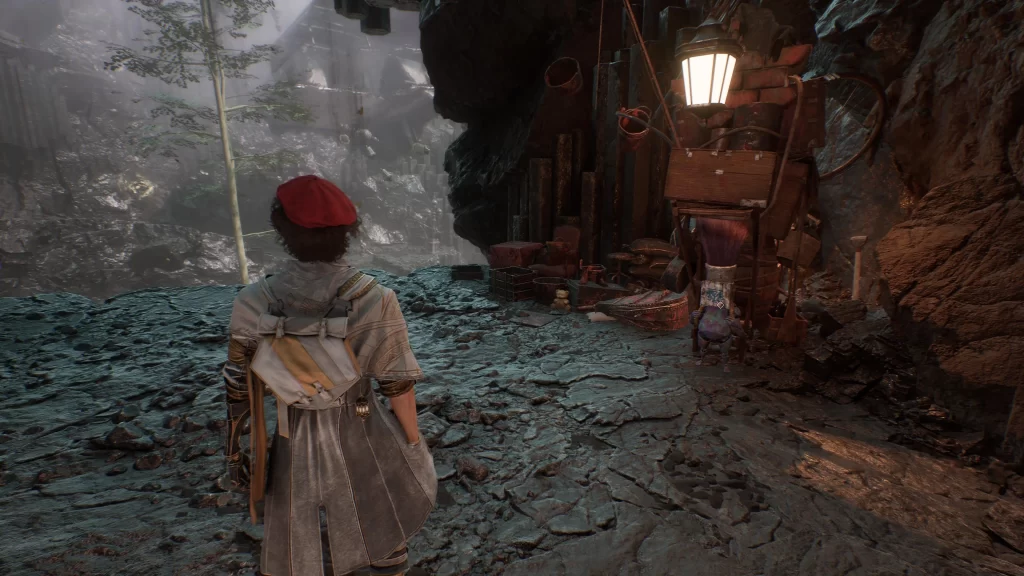
Continue following the path, crouching through the little hole in the wall. This will bring you to a merchant. From him, you can purchase a Ponytail haircut for Sciel and the Rangeson weapon for Sciel if you beat JeriJeri in combat.
Shortcut
Interact with the orb on the ledge just past the merchant to drop a rope down to the area below, creating a shortcut.
Polished Chroma Catalyst
Starting back at the rest point, head down the ramp in front of the hovel then swing a left to find it along the ramp next to some crates.
Petank
This Petank can be found near the ramp near the rest point, starting in front of a gate. You’ll want to sneak up behind it, which will cause the Petank to head across the road. Over there, it will be easier to hit. It will keep summoning Nevrons to help it in battle and will flee after four turns. You’ll receive 5 Polished Chroma Catalyst, 1 Recoat, and 5 Colour of Lumina to defeat it.
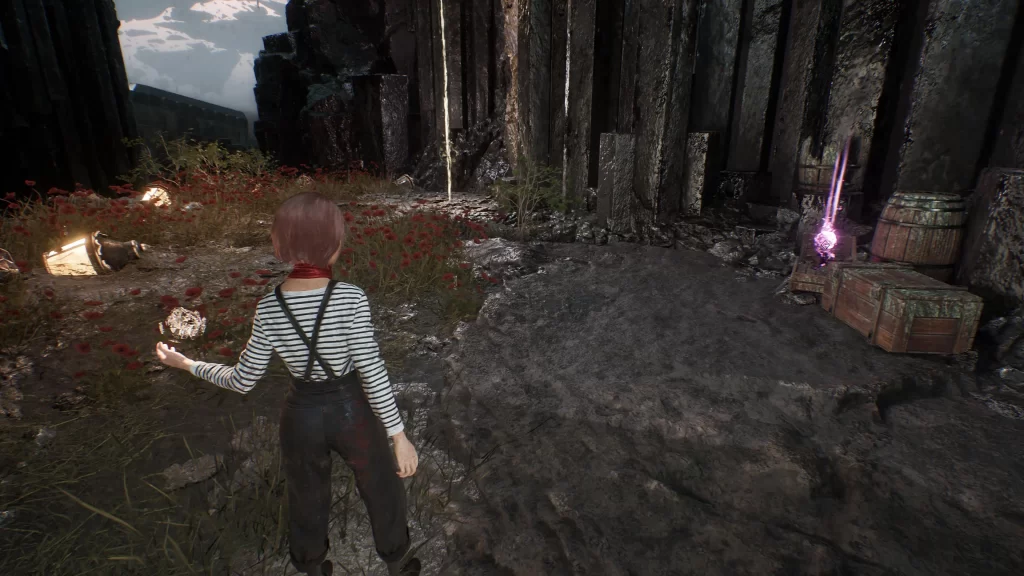
Paint Cage
Across the road from the Petank will be a path leading to a paint cage. It contains the Duenum weapon for Maelle. The three keys can be found in the following locations:
- On top of a rock on the right, with the paint cage behind you
- On the back of a stack of wood you passed along the path
- On the side of a building on the other side of the area
Colour of Lumina
Head back to the gate where the Petank was then keep going straight back until you reach the rock wall. Follow the path left, heading through the tunnel. On the left, you’ll find an opening with the Lumina.
Hexga the Friendly Nevron
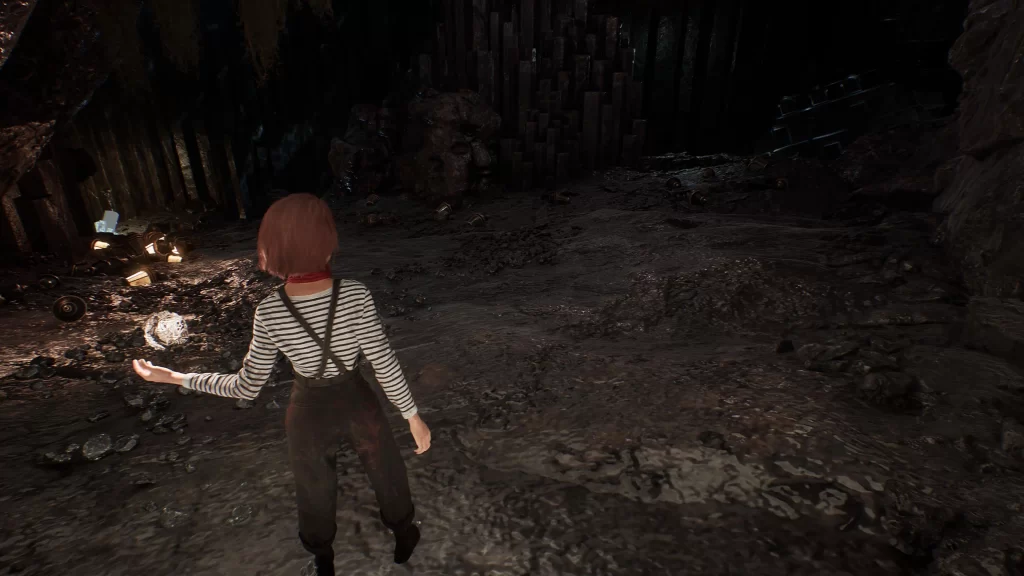
After using some climbing points to travel across a rock wall heading for the main story here, you’ll come across the white rock Nevron, Hexga. Speak with it, and Hexga will request that you bring it three of the shiny rocks that its brethren, the Nevrons, have on their backs.

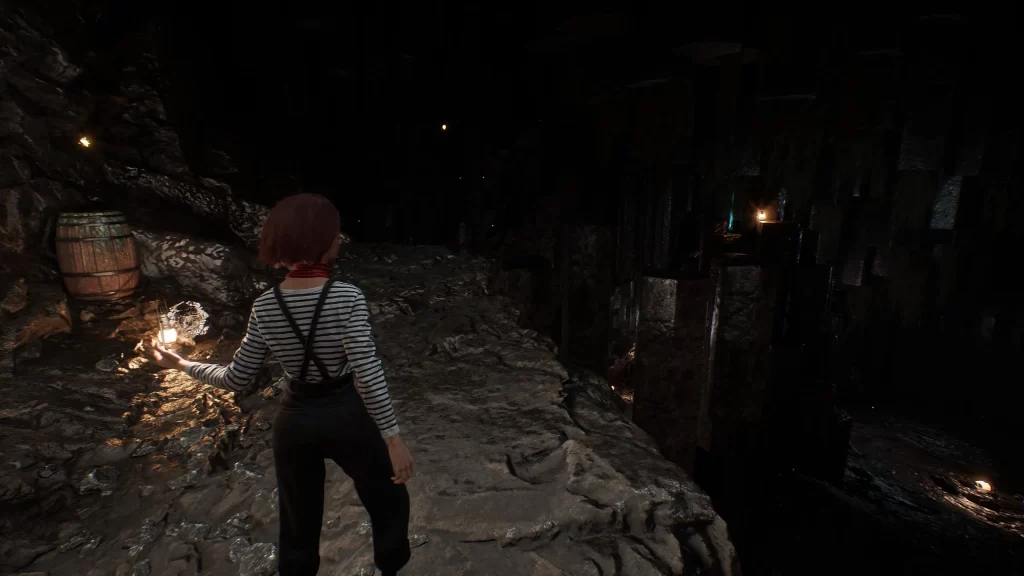
The shiny rocks you’re looking for are called Rock Crystals, and you can find them in the Tide Caverns, just down the tunnel next to Hexga. To reach the first one starting at the rest point, follow the main path using the grapple to jump the gap, and then you’ll slide down a long rope. Once you’re at the bottom, head right and follow along the water. This will lead you to a second rope, leading deeper into the cavern. As you approach the rope, you’ll be ambushed by an enemy. Defeat it, and it will drop the first crystal.
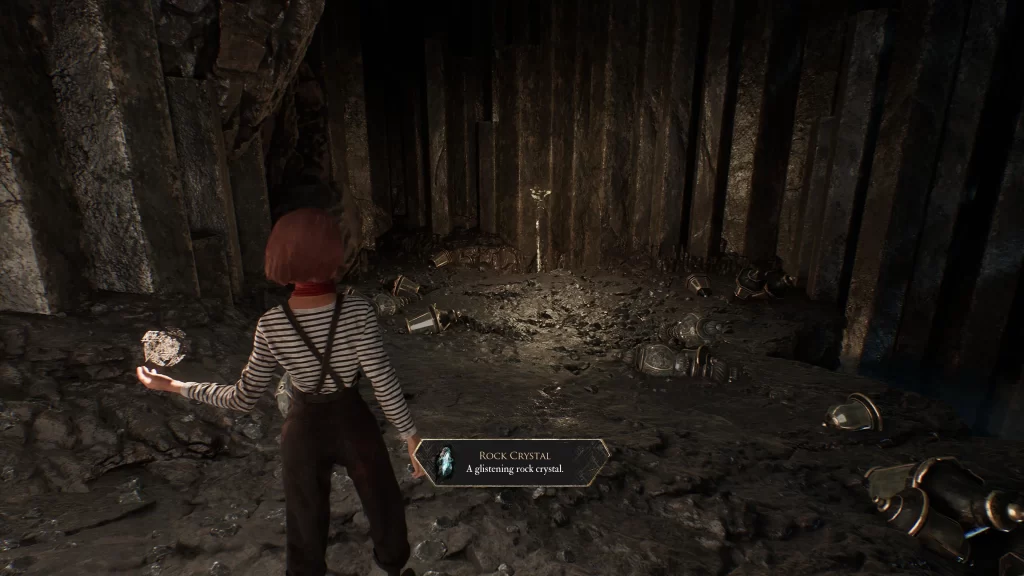
To find the other two, you’ll want to turn around and scour the cavern looking for two glowing crystals. Destroy them both to receive a Rock Crystal from each. They will be easy to spot since the cavern is dark, and they are not.
Once you have the three Rock Crystals, return to Hexga and speak with him to hand them over. This will trigger an event where it will jump from the ground, revealing an item. Collect it to receive the Auto Shell Pictos, which will apply Shell for three turns at battle start. Also, make sure to talk to Hexga again, asking about its mistress.
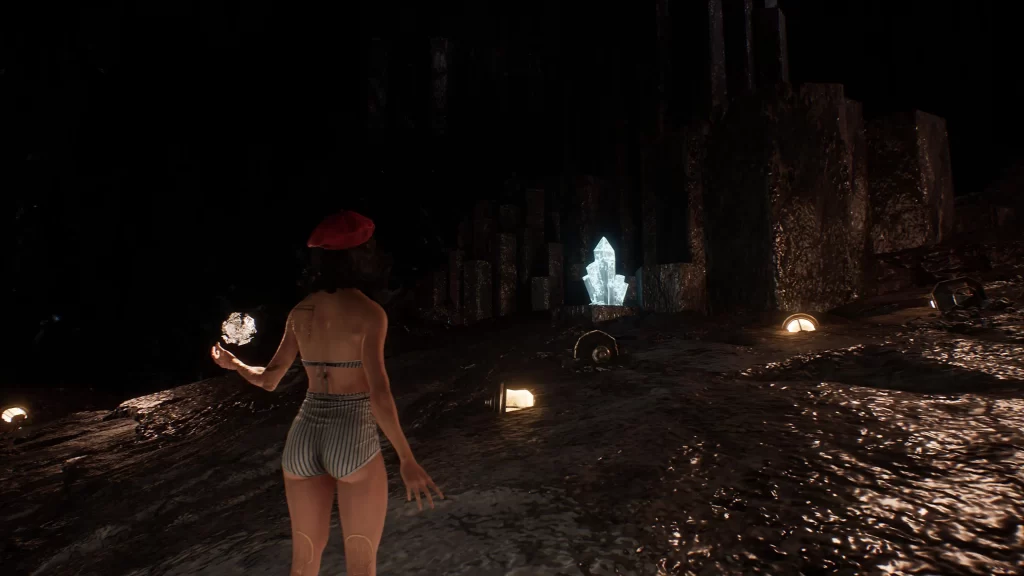
Tide Caverns
Colour of Lumina
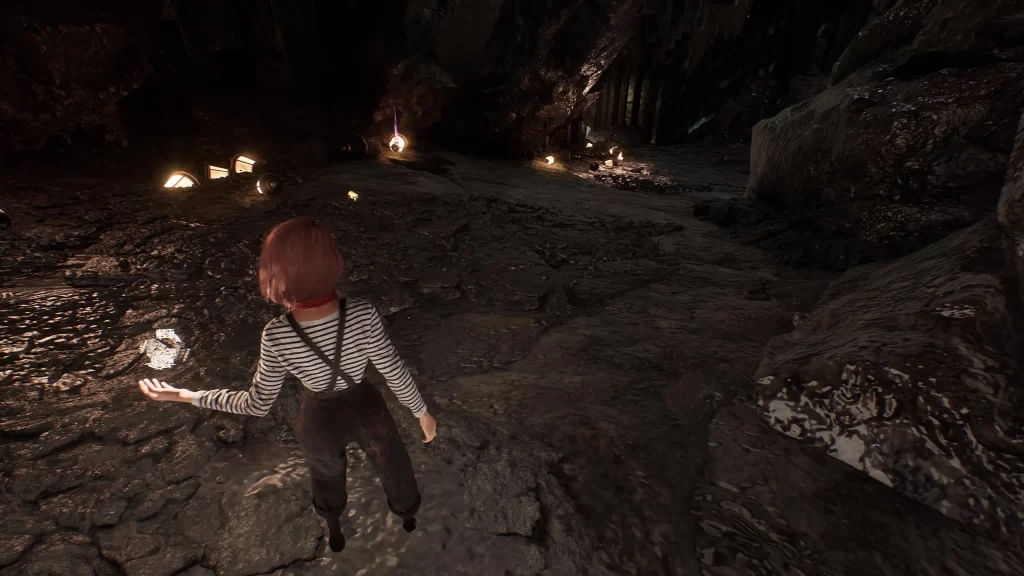
After taking the rope down into the caverns, you’ll have two paths to choose from: left or right. Follow the left path as it swings around to the right. You’ll soon come across the Lumina. It will be on the ground along the left side next to a lantern.
Colour of Lumina
Just past the above Lumina, the path splits left and right. The left path heads towards a rope leading deeper into the caverns. You will want to take the right path, and you should see the Lumina on the ramp heading up.
Recoat

Heab back to the rope and use it to climb down (enemies near it will ambush you). At the bottom, turn to the left to see the recoat in the corner of the room.
Pictos – Perilous Parry
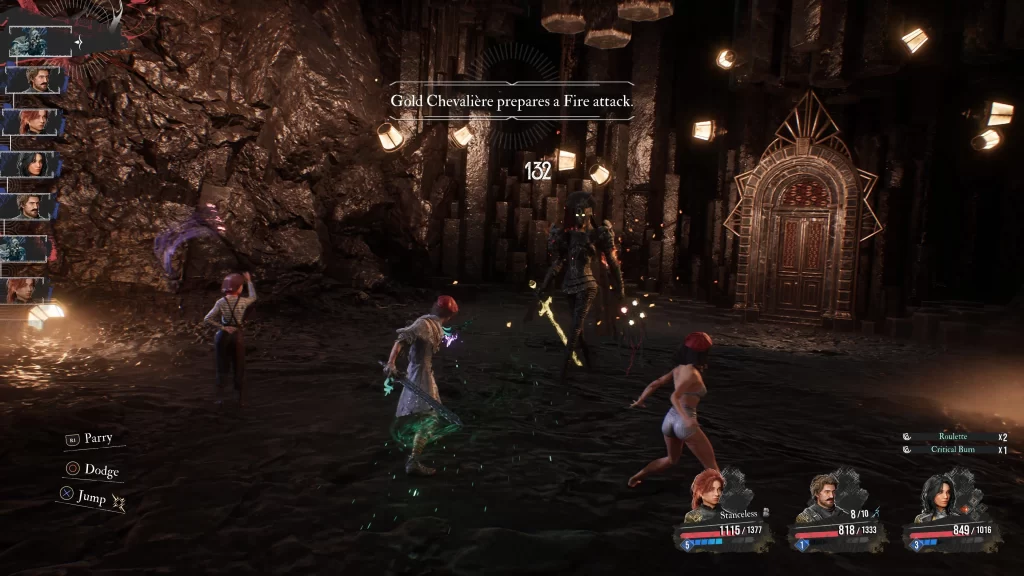
Defeat the Golden Chevaliere guarding the Manor Door.
3160 Chroma
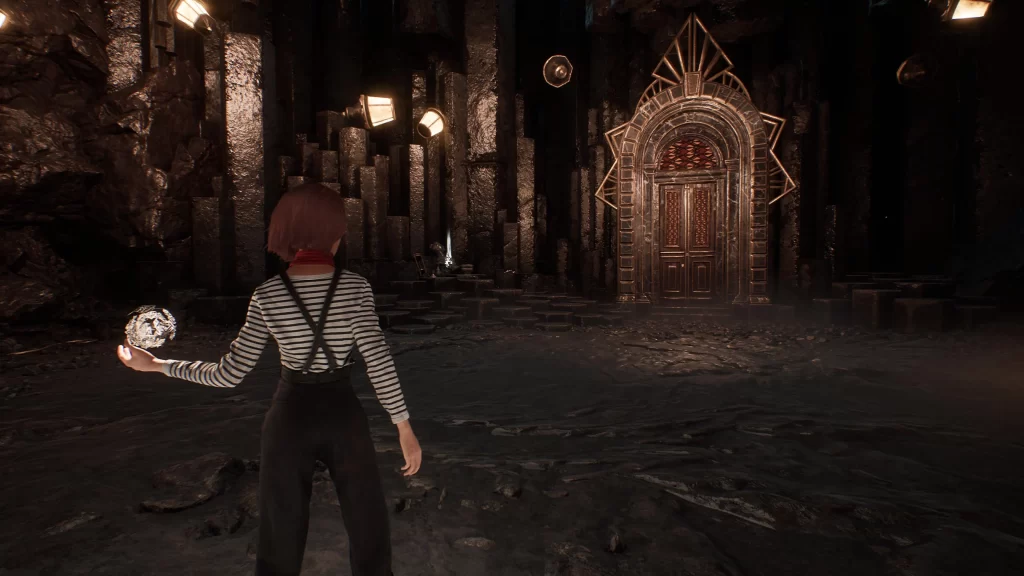
On the left side of the door leading to the Manor.
The Manor
You can find the door to the Manor on the other side of the room from the Pictos.
Pictos – Breaking Shot
Starting back at the rest point, take the rope in the caverns down, and you’ll have two paths to go: left or right. Follow the left path, then take a left when you see a lamppost on the left.
You’ll then follow a side path leading to a gap with a grapple point on the side. Just before that area, another side path will be on the right. It will lead you to some pillars with the pictos on them. You’ll need to jump across a couple to reach it.
Colour of Lumina
Head back to the gap and use the grapple point to reach the other side. You’ll then want to follow that path to the rope to spot the Lumina near there by some boxes.
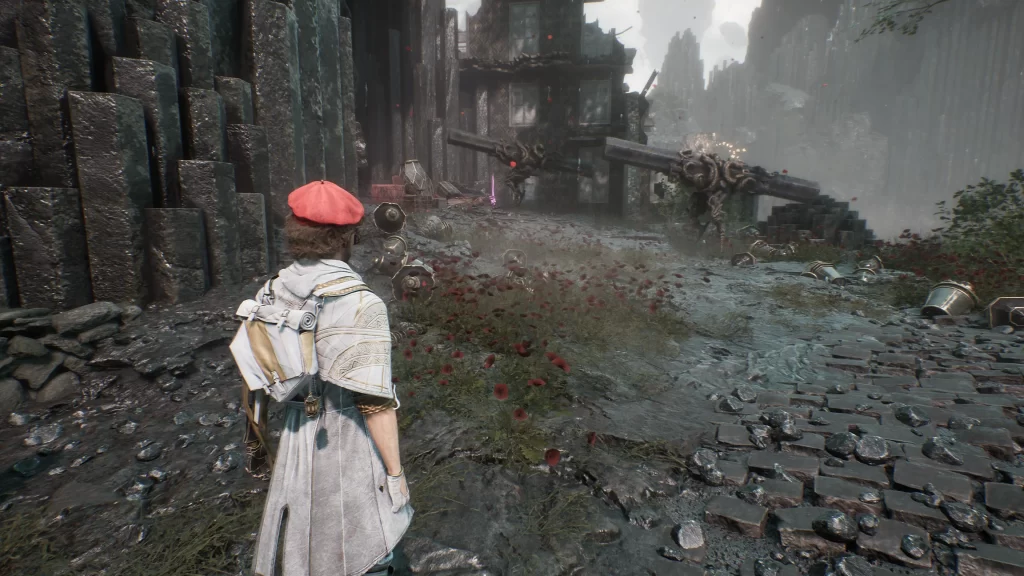
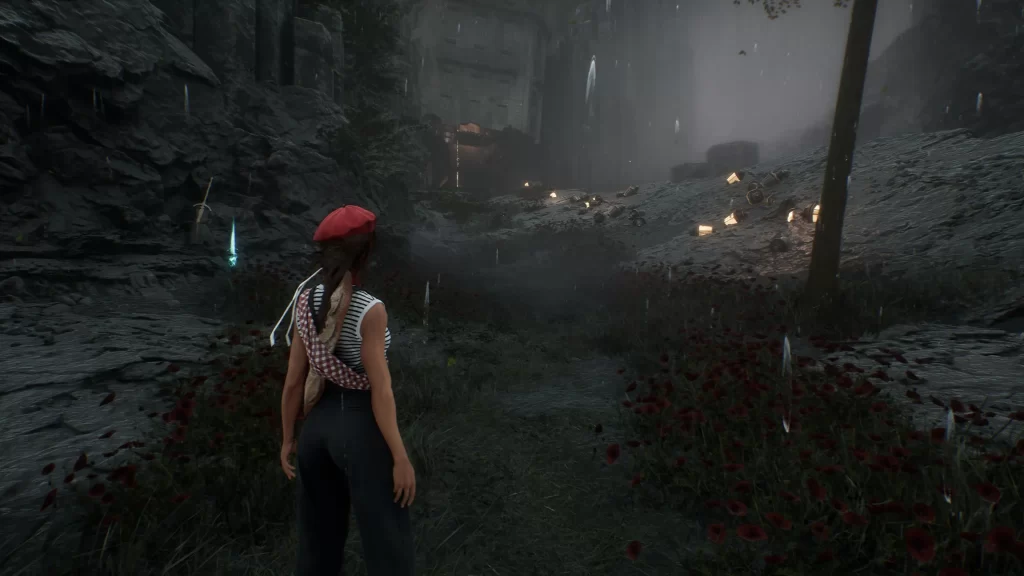
Stone Wave Cliffs – Flooded Buildings
Revive Tint Shard
Follow the main path through the Flooded Buildings area until you reach the end. On the right, you’ll see a grapple point in building while the left is the entrance through another buidling. Take a left and enter the building, heading up the stairs. Once you emerge outside, take a right and drop down to the ledge below to find the shard.
Pictos – Enfeebling Mark
Climb back up using the ledges and follow the path across the roof. Look to the left to see a grapple point on an adjacent building with an item on it. Grapple over there to grab the pictos.
Recoat
Grapple back to the other building and follow the roof left to reach the recoat.
Shortcut
To the left of the Recoat, there will be a magic sphere. Interact with it to cause a rope to form, making a shortcut.
Colour of Lumina
Climb down the shortcut and follow the path left back to the end, where the building is on the left and the grapple point is on the right. Use the grapple point and then follow the path. Look to the right to see a ledge with the Lumina on it.
Pictos – Healing Tint Energy
Continue following the path to come across this pictos near a group of enemies.
Coralim Weapon for Lune
Keep following the path a little farther to reach a building with a rope in it. Climb up the rope, then head through two doorways. Look to the left to spot some ledges you can climb on the wall. Use them to reach the next floor where the weapon awaits.
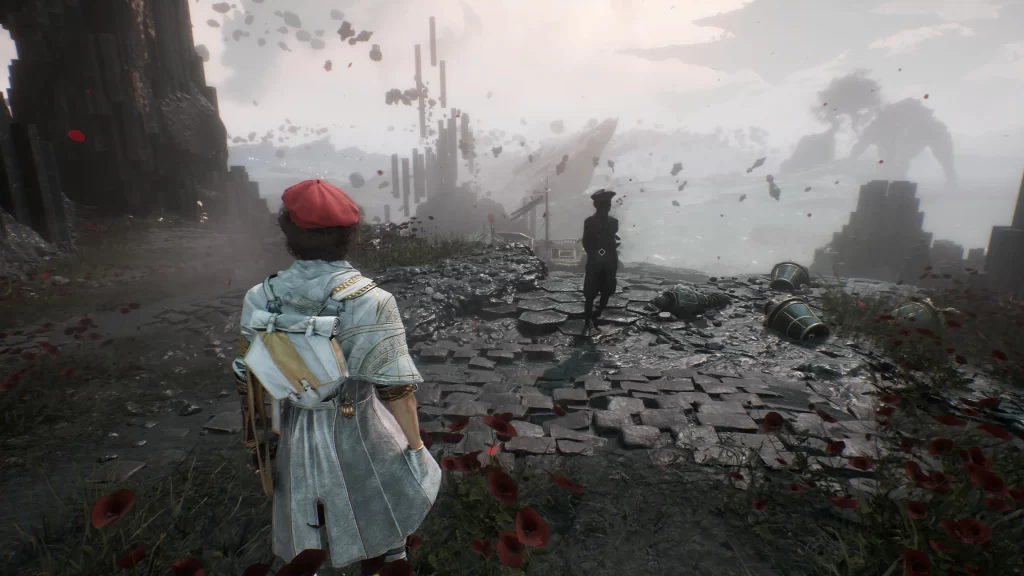
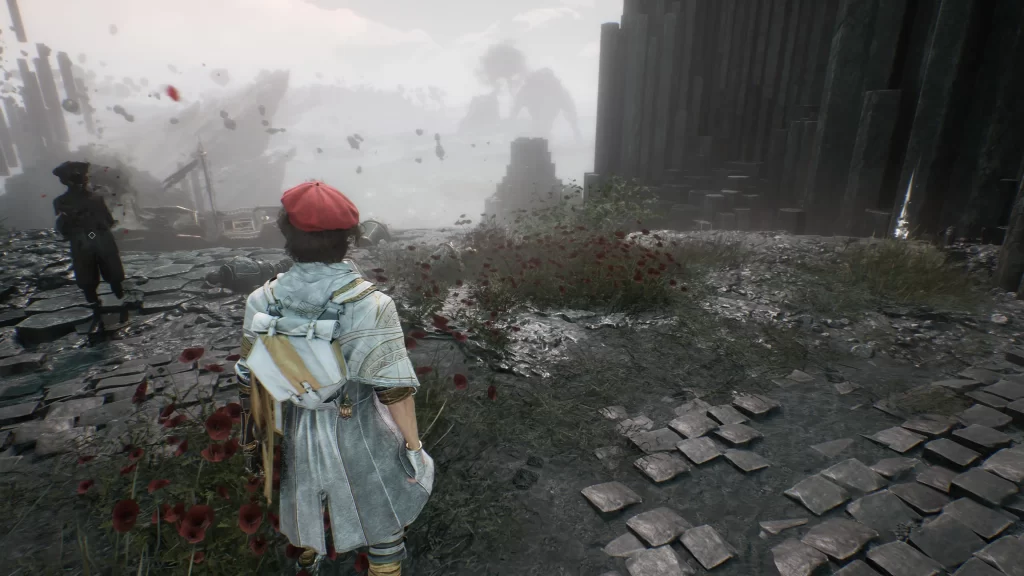
Basalt Waves
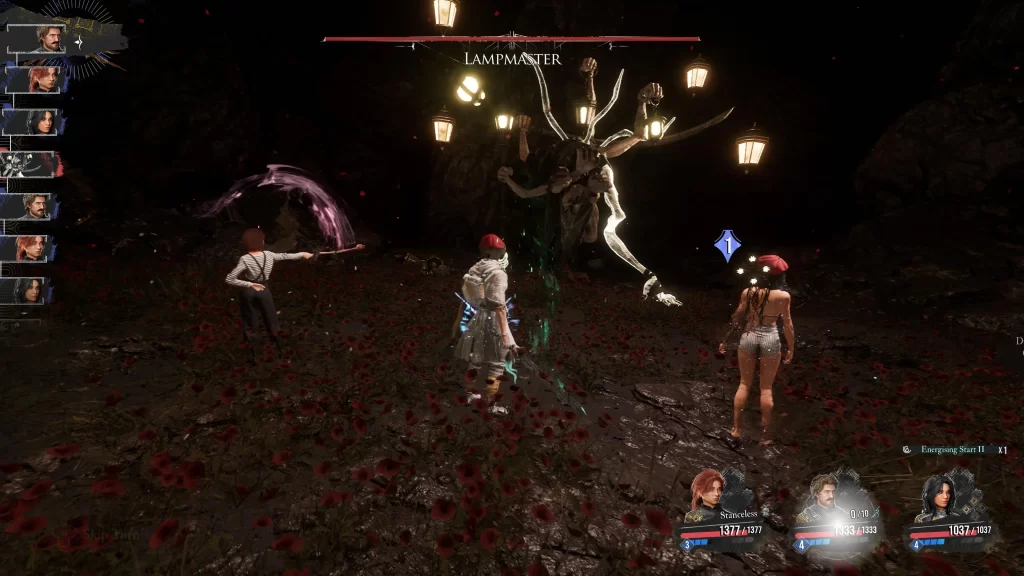
Lampmaster – Phase 1
This area has no items to collect, but it does have a boss fight! You’ll be facing the Lampmaster in a 2 phase fight. During the first phase, he’ll have a couple of attacks that he uses. The first will be a dark explosion attack where he charges his fist with dark energy and punches one of your party members. In the other attack, he uses the lanterns floating around him to attack you.
Lampmaster – Phase 2
For the second phase, the Lampmaster has several things to watch out for. He’ll begin by using an air combo that consists of 4 strikes in one attack. It will also use its sword of light, which it pulls out of its body and swings at you, hitting the whole party. The attack is a ball of light that causes an explosion, and you’ll need to jump to dodge. If you get hit by it, it will inflict the silence status. The Lampmaster can also inflict the Dizzy status which can lower a character’s accuracy while aiming.
Once you’ve defeated the Lampmaster, a cutscene will trigger, leading to more events that will close out Act I.
Expedition 33: Guides, Tips, and Walkthroughs
For more in-depth guides, tips, and walkthroughs, be sure to explore our Clair Obscur Expedition 33 Guides and Walkthroughs main page for all the latest content and updates.