Welcome to NGB and our Baldur’s Gate III walkthrough for the Save Vanra quest! This guide will cover everything you need to know so you can easily complete the quest.
If you need help with a specific objective, please refer to our Quick Links section to quickly find the information you need!
BG3 Quick Links
How to Begin the Save Vanra Quest

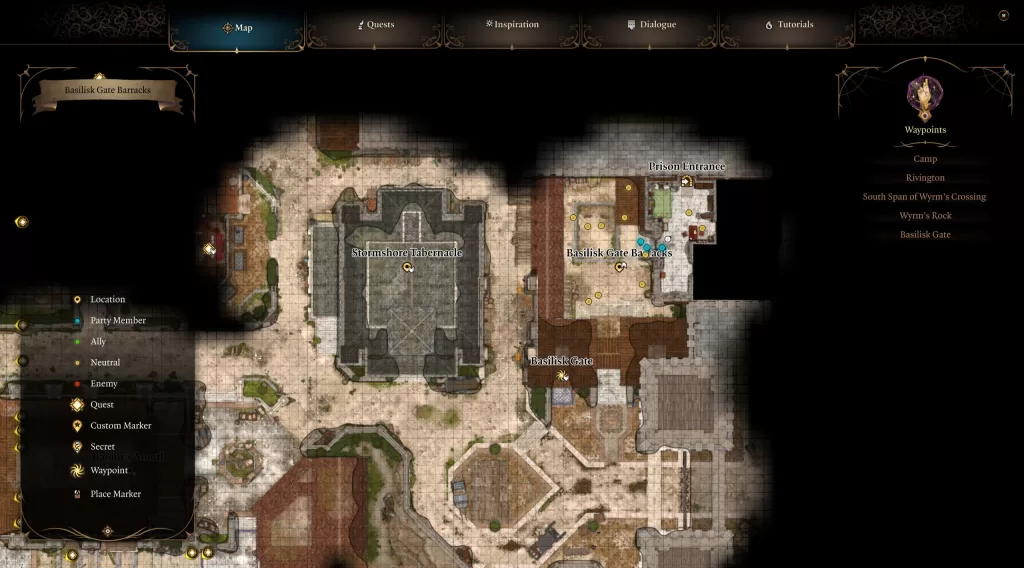
To start this quest, head to the Basilisk Gate, where Lora is chewing out one of the Flaming Fists. Speak with her to learn that her daughter is missing and agree to help. She’ll say she was last seen at The Blushing Mermaid.
Save Vanra Walkthrough
Complete the Help the Hag Survivors Quest
Before heading to the Blushing Mermaid, you’ll want to complete the Help the Hag Survivors quest and brew the Hag’s Bane potion. You can see how to do that in the Avenge the Hag Survivors Quest Guide. That potion is the only way to save Vanya while confronting her captor.
Investigate the Blushing Mermaid
Now that you have the Hag’s Bane, it’s time to swing by the Blushing Mermaid to begin your investigation. It can be found in the southwestern part of Lower City, south of Bloomrdige Park.
Once you reach the tavern, head inside and speak with Bosun Gannet behind the bar. He’ll tell you that Lora pulled a knife on him, so the captain had tossed her out. Head upstairs and enter the Captain’s room on the right to find Captain Grisly.
Speak with her, asking about the girl. She’ll tell you that Lora is crazy, and there is no girl. This will then trigger an event where an old friend will reappear. They will claim to have taken the child, leaving you with the option of taking her back or leaving her be.
If you demand the child, you’ll need to fight off all the pirates in the bar. If you back off, they will teleport away. Going the fighting route, the Flaming Fists will show up to help after a couple of turns.
Regardless of your choice, pursue our old friend by heading down the stairs in the Captain’s room to reach the cellar. From there, you’ll want to jump over the wooden barrels and walk onto the ledge just beyond them.
Passing a successful perception check will allow you to spot a fake wall on the left. Pass through it and climb down the ladder. Open the door with the key you got during the Help the Hag Survivors quest; otherwise, you can pick the lock to enter the Hag’s Secret Lair!
Hag’s Secret Lair Pre-Boss Fight
In this first room, four people will be controlled by the hag, including the real Captain Grisly. To save them, you’ll need to turn on non-lethal damage and knock all of them out. Also, beware that traps are littered all around the room.
After doing that, do not loot any of the masks they are wearing. This will kill them all, but everything else they carry is fair game. Each one also has a note explaining why they are in the hag’s evil clutches.
A bug reported here can cause things with Captain Grisly not to trigger or work correctly. The best way to get around this is to make sure she is knocked out and heal her to full health. You can cast healing spells or throw health potions at her. What’s important is that she doesn’t get summoned by the hag during battle.
Hag’s Secret Lair – Showdown with the Hag
Once you’ve defeated all four of the hag’s cronies, head through the door in the north-central part of the area. You’ll want a rouge/thief to scope out the area leading up to the door to detect and disarm the nearby traps.
After everything is clear, use the key you looted from one of her groupies to head inside. Before heading up the stairs, make sure to scan the area. You’ll notice 3 mushrooms in three different parts of the room. The hag will teleport to these guys to heal up during the fight.
She is also invisible, standing on a patch of mushrooms next to the giant blue one in the middle of the room. As soon as you head up the stairs, she’ll spot you and trigger a dialog with her, leading straight into combat.
You first want to get close to her and throw the Hag’s Bane at her. That will cause a little scene to occur where she vomits up the child she ate, who will then run away to safety.
Next, focus on all three blue mushrooms; you must destroy each before their turn comes up. Otherwise, they will heal themselves and return to full HP. While they are still alive, they will bring the hag back every time you kill her. Once all three have been removed, you can focus the hag to finish her off for good.
The hag won’t take all of this lying down. She’ll constantly teleport between mushrooms to heal and summon four copies of herself to aid her. If you damage them, they will disappear. You’ll know you’re fighting the real one when she takes damage and doesn’t.
If you knocked out or killed the enemies in the previous room, they will not show up to aid her during the fight. Additionally, she’ll use poison spells that can bounce between party members and poison them. Once they go down, you’ll be free to loot the area.
Visit Lora and Vanra
Exit Auntie Ether’s Lair and head for Lora’s house east of the Blushing Mermaid and north of Old Garlow’s Place. Speak with her to be thanked for saving her daughter. She’ll then reward you with the legendary Duellist’s Prerogative sword and the very rare Amulet of Windrider, completing the Save Vanra quest.
Additional Baldur’s Gate III Guides
For more content on Baldur’s Gate III, be sure to check out our Baldur’s Gate III Guides and Walkthroughs page.

