Welcome to NGB and our Baldur’s Gate III walkthrough for the Search the Cellar quest! This guide will cover everything you need to know so you can easily complete the quest.
If you need help with a specific objective, please refer to our Quick Links section to quickly find the information you need!
BG3 Quick Links
How to Begin the Search the Cellar Quest
You can start the Search the Cellar quest by reading the Apothecary’s Ledger on the front counter in the Apothecary’s shop, which is next to the Ancient Sigil Circle at the Blighted Village. The ledger states that some rare herbs are hidden in the cellar. You can reach it by heading behind the counter and interacting with the wooded hatch on the floor.
Search the Cellar Walkthrough
Find the cellar
Once in the cellar, feel free to loot anything that isn’t tied down. You’ll want to watch for a stack of crates in an oddly shaped corner. Behind them is a lever that will reveal itself after you pass a perception check. Pull it to open a hidden passage behind a bookcase.
Follow the passageway to reach an open area with a few caskets. Now would be a good time to save as you’re about to get jumped by a gang of skeletal guardians hiding in the caskets. Deal with them, then loot the room.
There is a mound of dirt you can dig up to reveal a chest. If you don’t have a shovel, a couple can be found lying around the area.
After you’re done exploring, head over to the Ornate Mirror in the back of the room and interact with it. Surprise! It’s a magic mirror that wants to know your name.
If you are proficient in arcane, you can try to use that to learn more about the mirror. Follow that up by telling it your name, which it doesn’t know. It will then ask you a series of questions to prove your knowledge.
| Question | Answer |
|---|---|
| What think you of the zulkir known as Szass Tam? | Szass Tam is a foul, wretched creature. A foul lich. May he die a thousand more deaths. (requires passing a history skill check) |
| Why might one use balsam ointment? | I read a doctor’s journal – he used balsam to clean a wound. Balsam disinfects wounds. Surely everyone knows that? |
| If you could see anything in me, what would it be? | I’d see myself in my next incarnation: a living manifestation of Netherese magic. A mythal in my own right. I’d look for whatever spell would rid me of this worm in my head. |
All three answers in the table above work for Gale as this is a magic mirror, and he is an expert. The first two should be fine for everyone else. The correct answer to the third question is different based on who is talking to the mirror. You’ll want to pick the option that involves self-preservation.
Answering all of the questions correctly will result in the mirror opening up, revealing another hidden room.
Alternatively, if you want to skip the questions, you can try to pass the INTIMIDATION check by threatening to smash it into pieces. That will also cause the door to open.
Pass through the mirror to enter a secret laboratory (unless your name is Dee Dee, in which case you can get out!). Make your way over to the desk with all of the science equipment on it, then examine the Moonhaven Logbook to learn you’re in a necromancer’s lab!
Find the necromancer’s book
Make sure to loot anything that strikes your fancy, and keep a special eye out for a Gilded Chest in the southeast part of the lab to loot some rare Bracers of Defense.
When you’re ready, head to the east side of the room to find a locked gate. A successful perception skill check will reveal that it’s booby-trapped. You want to unlock the door and snag the Necromancy of Thay book on the table past the gate.
It, too, is booby-trapped by multiple traps. When you pick up the book, you’ll get a couple of options (as well as comments from the peanut gallery). The turn-based mode will also allow you time to escape before the traps go off.
Decide what to do with the book of necromancy
If you drop the tome intending to destroy it, then Karlach will approve, and Gale will disapprove. If you want to destroy the book, you’ll need to hit it with Radiant magic. Luckily, Shadowheart’s Sacred Flame and Guiding Bolt both work.
Destroying the Book
The quest will be complete as soon as you destroy the book, and three Level 5 shadows will attack you. Deal with them, and then feel free to leave the laboratory.
Open the Book
Now, if you want to open the necromancy book, there’s still a little bit more to go. To start, exit the lab and make your way back up to the Blighted Village.
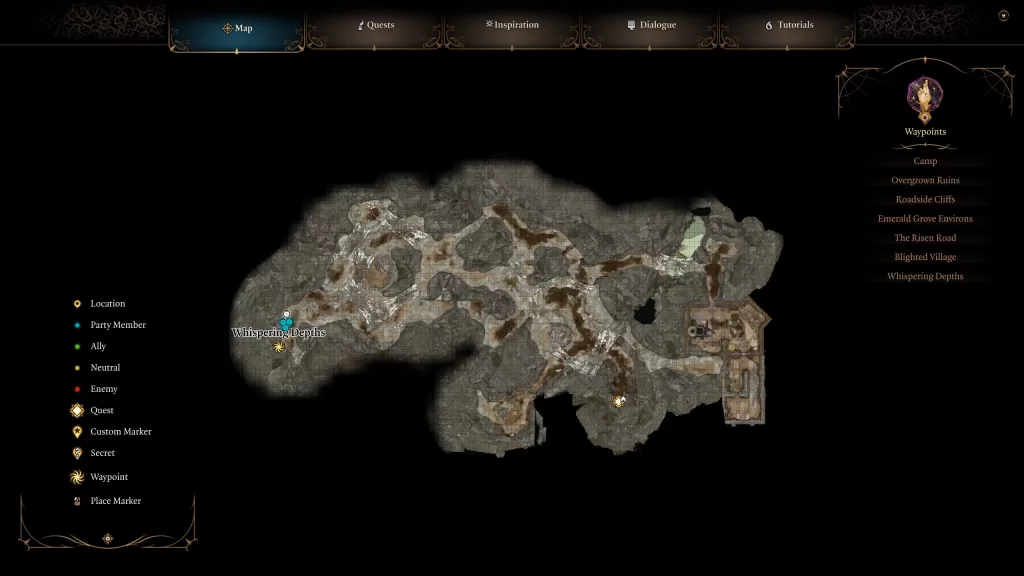
Next, head to the well near the Ancient Sigil Circle and interact with it. When prompted, choose the Investigation option and make sure you pass the check. You’ll now get the option to climb down the bucket rope. Choose that one to descend into the Whispering Depths.
You’ll need to deal with two Phase Spiders and two Ettercaps in the depths.
After they are taken care of, head to coordinates X:495 Y:365 to find the Apprentice’s Pack. Read the Apprentice’s Journal found inside to learn about a stone in the cave that might be able to open the book.
Before pressing on, you may want to explore mainly the eastern side and a living area in the south central part of the Whispering Depths.
You’ll come across an uncommon Steelforged Sword and the uncommon Spiderstep Boots, which allow you to move through webs unhindered.
Continue working your way west; eventually, you’ll meet the Level 5 Phase Spider Matriarch circling her nest. Looking closely at the lower level, you’ll notice the Dark Amethyst. Time to whoop the matriarch and her spawnlings, and then grab that gem!
If you loot the matriarch, you’ll get the uncommon Poisoner’s Robes, which deal extra poison damage when the wearer casts a poison-based spell. If you don’t care about that, then you can cheese this fight a bit.
Wait for her to walk out on one of the web bridges and then light it on fire to start the fight. This will cause her to fall down below. On her next turn, she will teleport up to you.
From there, hit her with the Thunderwave spell, launching her down into a chasm below! Then, all you need to do is clean up the two remaining enemies.
After you grab the gem, head a little further west to find the Whispering Depths Ancient Sigil Circle. You can now open your inventory and read the book.
You’ll have the option to place the amethyst in the slot on the book’s cover. Choose that option to insert the gem. You’ll get one last set of options prompting you to open, destroy, or put the book away. After all this work, you might as well, right?
Well, now that we have opened the book, otherworld forces are trying to communicate with us. You can turn the page up to three times, having to pass a saving throw skill check with each attempt, and the number you must meet goes up each time.
After the third attempt, the book closes, and the objective updates. We now need to find a way to finish reading the Necromancy of Thay, which you won’t be able to do until you reach Baldur’s Gate.
To continue this quest, you must progress to Act III in the Lower City of Baldur’s Gate.
Once in Act III, travel to the Sorcerous Sundries in the Lower City of Baldur’s Gate to progress the Search the Cellar quest.
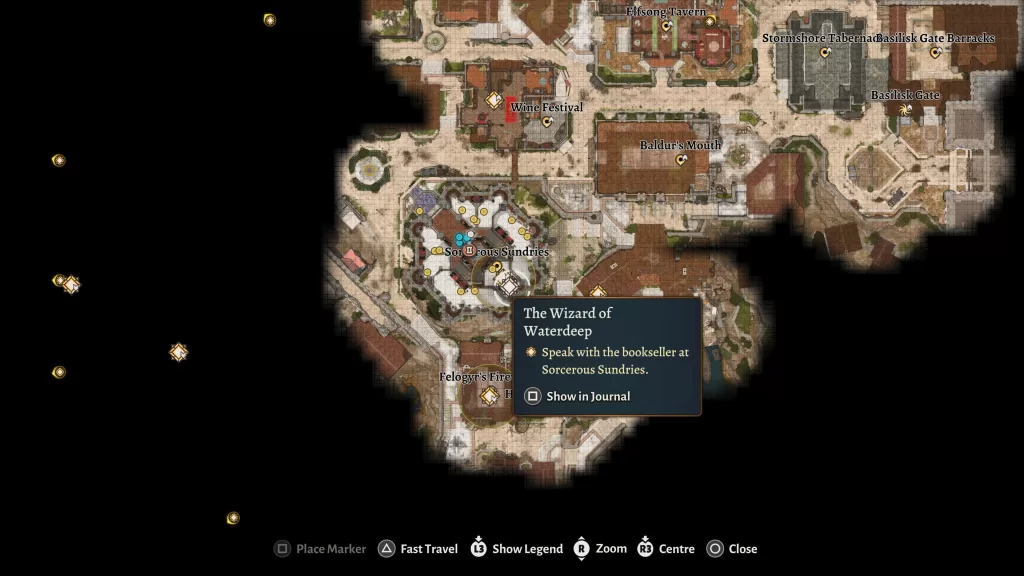
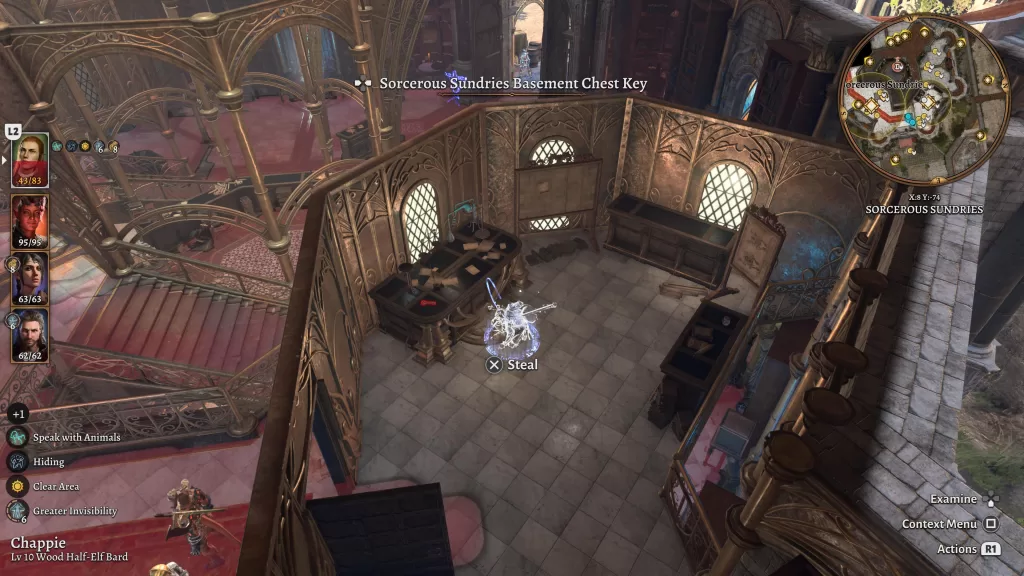
From there, head up the stairs and follow the walkway to the left. You’ll then need to lockpick the door at the end to open. Be careful when doing this, as you’ll need a character with high stealth. Even cast an invisibility spell on them to remain undetected!
Once you enter the room, loot the Basement Chest Key on the table along the left side of the room.
Next, head to the bookshelf in the corner and interact with the clasped book to open a portal.
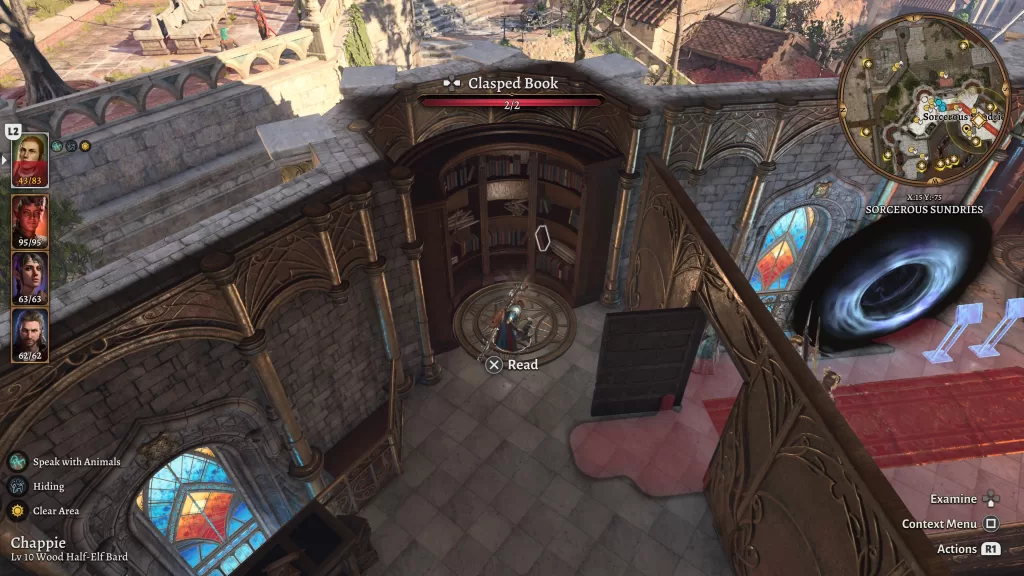
Jump inside to reach the Sorcerous Vault. Head through the wooden door in front of you. The next door is locked, and you must smash through it. This will bring you to a circular room filled with multiple doors and armed with traps. Our target here is the Elminster Vault.
To reach it, head through the door labeled “Silverhand.” Use the “Evocation” door and then the “Wish” door from there.
This will bring you to a room with a lever. Flip the lever, then return to the previous room. Head to the “Foresight” door. This will bring you back to the first room. From there, you’ll be able to enter the vault where you’ll want to read The Tharchiate Codex with the person who has The Necromancy of Thay.
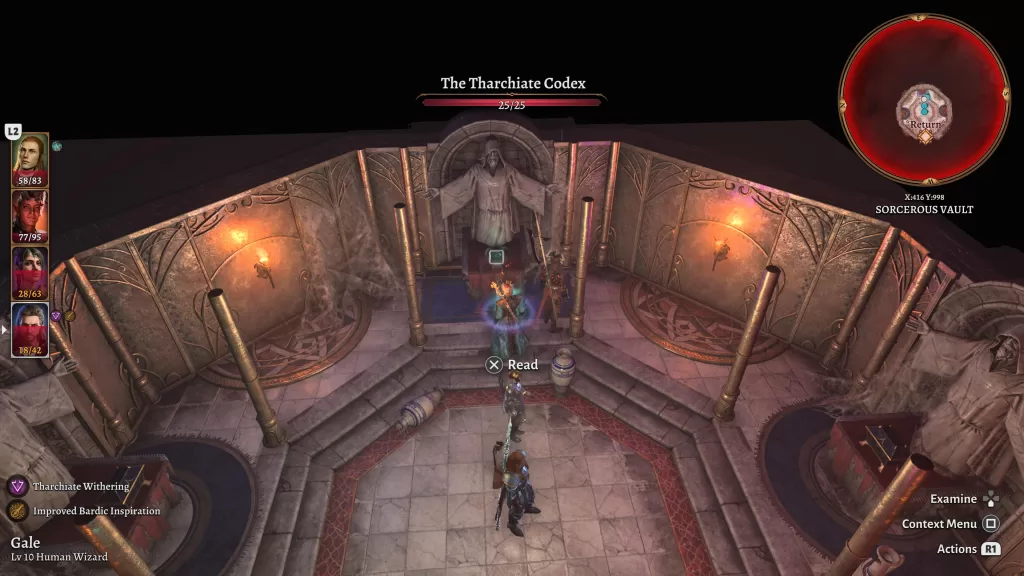
Once that’s done, read The Necromancy of Thay again and pass a skill check to complete the Search the Cellar quest finally.
Additional Baldur’s Gate III Guides and Walkthroughs
For more content on Baldur’s Gate III, be sure to check out our Baldur’s Gate III Guides and Walkthroughs page.

