Welcome to NGB and our Dragon Age: The Veilguard walkthrough for the Rivain Coast area. This guide will cover all the collectibles and quests you can obtain while exploring this area.
If you need help with a specific section, please refer to our quick links section to quickly reach the information you’re looking for!
Quick Links
Rivain Coast Overview
To 100% complete the Rivain Coast area, you’ll need to find the following collectibles:
- 25 Chests
- 3 Timelost Hoards
- 3 Evanuris Altars
- 2 Fen’Harel Altars
You’ll need to visit this area multiple times throughout the story as new areas will unlock, allowing you to retrieve more collectibles!
| Area | Unlocks |
|---|---|
| Cliff Climb | During the Lair of the Dragon King quest |
| Clifftops | Upon entering Rivain Coast |
| Lava Caves | During the Lair of the Dragon King quest |
| Ravine Descent | During the Lair of the Dragon King quest |
| Tide Flats | During the Lair of the Dragon King quest |
| Winding Shoreline | Upon entering Rivain Coast |
As you explore the Rivain Coast, you’ll come across the following quests:
- Lair of the Dragon King
- The Treasure of Sharkmouth Mountain
- The Warden Vault
- Warden Grey’s Final Repose
- Wrongs of Annulment
Rivain Coast Collectibles
Chests
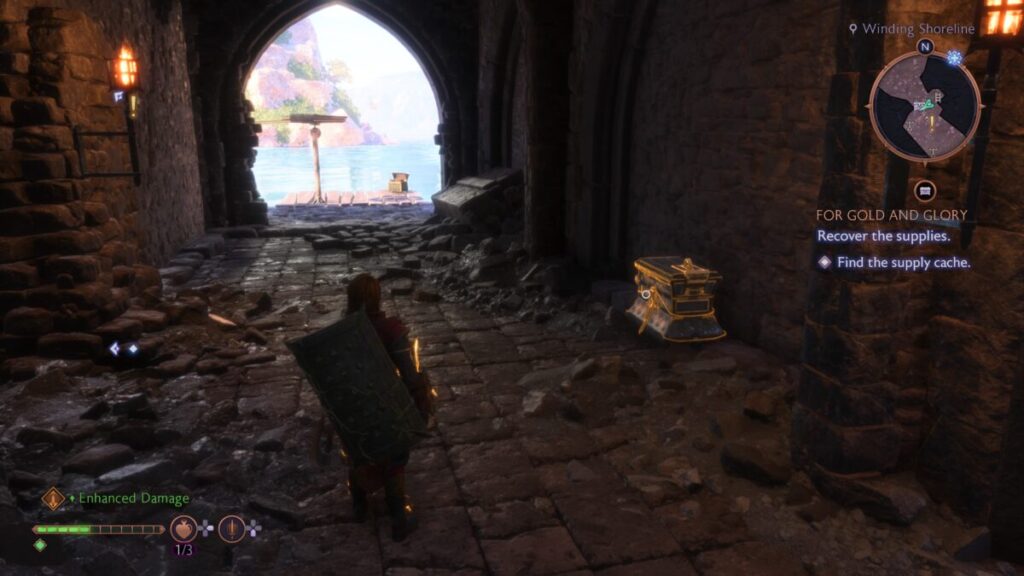
Chest #1 – Winding Shoreline
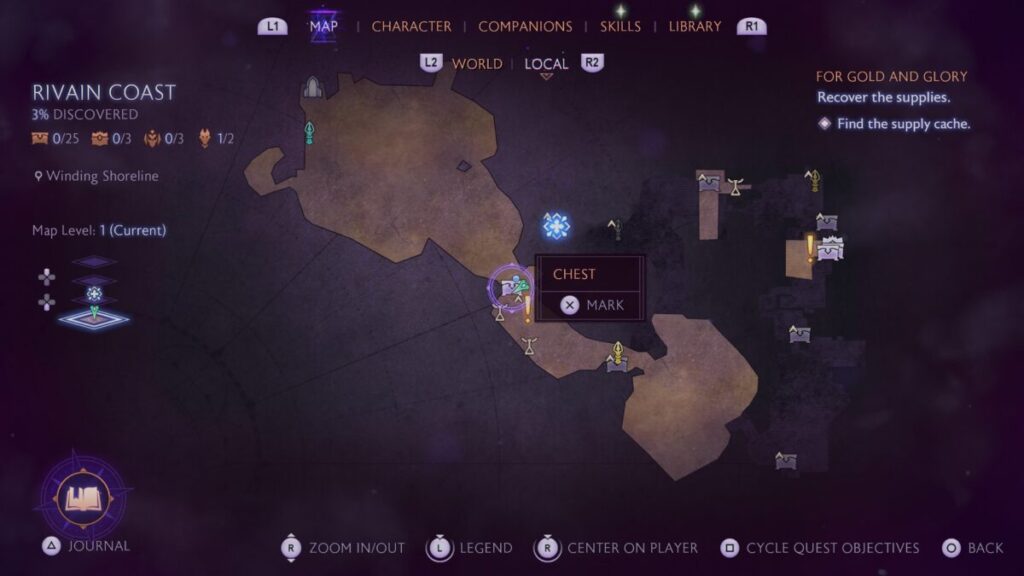
This chest can be found inside a building.
Chest #2 – Clifftops
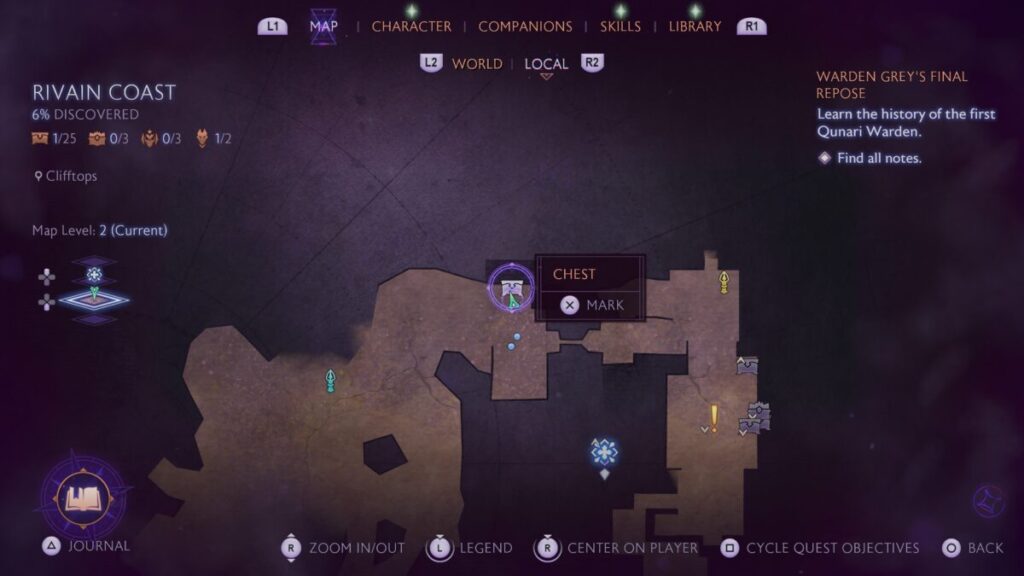
To reach this chest you’ll need to solve the puzzle. The solution can be found to the right of the gate.
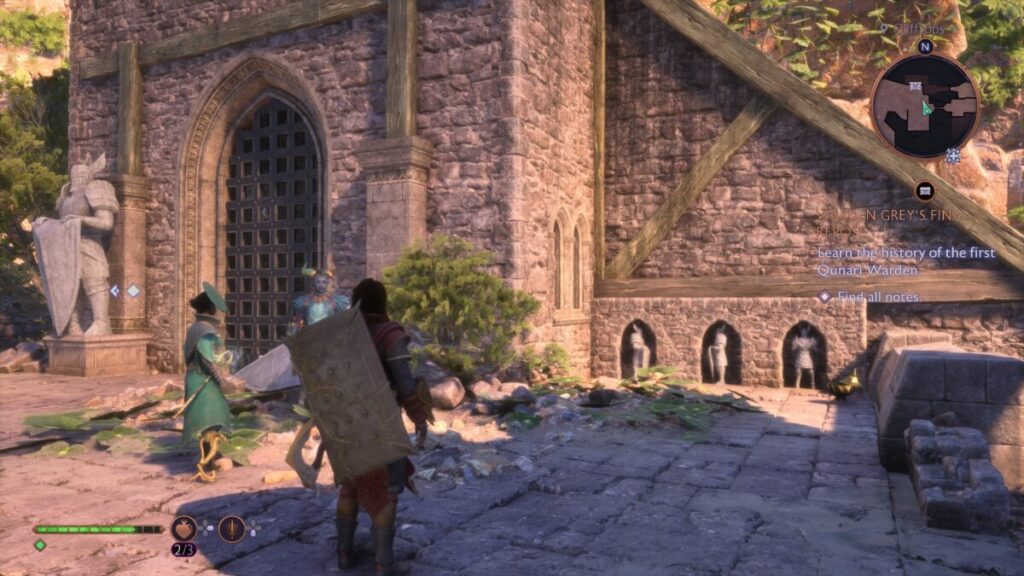
Across from the gate, head into another building and slide down the ladder. At the bottom, head north to find 3 statues that you’ll need to turn to the correct positions. Once all are aligned a ladder will drop down near the three statues you just moved, giving you access to the chest.
Chest #3 – Warden Castle
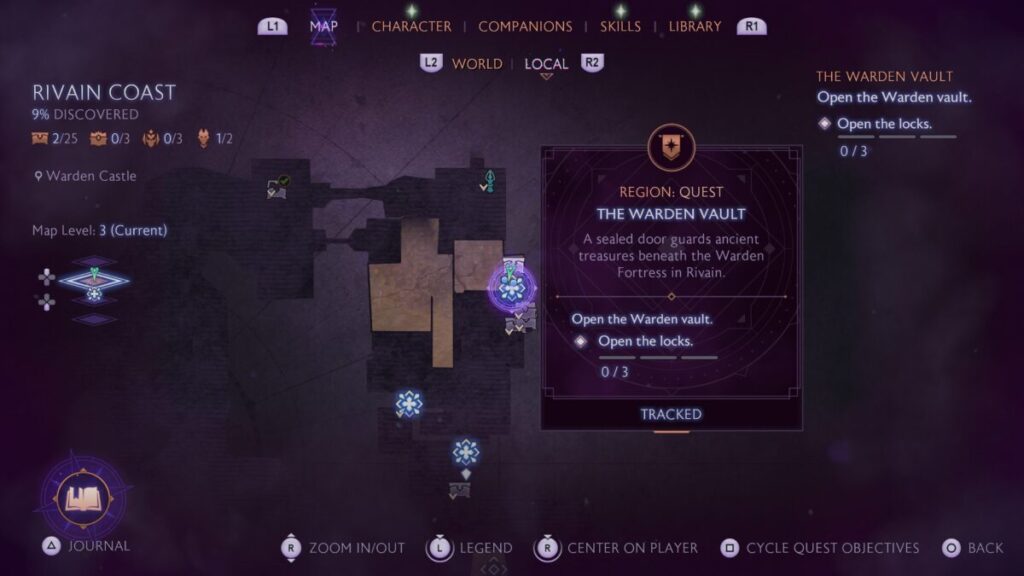
To reach this chest in Warden Castle, you’ll need to light three braziers on the ground level in the building across the way from the chest.
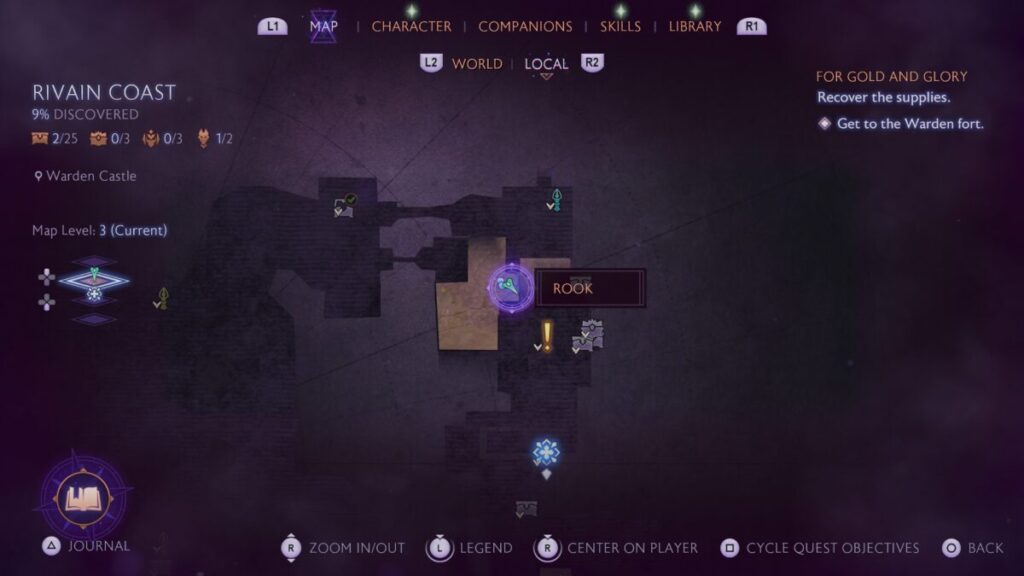
The order to light them is as follows: left, right, and middle.
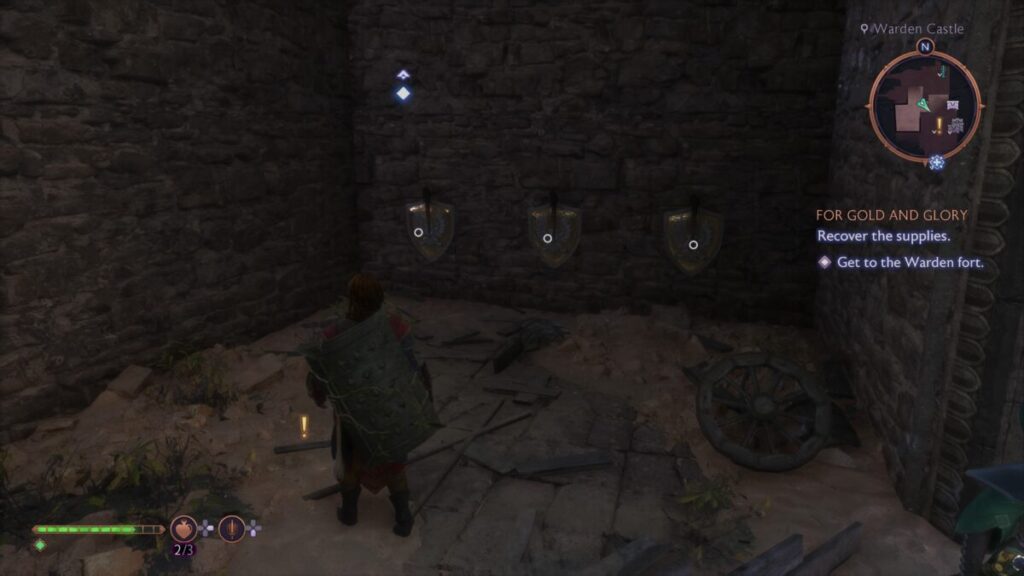
After you light the braziers, head south through the doorway and go up the stairs. Climb up the ledge on your left to reach a stone walkway. Follow it north, heading through the door on the right. Interact with the lever on the wall underneath the three lit braziers, allowing you to reach the chest.
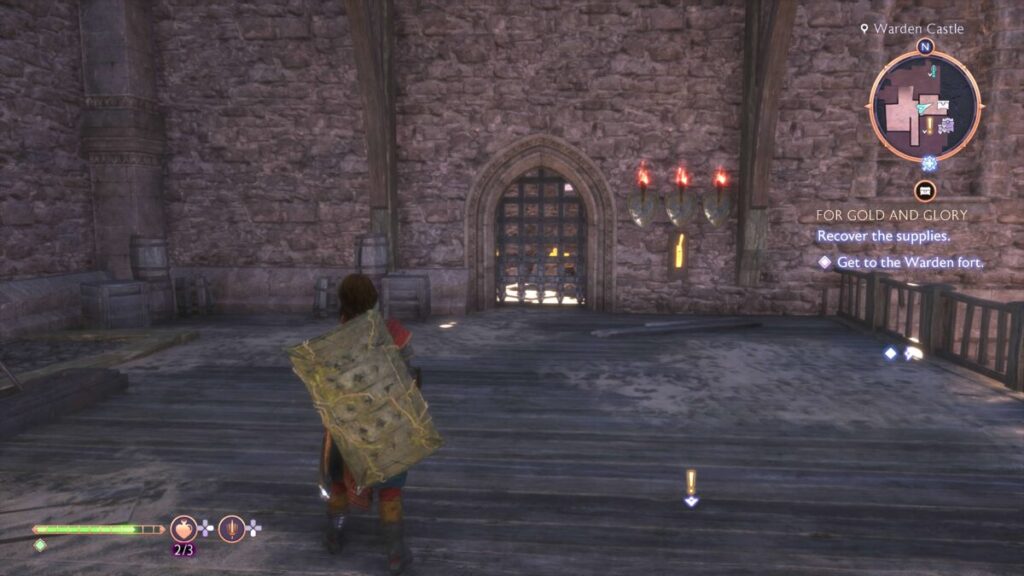
Chest #4 – Warden Castle
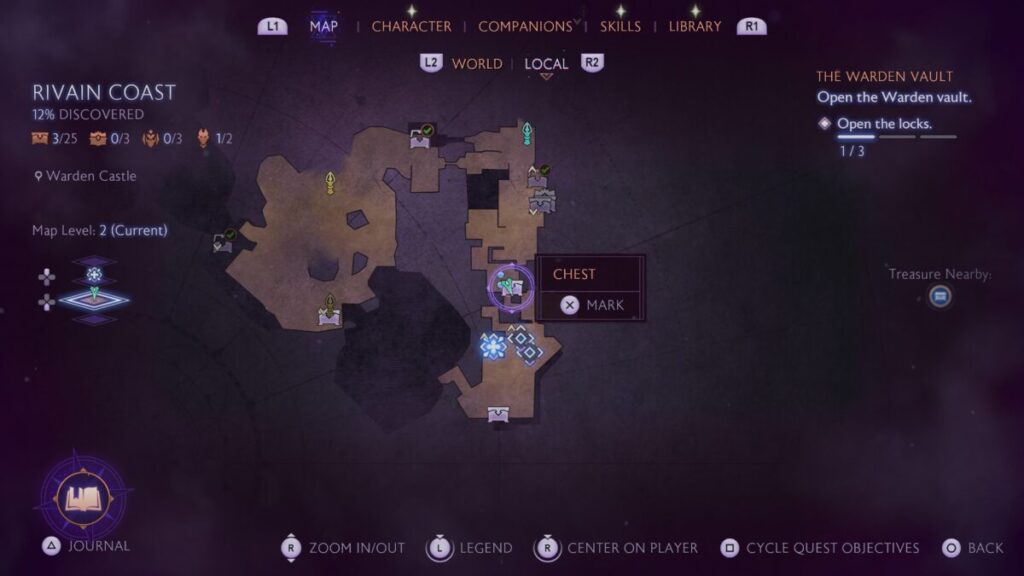
This chest can be found in the southern part of the fortress.
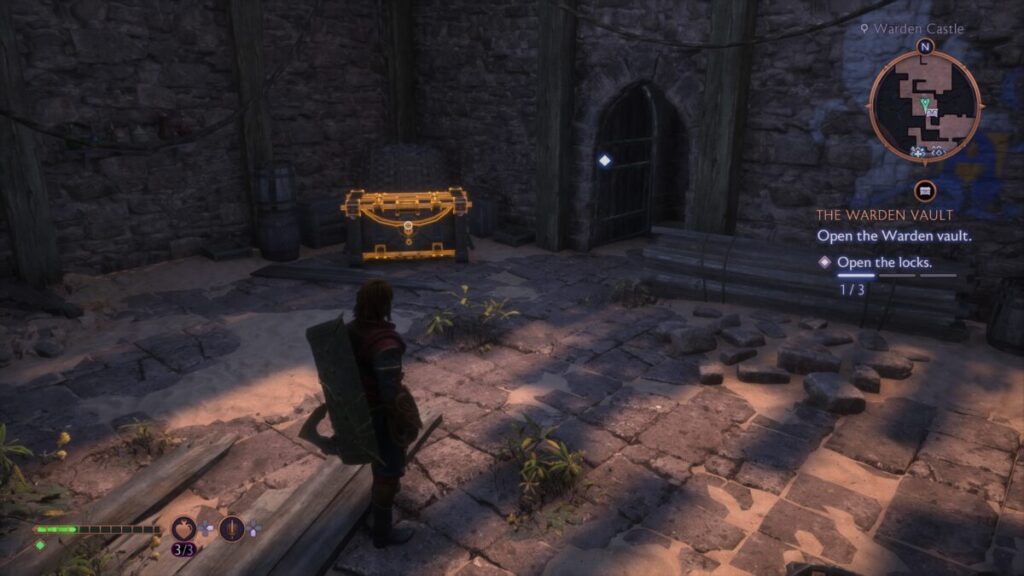
Chest #5 – Warden Castle
This chest will be accessible during The Warden Vault quest.
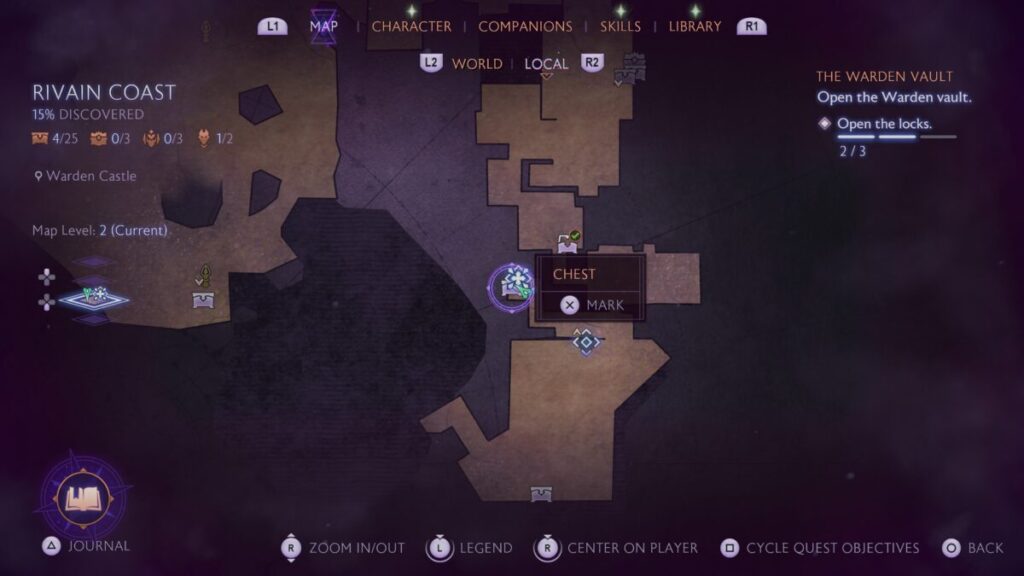
In the training room you’ll find some crystals. Have Taash blow them away.
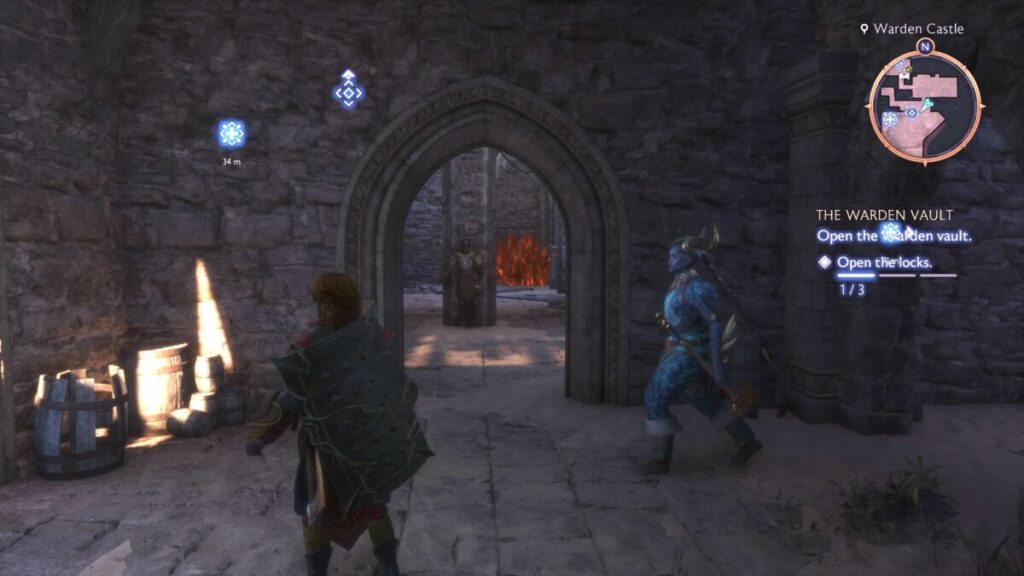
You’ll then need to grab a wisp. Exit this room and head to the right going outside. Take another right and look up to spot a barrel that can be blown up.
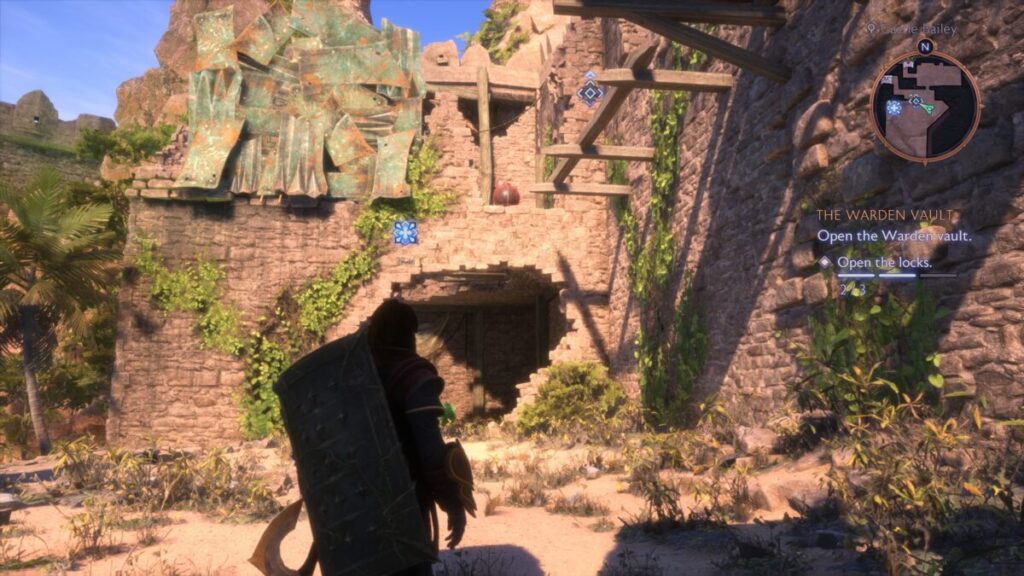
Do so to reveal a ladder then climb up it. At the top, you’ll find the wisp. Bring this back down the stairs to the training room and place it in the pedestal. The door will then open!
Chest #6 – Castle Bailey
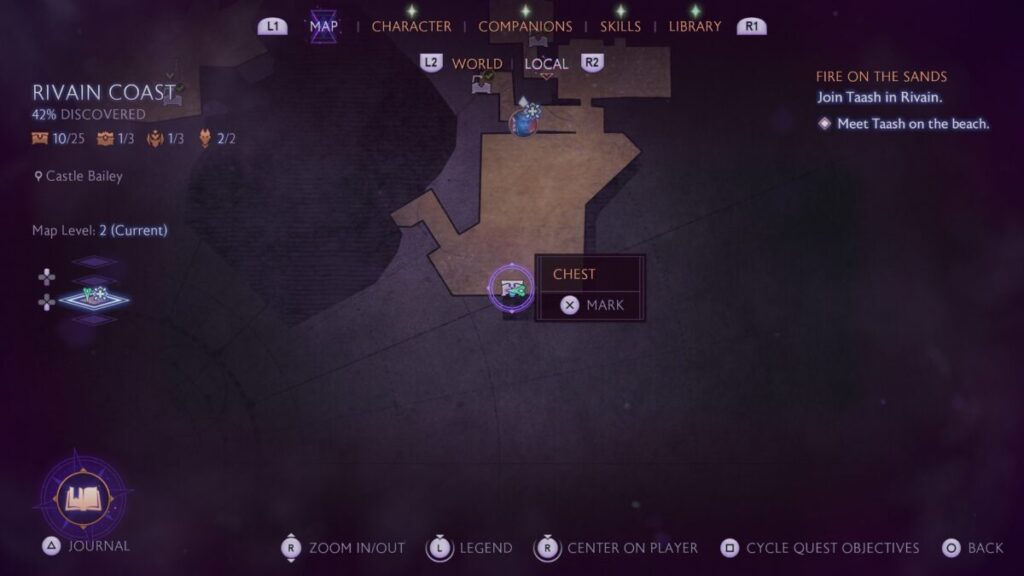
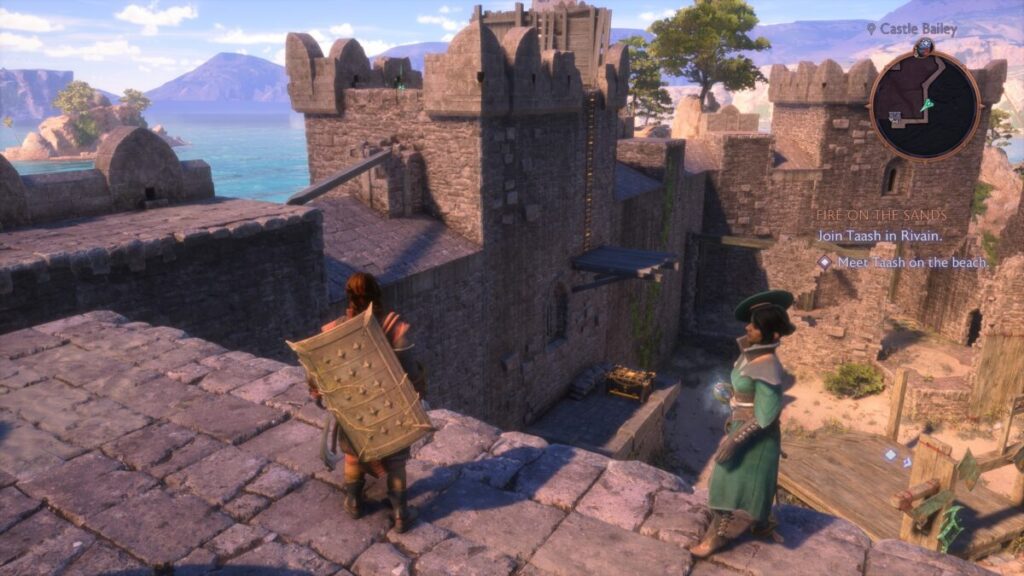
Climb up the ladder in the Castle Bailey that you previously revealed using Taash then follow the scaffolding around to another ladder. Take it down to reach this chest.
Chest #7 and Chest #8 – Warden Castle
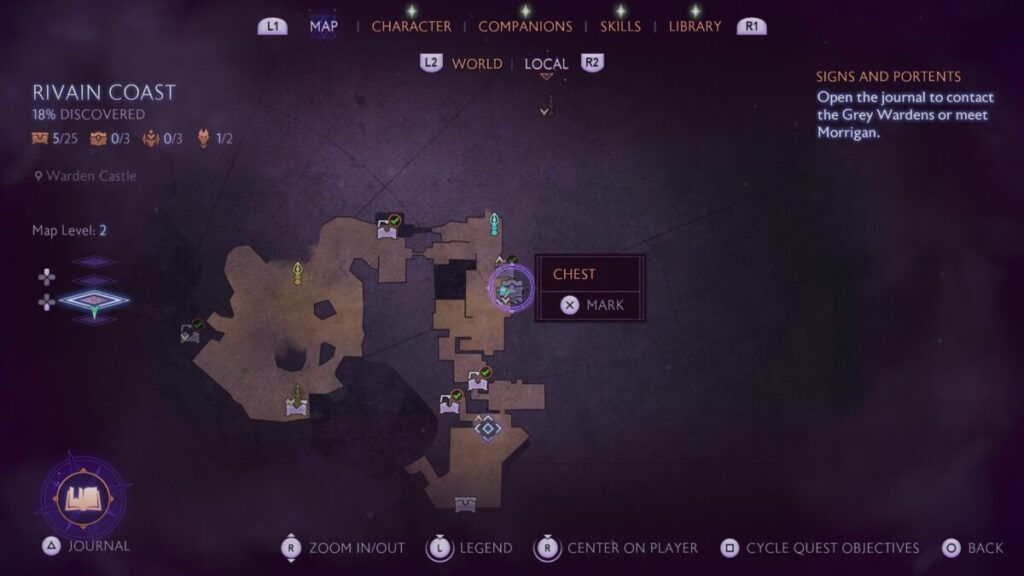
These chests can be accessed by completing The Warden Vault quest.
Chest #9 – Clifftops
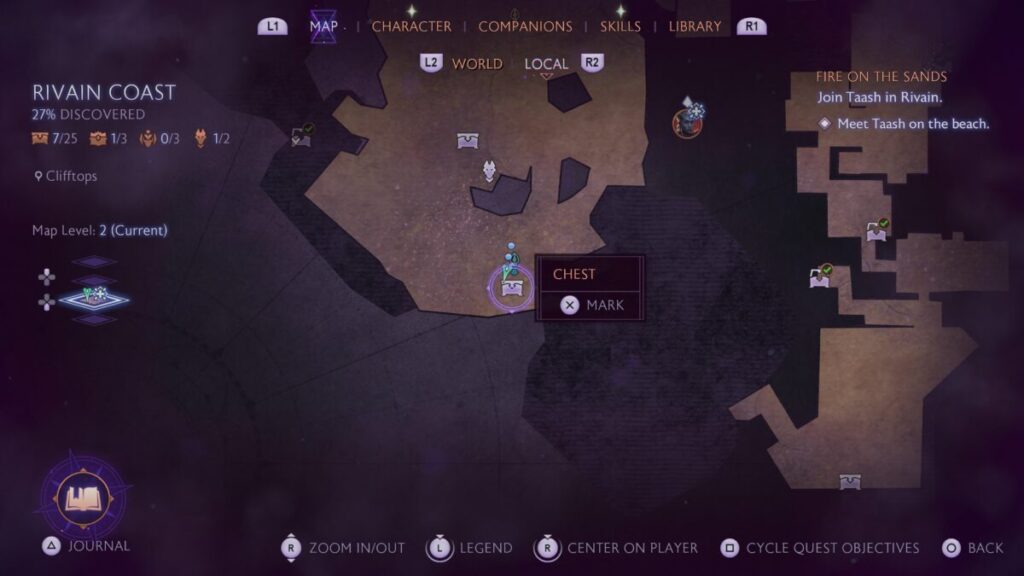
To open this chest, you’ll need to light the 3 braziers around the area in a specific order.
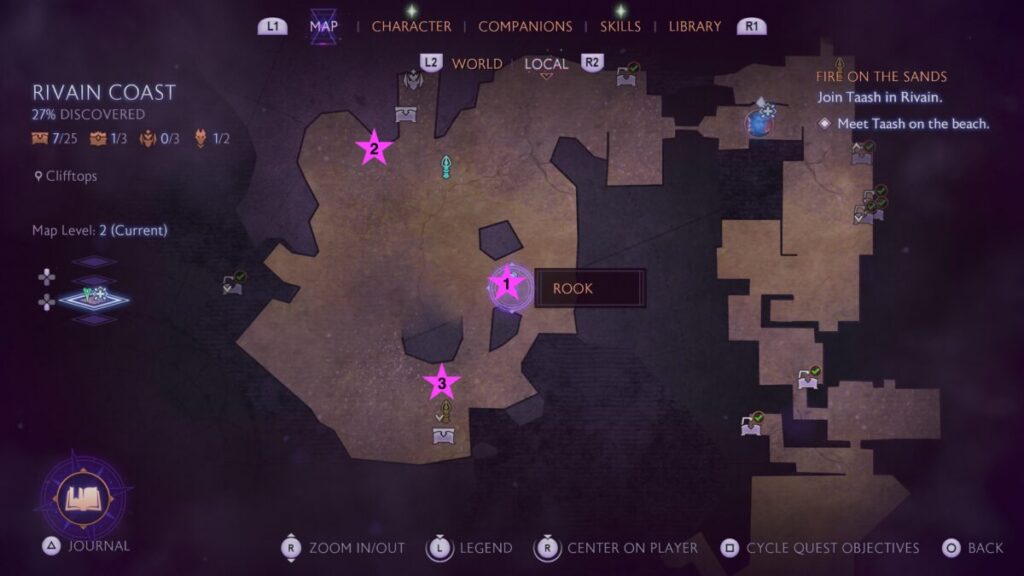
#1
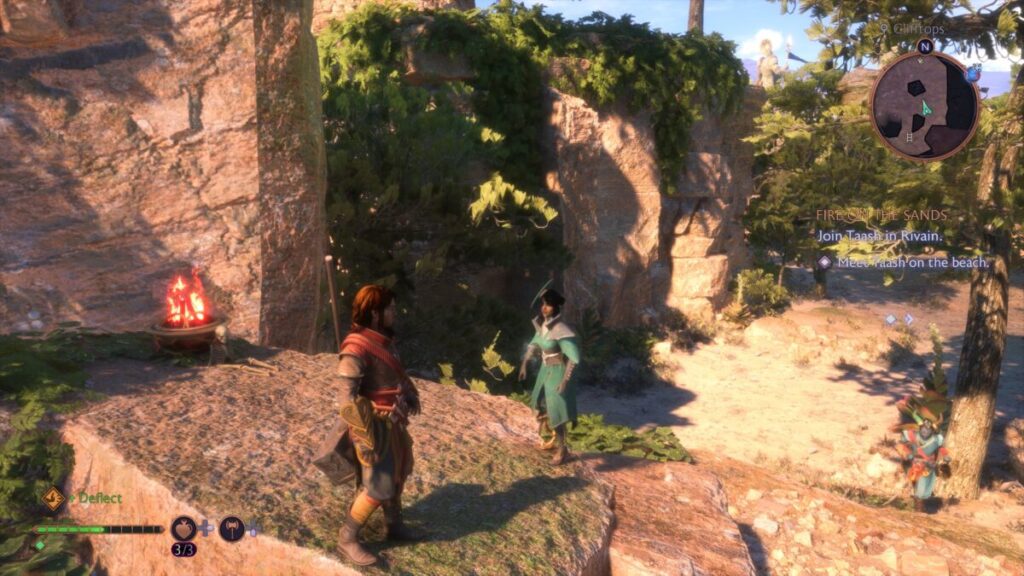
#2
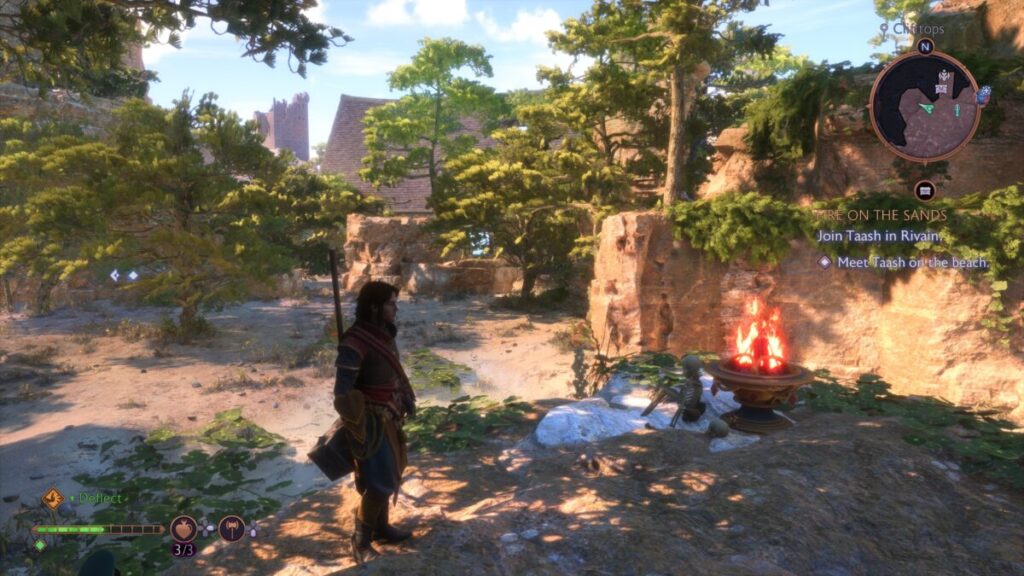
#3
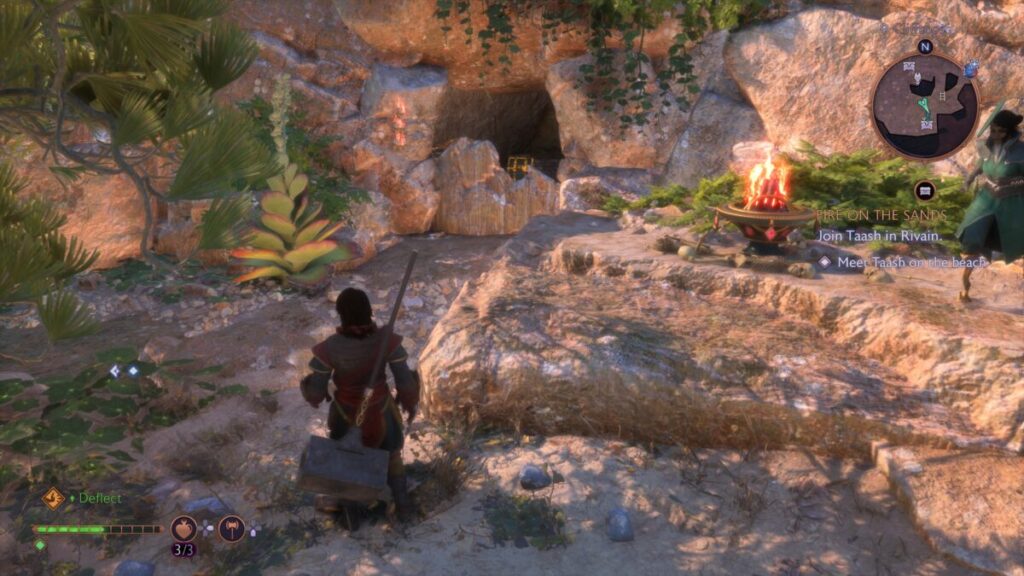
Once you do, the stone will lower, revealing the chest.
Chest #10 – Clifftops
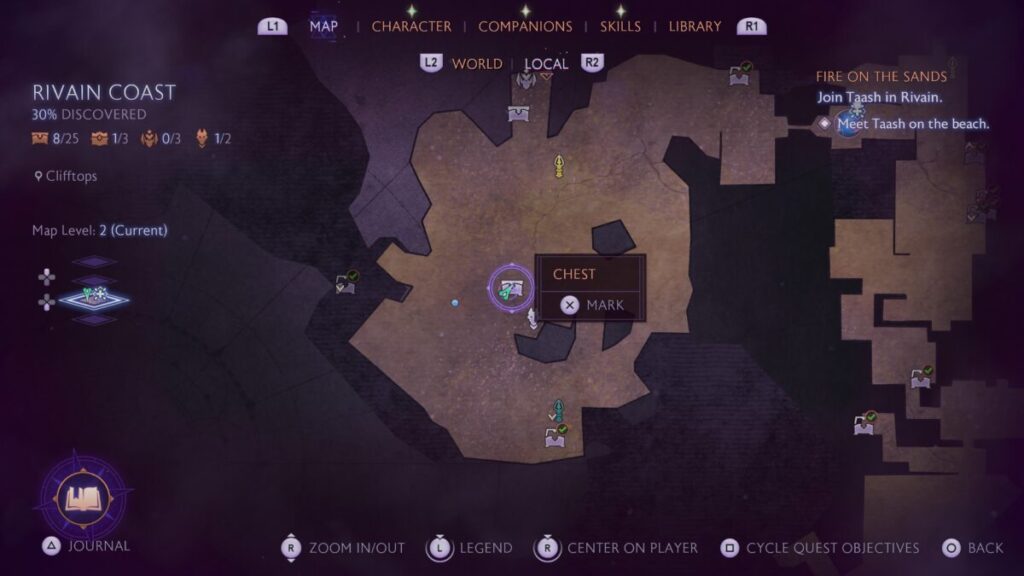
This chest can be found on the side of a rock in the center of the area.
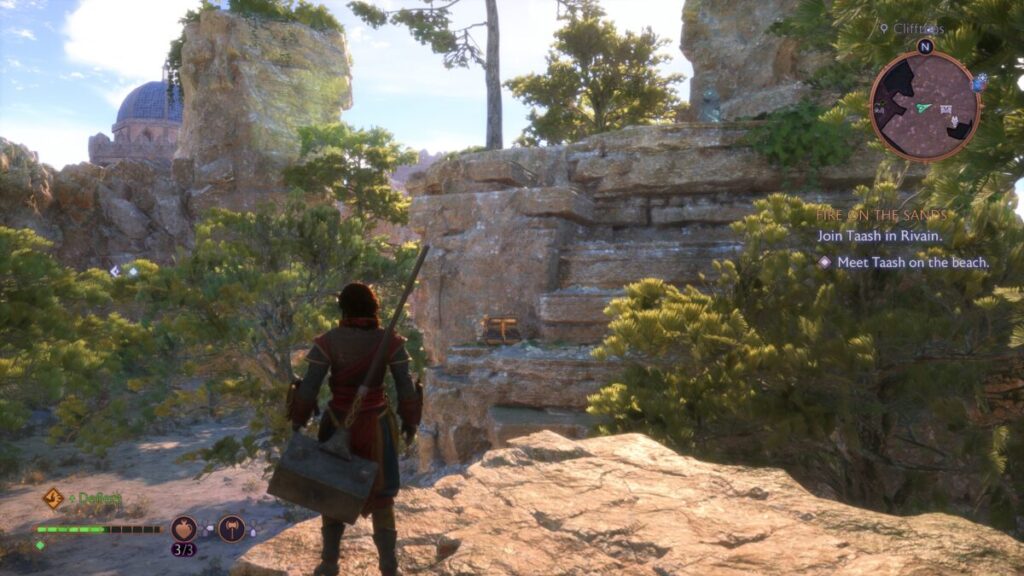
Chest #11 – Clifftops
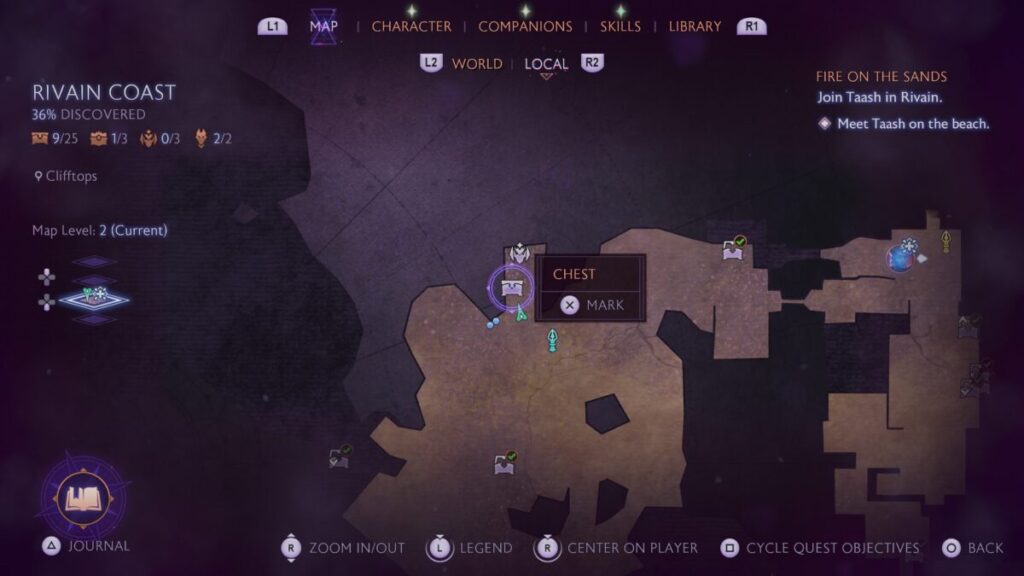
This chest can be found in the northern part of the area at the top of a waterfall. You’ll need to use Spiteful Aura to reach it.
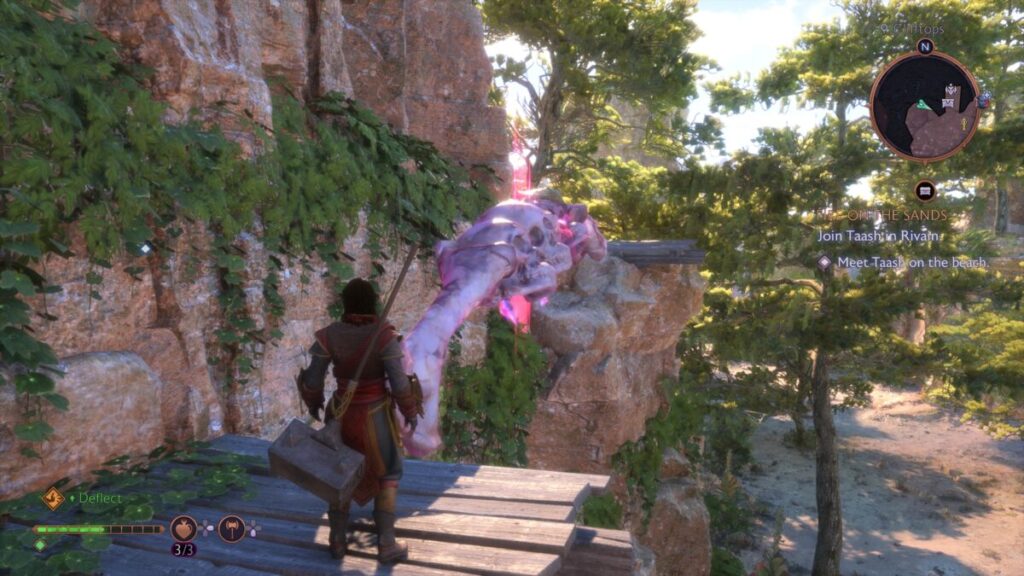
Chest #12 – Ravine Descent
This area becomes accessible during the Lair of the Dragon King quest.
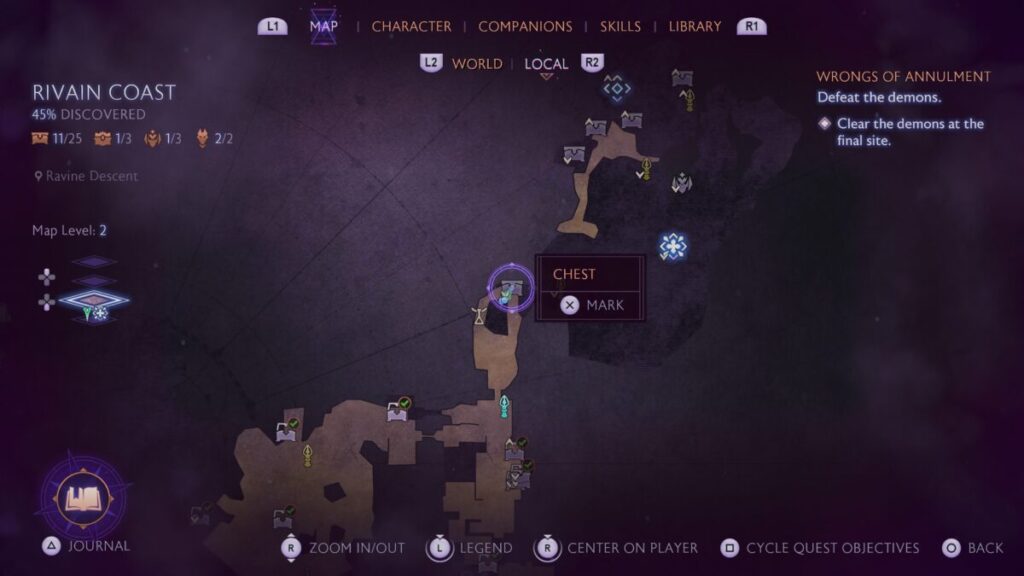
This chest can be found at the bottom of the Ravine Descent just before the Tide Flats.
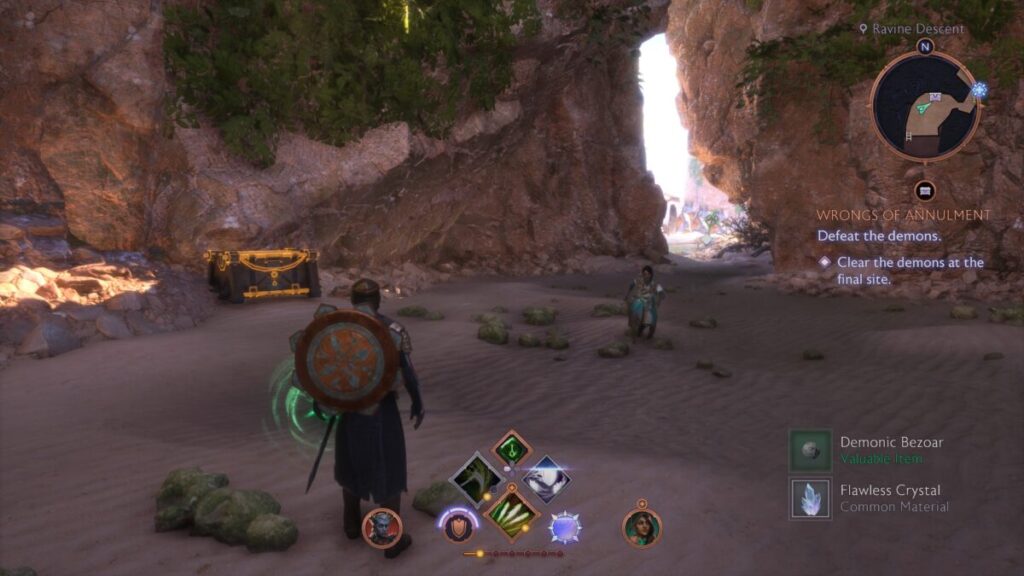
Chest #13 – Tide Flats
This area becomes accessible during the Lair of the Dragon King quest.
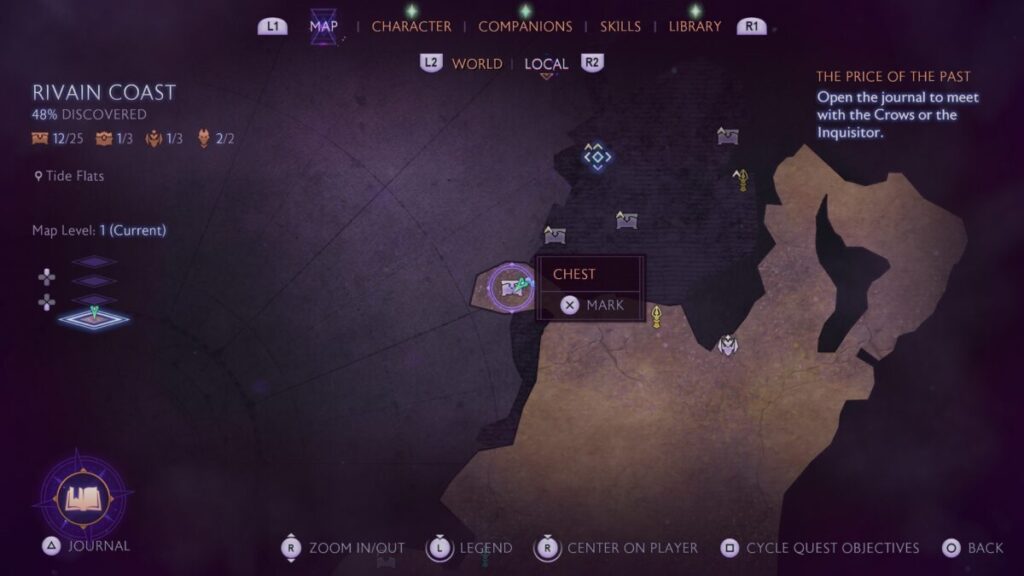
To reach the Tide Flats chest, you must use Taash to light 4 braziers.
To reach the first brazier, head to the northern beacon then head west. Climb up the ladder scaling the walls. At the top of the second ladder, take a left and climb the ledges. Jump over the stone railing to a wooden platform then use Stone Song to manipulate the stone platforms.
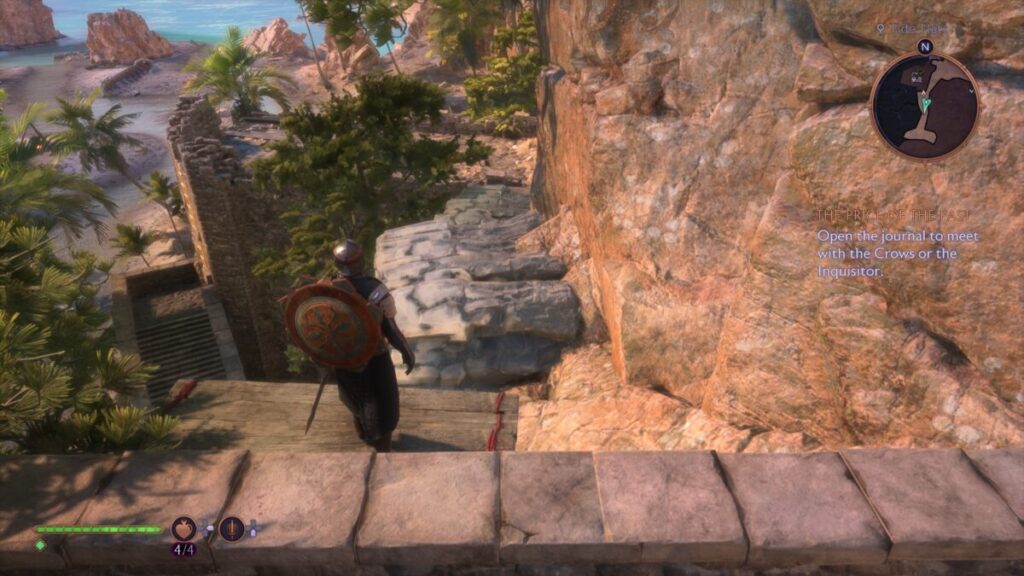
Jump across them to reach the brazier on the right.
From there, head east and drop the ladder at the end of the wall. The head southeast, passing the campfire on the left and boat on your right.
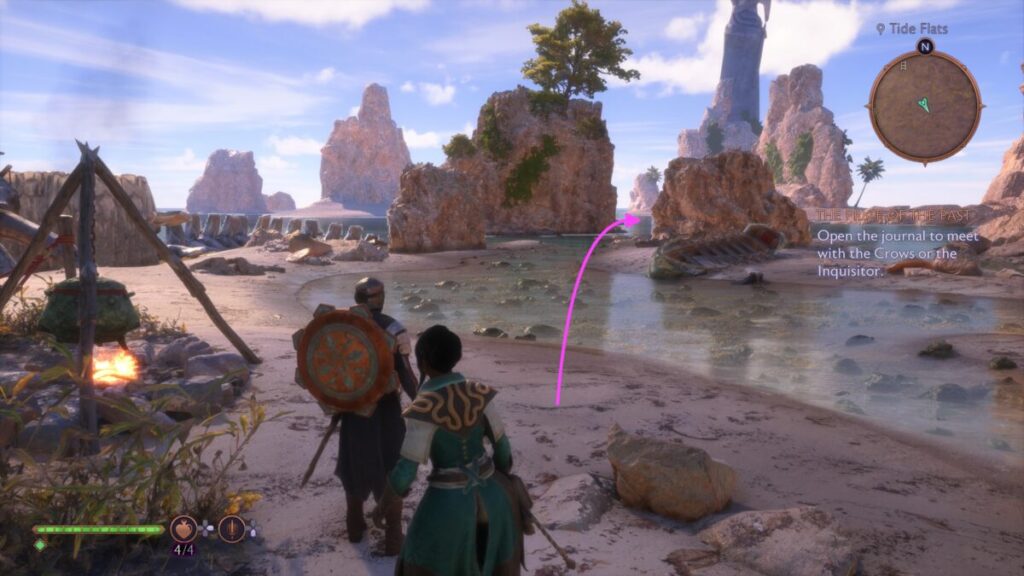
Head behind the giant rock on the right side and use Assan to dig up the sand, revealing the second brazier.
From this brazier, head northeast, passing the giant rock to reach the rock platform in the giant skeleton.
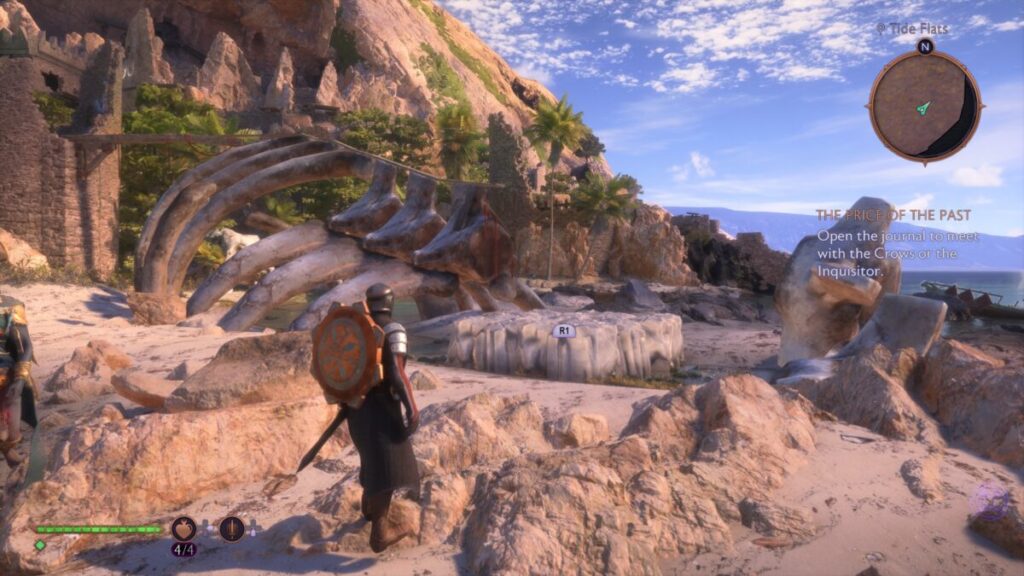
Stand on this rock then use Harding’s ability to raise it. Head along the backbone to reach the castle tower. Drop down to find the third brazier.
From here, head north to reach the cave containing the last brazier and the chest.
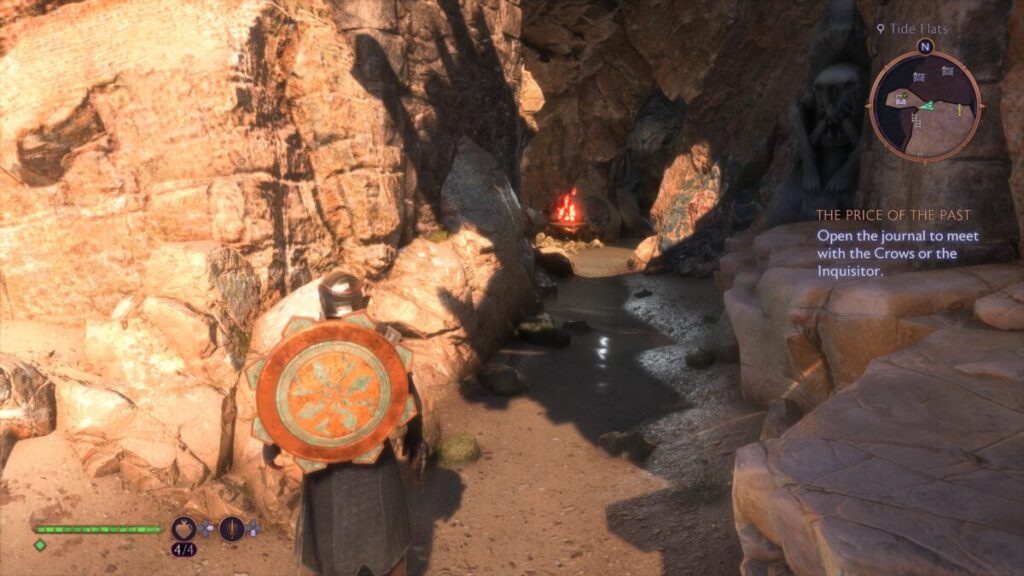
When all four braziers have been lit within the time limit, the bones will lower, allowing access to this chest.
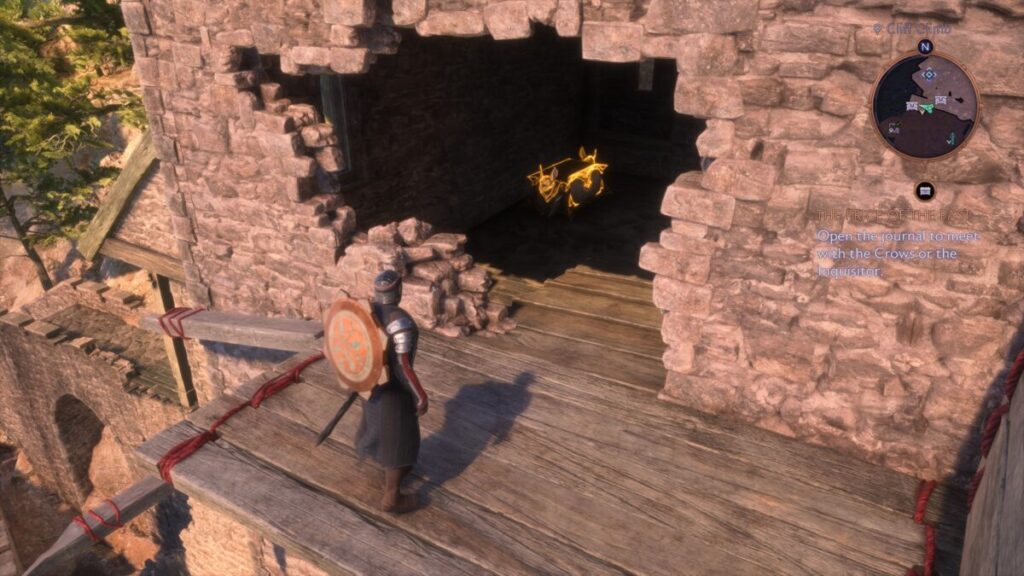
Chest #14 – Cliff Climb
This area becomes accessible during the Lair of the Dragon King quest.
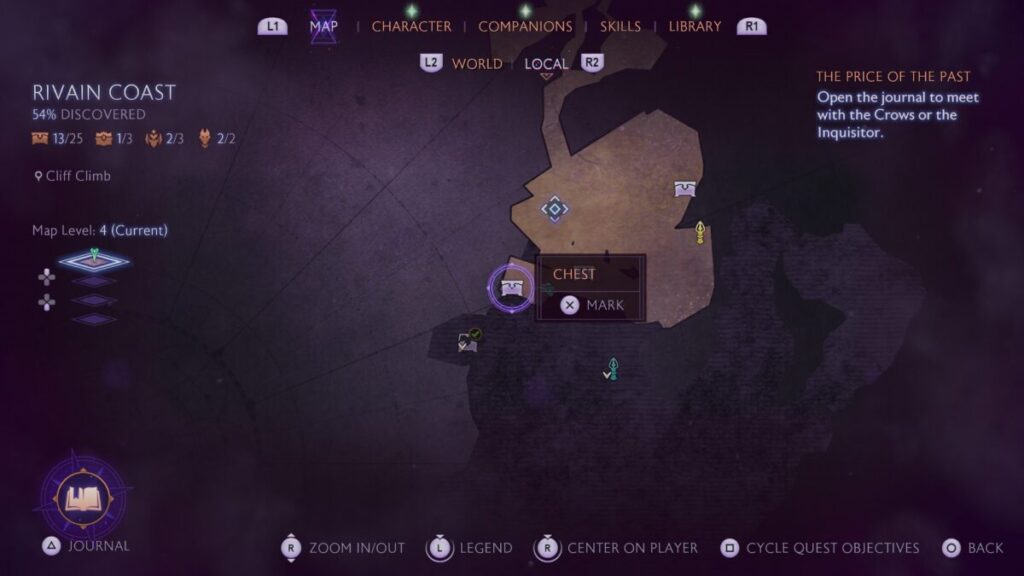
After scaling the wooden pegs jutting out from the building, you’ll find this chest sitting in a room.
Chest #15 – Cliff Climb
This area becomes accessible during the Lair of the Dragon King quest.
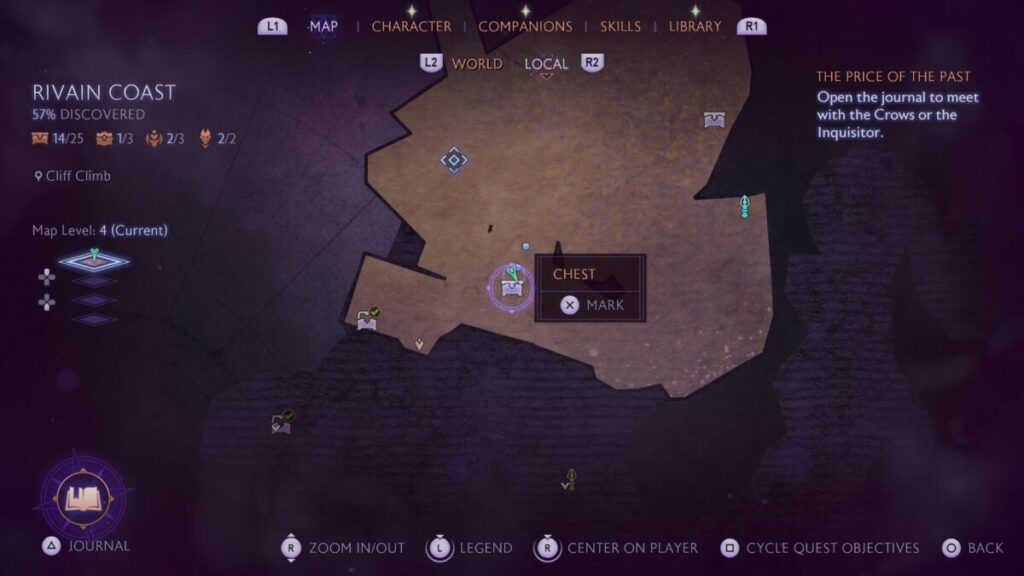
To reach this chest, you’ll need to head to the window across from the chest and use Taash to explode the barrel inside right next to the chest.
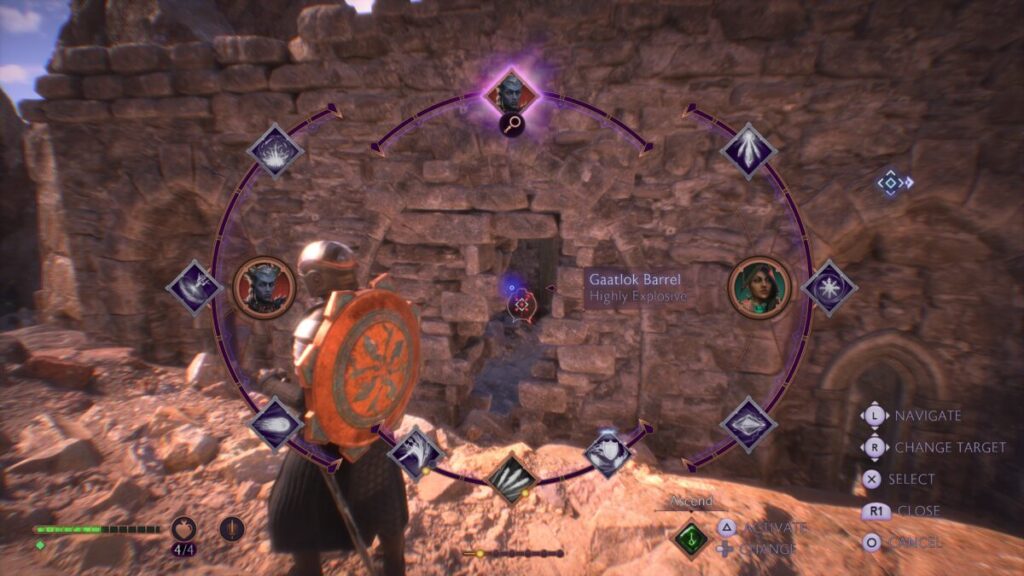
Afterwards, head back around and go through the hole to reach the chest.
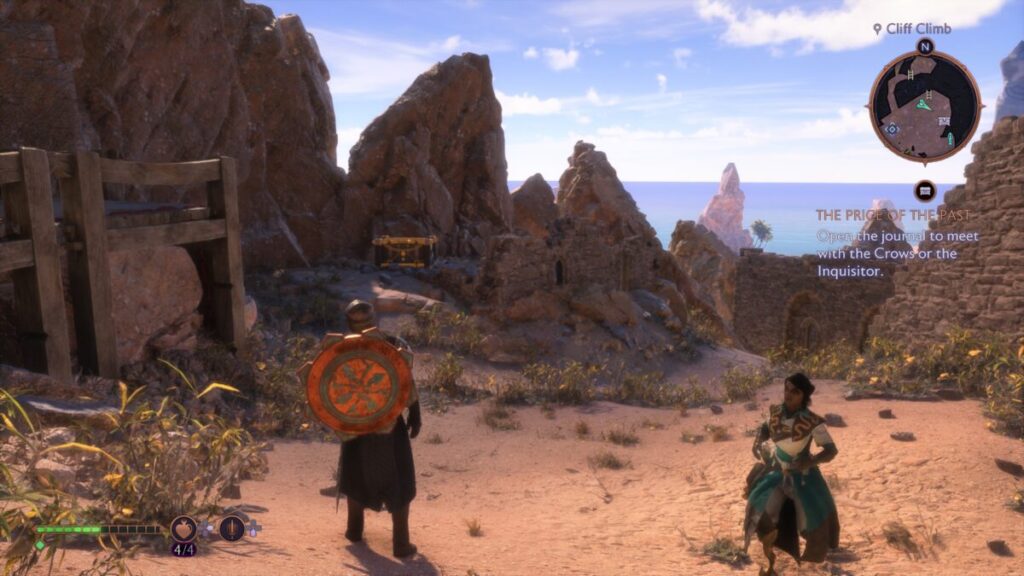
Chest #16 – Cliff Climb
This area becomes accessible during the Lair of the Dragon King quest.
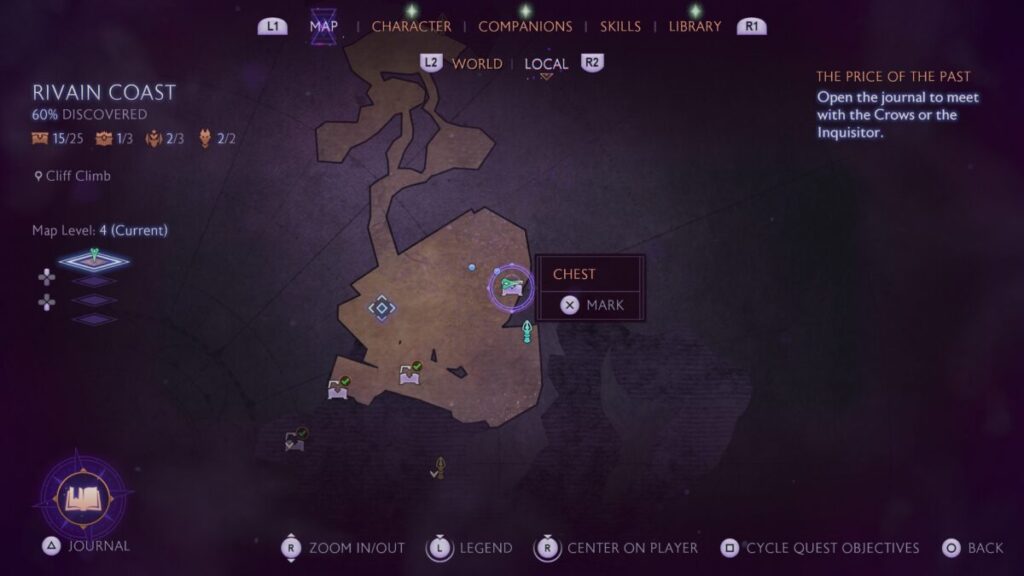
This chest can be found along the main path.
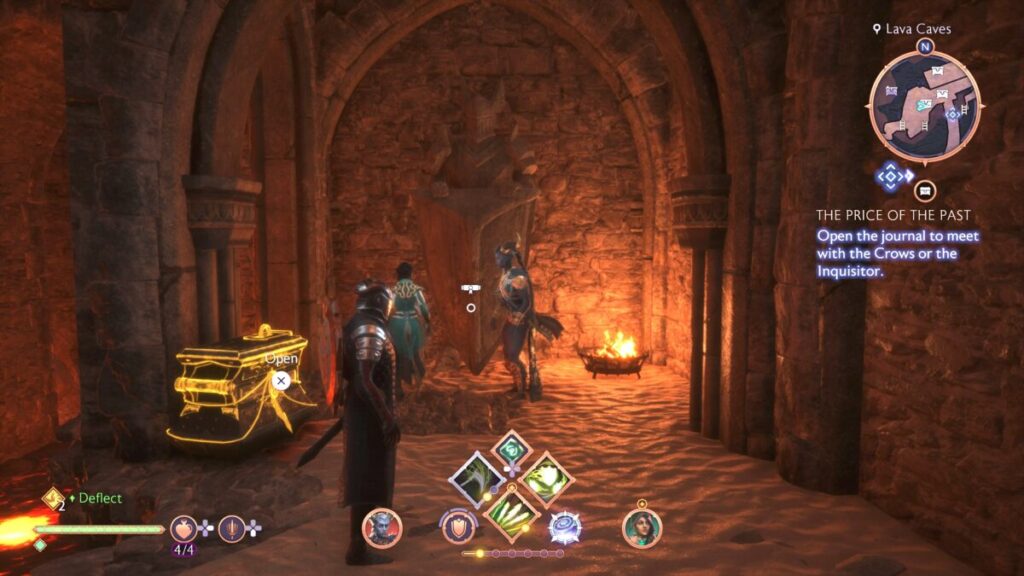
Chest #17 – Lava Caves
This area becomes accessible during the Lair of the Dragon King quest.
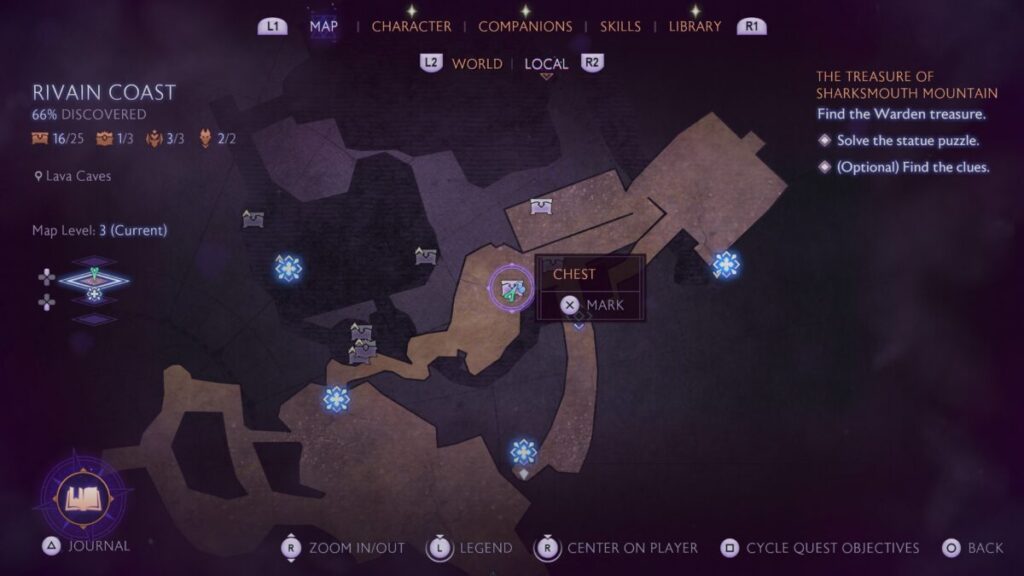
This chest can be found next to a large statue.
Chest #18 – Lava Caves
This area becomes accessible during the Lair of the Dragon King quest.
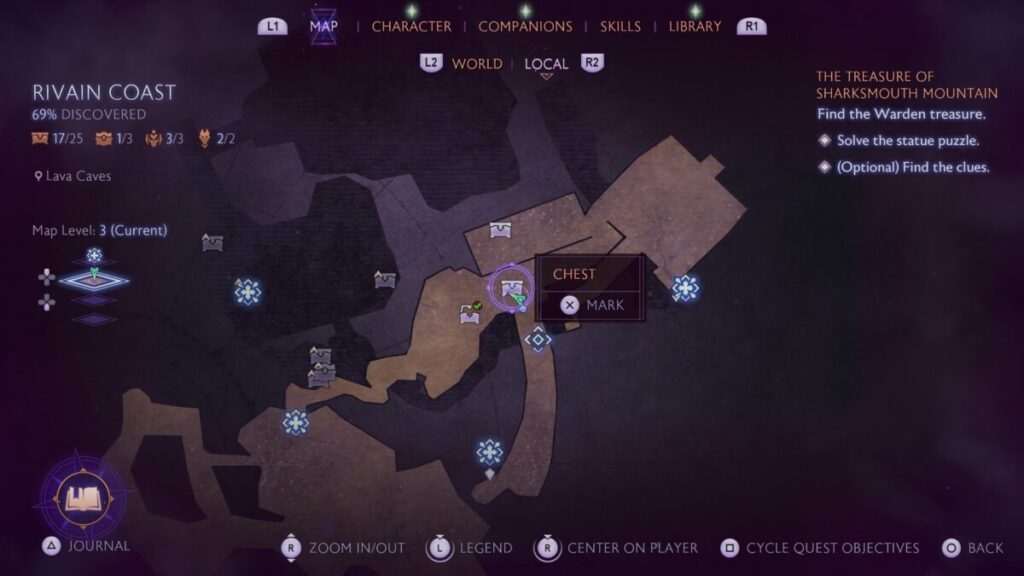
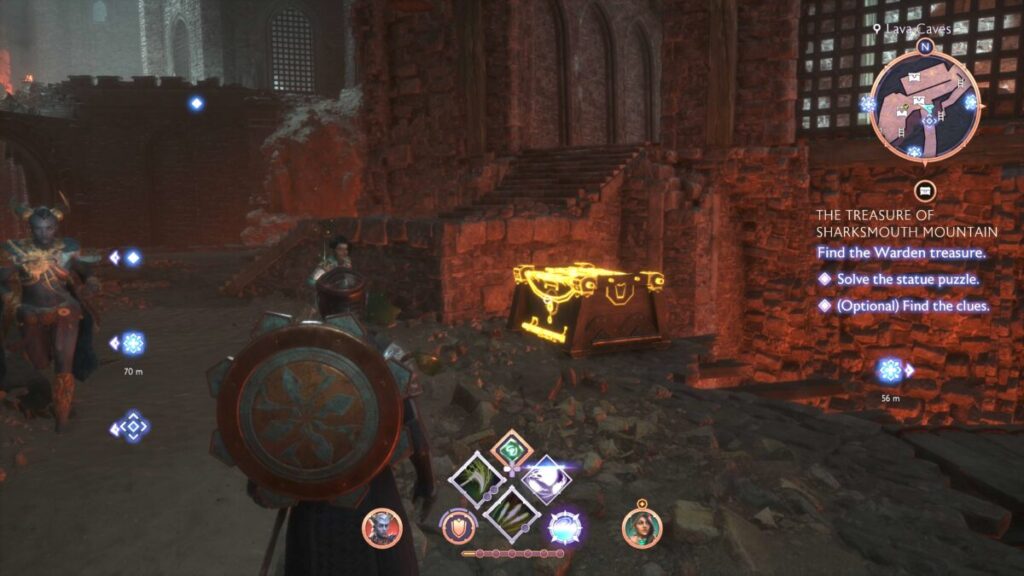
This chest can be found just off the main path.
Chest #19 – Lava Caves
This area becomes accessible during the Lair of the Dragon King quest.
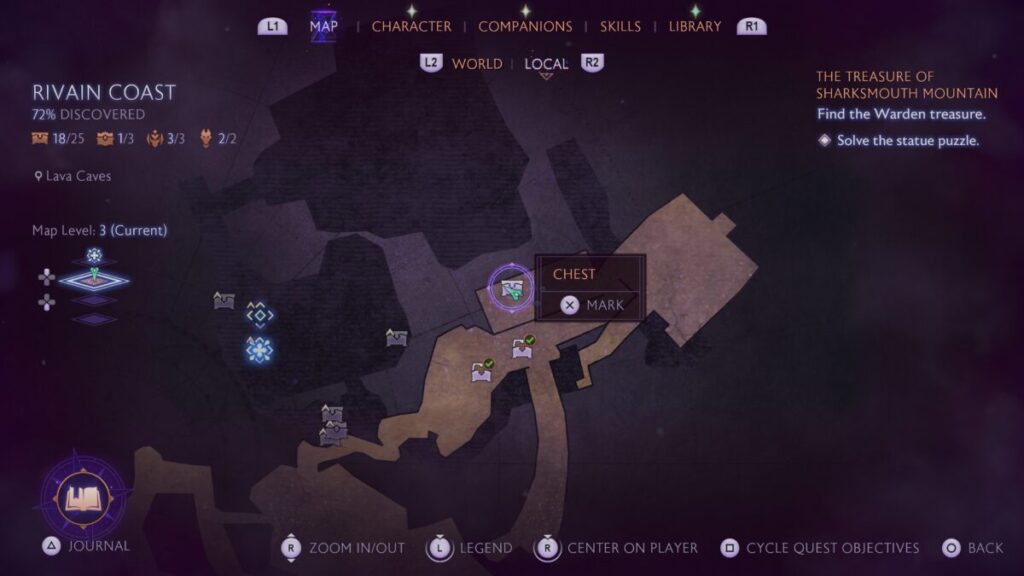
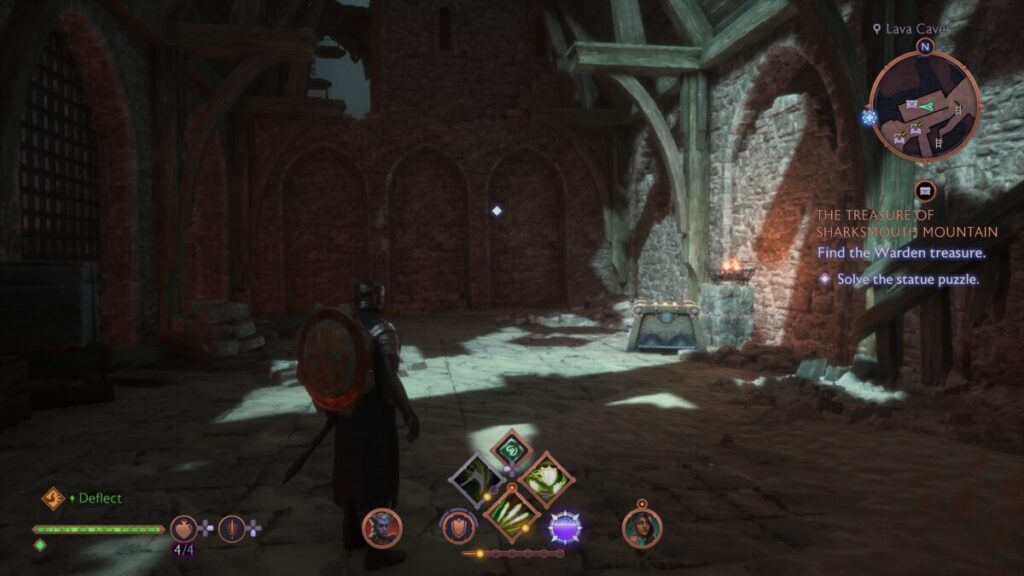
This chest can be found inside a small room.
Chest #20 – Lava Caves
This area becomes accessible during the Lair of the Dragon King quest.
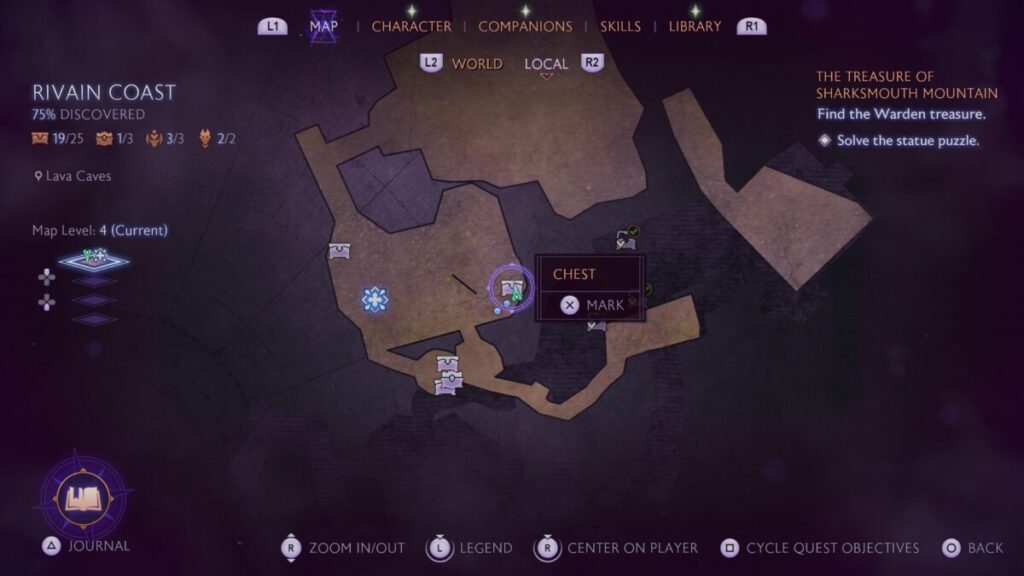
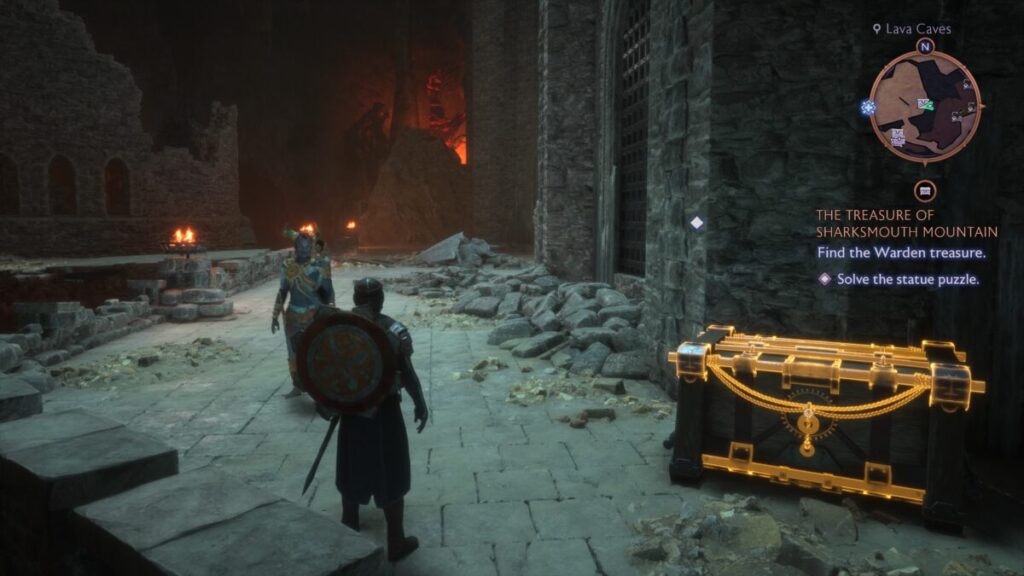
This chest can be found just off the main path.
Chest #21 – Lava Caves
This area becomes accessible during the Lair of the Dragon King quest.
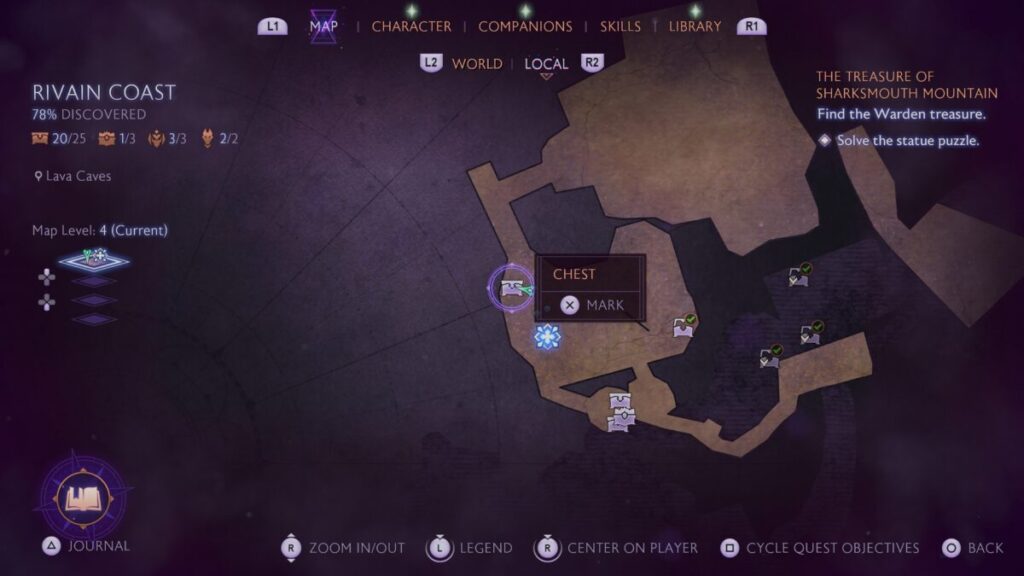
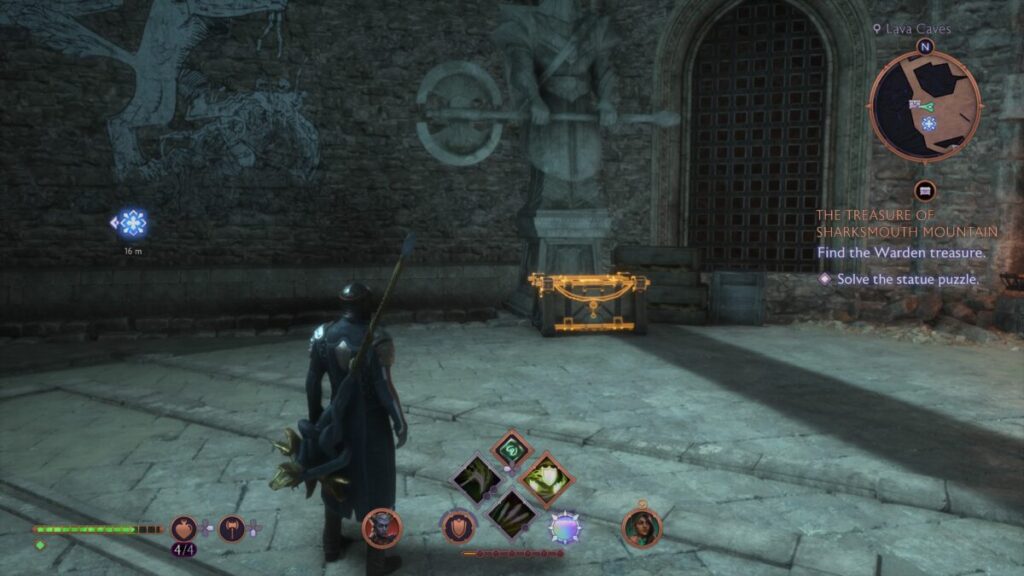
This chest can be found next to the statue puzzle during The Treasure of Sharksmouth Mountain.
Chests #22 & #23 – Lava Caves
This area becomes available after completing The Treasure of Sharkmouth Mountain quest.
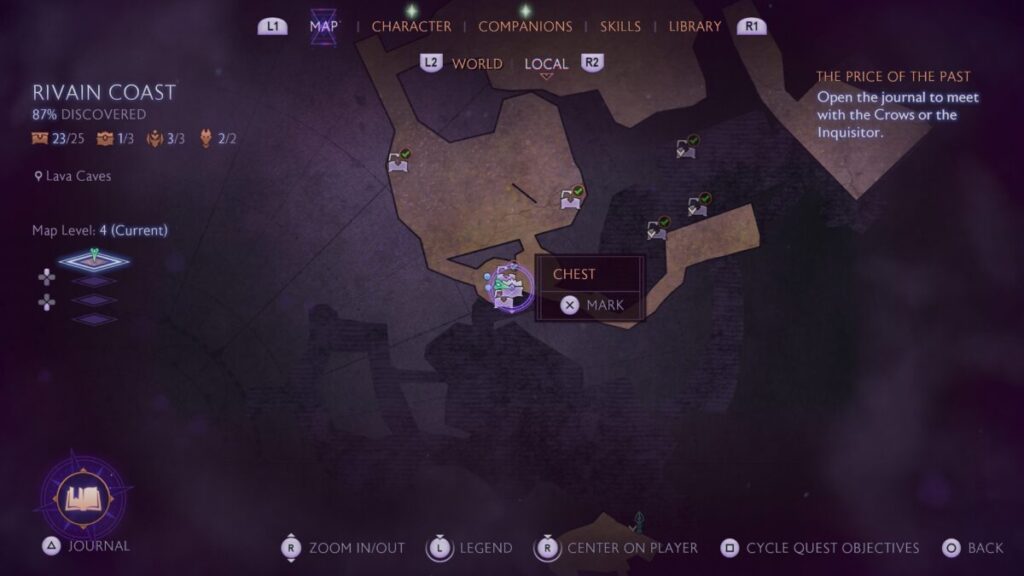
After completing The Treasure of Sharkmouth Mountain, you’ll find yourself in the treasure room. Loot these two chests inside!
Chests #24 & #25 – Winding Shoreline
These chests become accessible after completing the Dead Men Tell Some Tales quest.
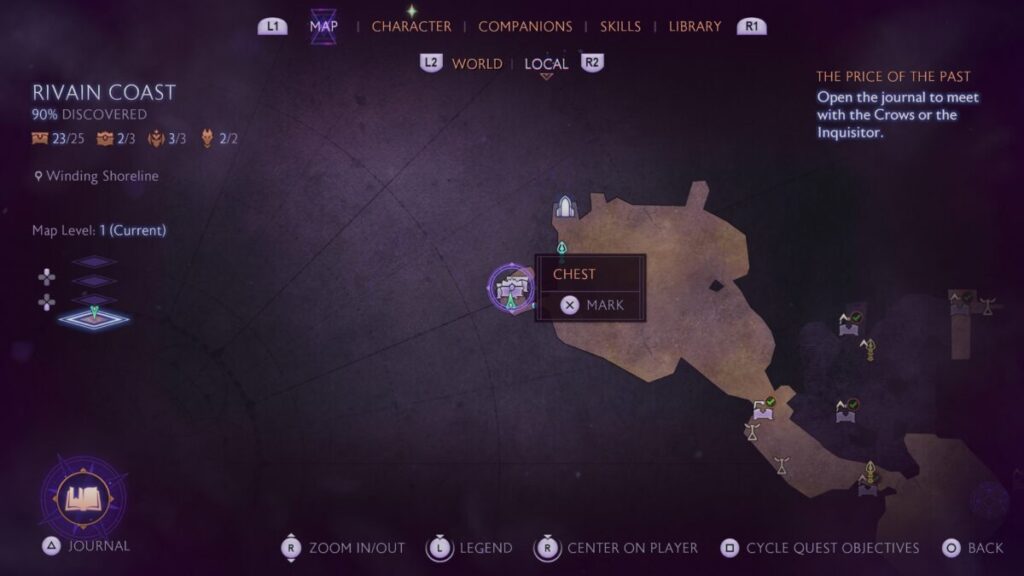
After completing the Dead Men Tell Some Tales quest, head into the newly opened cave to find these chests.
Timelost Hoards
Timelost Hoard #1 – Warden Castle

This chest can be accessed by completing The Warden Vault quest.
Timelost Hoard #2 – Lava Caves
This area becomes available after completing The Treasure of Sharkmouth Mountain quest.

After completing The Treasure of Sharkmouth Mountain, you’ll find yourself in the treasure room. Loot this timelost hoard inside!
Timelost Hoard #3 – Winding Shoreline
This chest becomes accessible after completing the Dead Men Tell Some Tales quest.

After completing the Dead Men Tell Some Tales quest, head into the newly opened cave to find this chest.
Evanuris Altars
Evanuris Altar #1 – Clifftops

This altar can be found in the northern part of the area at the top of a waterfall. You’ll need to use Spiteful Aura to reach it.

Evanturis Altar #2 – Lava Flows
This area becomes accessible during the Lair of the Dragon King quest.
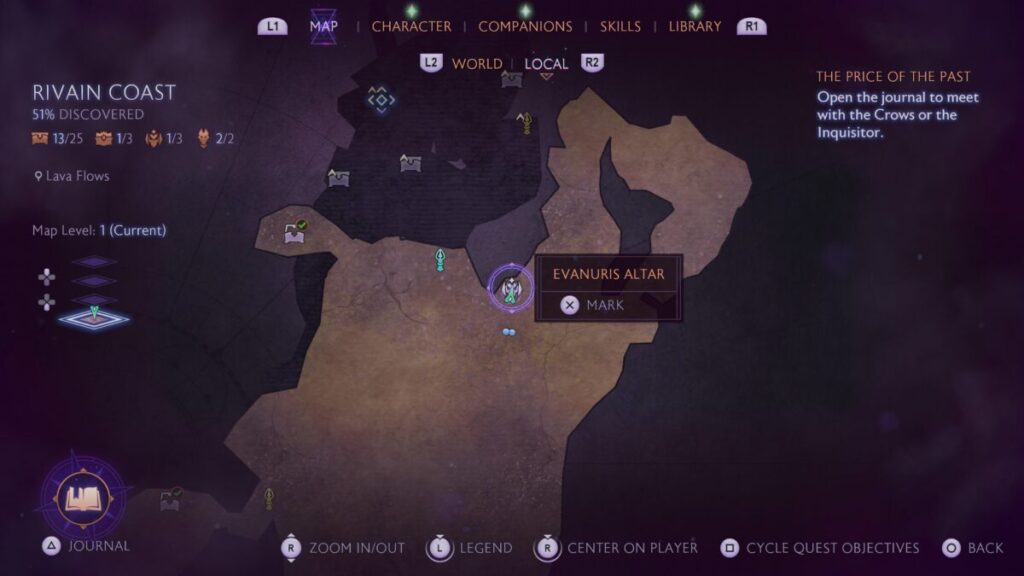
This altar can be found nestled between the rocks of the Tide Flats and Lava Flows areas.
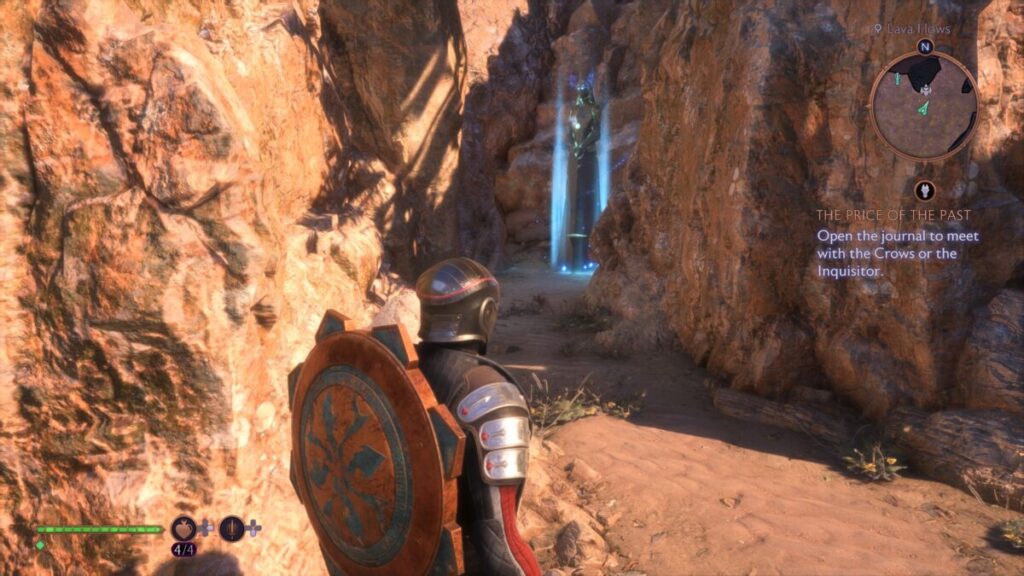
Evanturis Altar #3 – Cave Floor
This area becomes accessible during the Lair of the Dragon King quest.
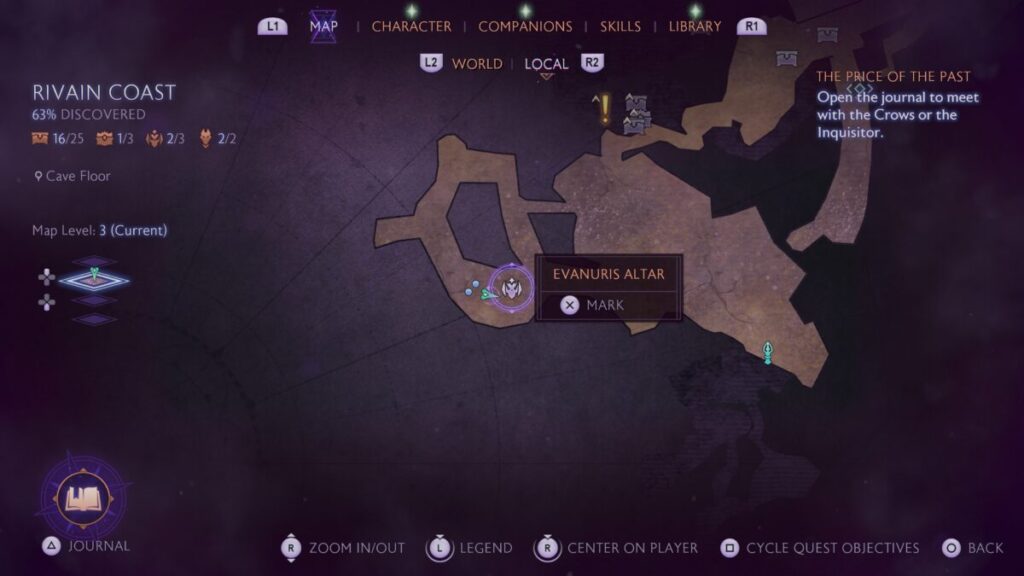
This altar can be found on the western side of the area.
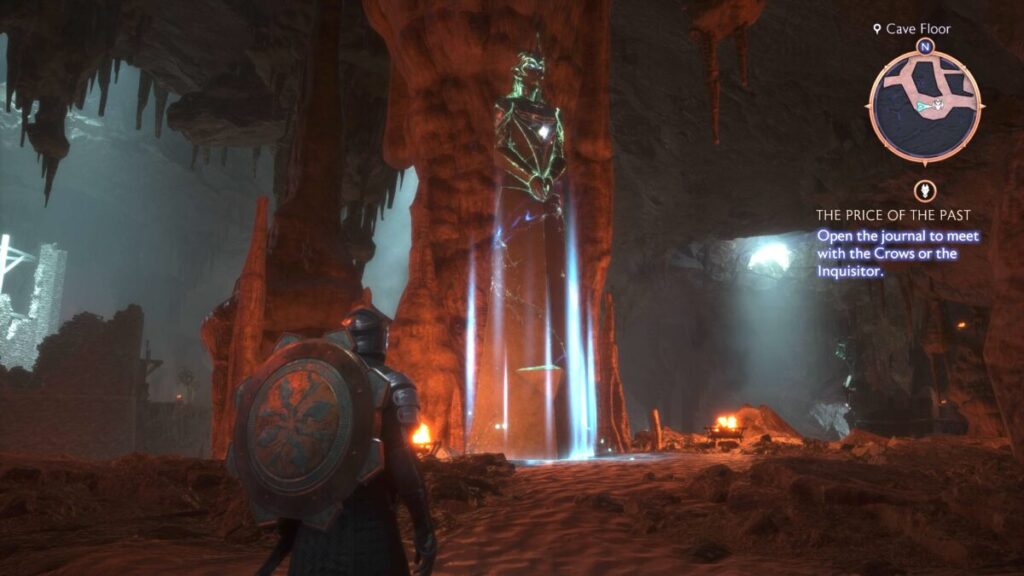
Fen’Harel Altars
Fen’Harel Altar #1 – Winding Shoreline
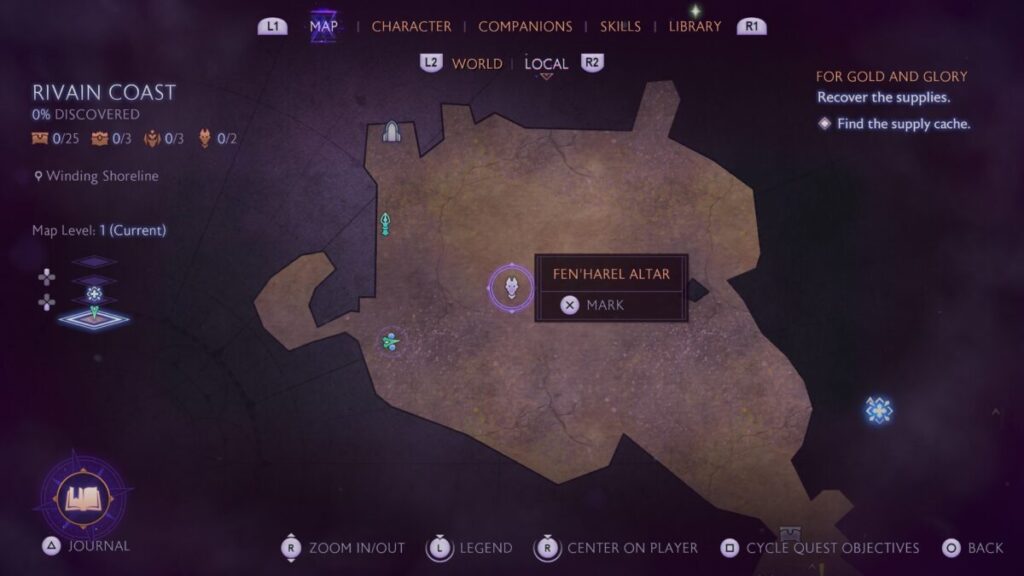
To reach this altar, you’ll need to pull out the rock at the base of the stairs.
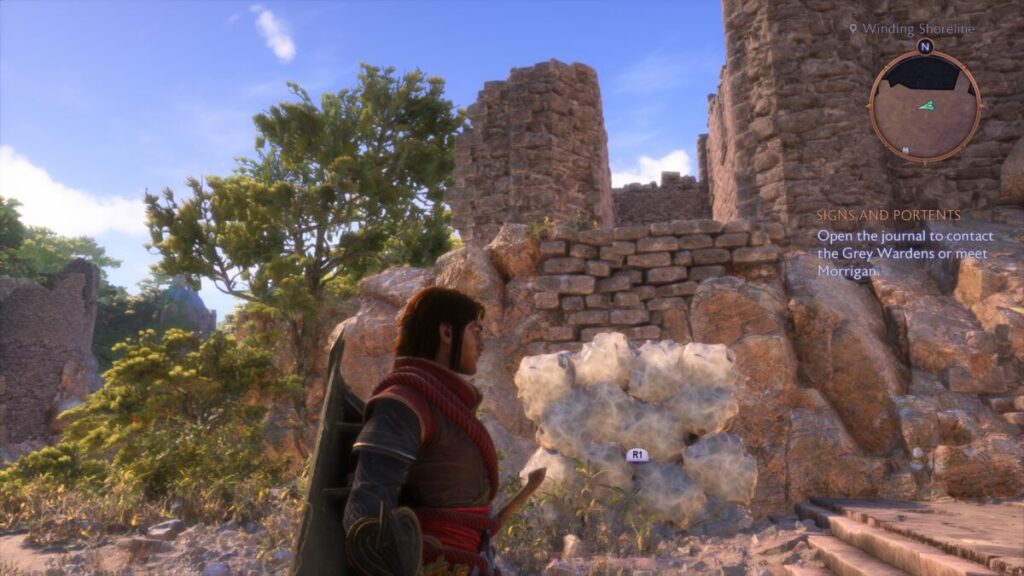
You’ll then need to climb up and use Taash to ignite the pot. Head to the top level of the structure, where you’ll find the Fen’Harel Altar.
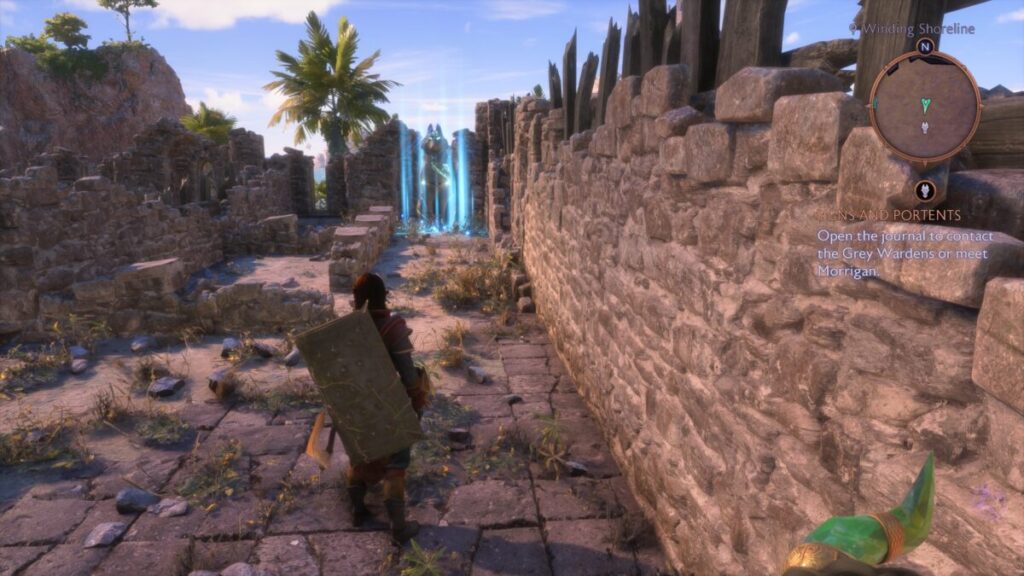
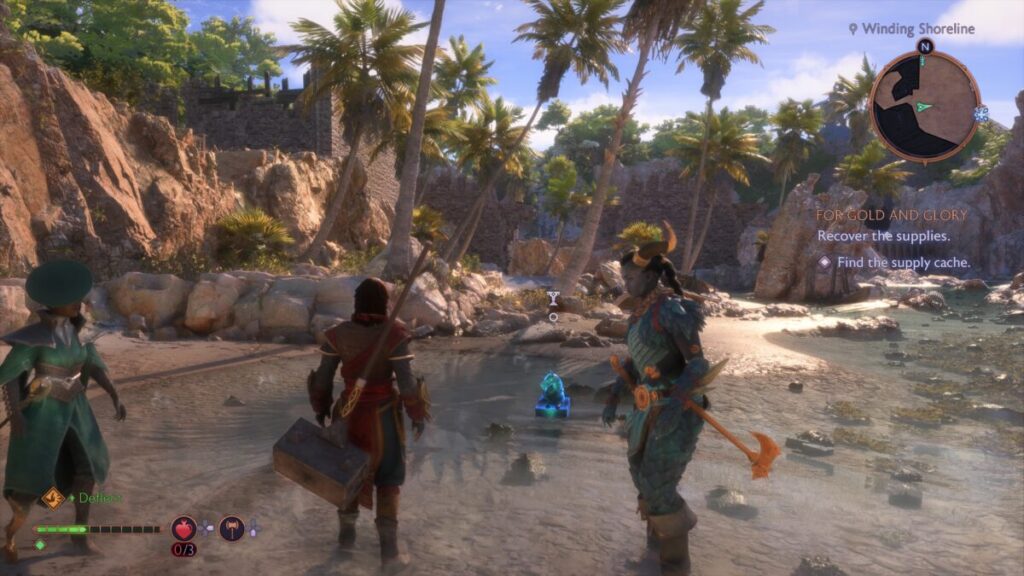
When you activate it, it’ll turn to the northeast. Follow its gaze to the wolf statuette located along the shoreline in a pool of water.
Fen’Harel Altar – Clifftops
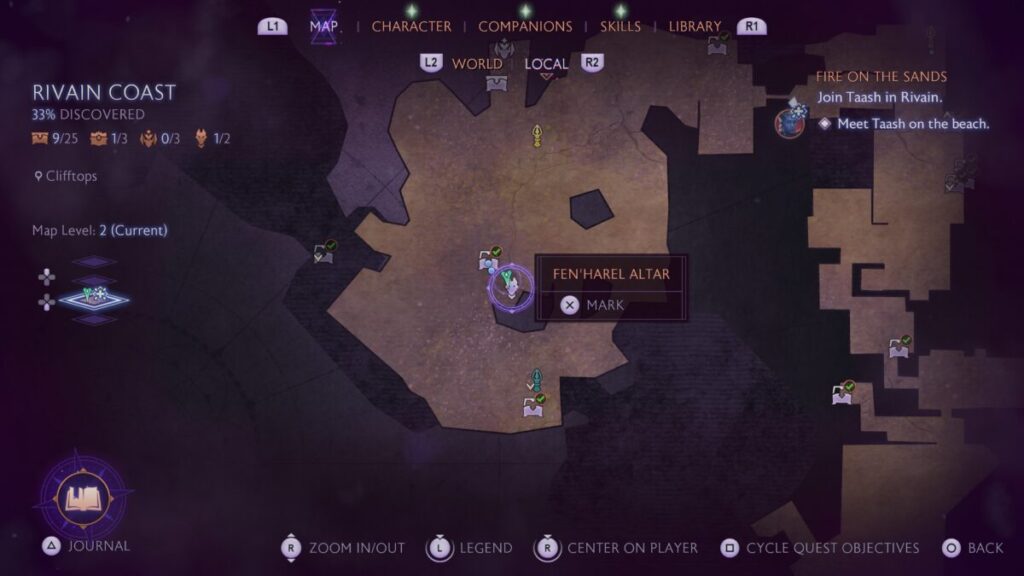
This altar can be found atop a rock in the center of the Clifftops.
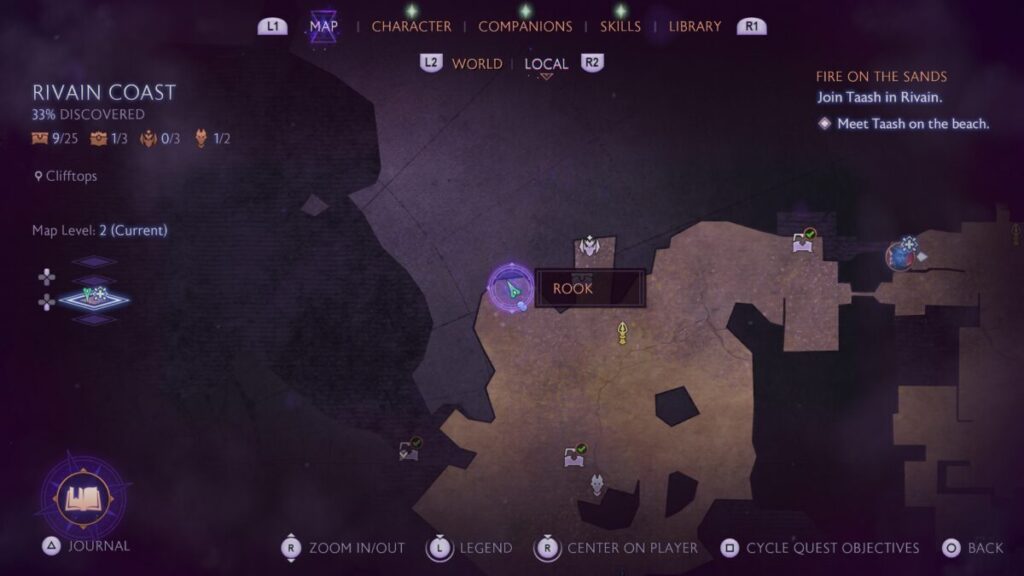
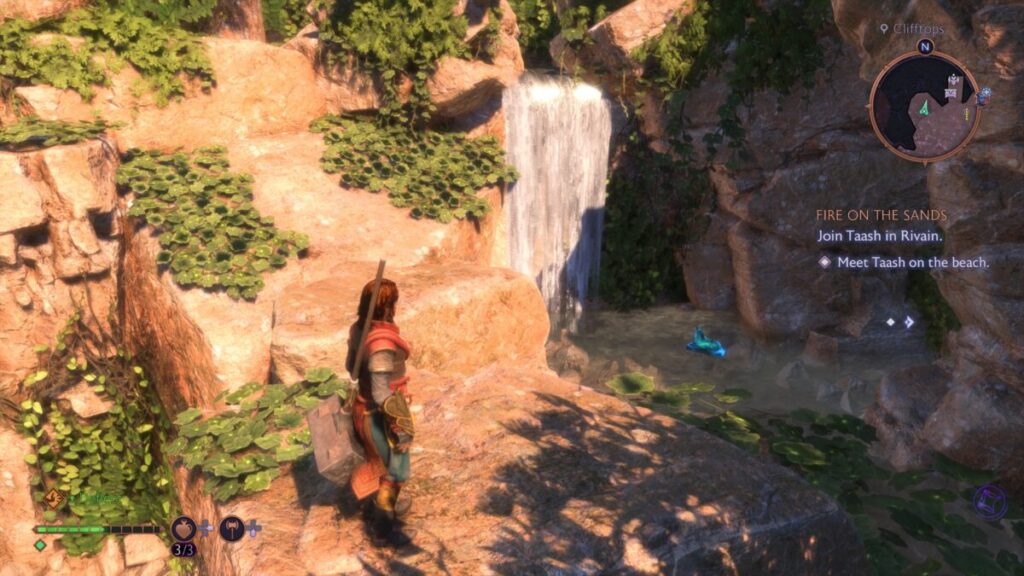
The wolf statuette can be found in the water next to a waterfall in the northwestern side of the area.
More Dragon Age: The Veilguard Guides
For more information, check out our Dragon Age: The Veilguard Guides and Walkthroughs main page! There you’ll find all our guides!

