Welcome to NGB and our Metaphor ReFantazio walkthrough for the Regalith Grand Cathedral. In this guide, we’ll cover everything you need to know Bout the Regalith Grand Cathedral, such as the enemies you’ll face, the treasure you can find, and what you’ll need to do to reach Louis’ Necromancer compatriot.
This guide is a work in progress. We’ll update it as we progress further in the game!
Regalith Grand Cathedral Quick Links
Regalith Grand Cathedral Enemy List
The table below lists all of the enemies you can find at the Regalith Grand Cathedral, including their types, weaknesses, and levels.
| Enemy | Type | Weakness | Level |
|---|---|---|---|
| Azure Homo Tenta | Human | Pierce / Fire | 15 |
| Blue Elmenta | Spirit | Fire | 10 |
| Bow Captain Malmorta | Undead | Strike / Light | 12 |
| Bow Malmorta | Undead | Strike / Light | 06 |
| Civilian Morneto | Undead | Fire / Light | 09 |
| Cursewight Magileto | Undead | Strike / Light | 15 |
| Homo Oppo | Human | Strike | 15 |
| Homo Tenta | Human | Pierce | 02 |
| Lifewrought Gargoz | Mimic | Wind | 14 |
| Louisian Mage Captain | Person | Pierce | 16 |
| Louisian Mage Soldier | Person | Pierce | 08 |
| Louisian Spear Soldier | Person | Fire | 08 |
| Louisian Sword Captain | Person | Ice | 16 |
| Mad Watchdog Hundo | Demonic Beast | Fire / Ice | 09 |
| Noble Morneot | Undead | Fire / Light | 09 |
| Solider Morneto | Undead | Fire / Light | 09 |
| Spear Captain Malmorta | Undead | Strike / Light | 12 |
| Spekto | Undead | Light | 17 |
| Sword Captain Malmorta | Undead | Strike / Light | 12 |
| War Wulhas | Demonic Beast | Fire | 15 |
| Watchdog Hundo | Demonic Beast | Fire / Ice | 04 |
Regalith Grand Cathedral Layout and Chests
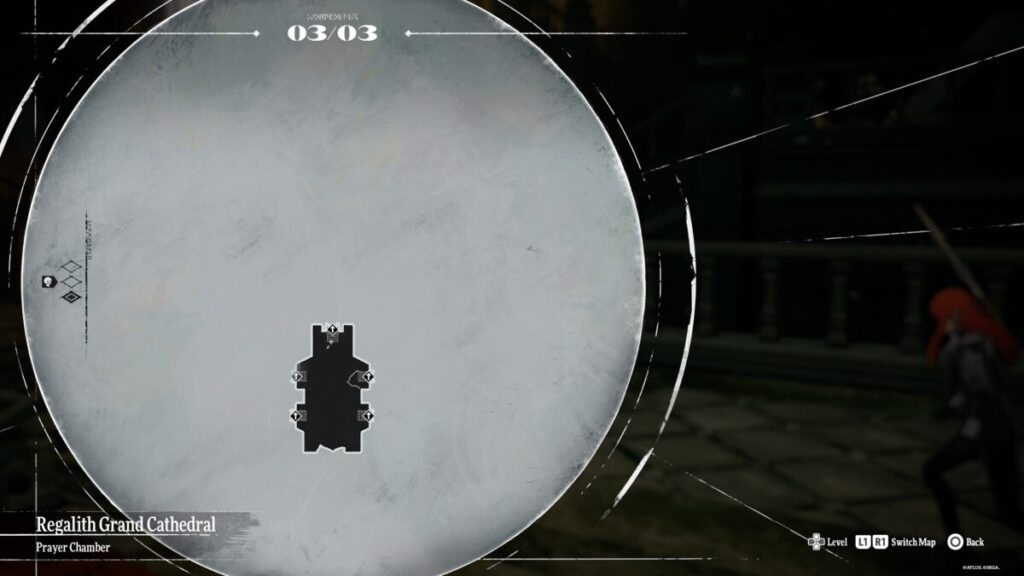
Prayer Chamber
Floor 1
Floor 2
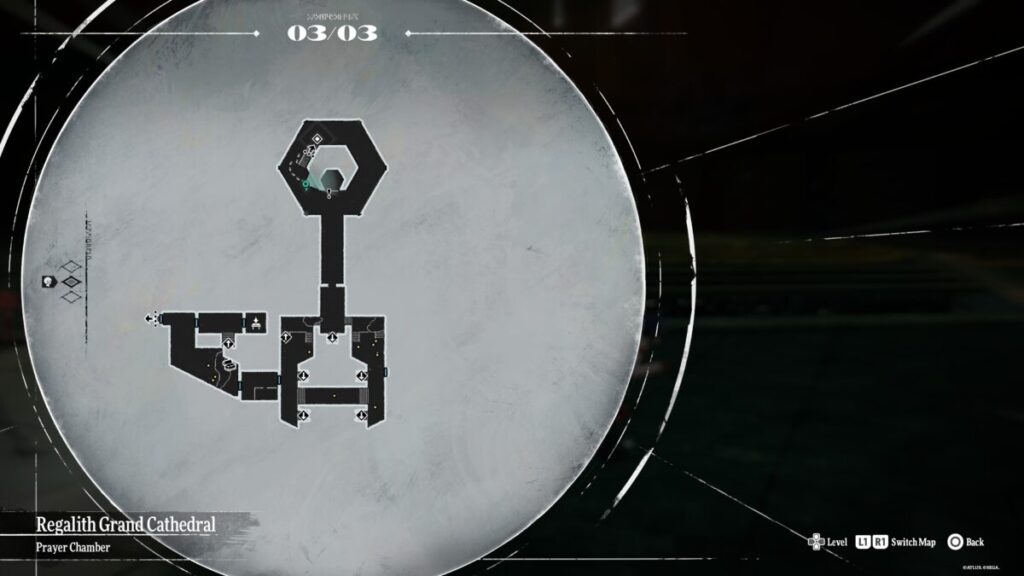
- Gambler’s Jewel x1
- Luck +3
Floor 3
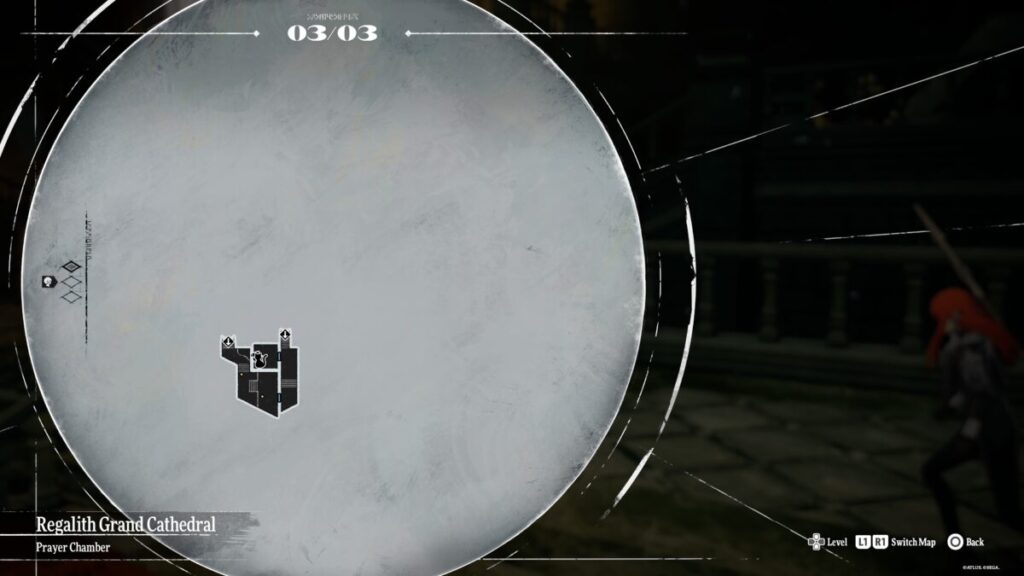
- Exorcist Knuckles x1
- 100 ATK 98 INT
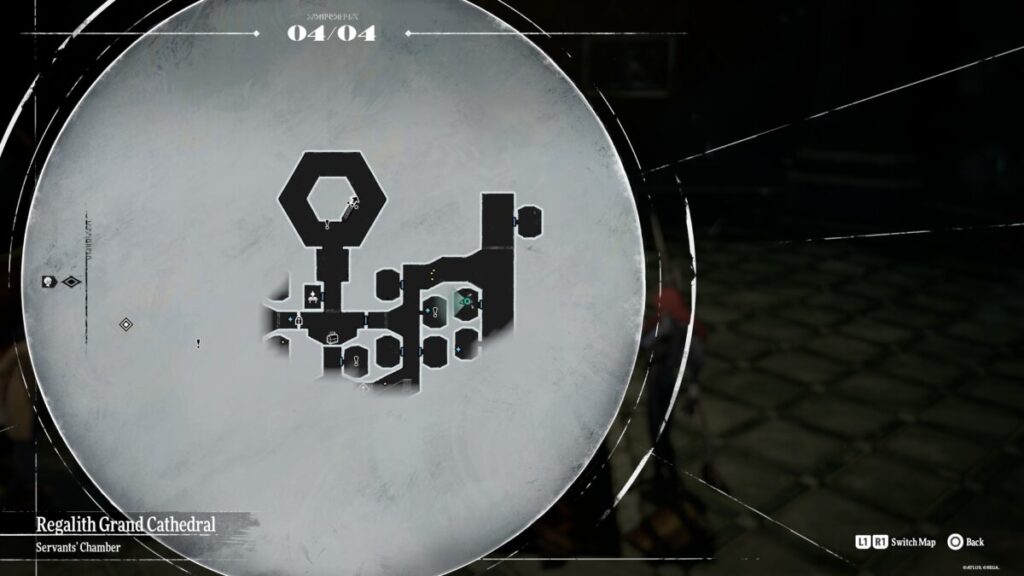
Servant’s Chamber
Floor 1
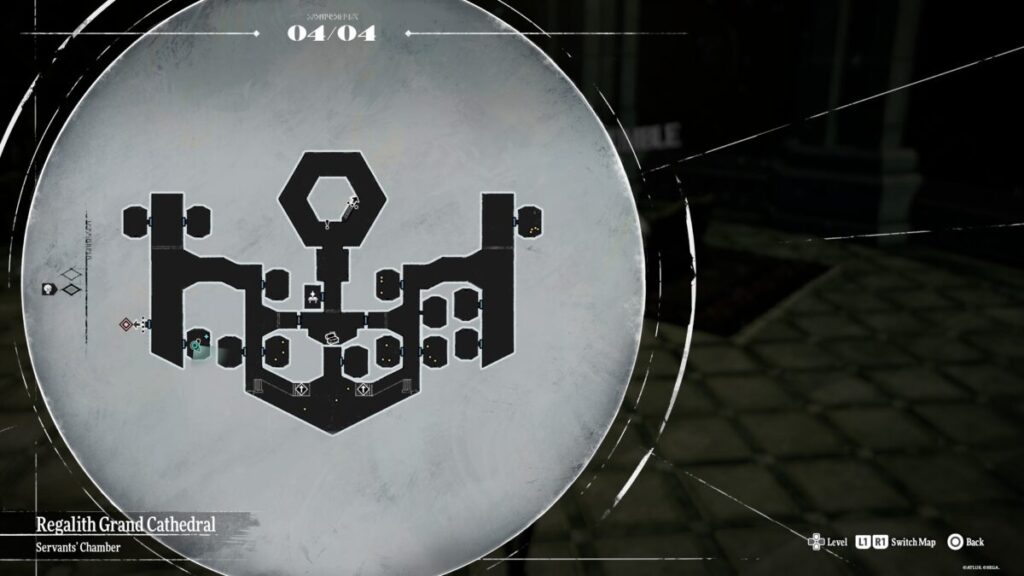
- Sanctified Amulet
- Key Item
Floor 2
The second floor of the Servant’s Chamber is just a small walkway without anything on it, so we didn’t include an image.
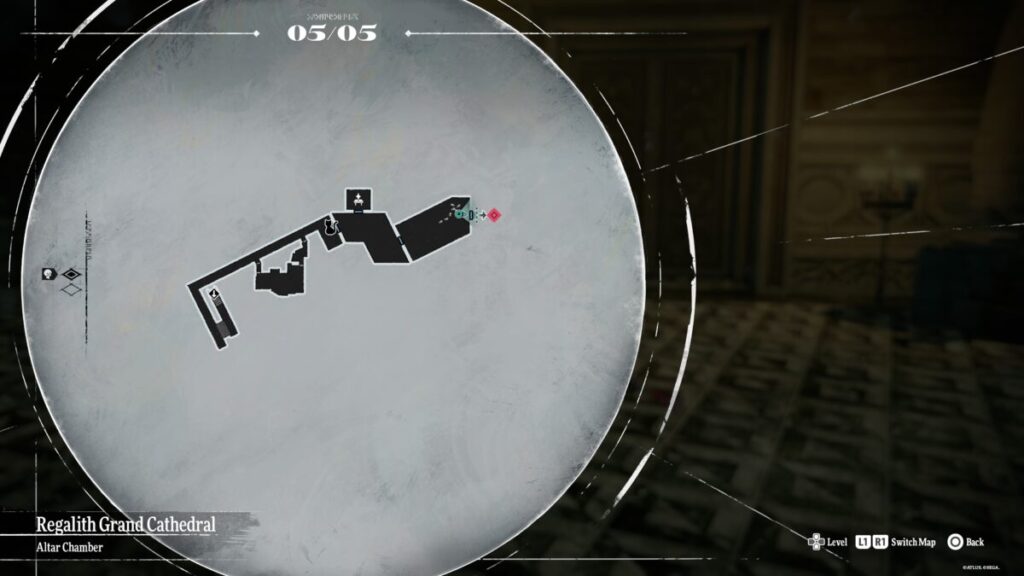
Altar Chamber
Floor 1
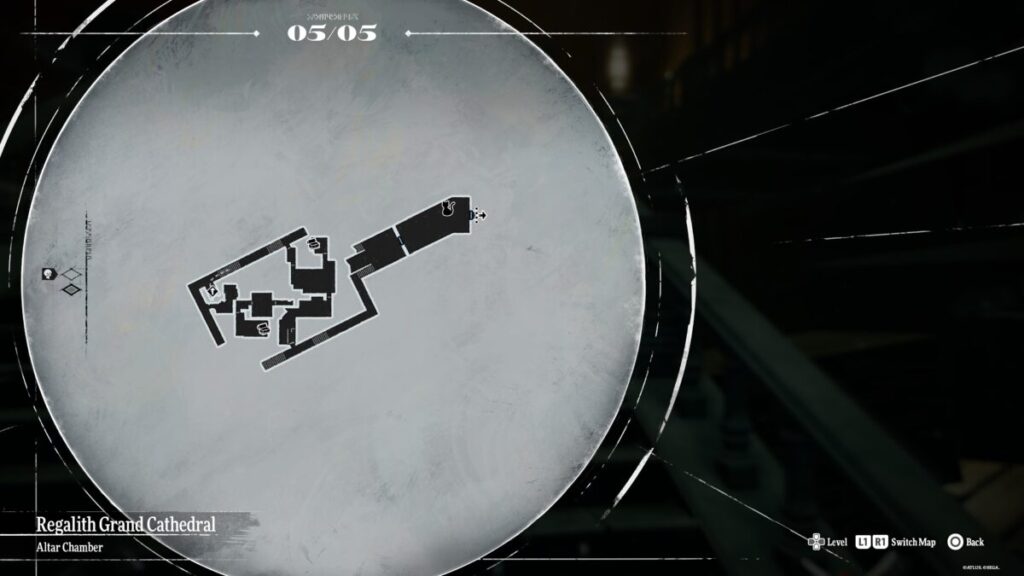
- Silver Spatha x1
- Seeker Weapon: 120 ATK 96 HIT
- Moonlight Mace x1
- Healer Weapon: 105 ATK 96 HIT
Floor 2
Reception Chamber
Floor 1
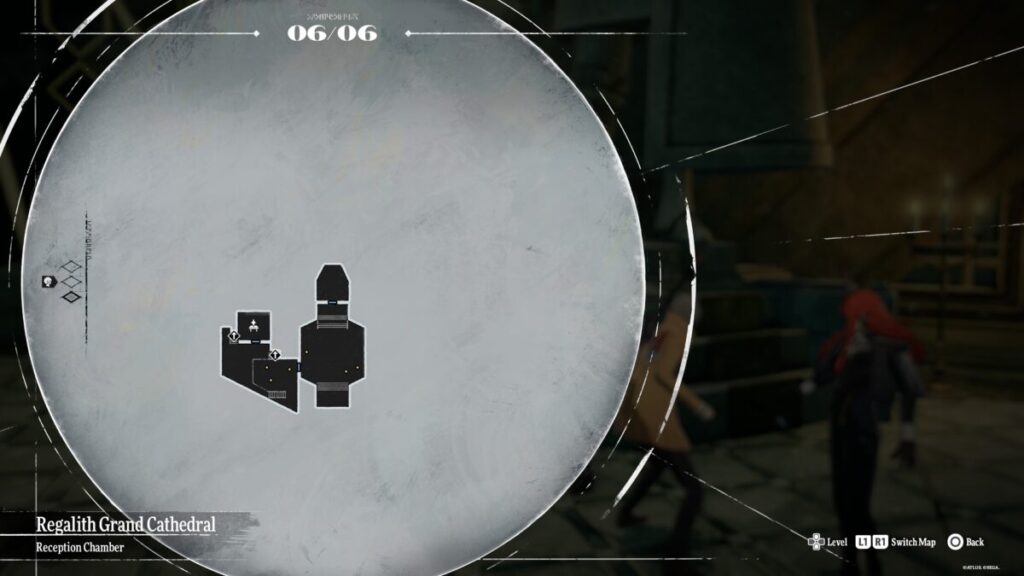
Floor 2
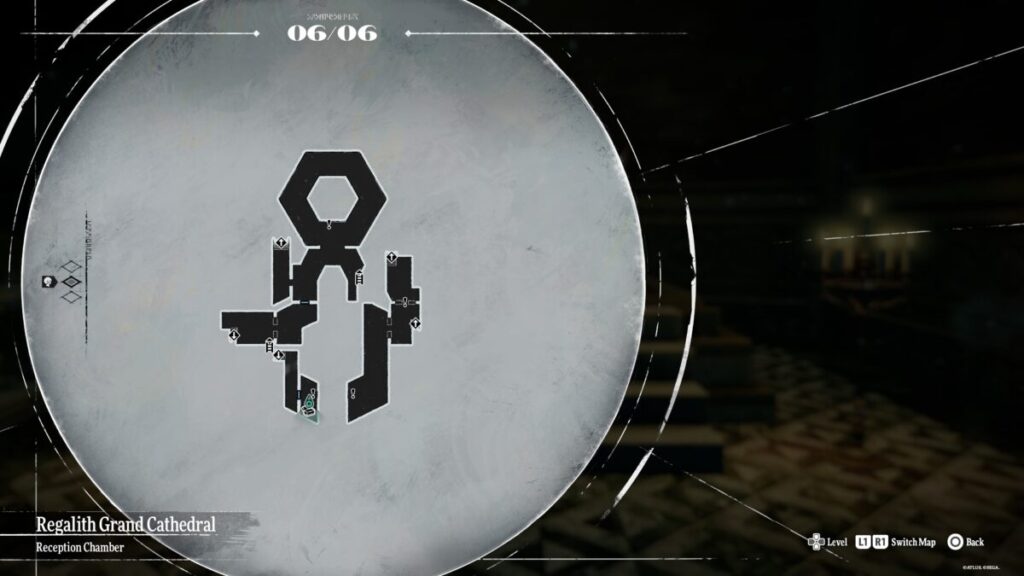
- Excorcist’s Cassock x1
- Magic +3 DEF 100 Effect: Increases Evasion against Dark
Floor 3
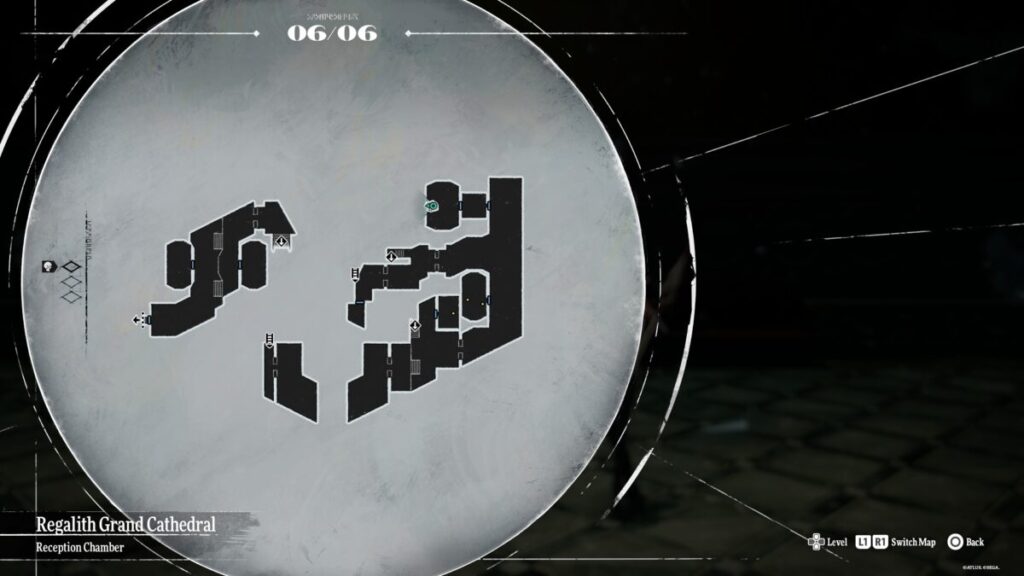
- Purity Golves x1
- Strength +1 Magic +1 DEF 18 Effect: Prevents Malady
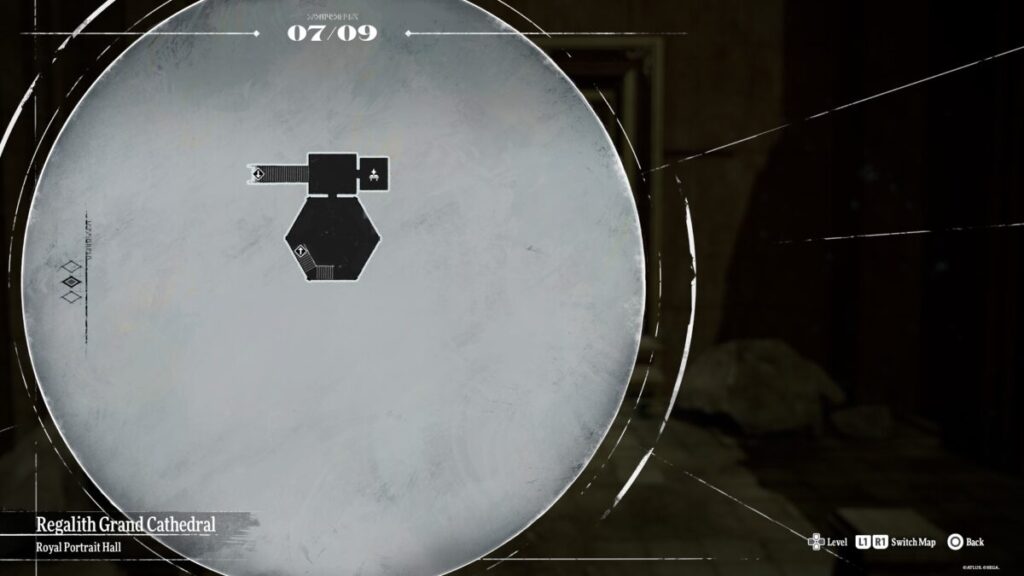
Royal Portrait Hall
Floor 1
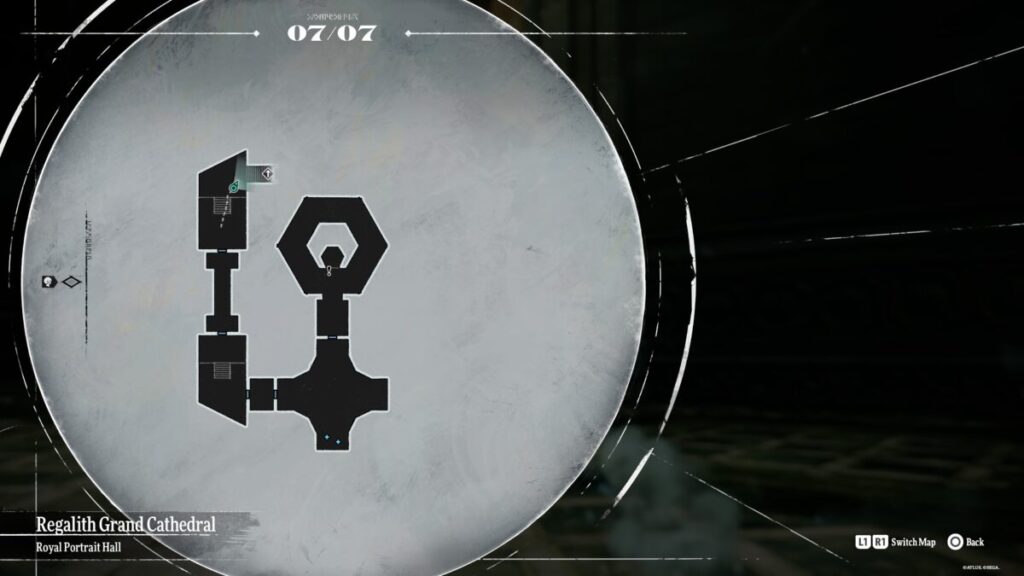
Floor 2
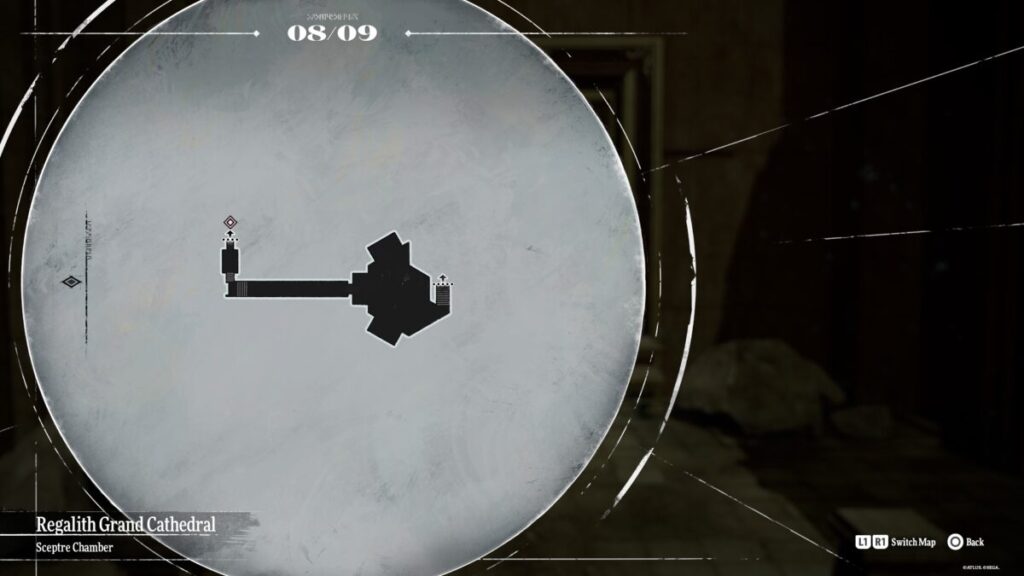
Sceptre Chamber
Floor 1
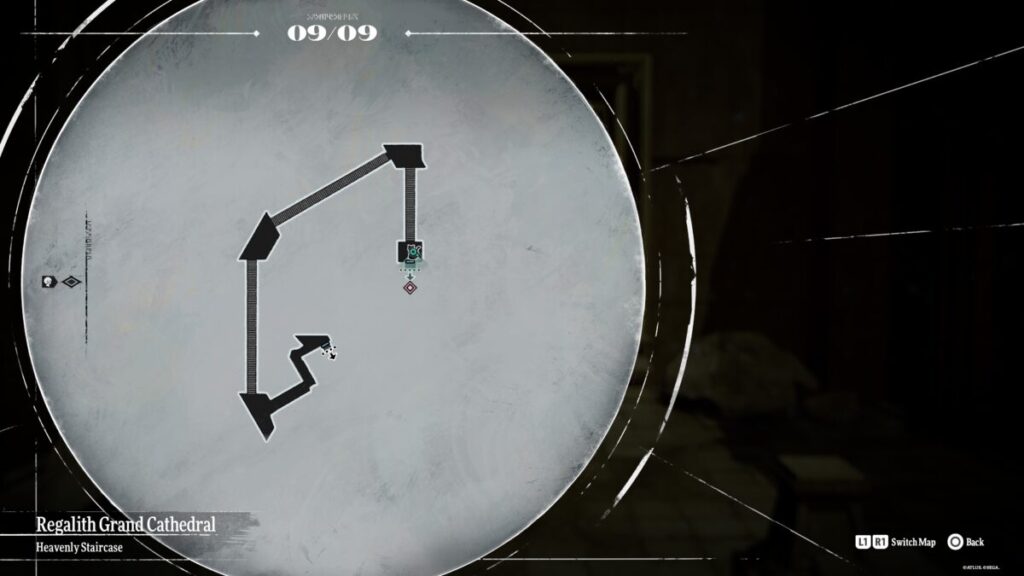
Heavenly Staircase
Floor 1
Regalith Grand Cathedral Walkthrough
Prayer Chamber
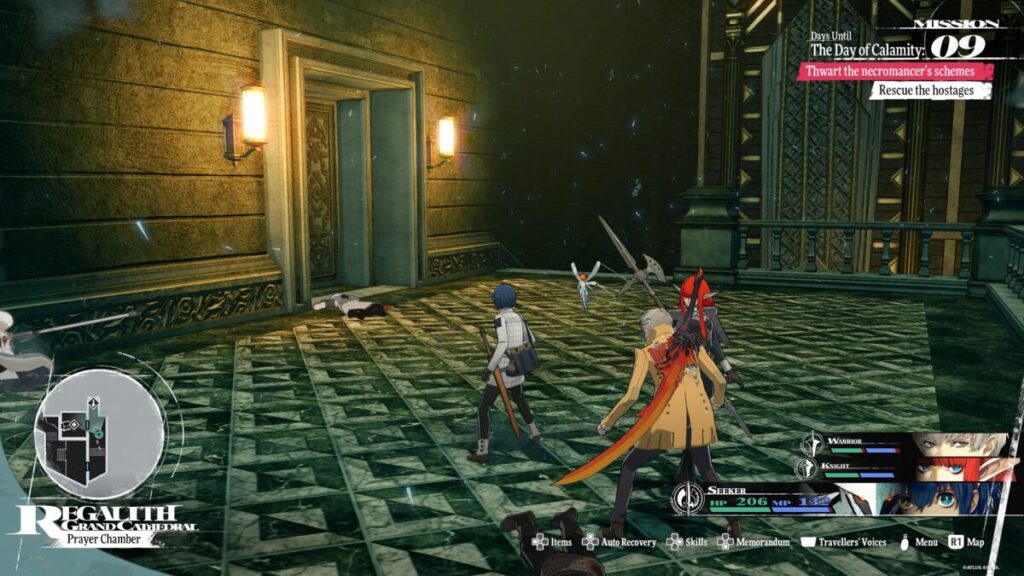
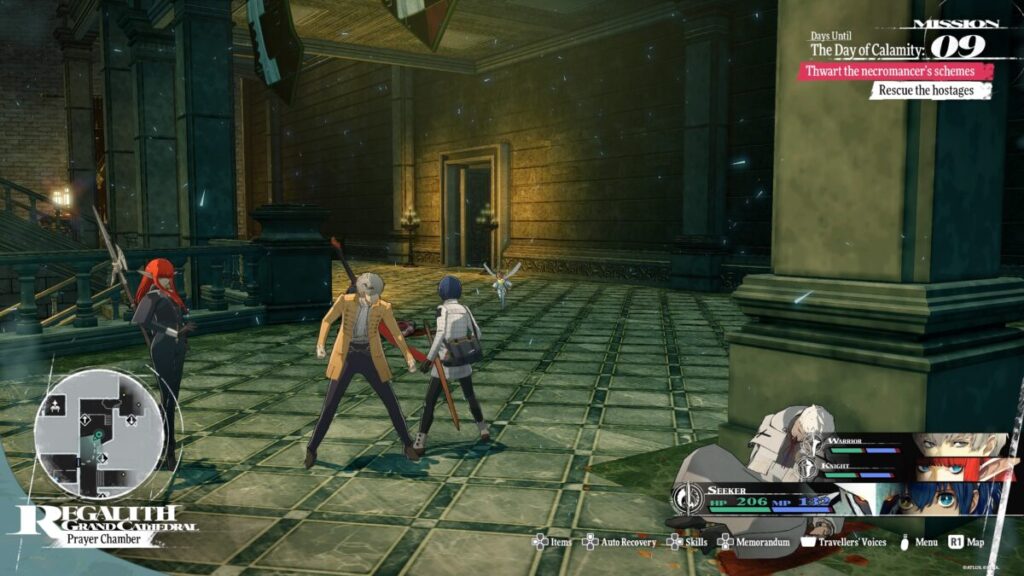
When you first reach the Prayer Chamber from the Catacombs, you’ll be on the 2nd floor. Head straight ahead (east) to find the first Magla Hollow, where you’ll want to stop by and make a save. From there, head up the stairs and follow the path until you reach the big open room (3rd floor). This will trigger a cutscene. When it concludes, interact with the nearby door to speak with the people trapped in the room.
To free the hostages, you’ll need to find the Chamber Side Room Key. Start by heading down the stairs past the locker door. You will see a doorway diagonally to the right when you reach the bottom. Head through there, then look to the left. You’ll see a room with a sleeping guard. The key will be to his right on a table in the corner of the room.
Take it back up to the locked room and use it to unlock the door. This will trigger a cutscene leading to the completion of the A Friend in Need side quest, where you’ll get the Brawler Archetype. While in the newly unlocked room, make sure to loot the chest to receive the Exorcist Knuckles, which is a good starting weapon for the Brawler. You can also speak with More’s cat in the room to visit Akademeia and save your game.
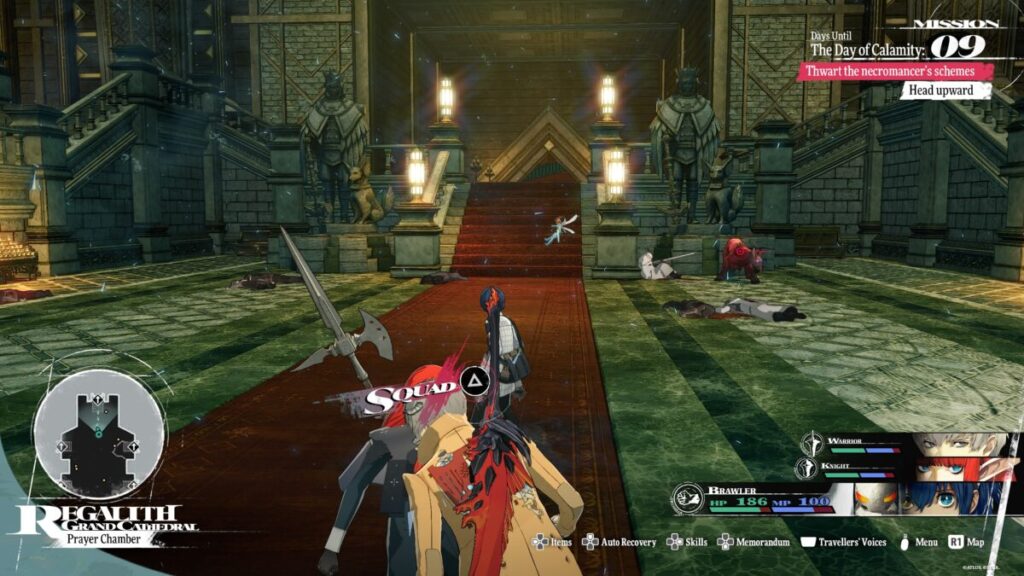
Exit the room and head back down to the bottom floor of the Prayer Chamber. You’ll then want to head north to the stairs guarded by the white demonic beasts. You’ll need to defeat them to proceed. There are two sets of them there, so to make the fight easier, lure some away to fight them separately. After which, you can deal with the other.
If you don’t do this, you’ll have to fight both groups back to back with no break. The War Wulhas (white wolves) are level 15 and weak to fire. They also like to boost their attacks to deal extra damage. On top of that, they have a standard attack, a fire-based attack that can inflict burn, and a high-damage attack that will deal extra damage. If you’d rather skip the fight, use the stairs in the southeastern part of the room, then head north, allowing you to go around the white wov.es
Once you’ve gotten past the wolves, keep going north and take the long spiraling staircase up to reach the Servant’s Chamber.
Servant’s Chamber
After you’ve reached the top of the stairs, head through the doorway into the hallway to witness a cutscene where the undead are attacking soldiers. After it finishes, look on the right side of the hallway to find the second Magla Hollow. Head inside to save and visit the Akademeia if needed.
Now that the party is rested (metaphorically), head to the room with the locked treasure chest, then go through the eastern doorway, where you’ll be greeted by walking corpses.
After taking care of them, check your mini-map, and you’ll spot an ! in a room with a blocked entrance. You’ll want to follow the hallway around north to reach the room on the east side of that one with a wounded person. To the left of that person, there will be a small opening you can crawl through.
When you emerge on the other side, there will be a dead soldier with a green orb on him. Interact with it to receive the Guest Room Key. You can then head back through the opening and work your way back to the room’s entrance, which had the !. From there, follow the hallway there south.
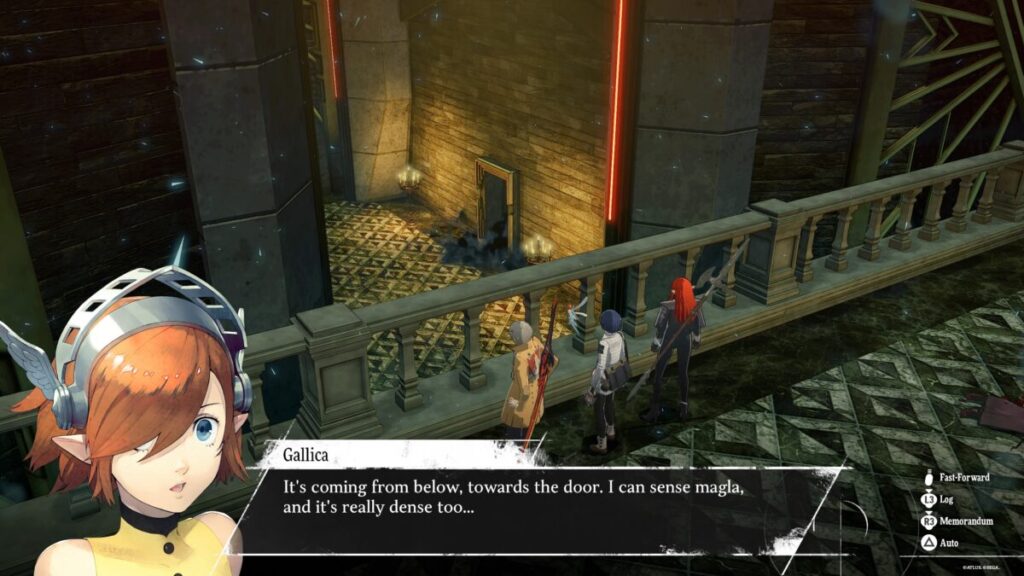
When you reach the railing, take a right and follow the path over a walkway. This will trigger a cutscene where they see black smoke coming from under a door. Remember the room, but keep heading forward, exiting the walkway and following the hallway right. Approach the giant crystal before you, triggering a tutorial about Trance Crystals. Enemies will continue to spawn until you destroy the crystal.
If you wish, you can grind on the enemies for a bit to earn some extra EXP or reeve. Once you destroy it, take a right (heading east) and open the closed doors. This will bring you back to the room with the locked treasure chest, giving you access to the Magla Hollow. Use it to save, then backtrack to the room with the black smoke.
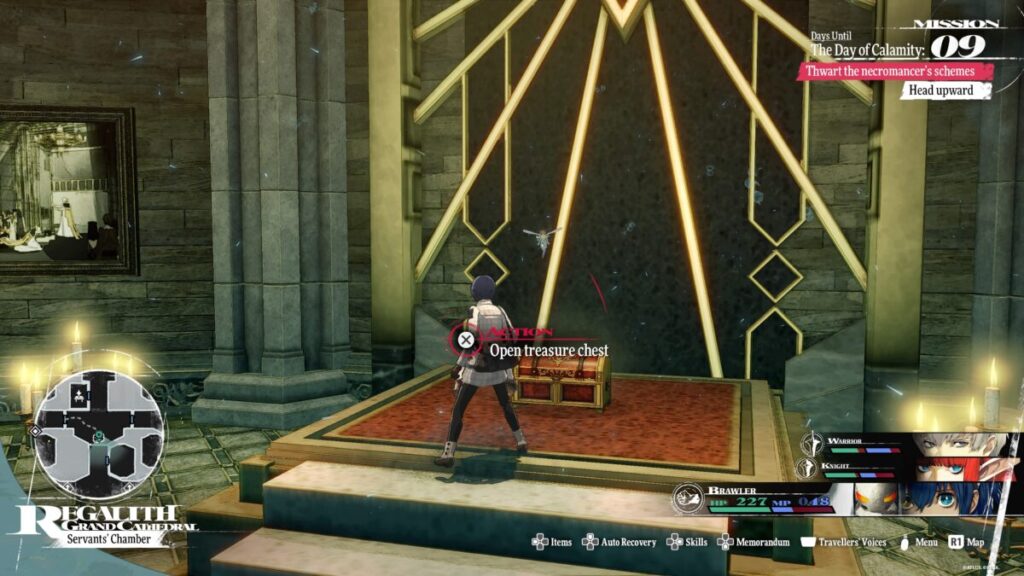
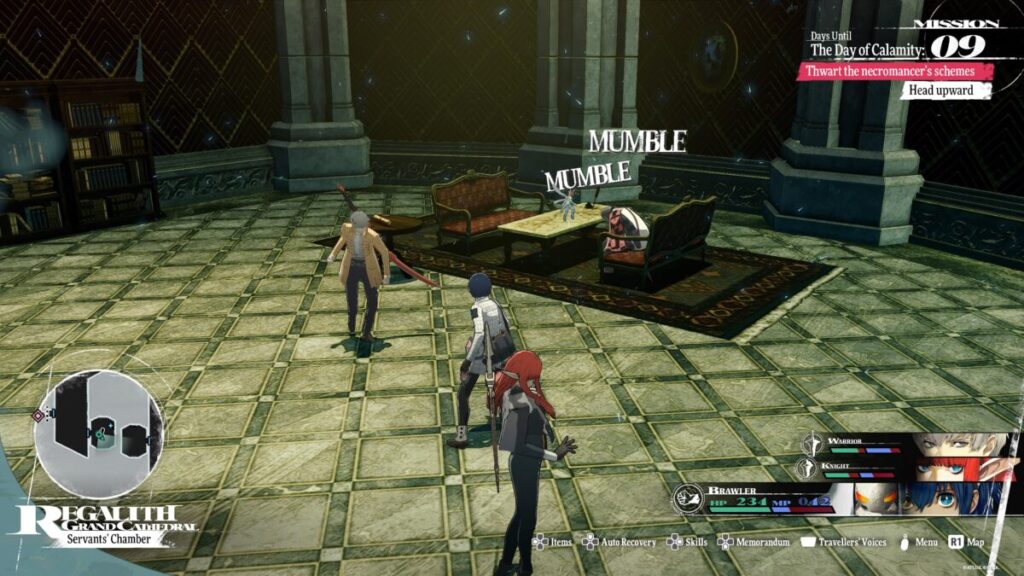
Interact with it to use the Guest Room Key from earlier to unlock it and head inside. This will lead to a fight against a group of walking corpses. They will all be level 9 and weak to fire and light attacks. Once they have all been defeated, you’ll find a Pale Monk. While speaking with him, he’ll ask if the treasure chest is safe. Gallica will tell him yes, referring to the locked chest near the Magla Hollow. He’ll then tell the group to take the treasure so that Louis can’t before passing away. You’ll then receive the Treasure Chest Key.
Return to the locked treasure cheat and use the key to open it to receive the Sanctified Amulet key item.
Before continuing on, stop by the Magla Hollow to make one more save. With that out of the way, return to the hallway where you destroyed the Trance Crystal, following the hallway north. Soon, you’ll come across another Trance Cyrstal that you’ll need to destroy. You’ll then want to head for the westernmost hallway (which is patrolled by the giant egg human).
In that hallway, enter the most southern room on the left (east) side to find the Traumatised Soldier sitting at a table. Speak with him, then exhaust his dialog options. He’ll tell you how you can keep ascending through the Grand Cathedral and give you the Altar Chamber Key. You can use that to unlock the door across the hall to enter the Altar Chamber.
Altar Chamber
In the Atlar Chamber, if you look next to the 2nd pillar on the right, you’ll spot the Plateau Mirage that you can use to save or visit the Akademeia. Once you finish that, head southwest through the hallway and our new skeleton friends.
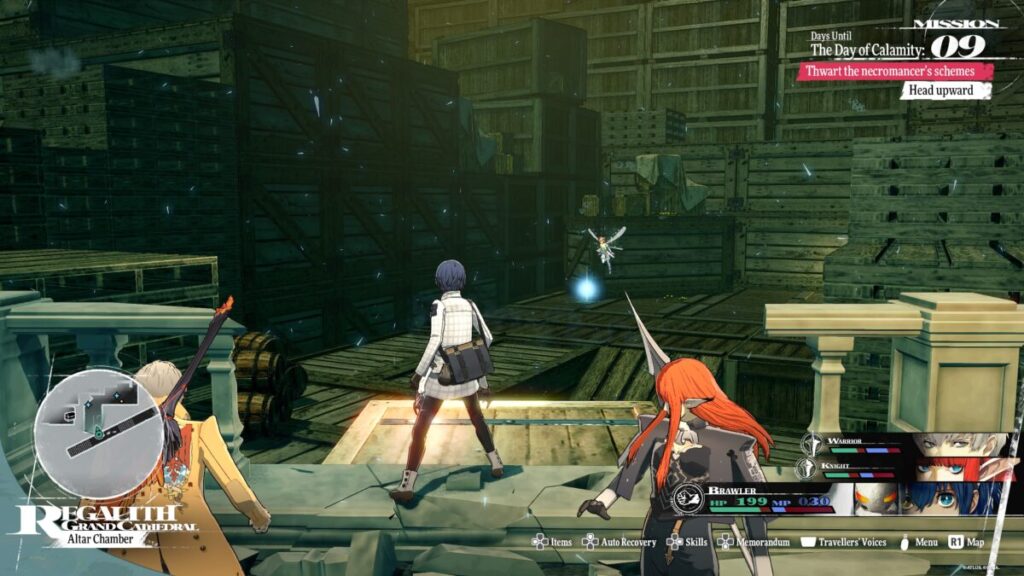
When you reach the outside walkway, look for the missing section of railing that you’ll drop down to land on wooden crates and pallets. After you move forward slightly, an echoing voice will call out, taunting your party.
Progress through all the crates and pallets to reach the walkway on the other side. While there, grab the chest with the Silver Spatha weapon for the Seeker Archetype. Continue following the walkway for a way until you reach the Plateau Mirage near a door emitting black smoke. Make sure to save as you’re about to fight a mini-boss.
Mini-Boss: Whiteclad Solder
When you’re ready, head through the smoking door to trigger a cutscene with a Whiteclad Soldier willing to sacrifice for Louis’s great cause! When it concludes, you’ll have to face him and 4 of his undead buddies. The way this fight will go is that the Whiteclad Solider (Louisian Mage Captain) will buff the undead and debuff the party while the undead focus on damaging that party. The Undead are weak to light and strike attacks, while the Mage Captain is weak to pierce, so utilize them to get more actions. Focus on the undead archer and mage first, then deal with the rest. You’ll also want to watch out for when the Mage Captain uses his light-based attack, which can moderately damage the whole party. Once he goes down, you can use a nearby Magla Hollow to rest and save. Afterward, proceed through the next room at the end of the hallway to reach the Reception Chamber.
Reception Chamber
Work your way to the next area in the Reception Chamber and then approach the lift for a cutscene. When it concludes, you’ll want to head southeast, climbing the ladder to trigger another cutscene. Afterward, head east through two triangle-shaped doorways until you reach a t-split hallway. Follow the path right (left leads to a room with a chest), heading through another triangle-shaped doorway at the end. Take the stairs on the left and pass through yet another doorway. Head left along the walkway to reach a ledge overlooking a giant golden statue. You’ll want to jump down on its arms, using them to cross to the other side.
After reaching the other side, head right through a triangle-shaped doorway. Take another right, and then climb down the ladder at the end of the walkway. At the bottom, head west, going down a flight of stairs, then take another left at the bottom to find a Magla Hollow. In that same room, go south, descending the steps there. Head straight, then take a right through the doorway, keeping an eye out for the floating enemies. They like to dive bomb at you, causing much damage in a large radius.
Once you’re through the doorway, look to the right, and you’ll see the base of the giant statue. Interact with the altar there, causing your character to place the Sanctified Amulet on it, lowering the statue. You’ll then need to work your way back to the east side of the 2nd floor. There, you can jump across the statue’s arms to reach a chest containing the Exorcist’s Cassock, which has 100 DEF and gives you Magic +3 with the effect of increasing evasion against Dark attacks.
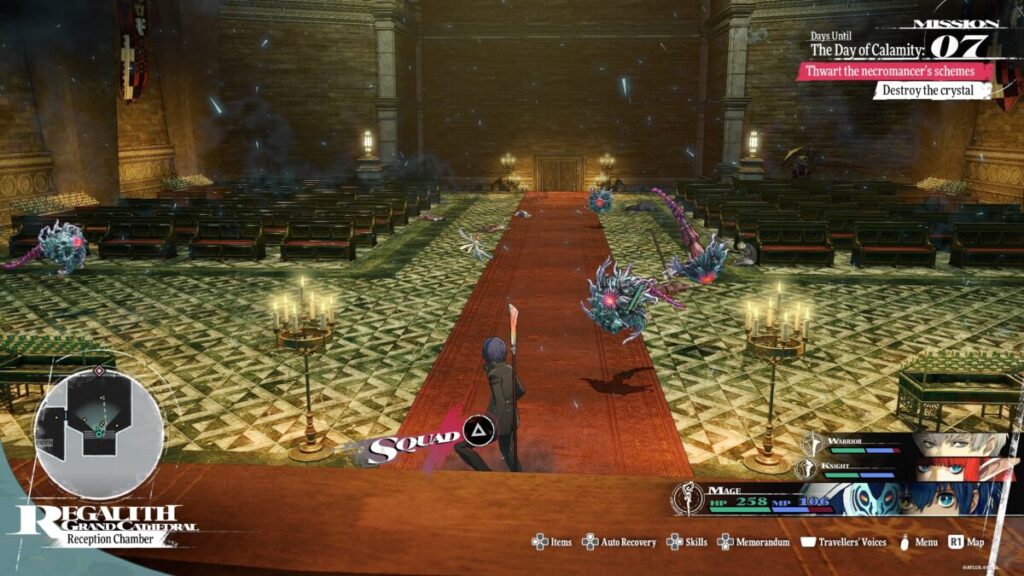
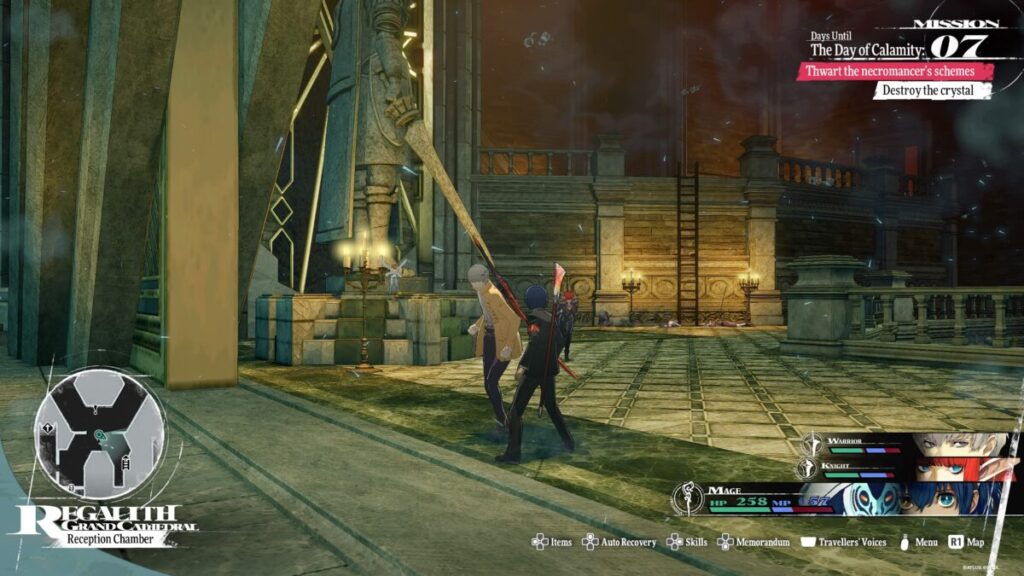
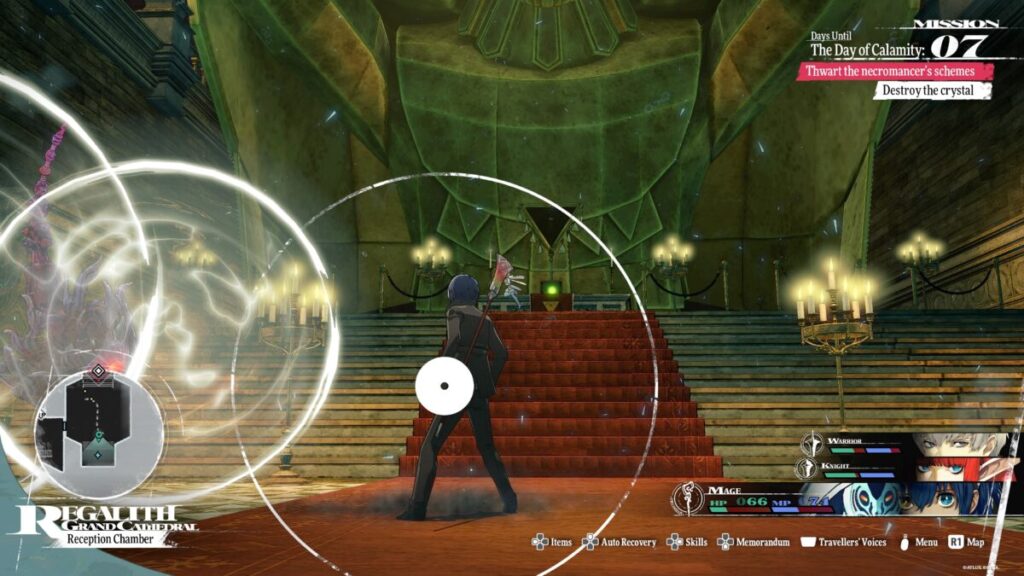
Once you have that, return to the Magla Hallow and save. Then, make your way back to the base of the giant statue, heading north towards the doors with black smoke oozing out. Head through them to reach the crystal you saw earlier. This will lead to a fight against 5 Spekto enemies. They are weak enough to light-based attacks, so use some to gain extra actions. They will attack you with magic attacks and try to hex your party. This will deal damage to them when they attack the enemy. They also block physical attacks like Peirce. Once defeated, the party will destroy the crystal, removing the barrier blocking the lift.
Mini-Boss: Whiteclads
Head back to the lift to find a Plateau Mirage there. Use it to save and then approach the lift. This will trigger a cutscene leading to a battle against 3 level 16 whiteclads: one mage captain and two sword captains. The mage is weak to piercing, while the captains are weak to ice. The mage will also buff the other two while they attack the party with a mix of physical attacks and magic. Once they are defeated, make to save again before taking the lift up.
Royal Portrait Hall
Once you reach the Royal Portrait Hall, head north until you arrive in the room with the giant round table. This will trigger a cutscene. When it concludes, follow the west path to catch up to Zorba. After another cutscene, chase after him. You can use a Magla Hollow at the top of the stairs. Make sure to save before pressing on. Follow the main path through the Sceptre Chamber to reach the Heavenly Staircase. Climb all stairs until you reach the top, just before the door emitting black smoke. There will be a Plateau Mirage you can use to save before heading in to finally confront the boss!
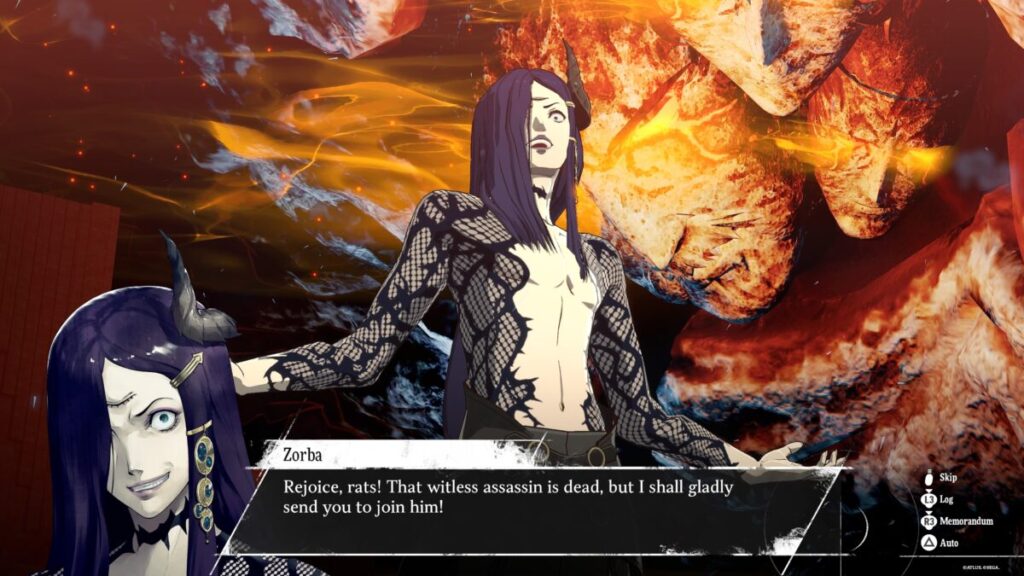
Boss Fight: Zorba
We’ve finally reached the necromancer himself: Zorba. He is level 19 and has no weakness. He resists fire, ice, electric, wind, and dark skills. The necromancer will summon 2 corpse-thralls (weak to fire) to aid him in battle and keep summoning them as they are defeated. He’ll also buff them and try to inflict paralyze on your party. Using the Jump Thrust Synthesis skill to lower his defense, you can deal some decent damage to him. Also, it would be helpful to have a healing skill or two. Once he goes down, the battle will end, and the Necromancer Takedown quest will be completed, leading to the Thwart Zorba’s Plan quest.
Additional Metaphor ReFantazio Guides and Walkthroughs
Be sure to check out our Metaphor ReFantazio Guides and Walkthroughs Main Page for more help!