Welcome to NGB and our guide on The Starjacker Bounty mission. This guide will walk you through starting the mission and detail the necessary steps for its completion. If you need help with a specific mission objective, check the quick links section to easily find the most relevant information for you.
The Starjacker Bounty Quick Links
How to start the Starjacker Bounty mission
You’ll automatically begin this quest after completing The Trackers Alliance mission!
Bounty: The Starjacker Walkthrough
Report back to Agent No. 1
Speak with Agent No. 1 in the Trackers Alliance HQ.
Discuss the plan with Roach
Speak with Roach who is standing next to the bounty board where you picked up the Starjacker bounty!
Use Scanner to find Adrastos on Akila City Streets
Exit the HQ and press LB to use your scanner on the people in Akila City. When the person your scanning turns red, you’ll know you’ve found him! Speak with him then persuade him to work with you.
Speak with Roach
Follow Roach a short distance away then speak with him.
Board the decoy ship
Head to Gate 03 at the spaceport in Akila City and enter the ship.
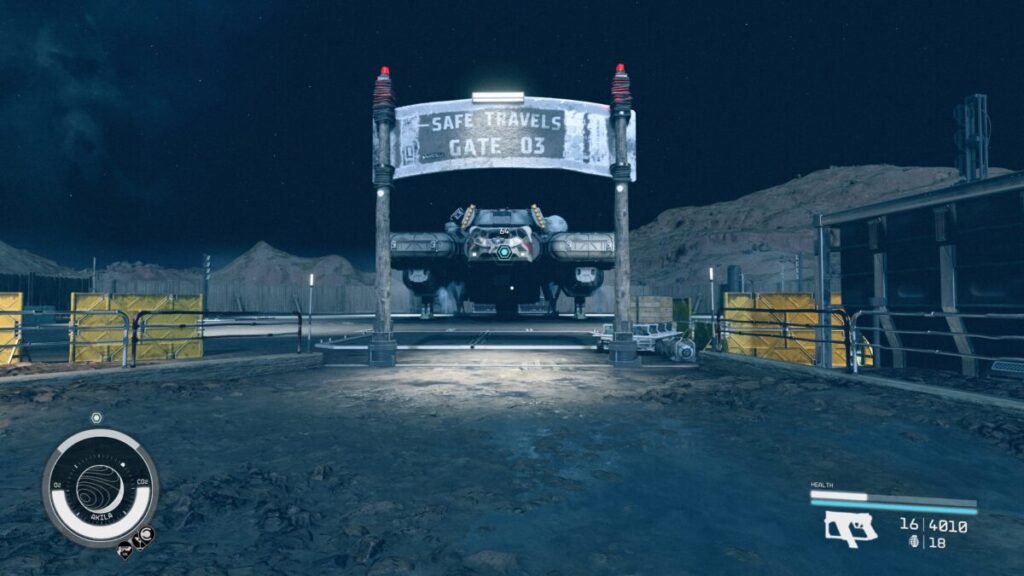
Once aboard, enter the pilot seat!
Take the decoy ship to the chop shop
Travel northwest of Cheyenne to the Andromas system then land at the starstation orbiting Andromas IV. Answer the hail when you get close to the chop shop then dock and board.
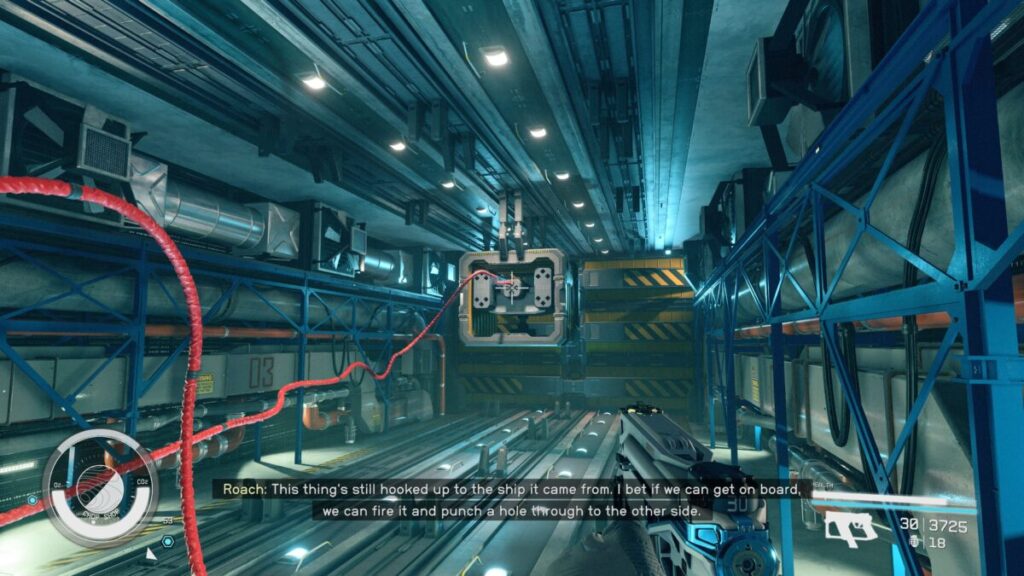
Find Hannibal
Head towards the objective to discover that the room containing Hannibal has been sealed. You’ll need to make your way to the top of this area to find a box with a red cable coming out of it.
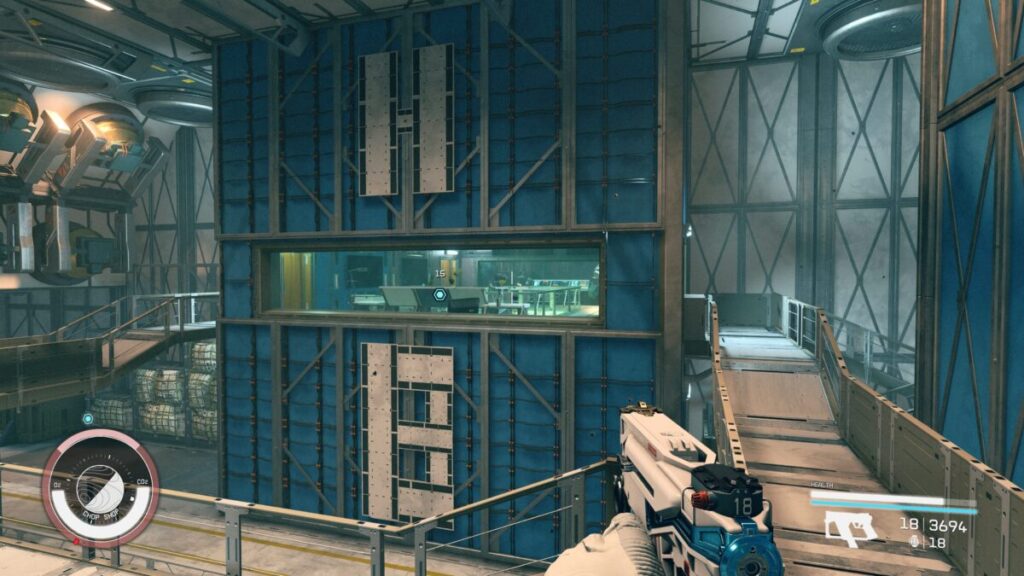
Follow the cable back down to the ship below and head to the back of this ship. Unfortunately, you won’t be able to open it since you don’t have the key. Enemies will shop up and attack you. Take out the Space Punk and loot the body to receive the Command Tower Key, which you’ll need to open the yellow doors of the command center.
Inside, interact with the computer then select “Inventory Logs” and “Sunsail”. You’ll get a hint in this log about the Sunsail Ship Key being in Niklas’ locker. Before leaving the computer, make sure to select “Station Lockdown Override” then “Disable Station Lockdown…”. Next, exit to the large area with the Sunsail Ship and head to the Crew Quarters on the left of the ship.
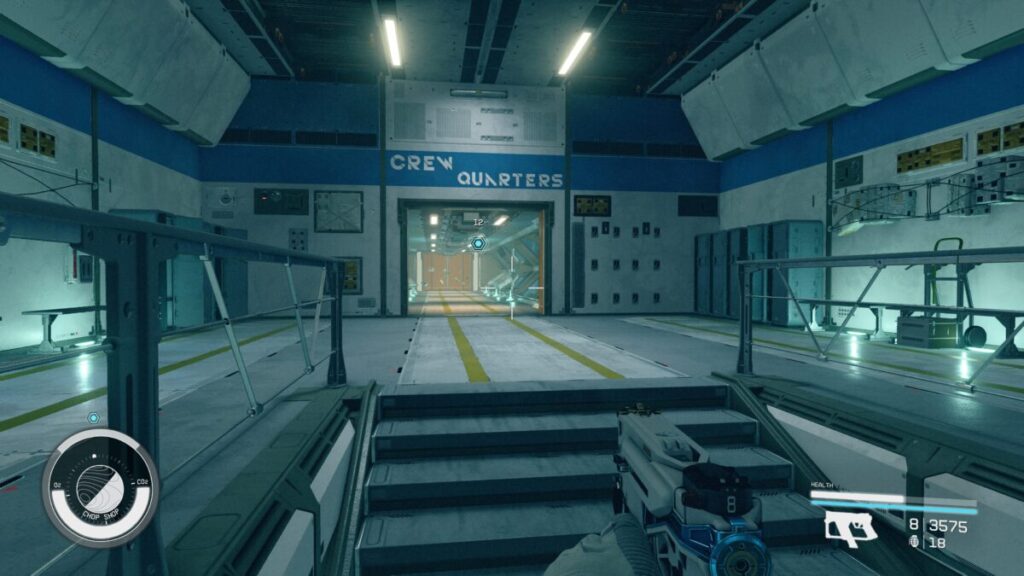
Once in the Crew Quarters, take out the enemies inside then head to the lower level where you’ll find the locker. Loot the key then return to the ship.
Make your way to the objective nestled behind a red door. On the other side, an enemy will be waiting. Take them out then interact with the computer. Select “Debug Menu” then “(Online):: Weapon-Missile Pod” then “Execute Test Sequence”.
Exit the ship then head all the way up to where the box with the red cord coming out of it was. You’ll now find a hole in the wall. Proceed on through then defeat the group of enemies awaiting your arrival inside. Afterwards, head on through the Docking Bay 03 door.
Deal with Hannibal
Speak with Hannibal.
Take the Key
After the surprise, you’ll need to loot the chest at the end of the walkway for the key. Be sure to grab all the goodies inside while you’re at it!
Claim the Junker Watchdog Ship
Unlock the door next to the chest to board the ship. Make your way to the cockpit then sit in the pilot seat.
Return to Agent No. 1
Undock then travel to Akila City in the Cheyenne System. Once in Akila City, head to the Trackers Alliance HQ and speak with Agent No. 1. You’ll have passed the test and will get to join the Trackers Alliance, however, you must first pick your call sign from the below options:
- Bear
- Blitzkrieg
- Nightstalker
- Nova
- Raven
The Starjacker Bounty will then complete! You’ll be able to select other bounties from the board near Agent No. 1 along with other harder ones from downstairs. Happy hunting!
Additional Starfield Guides and Walkthroughs
For more help with Starfield, check out our Starfield Guides and Walkthroughs!